

A dark manicure can look unfinished when the color is asked to do all the work. The real tension is between depth and readability: too much visual weight hides the shape, while too little contrast makes the hand feel flat. The answer is not more decoration, but a deliberate relationship between the nail outline, the light it catches, and the amount of quiet surface left around it.
Choose the version that matches how much attention you want to maintain. If the silhouette already feels strong, let the surface stay restrained; if the length is modest, a precise shift in finish or placement can give it presence. The existing dark fall nails reference is useful for judging depth, but your best choice is the one that remains readable after the first shine softens.
Black and Silver Points With Reflective Detail
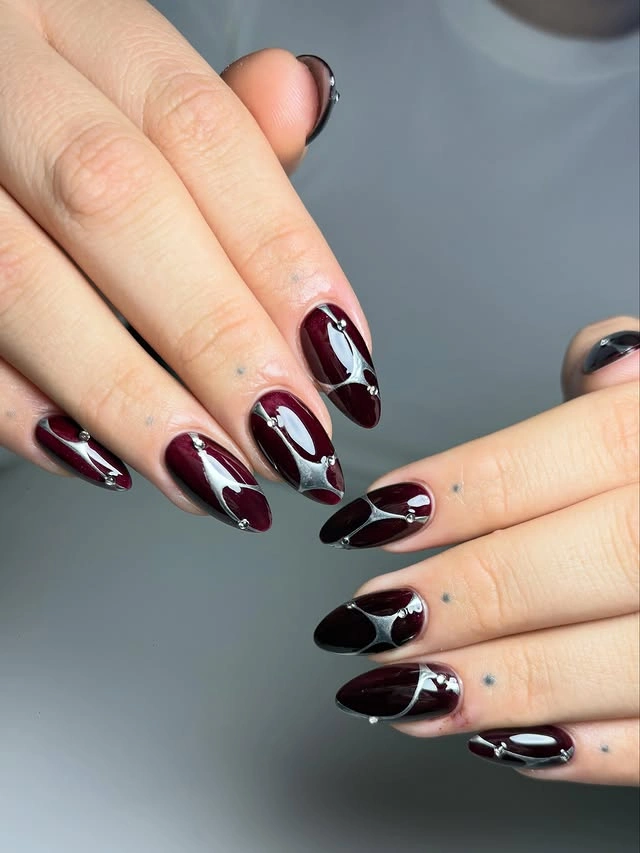
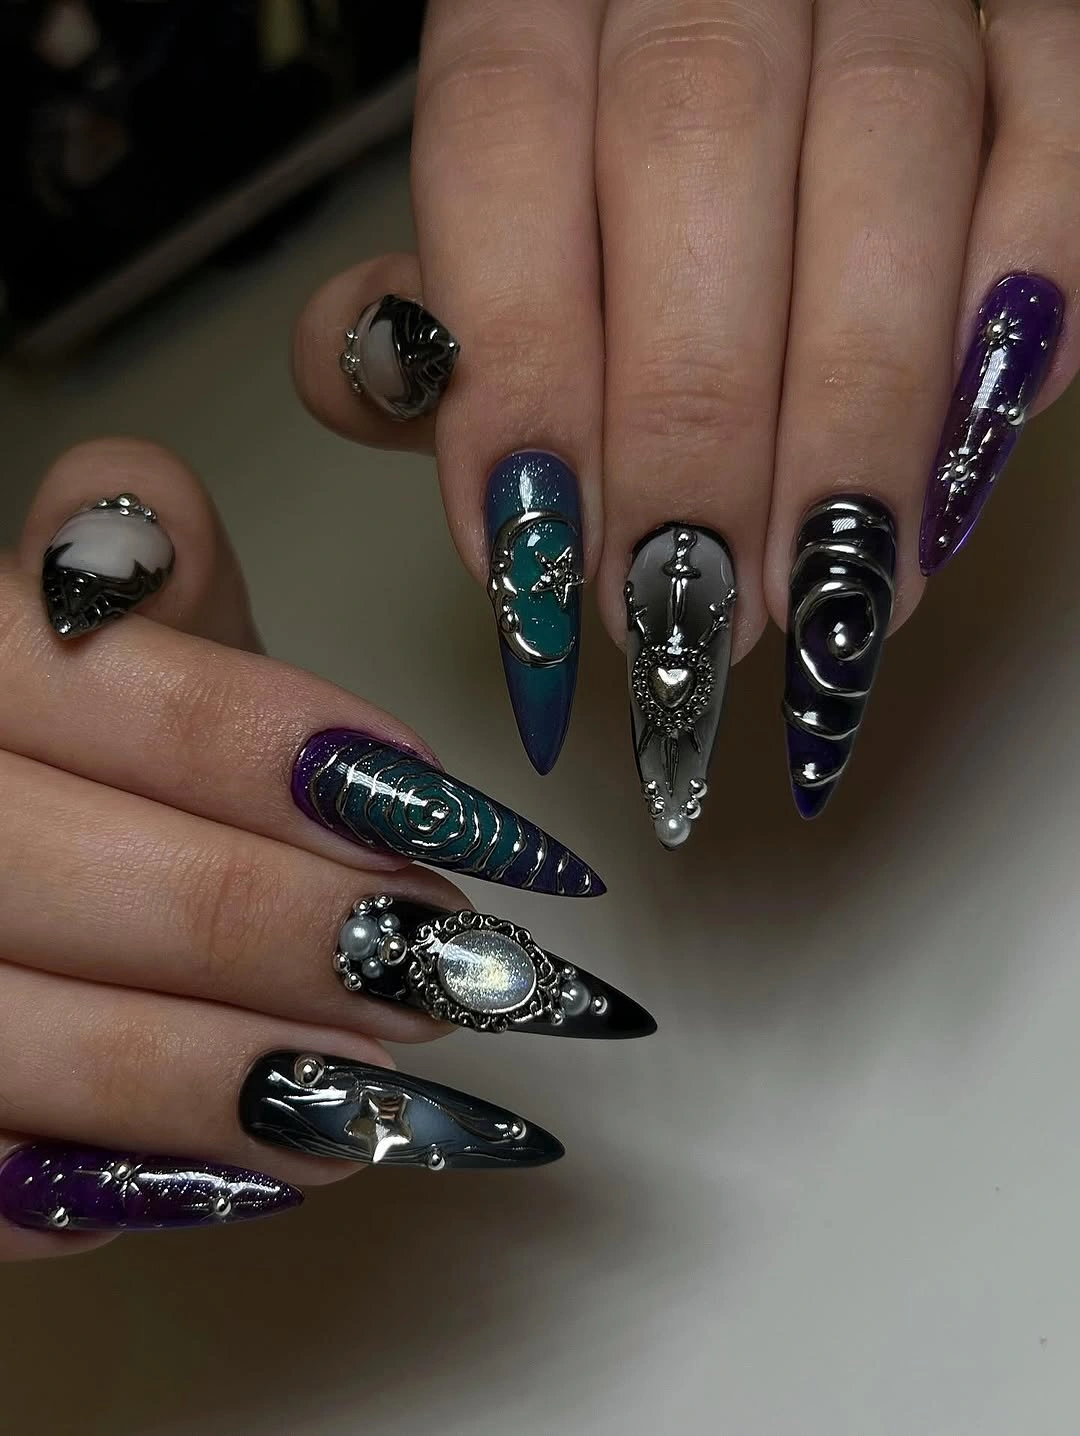
Long pointed nails carry silver-toned reflective sections and narrow graphic details across several fingers, with a glossy black accent anchoring the set. The sharp silhouette gives every metallic break a direction, so the manicure reads as a controlled contrast between dark depth and bright surface rather than a collection of unrelated decorations.
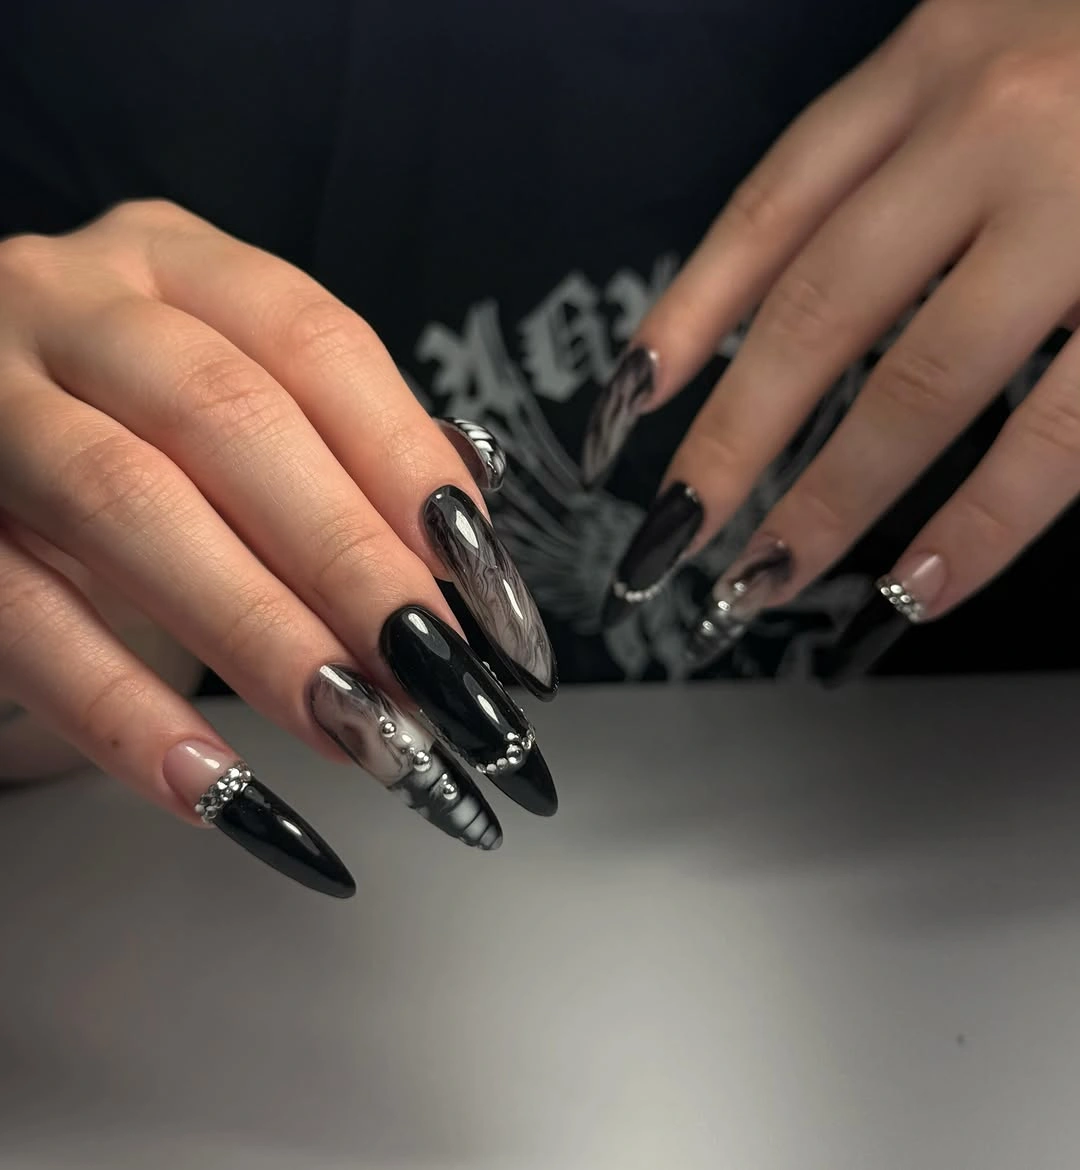
Keep the black base and place one silver accent on short almond nails if you want the after-dark energy in a smaller proportion. A single reflective panel can do more work than repeating every detail, especially when the nail is short enough that the outline, rather than the decoration, becomes the main visual cue.
Long points and fine reflective details make edge wear and everyday snagging more noticeable. If the shape is the part you love, give it a plain dark nail between accents; if the silver is the priority, a medium length will preserve the contrast while reducing the practical demand. The silver breaks also keep the black from becoming visually flat, so the hand remains readable in lower light.
Smoky Taupe Almonds With Wine-Toned Speckles
Medium almond nails use a muted taupe base with dark speckled panels, a deeper red accent, and small reflective details near the cuticle. The lighter ground leaves breathing room around the spots, while the repeated wine and charcoal notes keep the mixed fingers connected instead of making the manicure feel like several separate ideas.
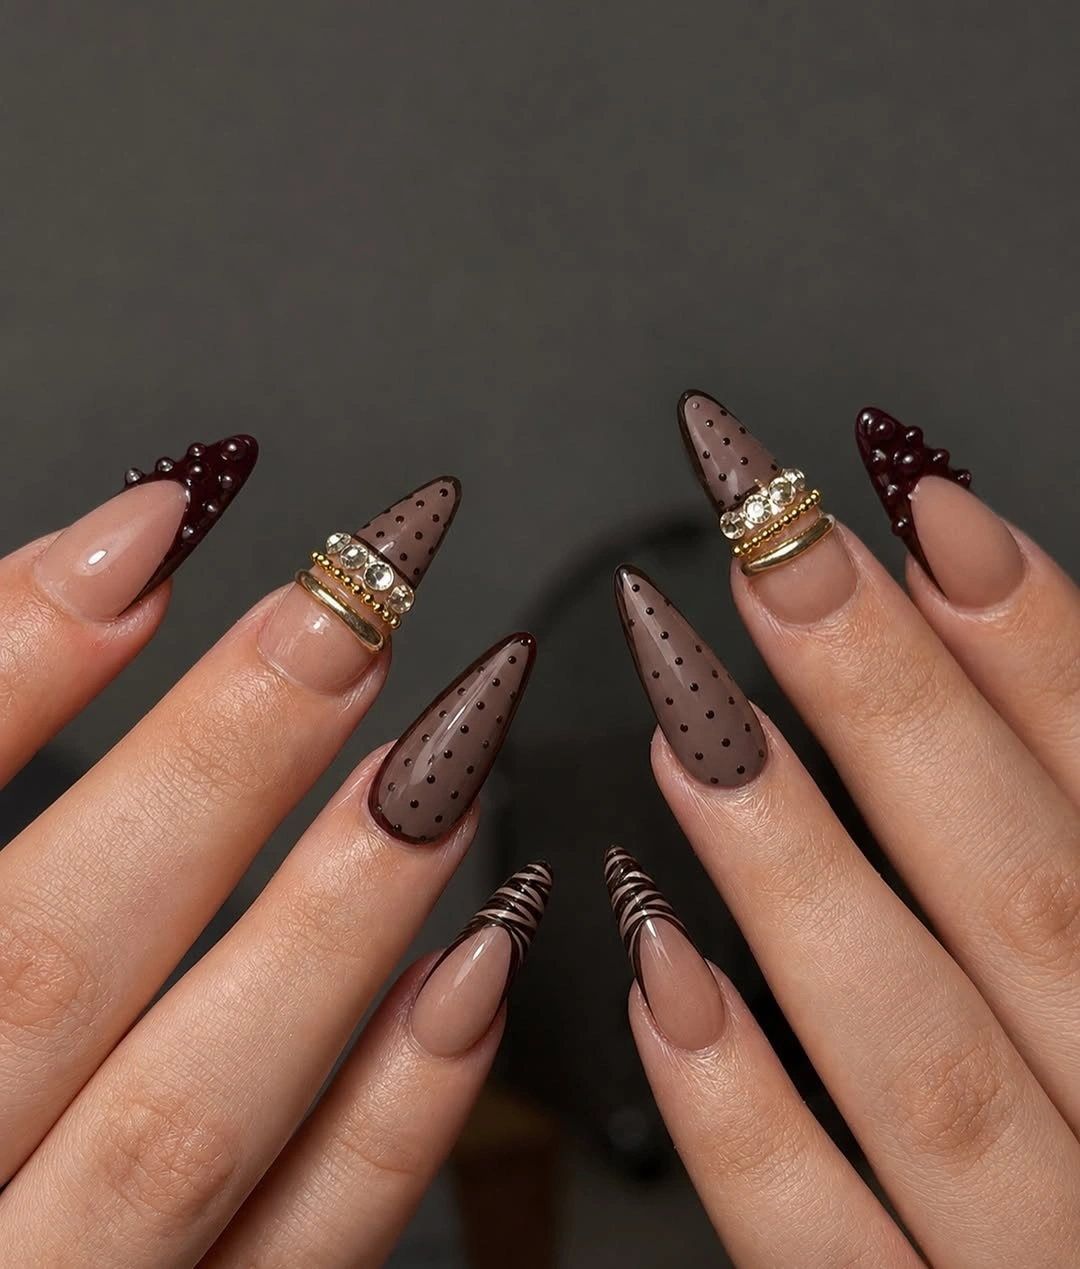
Use the speckled pattern on two accent nails and keep the remaining almond nails in one deep neutral. That adjustment protects the soft contrast of the base and gives the eye a place to rest, which is helpful if you want a seasonal palette that feels layered without becoming visually loud. Leaving some fingers quiet makes the scattered marks feel chosen rather than repeated for the sake of filling space.
Small speckles and pale surfaces can make chips or uneven edges easier to notice, especially around the tip. A slightly shorter almond keeps the same balance between smoky background and scattered detail, while a deeper brown base will hide minor wear more easily if maintenance time is limited. A clean brown base is also easier to refresh than a dense print when the tips begin to lose their crisp outline.
Brown Almonds Framed by Black Spots and Gold
A warm brown almond set is overlaid with black leopard-like spots, and several nails carry thin gold-looking outlines or curved accent lines. The rounded shape softens the print, while the limited palette prevents the pattern from taking over every surface; the result depends on the relationship between organic spots and a clean almond edge.
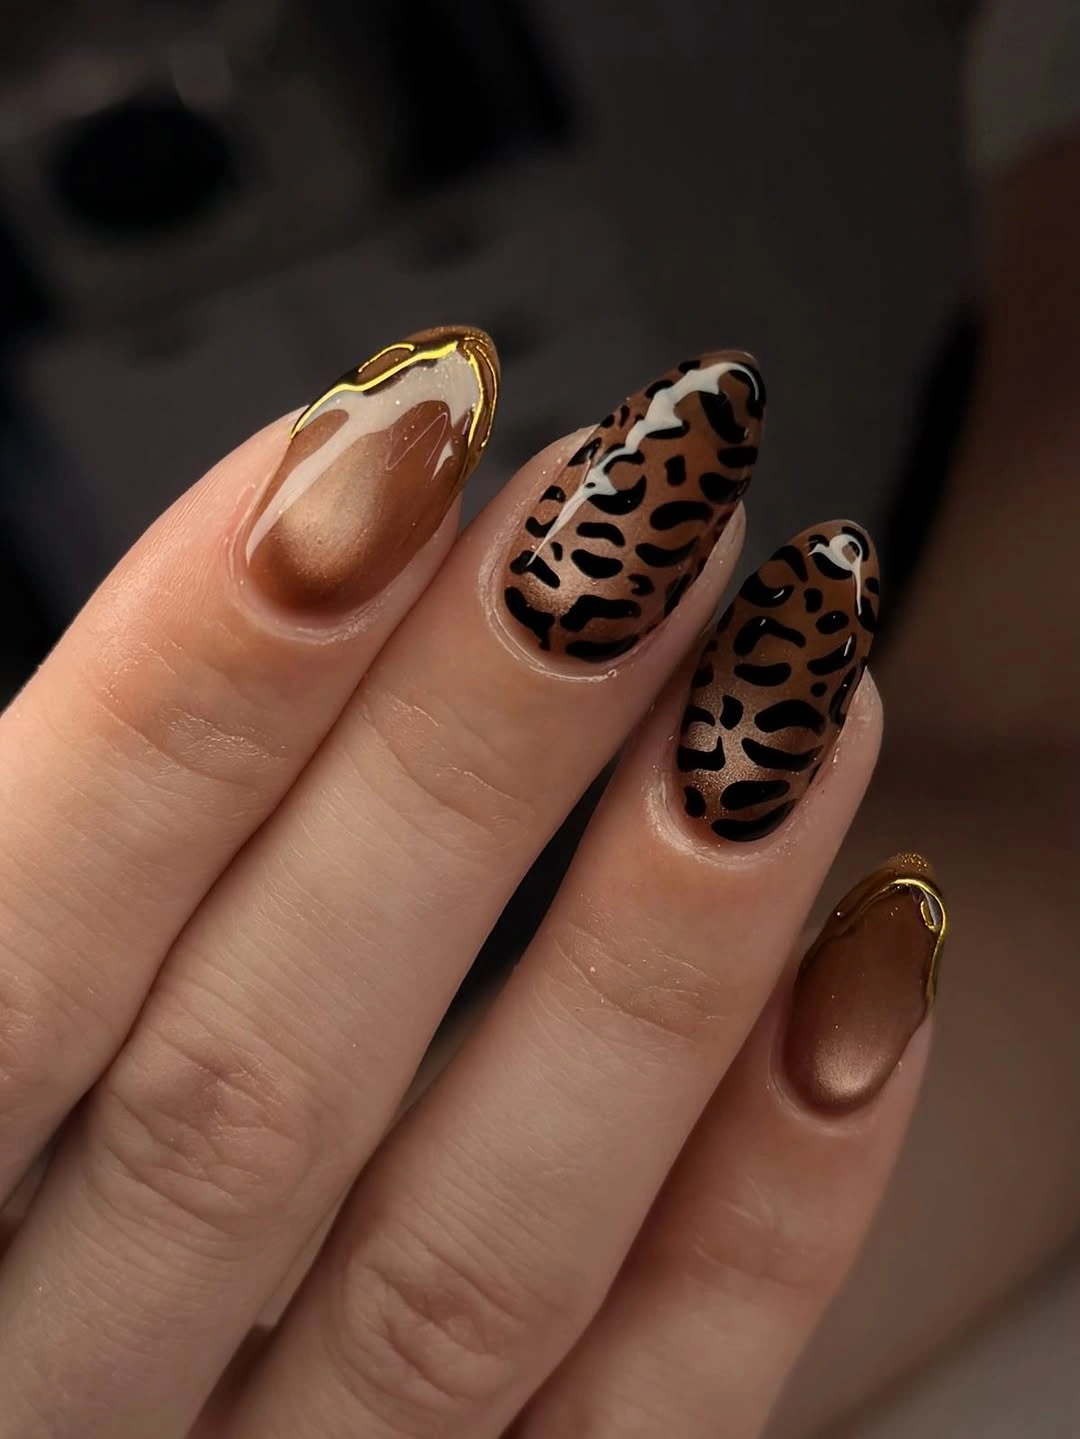
Try one spotted accent nail beside plain brown almond nails when a full print feels too busy. You can also move the gold-looking line to the side of one nail rather than framing every spot, preserving the warm contrast while letting the brown remain the main color decision. The outline is most effective when it follows the nail instead of crossing over the spots and interrupting their rhythm.
Dark outlines need clean spacing, and the print can look crowded on a much shorter nail if the spots are too large. The design is easiest to maintain when the almond still has enough surface for the marks to breathe; a soft brown solid on the other fingers makes a small correction less obvious. A plain neighboring nail gives the eye a place to reset before it meets the next outlined panel.
Pointed Brown Nails With Leopard-Like Borders
Long pointed nails combine a dark brown base with pale leopard-like panels and slim gold-looking borders that follow the nail shape. The vertical outline reinforces the point and gives the organic pattern a crisp frame, creating a useful tension between a soft animal-inspired motif and a silhouette that is deliberately sharp.
Reduce the design to one outlined accent on a short square or oval set while keeping the dark brown base. That translation keeps the visual idea legible without asking every nail to carry a narrow border, and it makes the look easier to pair with a plain coat or a simple dark outfit. The cooler silver also gives the set a sharper fall mood than the warmer brown ideas that came before it.
The narrow tip leaves little room for imperfect line placement, and the long shape carries a strong practical commitment. If you already prefer fall long nails, keep the remaining fingers solid so the border remains a focal detail rather than competing with several high-maintenance surfaces. Keeping the accent isolated lets the pale metallic finish remain useful rather than turning every nail into a separate statement.
Silver Almonds With One Abstract Black Accent
Several medium almond nails are smooth silver or pearl grey, while one accent shows black-and-white curved artwork and another carries a small raised-looking detail. The quiet metallic base gives the illustrated nail enough contrast without needing decoration on every finger, so the hand feels edited rather than overloaded.
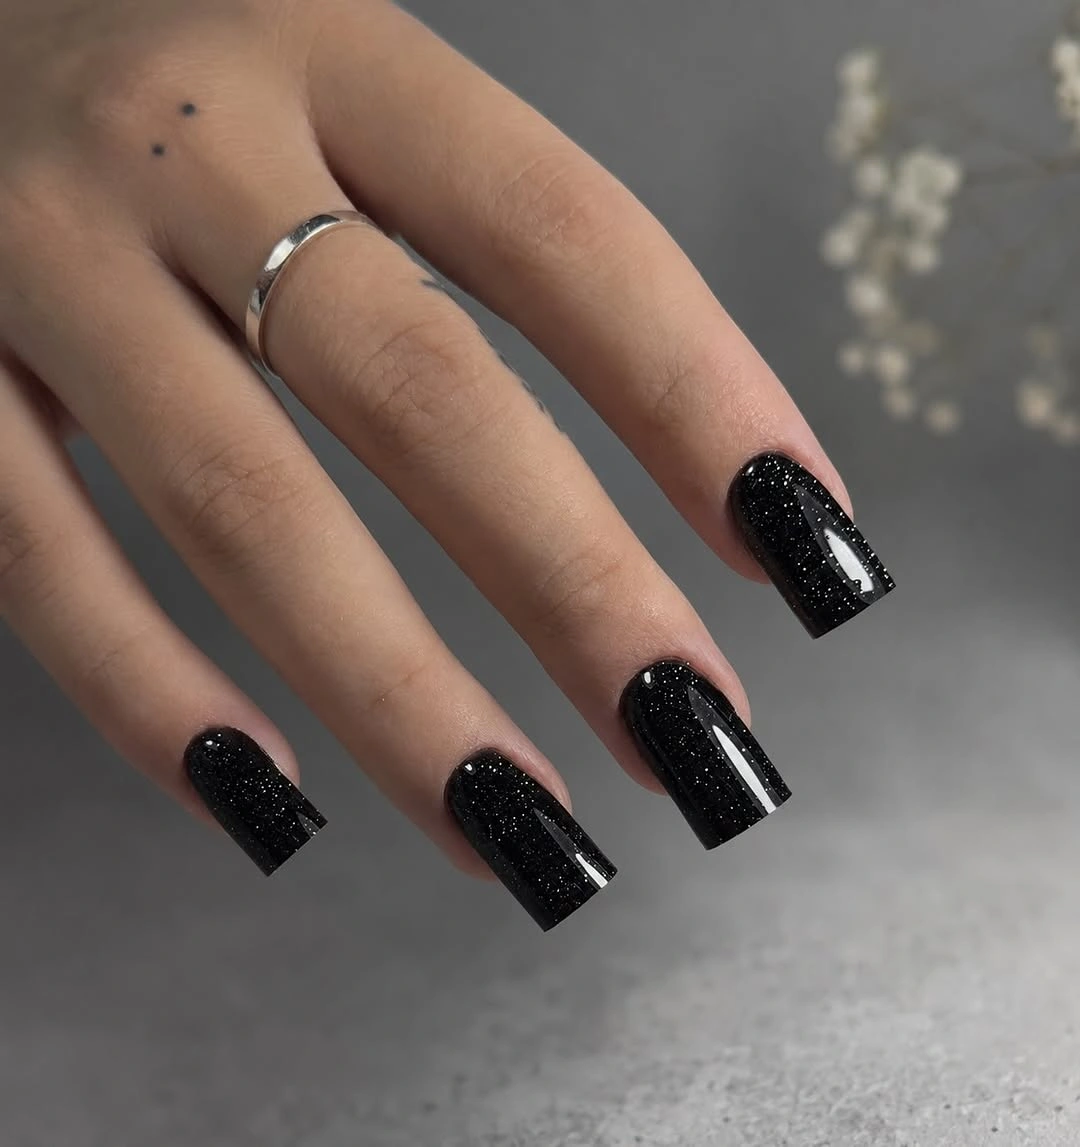
Keep one black-and-white accent and use a plain silver-grey finish on short almond nails for a calmer version. The lighter base can also shift toward soft grey if you want the graphic mark to feel less stark, but retaining one clear accent preserves the contrast that gives the set its identity. The grey surface can therefore support a small graphic decision without needing a second color family across the hand.
A pale metallic surface can reveal scratches and uneven texture more readily than a flat dark shade. Keep the reflective nails shorter if you handle fabric or screens often, and avoid adding more raised elements simply to fill empty space; the open silver surface is part of the balance. A restrained accent is especially helpful when the nail shape already supplies a strong directional line.
Pearly Grey Points With a Sketch-Like Detail
Long almond-to-stiletto nails alternate pearly grey surfaces with a black-and-white abstract accent that curves across one nail, plus a small pale detail on another. The mostly quiet palette makes the illustrated nail the focal point, while the pointed shape keeps the composition directional even though the colors themselves remain restrained.
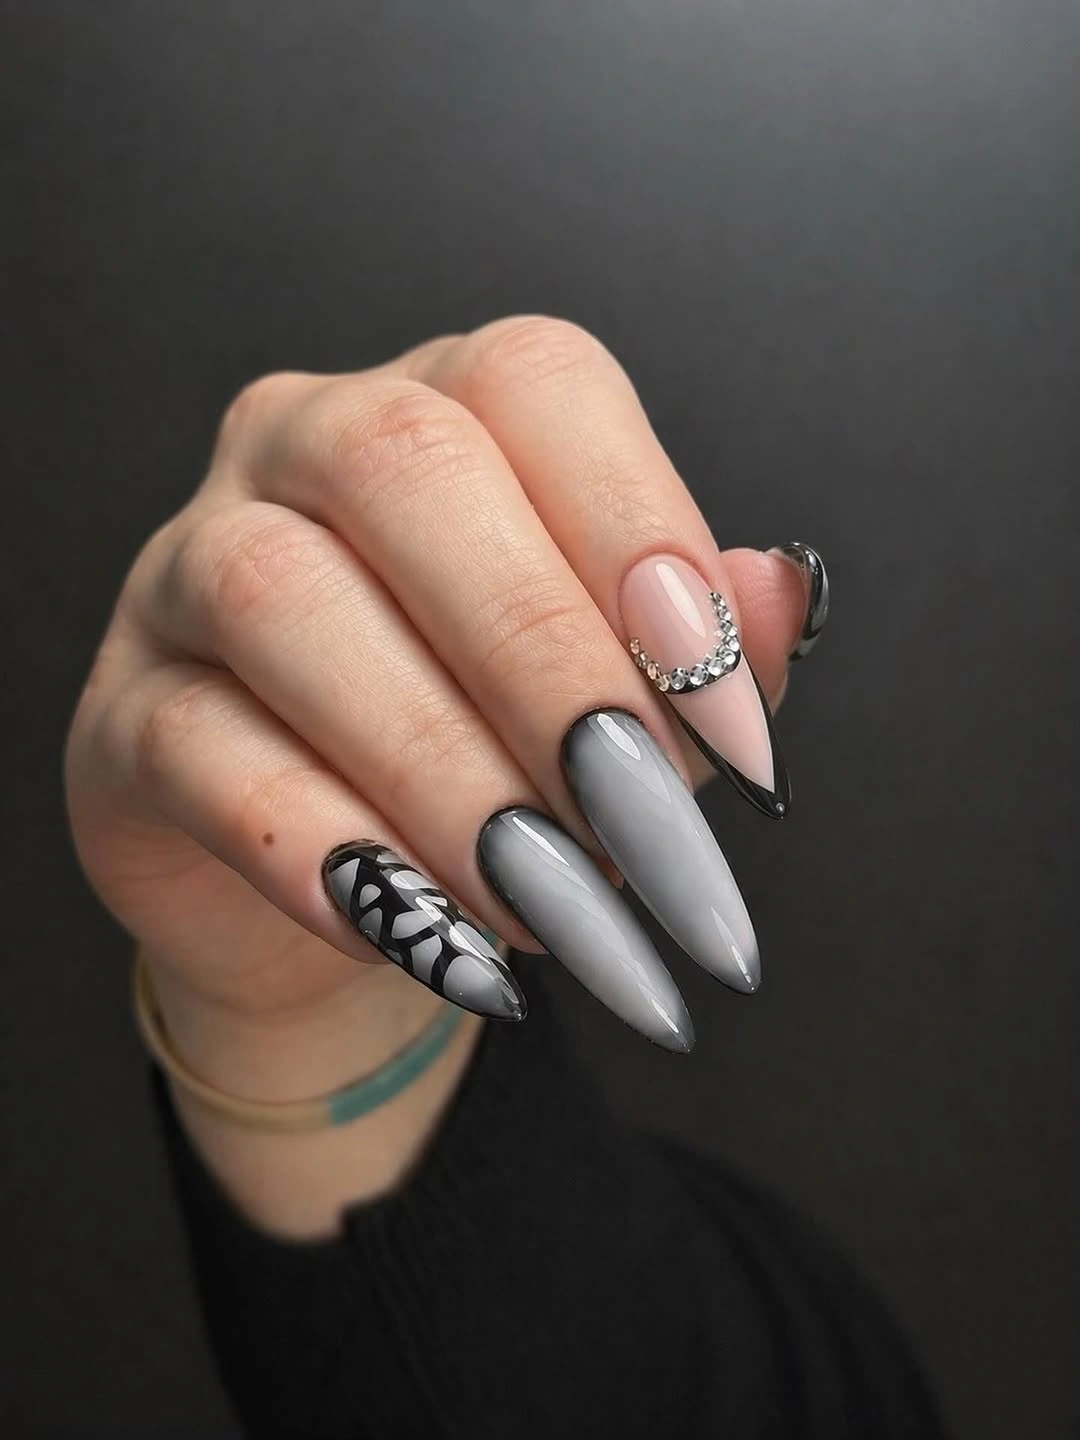
Place the sketch detail on one medium oval nail and leave the rest grey for a more wearable translation. This keeps the art-led idea but gives the eye more clean surface, and it also lets the shape look intentional without asking the linework to carry the entire hand. The absence of artwork makes the quality of the curve and the consistency of the shine unusually important.
The sharp length and pale finish are less forgiving of tip wear or dense accent placement. If you like the quiet palette, the shape can be shortened first; if you like the point, use fewer illustrated lines so the manicure remains readable as it grows out. That is why a shorter outline can feel like a style adjustment rather than a compromise in the visual idea.
Glossy Black Almonds Let Shape Do the Work
Medium-long almond nails appear nearly black and glossy, with curved surfaces catching clean light and no dominant motif visible. When the color is this deep, the almond outline and reflected highlights become the design, giving the set a controlled finish that feels intentional precisely because it refuses to add another focal point.
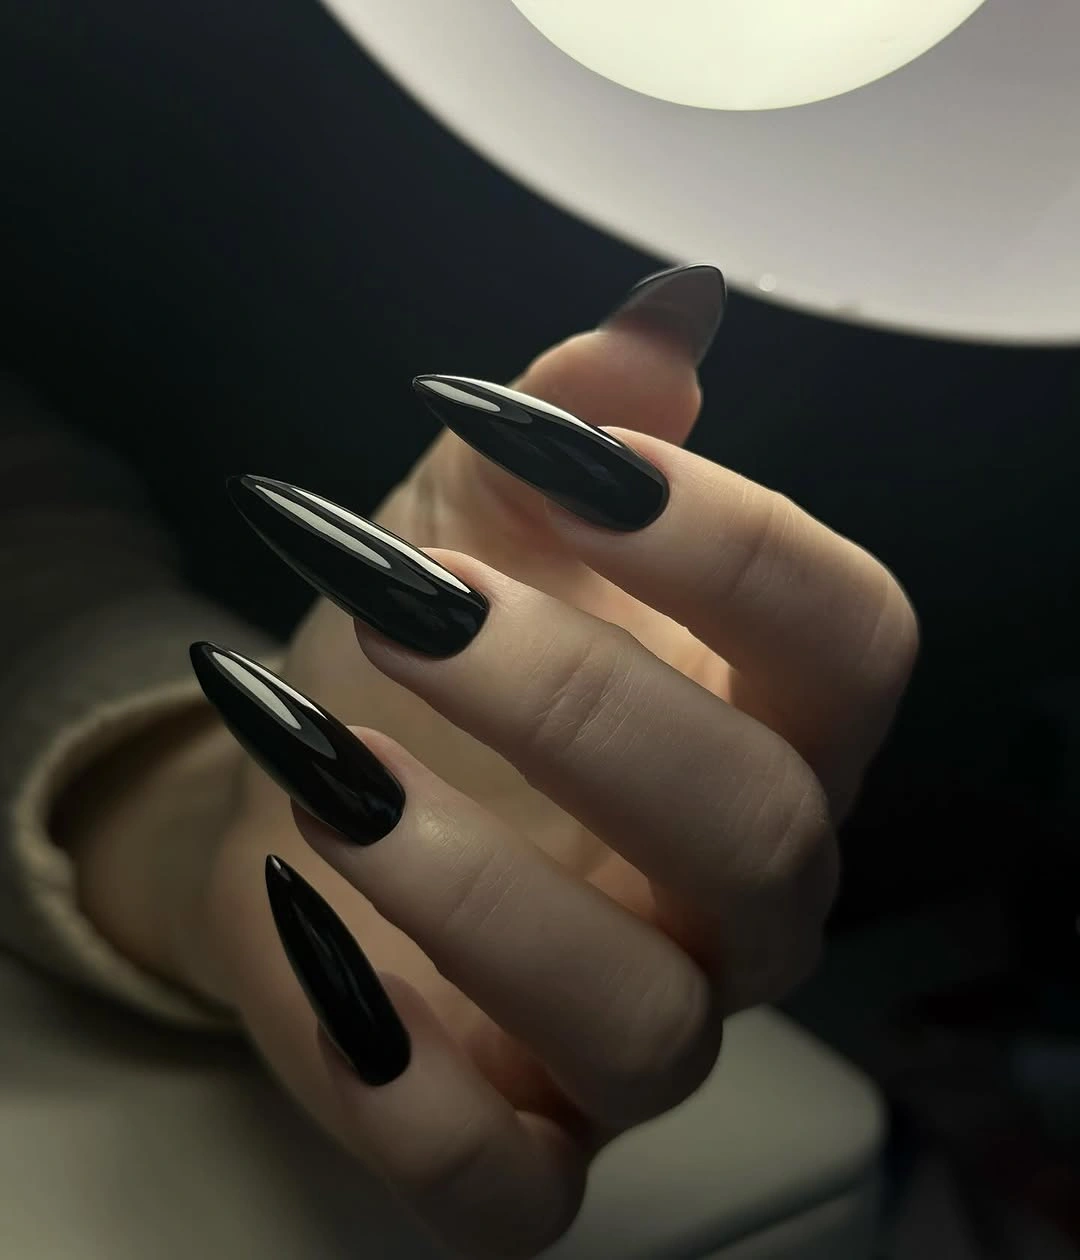
Shorten the almond shape and keep the same single dark tone if you want the mood without a dramatic silhouette. You can also vary only the shine by leaving one nail slightly more reflective, but a plain set works best when the outline is even and the cuticle area stays visually tidy. The black surface also makes the reflected light look more sculptural, even though the manicure has no painted motif.
Very dark glossy color makes chips and tip thinning obvious, especially on a plain set. The finish pairs well with the practical shape comparisons in short almond nails, where the same depth can feel lighter simply because less length is competing with the color. With fewer points to manage, the color can stay the main event instead of becoming background for an overly ambitious shape.
Black Stiletto Nails With Sleek Center Highlights
Long black stiletto nails are smooth and reflective, with narrow highlights tracing the center of each pointed surface and no added motif. The repeated reflection creates rhythm across the hand, so the severe point reads as intentional even without artwork; the interest comes from how the light moves along the silhouette.
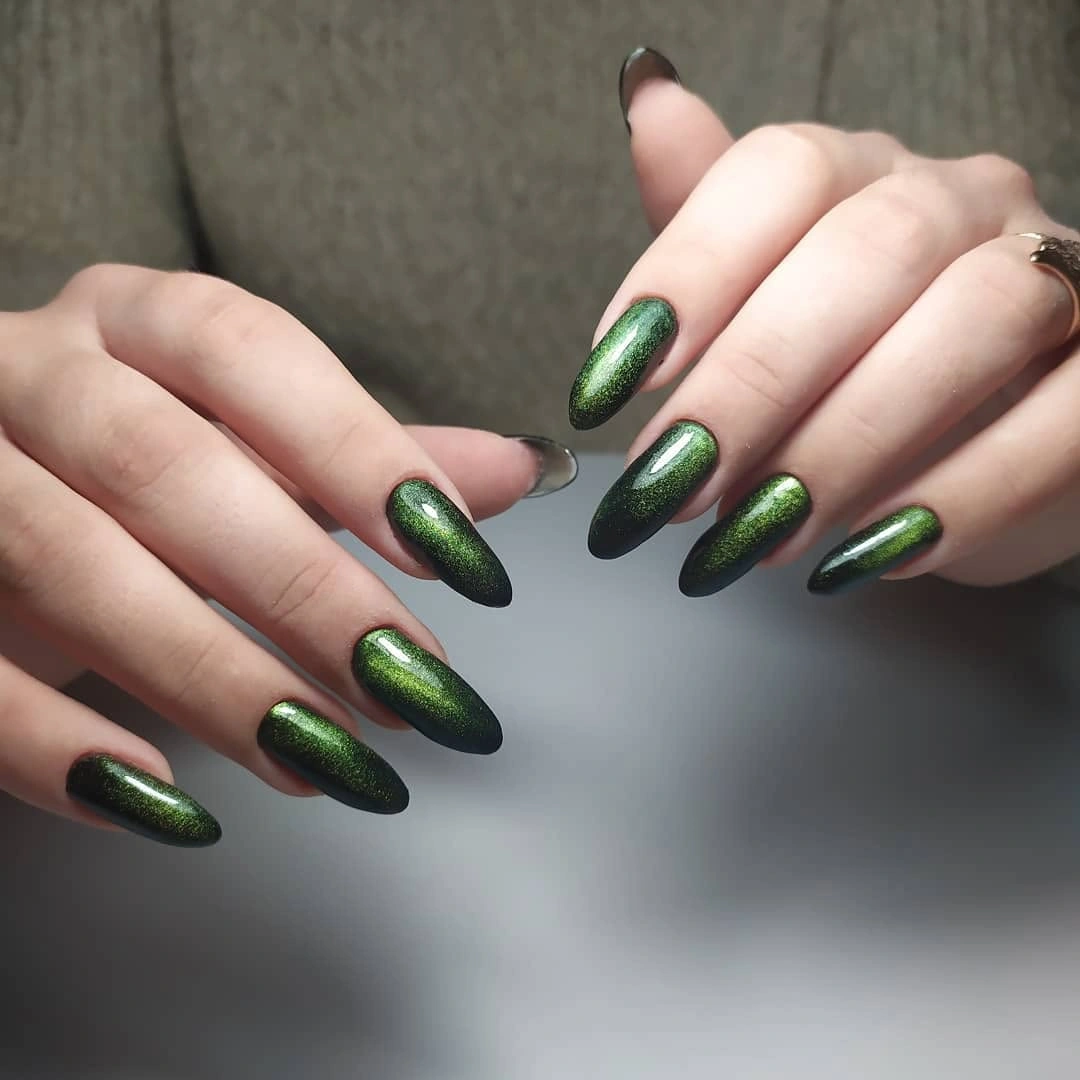
Use a black glossy finish on medium almond nails to keep the reflective depth while lowering the silhouette commitment. This is also a good place to resist adding glitter or linework: the clean center highlight already provides a focal path, and extra decoration would blur the distinction between shape and surface.
The pointed length is visually dominant and can feel less practical than the minimal surface suggests. Keep the tip shorter if typing, cooking, or handling delicate fabric matters more than the sharp outline; the dark reflection will remain visible even after that adjustment. The deep shade remains the anchor, while the green reflection adds enough change to stop the set from feeling static.
Emerald Points With a Smooth Color Shift
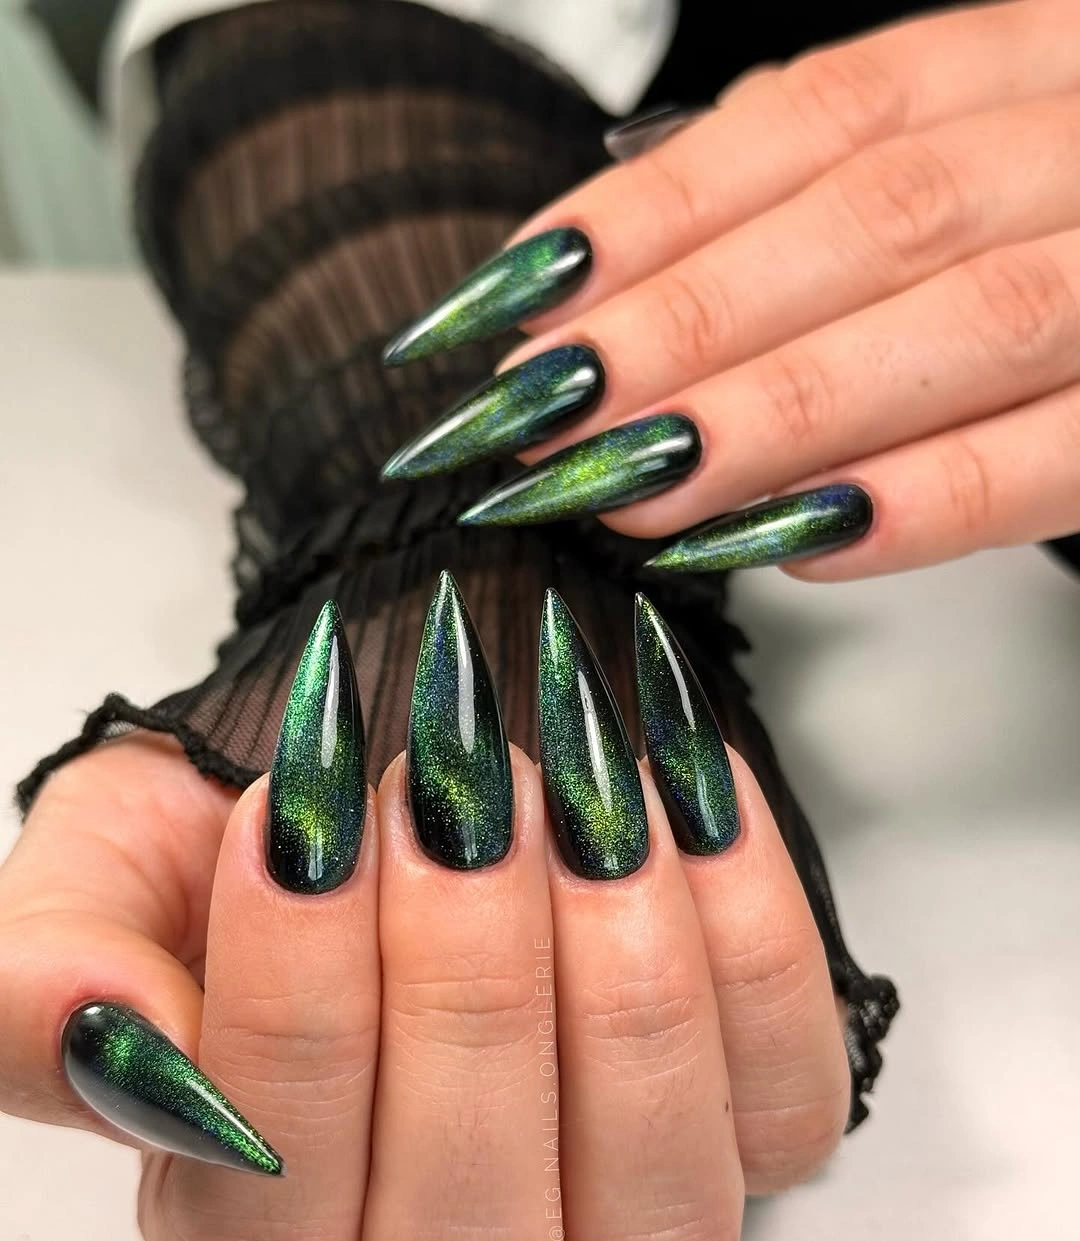
Long almond or pointed nails move between deep green and blue-green highlights, with a smooth reflective surface and no visible linework. Color movement replaces decoration, letting the silhouette act as a clean frame for the changing green; the manicure gains depth from light rather than from added motifs or contrasting marks.
Translate the same deep green shift onto a medium almond shape for an easier everyday proportion. If the color feels too cool, a darker forest base can keep the reflective change readable while making the overall effect less bright, and a plain finish on every nail will preserve the calm structure.
Long pointed tips carry more practical commitment even when the manicure itself is visually simple. The color may hide tiny marks better than pale silver, but the shape still deserves an honest wearability check before you treat it as an everyday option. The set benefits from editing because each accent has stronger impact when it is surrounded by related, quieter tones.
Green Reflective Almonds With Consistent Shine
Medium-long almond nails repeat a bright green reflective finish across the hand, with darker edges and a soft luminous center. The matching surface gives the set a clear rhythm, while the almond shape keeps the strong color from feeling rigid; there is no extra motif competing with the finish. A simpler version still feels seasonal because the combination of depth, shine, and one warm note carries the mood.
Keep the green on short oval nails and let the shine provide the interest instead of adding art. That proportion works when you want a saturated seasonal color but need the manicure to sit quietly beside rings, patterned sleeves, or a wardrobe that already has a focal point. That balance makes the set easier to understand at a glance and more adaptable to a shorter, everyday shape.
A uniform reflective finish shows uneven application and tip marks more clearly than a textured design. If the shine starts looking too bright, changing the shape or choosing a deeper green is more coherent than layering on random accents that would weaken the clean color decision. The single dark tone also leaves room for rings or sleeves without creating a second competing focal point.
Eclectic Turquoise, Gold, Pearl, and Burgundy Mix
The set mixes nude, burgundy, dark green, turquoise, black-and-white spots, gold swirls, and small pearl-like or metallic accents across different nails. The repeated deep tones act as a visual thread, allowing several motifs to coexist without making the hand look entirely disconnected, but the composition works because each accent occupies a different role.
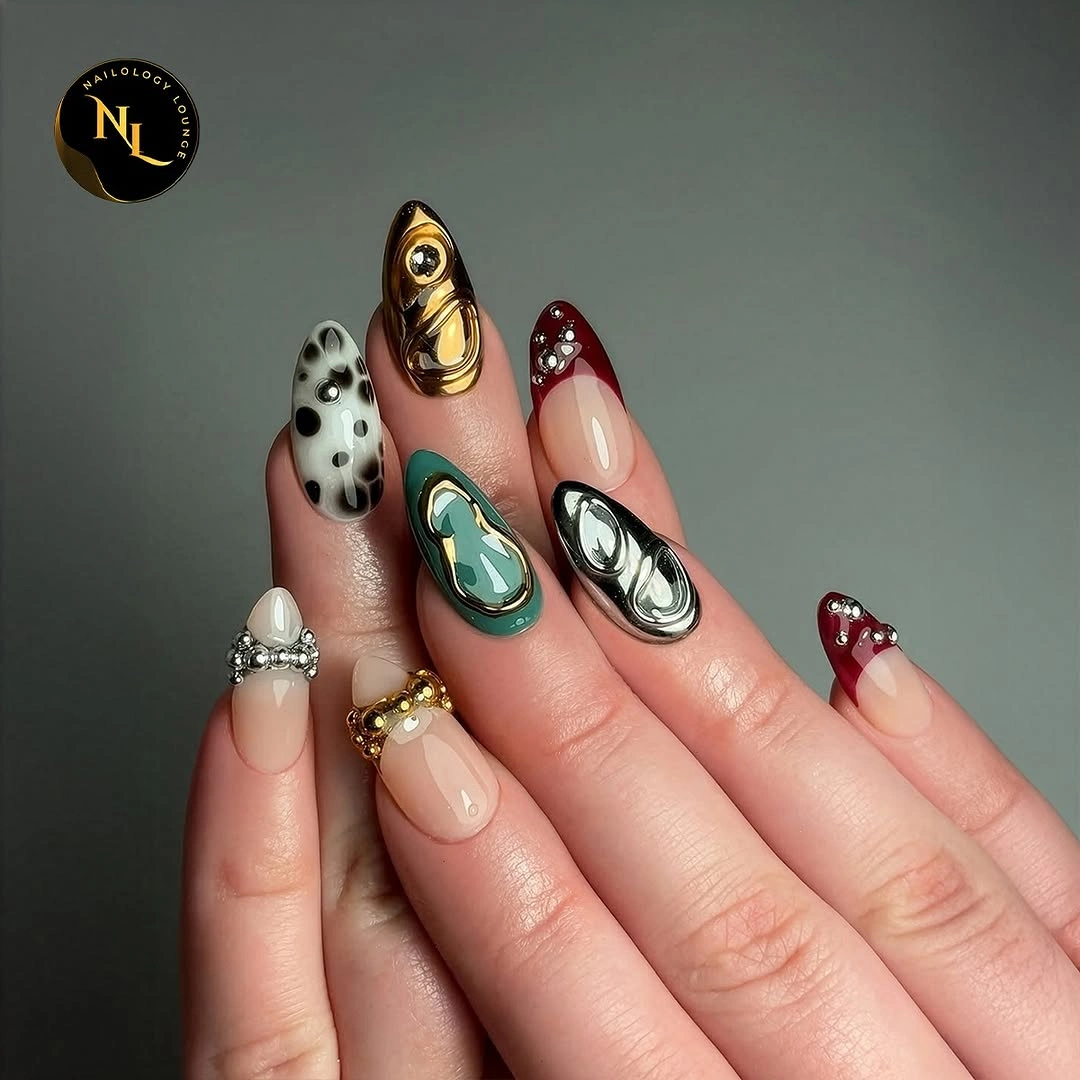
Choose two accents – one turquoise or green detail and one gold or spotted nail – beside plain burgundy nails. This keeps the color conversation while removing the need to repeat every motif, and it gives the remaining fingers enough quiet surface to make the selected details feel deliberate. The red center is therefore more than a color change; it is a line that gives the almond silhouette a visual direction. A flatter finish can also be compared with fall matte nails when the goal is depth without extra shine.
Many finishes and motifs raise the upkeep burden and make a single damaged accent more noticeable. Use the mixed set for a statement occasion or keep the palette but reduce the number of raised-looking pieces; a restrained edit will usually outlast an attempt to preserve every visible idea. A quiet hand around the glowing nails helps the reflective transition stay clear rather than dissolving into general sparkle.
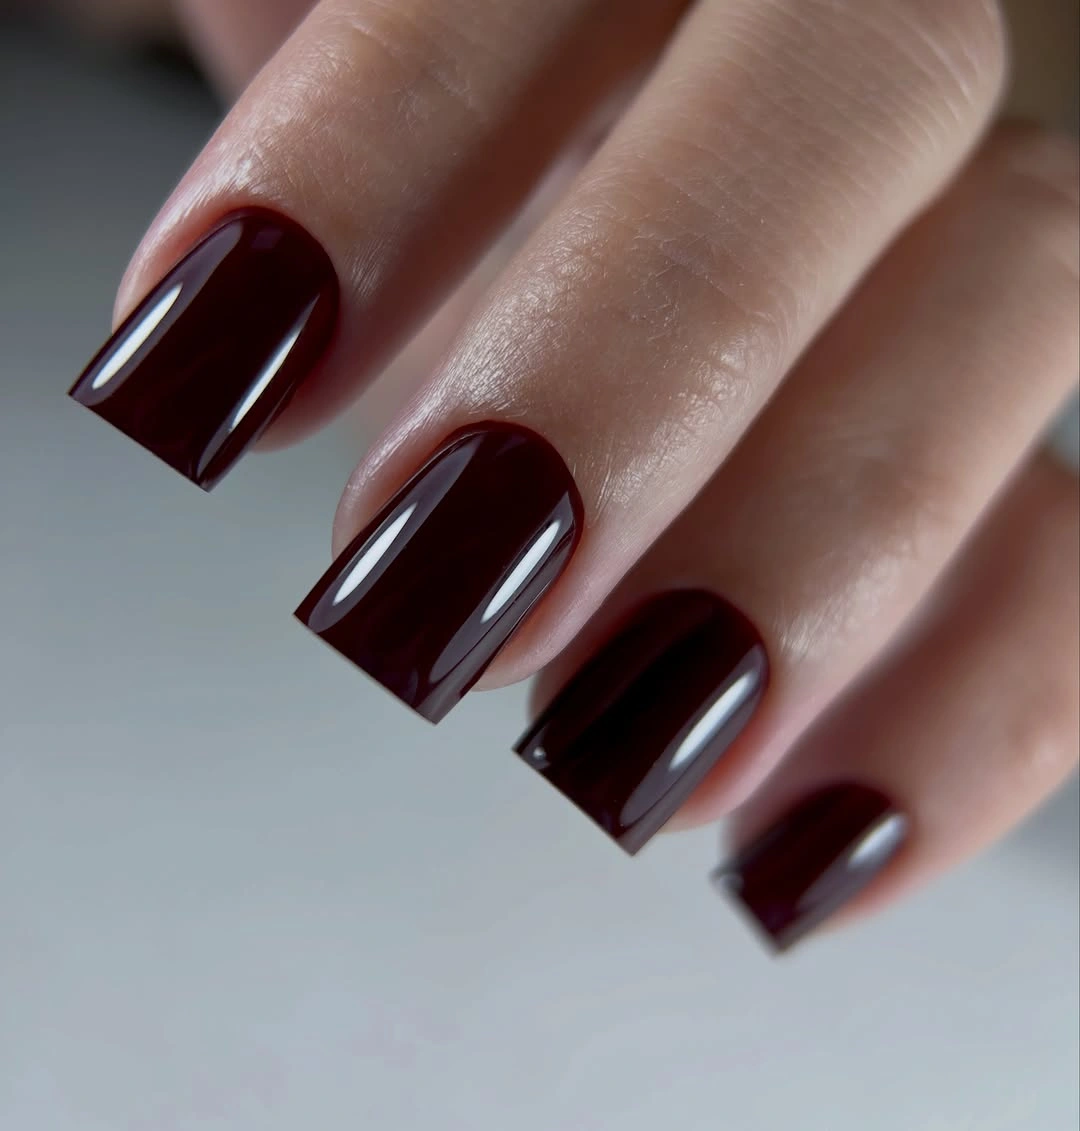
Deep Burgundy Almonds With Clean Gloss
Medium almond nails are coated in a very dark burgundy-red tone, with smooth highlights and no visible motif or contrasting accent. The shape softens the darkness, while the single color keeps attention on depth and shine rather than decoration; it is a useful reminder that a fall palette can feel finished without an elaborate pattern.
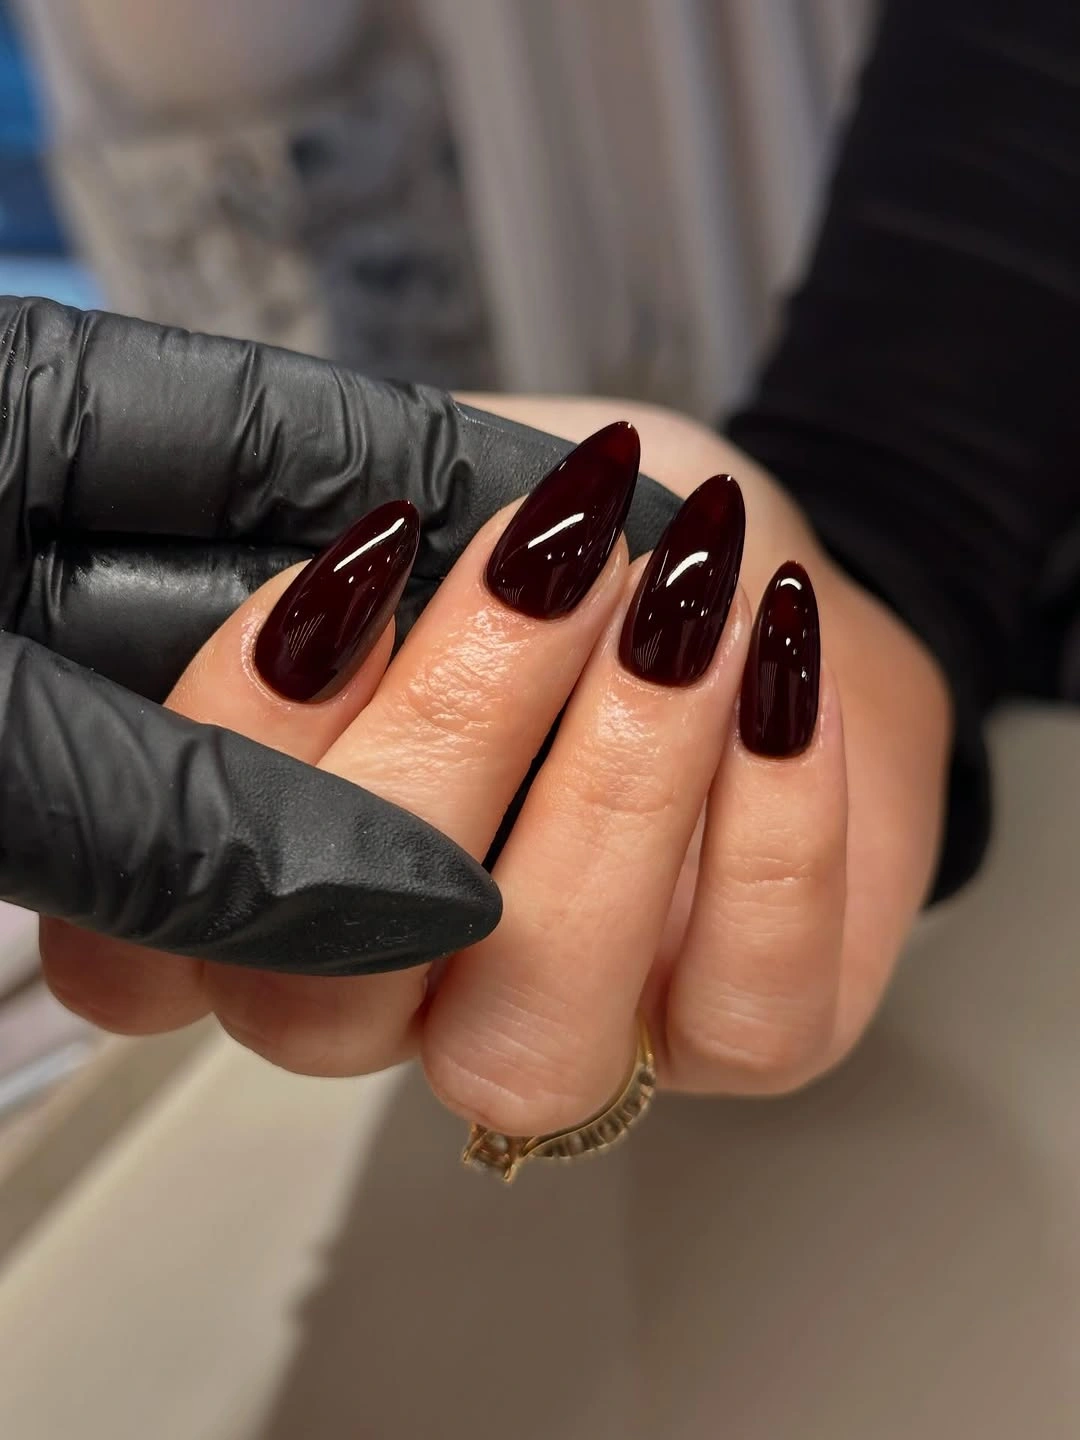
Use the same burgundy on short round or oval nails when you want the shade to carry the entire look. A slightly warmer wine tone can make the hand feel softer, while a cooler near-black version will sharpen the contrast; in either case, keep the surface clean so the shade remains the central decision.
A dark solid finish makes tip chips and regrowth easy to see because there is no pattern to disguise them. That is the tradeoff for the quiet surface, but it also means a small repair or shorter filing can restore the manicure without needing to recreate complicated art. The black border is important because it keeps the red from spreading visually beyond the point and losing its shape.
Burgundy Black Almonds With a Red Glow
Long almond nails use a deep burgundy-black base with a warm red reflective center that appears elongated through each nail. The centered glow creates depth inside the dark color and gives the eye a path down the almond shape, so the manicure feels dimensional without adding a painted motif or a separate accent color.
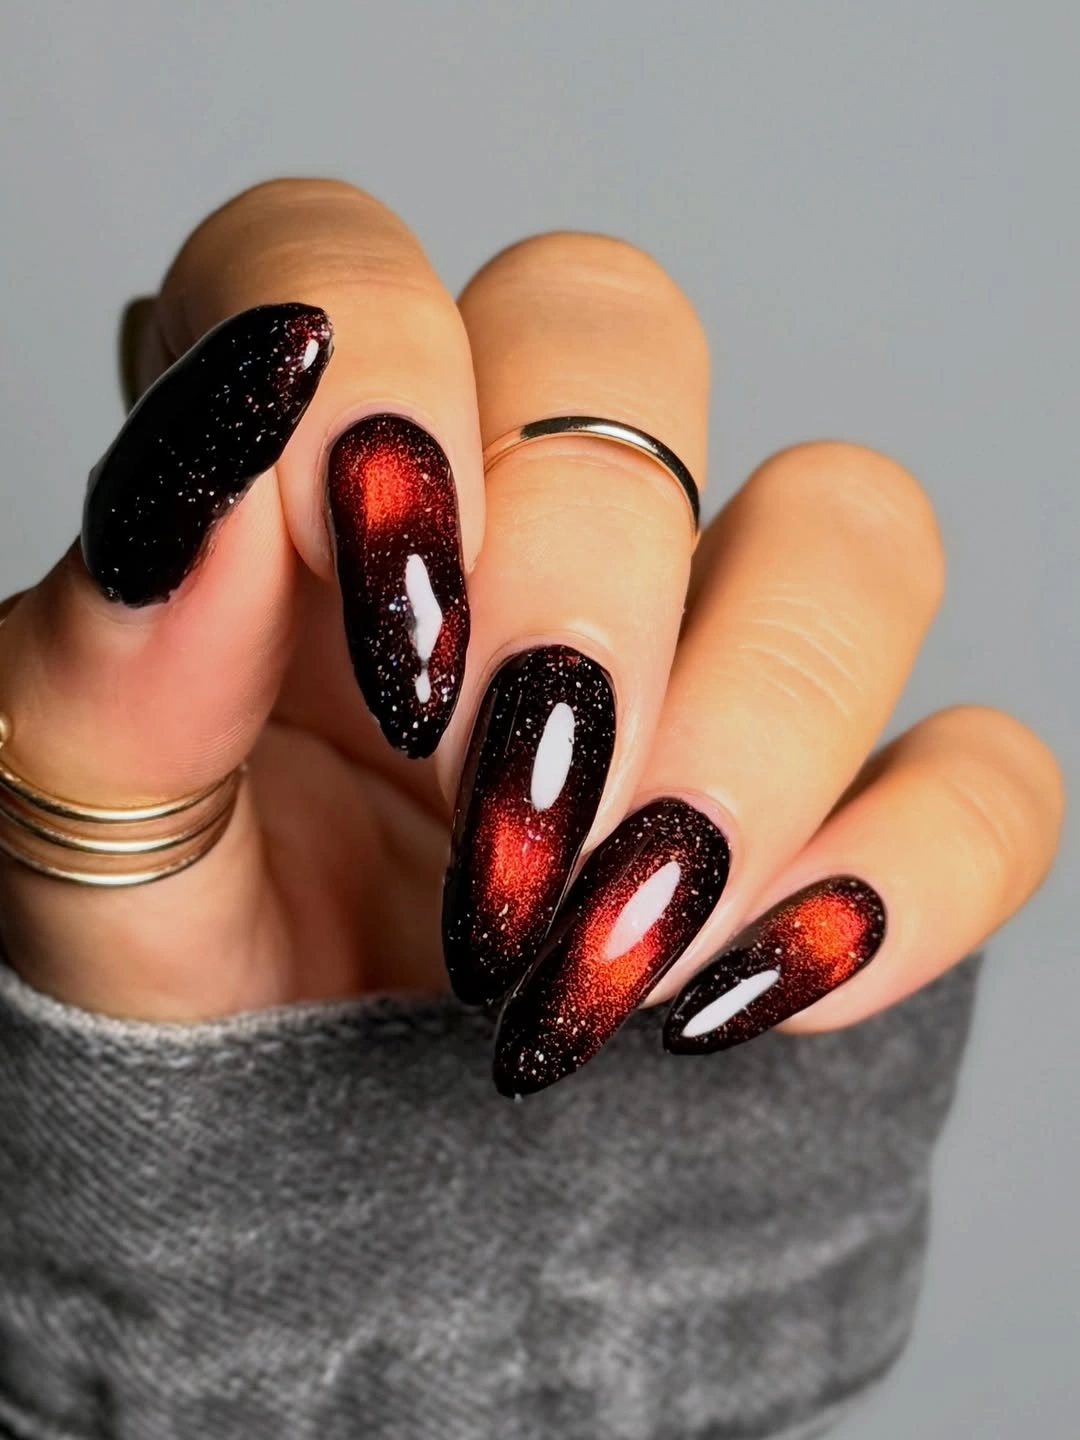
Keep the glow on medium almond nails and avoid extra art so the center remains the focal point. If you need a quieter version, soften the red toward berry or place the reflective band on two nails only; the visual logic survives as long as the dark edge remains visible. The stars work best as punctuation, not as a repeated pattern that would compete with the depth of the base.
A centered reflective band needs even placement to look balanced from nail to nail. Growth can shift the apparent center, and high shine will show surface inconsistencies, so the design rewards careful upkeep more than a forgiving textured finish would. A small adjustment in scale can make the same idea feel considered instead of overly precious.
Black Nails Lit by Red and Orange Centers
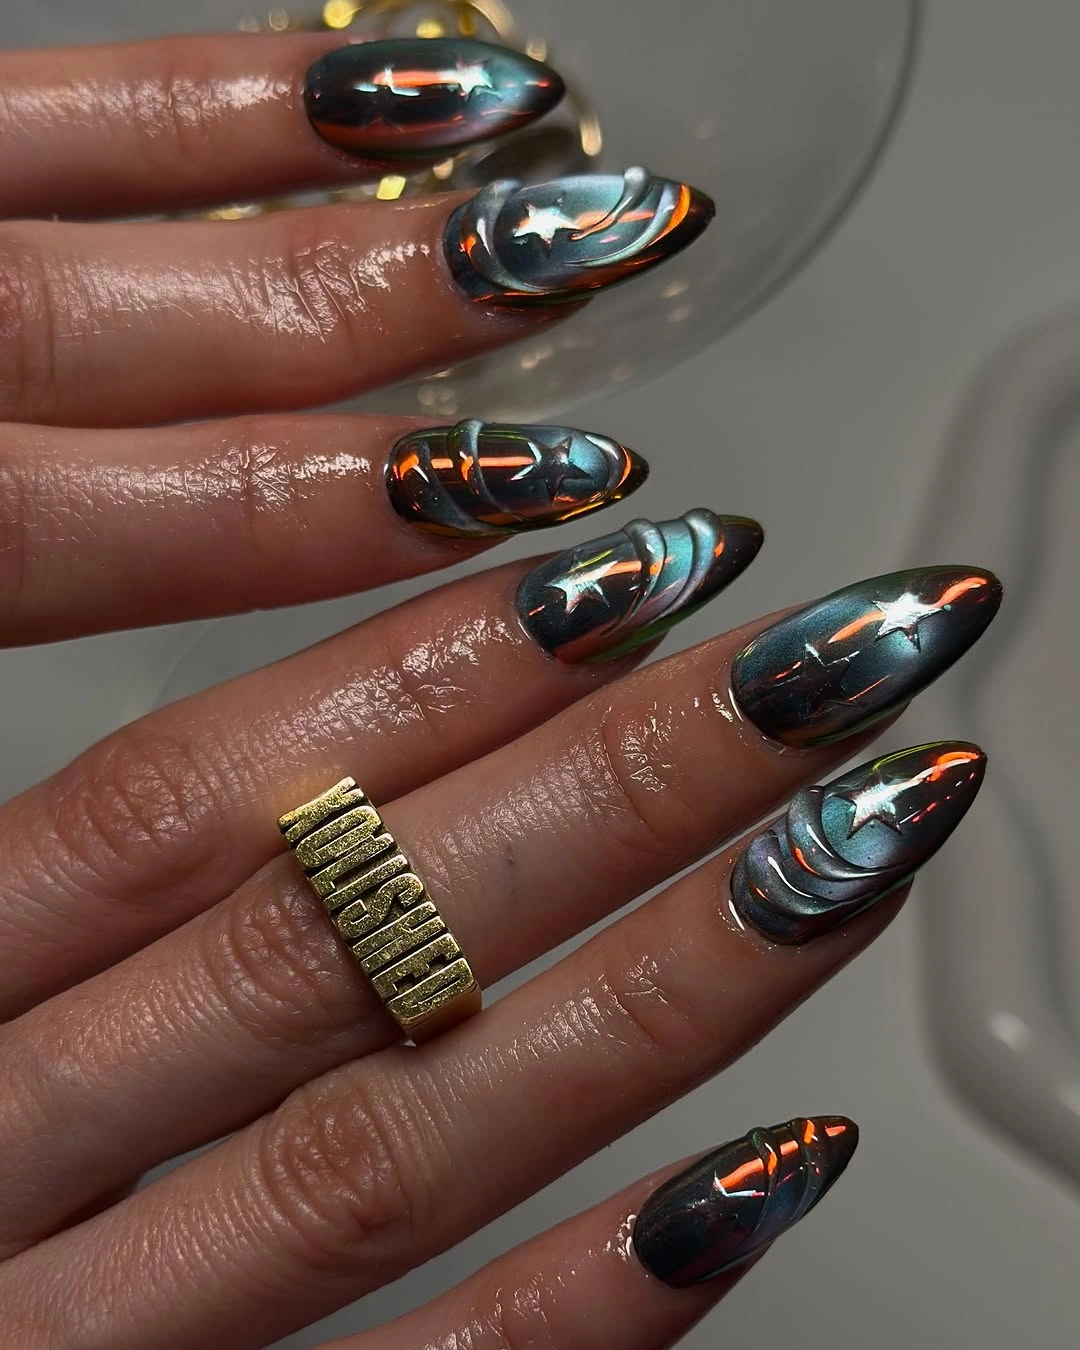
Long almond or pointed nails are mostly black, with bright red-orange reflective sections running through the middle and fading toward the dark edges. The high contrast makes the glow look almost inset, while the repeated placement keeps a saturated palette organized; the result is warmer and more luminous than a flat black manicure.
Use the red glow on two accent nails and leave the rest black for a lower-density version. A shorter almond can keep the same light-to-shadow transition, and a deeper red will make the effect easier to wear when you want the color to read as a quiet ember rather than a bright stripe. The swirls are most convincing when their differences look intentional and the burgundy remains visible underneath.
The dark-to-bright transition shows uneven placement and edge wear more readily than a flat shade. Keep the brightest area away from the sidewall if you want a little visual forgiveness, and remember that the glow is the feature – adding foil or glitter would make the hierarchy less clear. Leaving a couple of nails plain also makes the marbling easier to compare with the solid wine color.
Pointed Black Nails With Red Reflective Panels
Very pointed black nails carry vivid red and orange reflective panels that sit inside the dark outline, creating a strong light-to-shadow contrast. The black border protects the visual shape of the point while the inner color supplies one controlled focal effect, so the manicure feels sharper than the softer almond glow before it.
Shorten to an almond shape and place one red reflective panel on each hand for a less theatrical interpretation. That change preserves the contrast and lets the eye follow the color inside the nail, while removing some of the length that can make the original feel difficult to wear every day. The silver and black pairing keeps the look connected to fall shadow palettes while giving it a cooler, cleaner edge.
The extreme point and concentrated reflective detail create the highest silhouette and maintenance tradeoff in this sequence. If you keep the length, leave the rest of the hand visually simple; if you choose practicality, a shorter outline is a stronger adaptation than trying to reproduce every panel.
Black Almonds With Tiny Gold Star Details
Medium almond nails combine glossy black surfaces, fine glitter or textured shimmer, and small gold star-like details on selected fingers. The tiny marks punctuate the dark base without covering it, so the manicure stays readable at a shorter length and the sparkle remains a supporting texture rather than the entire story.
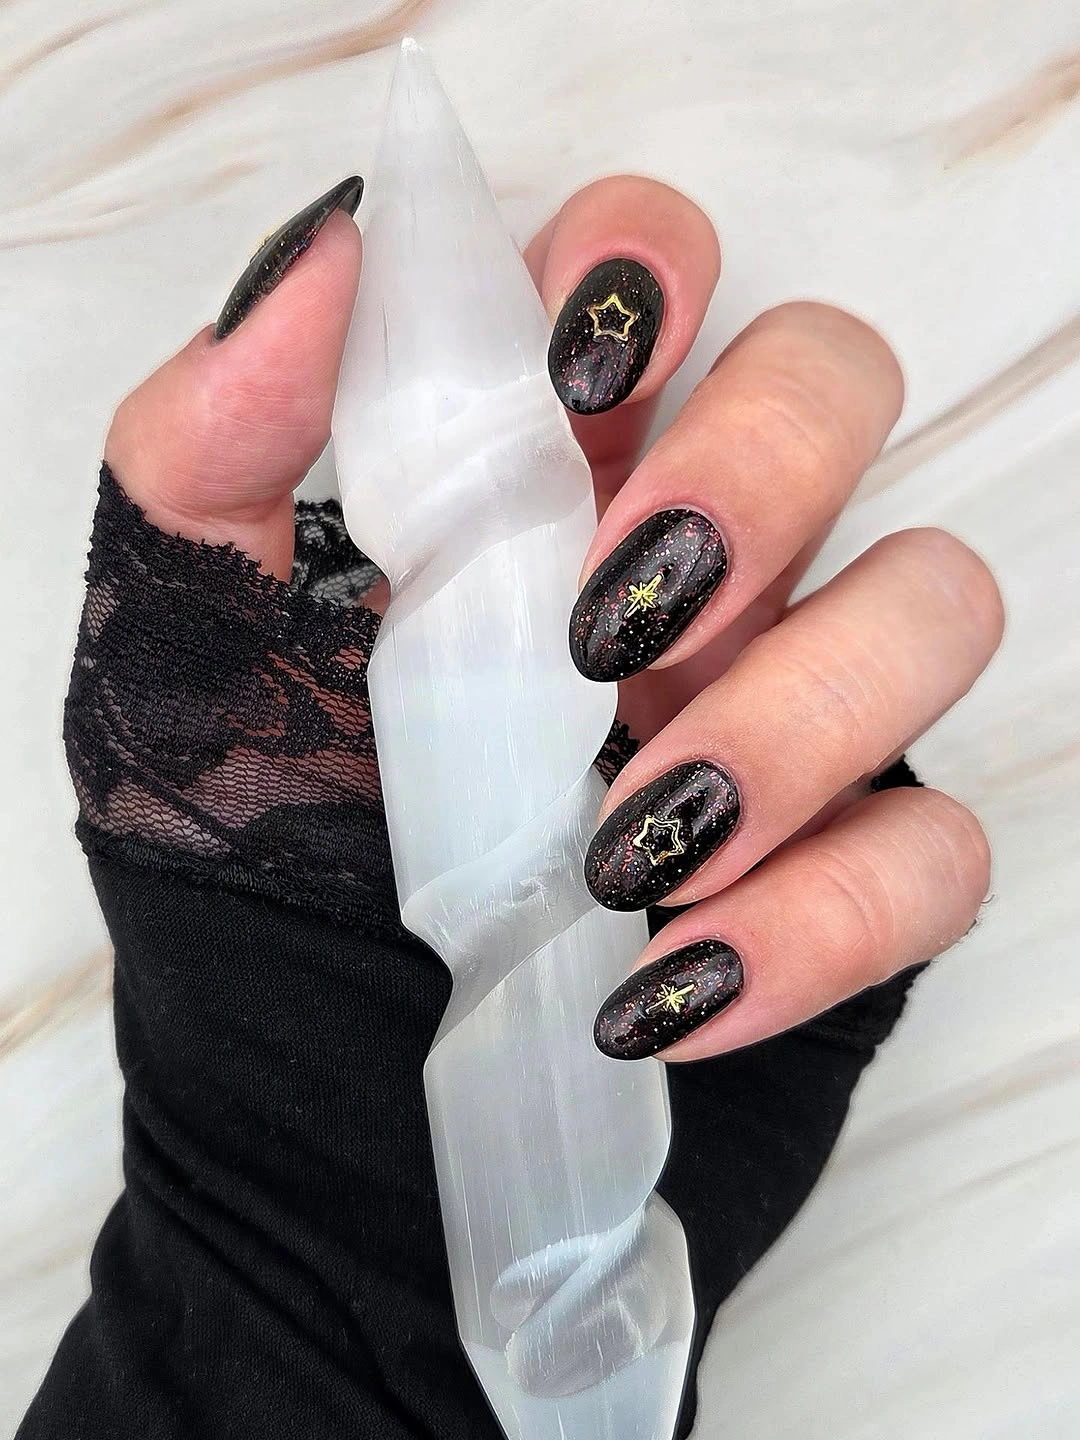
Place one star on a single accent nail and keep the rest black with a restrained shimmer. A small gold dot or short mark can replace the star when you want an even cleaner finish, while the dark base continues to give the hand the depth associated with a night palette. The narrow highlight can be read as a deliberate center line, which is why the shape should not be crowded with extra detail.
Tiny decorative marks can catch on wear and become less crisp as the surface grows out. The lower-density edit is useful because it makes repair easier and prevents small details from becoming the first thing you notice when the manicure loses its initial sharpness. The shorter proportion changes the practical feel without removing the reflective color movement that drew attention in the first place.
Burgundy Almonds With Layered Translucent Marbling
Almond nails use a dark burgundy base with lighter red and pinkish translucent swirls layered across several surfaces. The marbling keeps the dark palette dimensional and lets each nail vary slightly while the shared wine tones maintain cohesion; the curves add movement without pulling the design away from its deep color family.
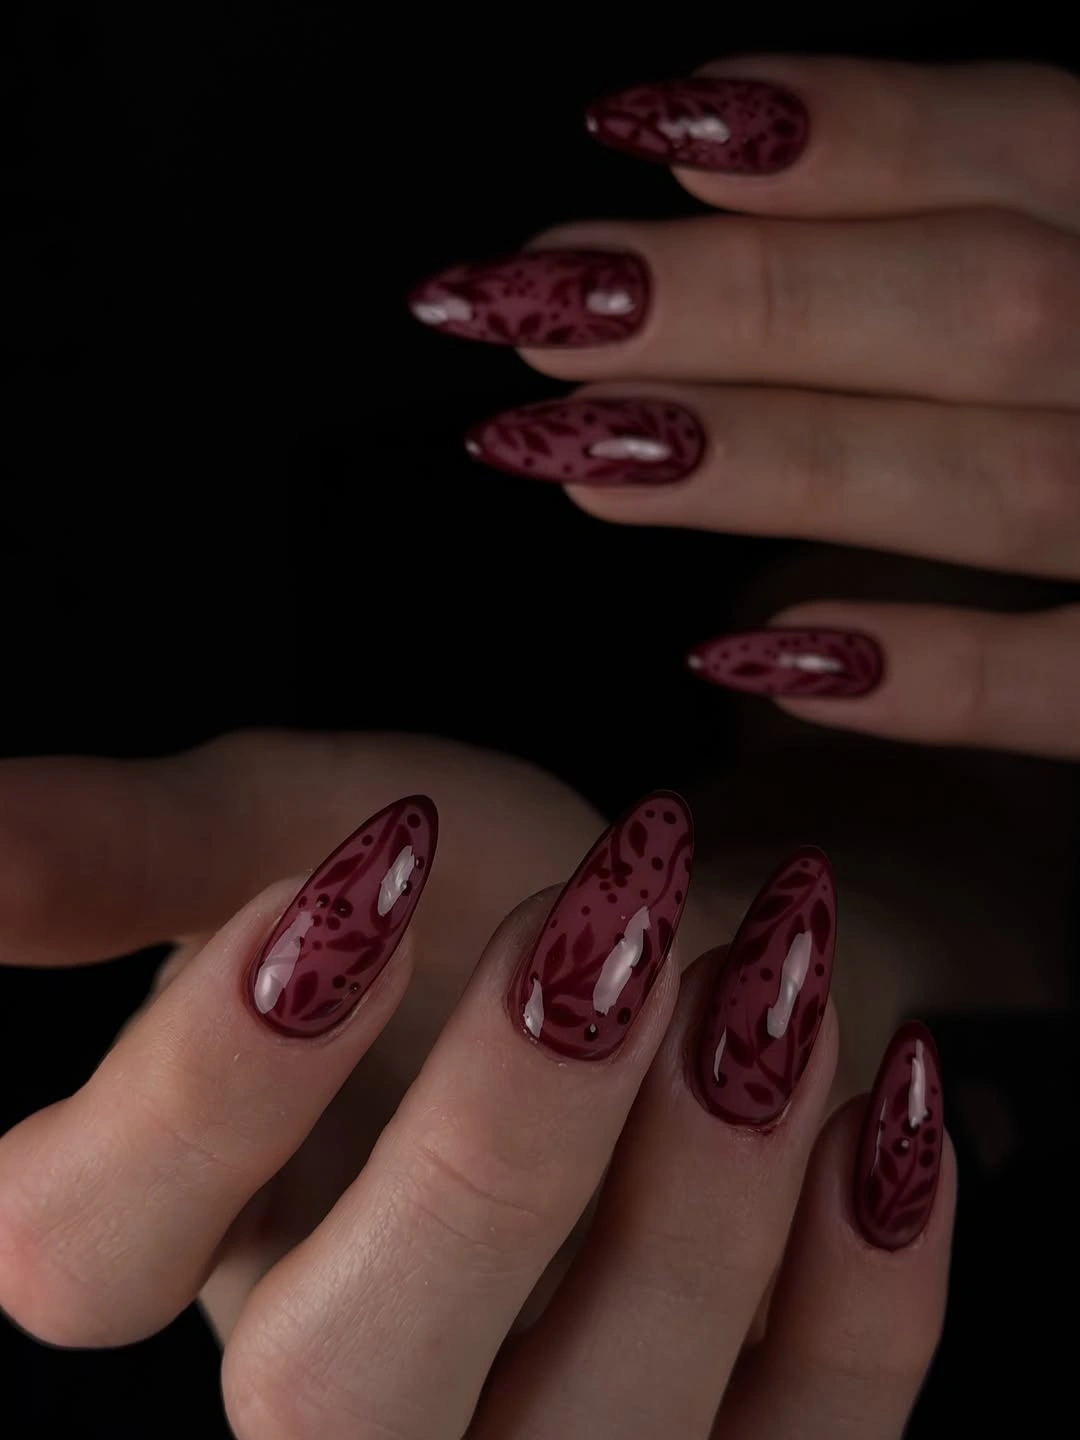
Use the marbled effect on two nails and keep the remaining fingers in plain burgundy for more negative space. That edit makes the swirls easier to read and allows a short almond to carry the idea without needing a large painted field on every nail. A limited selection of accents gives the eye a hierarchy and makes the strongest turquoise or gold detail easier to remember.
Fine swirls near the tips can look crowded after growth and may make small chips stand out. A simpler curved accent is easier to refresh than a full marbled set, particularly when the design includes several close wine tones that are difficult to reproduce exactly. The dark burgundy remains the visual base, so the composition can feel complete even when only one finger carries a special detail.
Wine Almonds With Fluid Red and Pale Curves
Long almond nails are built from a dark wine base crossed by irregular red and pale curved marks, with a glossy surface that catches narrow highlights. The curved lines follow the almond contour, giving the mixed colors a flowing rhythm instead of a blocky arrangement; the shape and linework are working together rather than competing.
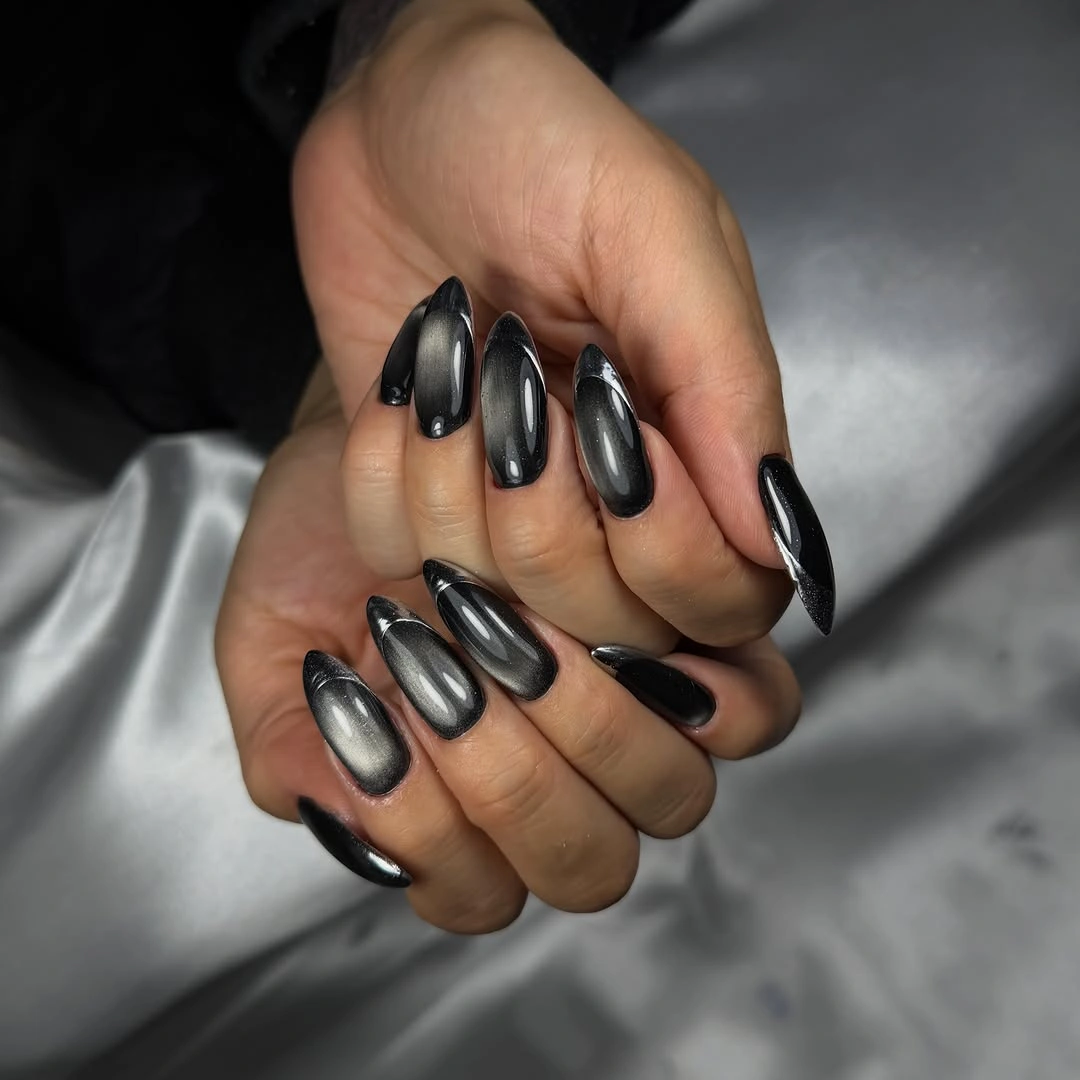
Keep only the pale-red curve on one or two nails and use a plain wine color elsewhere. You can also move the line closer to the center to leave a darker border, which keeps the nail visually long while reducing the amount of detail that must remain perfectly aligned. The warm glow is most readable when the surrounding black stays deep enough to act as a true frame.
Several overlapping curves make the design detail-sensitive as the nail grows out. The best practical compromise is to keep the wine base deep and the accent lines sparse; a crowded edge will lose clarity faster than a quiet centerline will. This is a look where silhouette, color, and reflection all ask for attention, so reducing one variable improves balance.
Black and Silver Chrome With Rounded Contrast
Medium almond-to-oval nails alternate smooth black and silver chrome-looking surfaces, with strong vertical highlights and no visible motif. The contrast between light and dark comes entirely from finish and placement, which keeps the design graphic but uncluttered and gives the hand a clear visual rhythm without relying on a printed pattern.
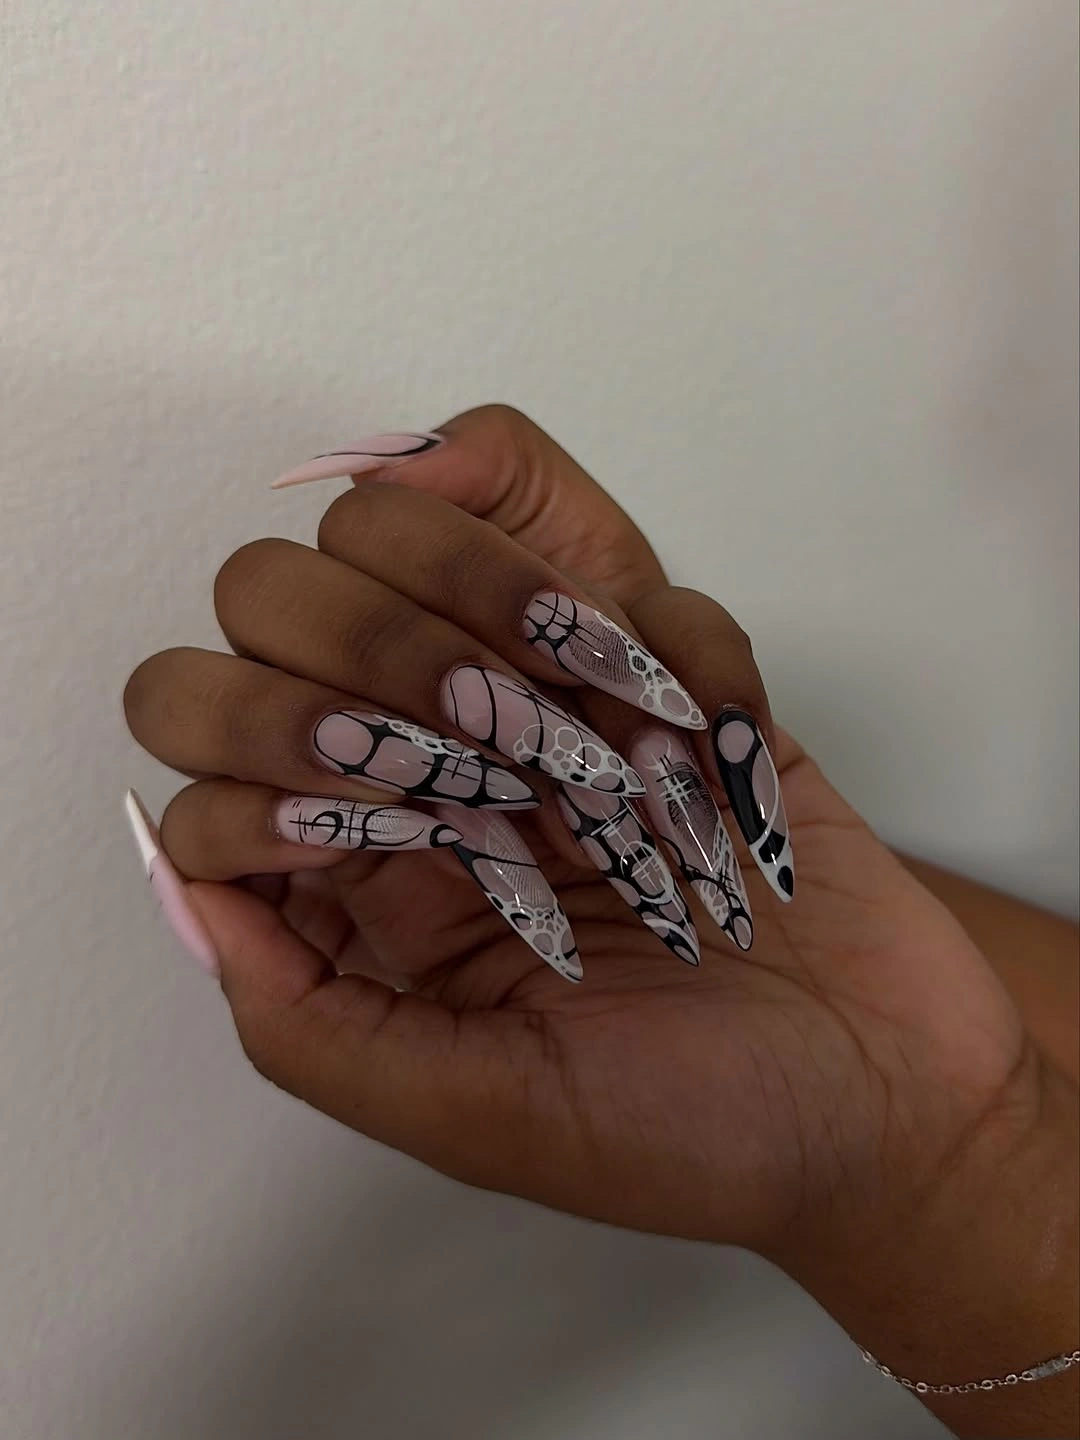
Use silver on one accent nail beside short black nails for a practical black-and-metal pairing. If the full alternation feels too stark, replace the silver with a smoky grey reflective finish; the important decision is still the change in value, not a particular product or technique. The wine family keeps the irregular movement coherent, even when the swirl on one nail is not identical to the next.
Chrome-looking surfaces can show fingerprints, scratches, and uneven reflection quickly. A shorter rounded shape reduces the exposed edge, and leaving a few nails fully black gives minor wear somewhere less conspicuous to sit while the silver remains the focal contrast. The pale marks add relief against the wine base, which prevents the darker color from swallowing the shape in low light.
Dark Metallic Nails With Steel Center Highlights
The nails appear medium-long and rounded, combining deep charcoal or black edges with smooth steel-grey reflective centers. The central highlight lengthens the nail visually and keeps the dark color from reading flat, while the rounded shape softens the effect enough to avoid the severity of the pointed silhouettes earlier in the row.
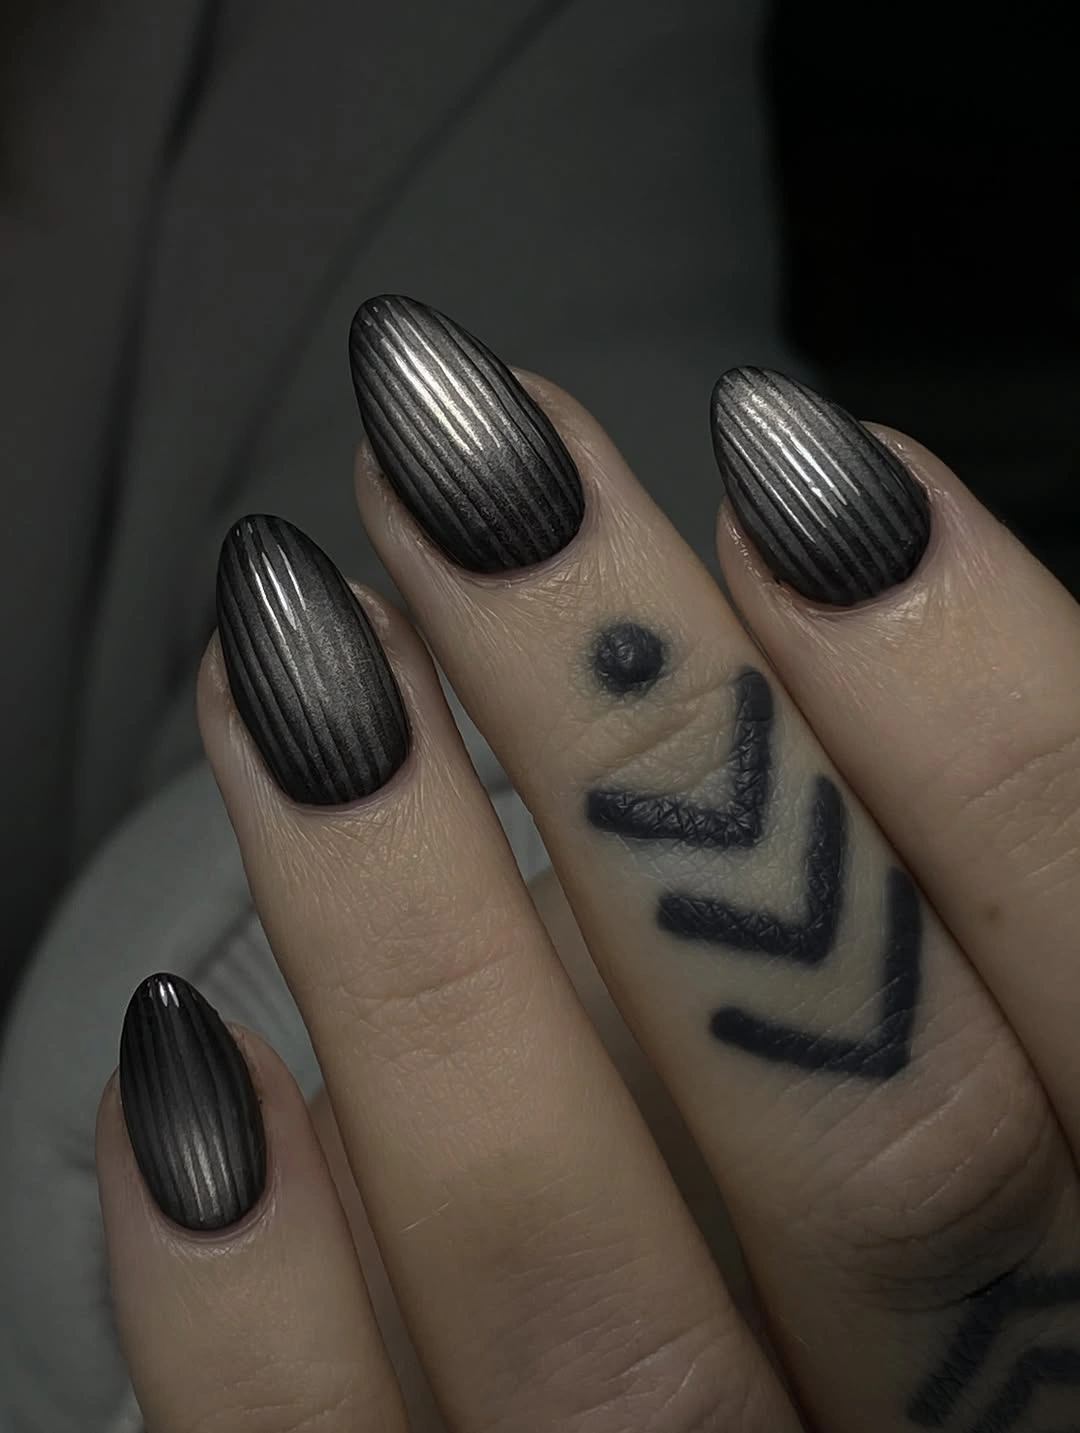
A charcoal base with one steel accent can preserve the effect on short nails. You can also keep the center highlight narrow and let more black show at the sides, which makes the visual transition easier to wear with other jewelry and less dependent on a long nail bed. The rounded edge gives the steel center a softer landing, keeping the contrast wearable rather than overly severe.
The plain reflective surface leaves little visual camouflage for tip damage or uneven shine. Choose this idea when you enjoy checking the finish, or simplify to a dark matte-looking surface if maintenance matters more than the mirror-like contrast. Because the base is cool and muted, even tiny silver marks can read clearly without turning the hand into a bright collage.
Slate Blue Short Nails With Tiny Graphic Marks
Short rounded nails use a slate blue-grey base with small black, white, and silver details including dots, linework, and compact illustrated accents. The short shape keeps the mixed motifs approachable, while the repeated cool base prevents the tiny details from becoming noise; the manicure closes the dark palette with playfulness instead of more length.
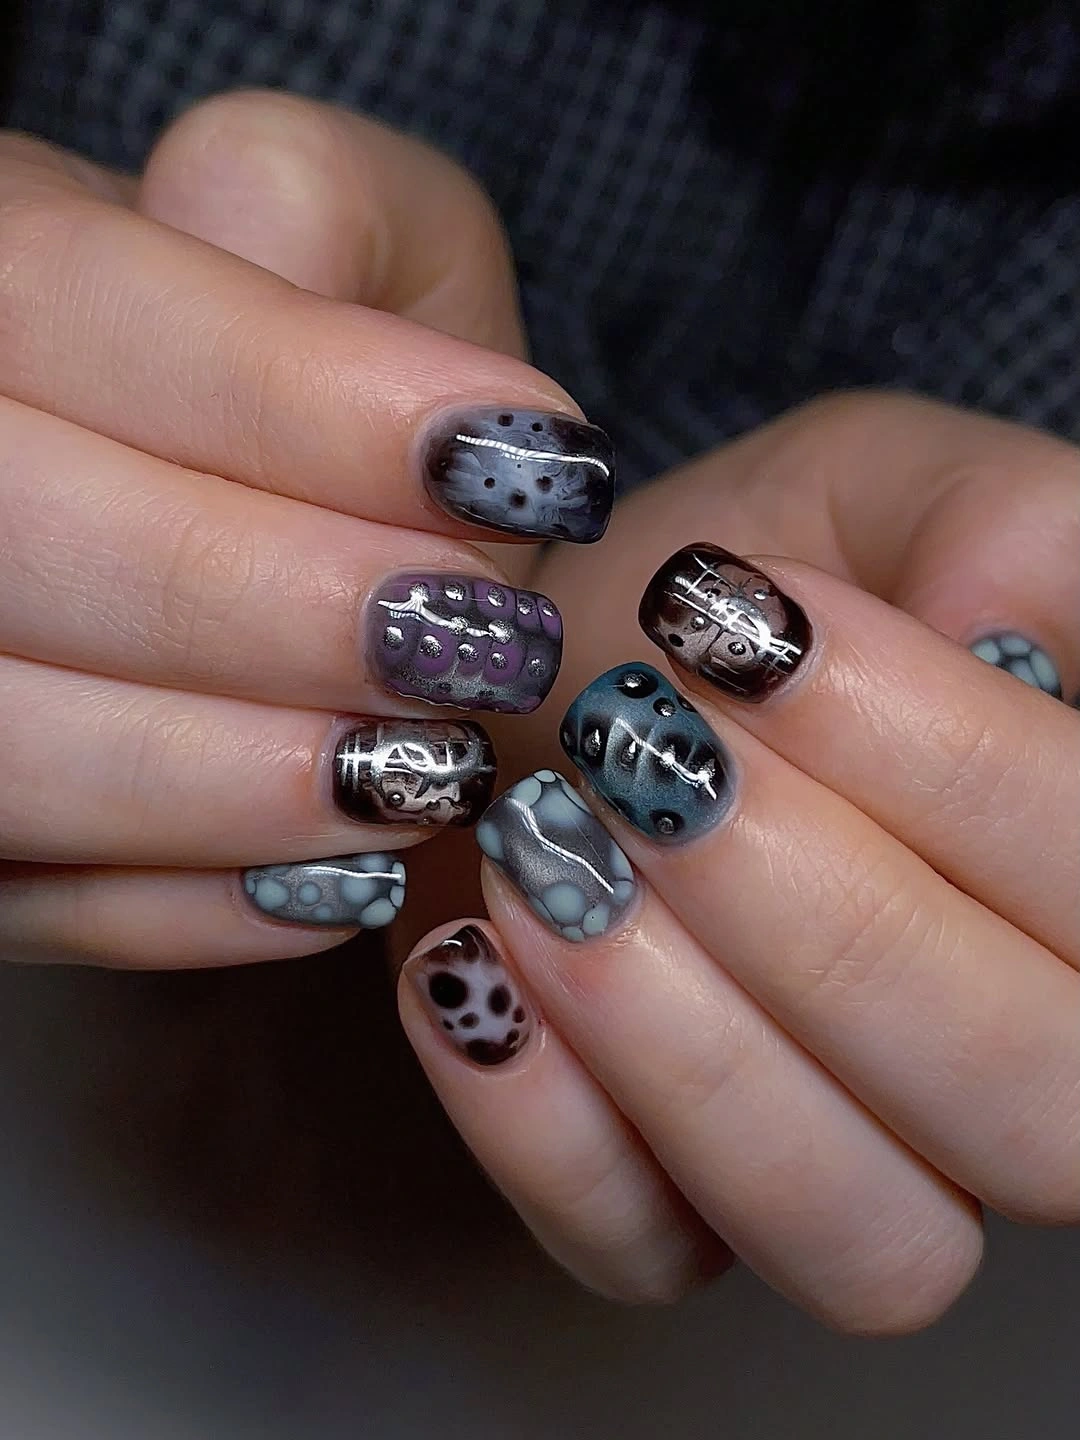
Limit the graphics to two accent nails and use plain slate blue on the rest for an everyday version. A softer grey-blue can make the small marks less stark, but retaining one dark line or metallic detail keeps the set connected to the deeper shadow palette. The short outline is what keeps the playful marks grounded and stops the final look from drifting into costume-like length. The same edit works alongside broader fall nail inspiration when you want the base to stay wearable.
Small details can blur visually if the nail is shortened much further or if accents sit too close together. That is the honest boundary of this idea: the compact shape makes it wearable, but the design still needs enough surface for dots, lines, and tiny illustrations to remain distinct. The compact set therefore ends on a practical note: detail is welcome, but it still needs enough room to remain legible.