

Filing your nails might seem simple, but doing it the wrong way can lead to peeling, splitting, and breakage. The secret to strong, healthy nails is all in the technique and the tools you use. This article covers the essential steps and common mistakes to help you file like a pro at home.
Whether you’re maintaining a weekly routine or fixing a snag, these tips will keep your nails looking great and feeling strong.
Key Takeaways
- Always file dry nails to prevent tearing and peeling.
- File in one direction, from side to center, not back and forth.
- Use a coarse grit for shortening and a fine grit for shaping.
- Hold the file at a 45-degree angle for a smooth, beveled edge.
- Choose square, squoval, or rounded shapes for maximum strength.
Mastering Nail Filing for Stronger Nails
Filing your nails correctly is the foundation for strong, healthy nails that resist breakage. The key is to always work on dry nails, using a file with the right grit for the job, and moving in one smooth direction from the side to the center. Avoid harsh back-and-forth sawing motions and never use a metal file on natural nails, as they can cause splitting and damage.
1. Choose the Right Nail File
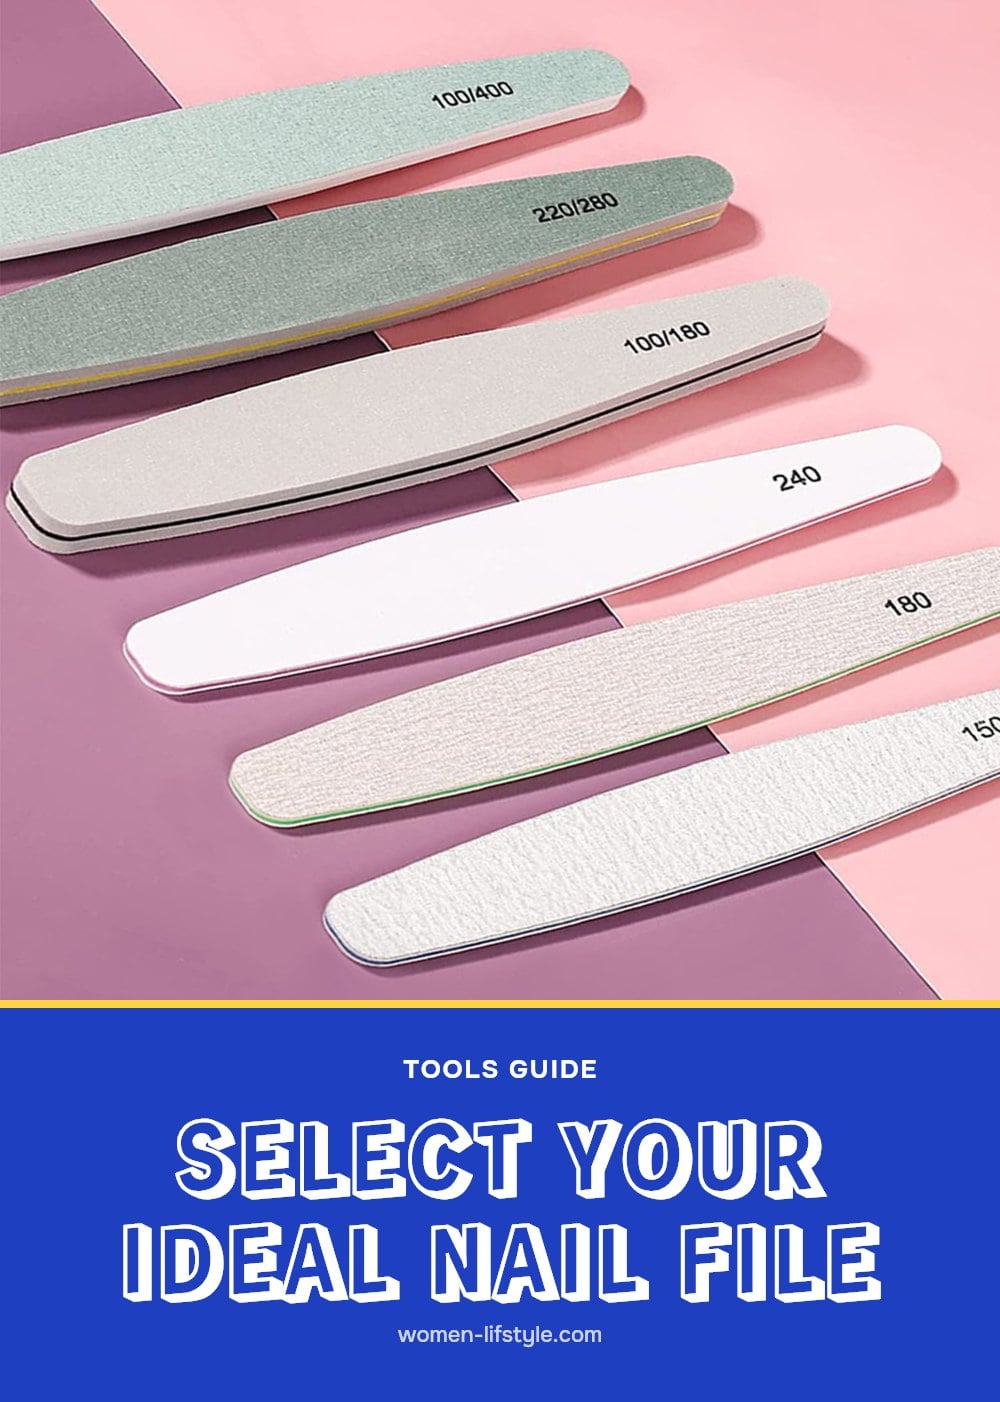
Nail files come in various grits, with lower numbers (e.g., 80-100) being coarser for shortening and higher numbers (e.g., 180-240) being finer for shaping and smoothing. Choose a file based on what you need: coarse for length, fine for finishing.
My tip: Glass or crystal files are gentle and seal the nail edge, which helps prevent splitting. Emery boards are common but wear out quickly, so replace them often. Avoid metal files on natural nails, as they are too harsh and can cause damage or splitting.
2. Always File Dry Nails
It’s best to file nails when they are completely dry. Wet nails are softer and more prone to tearing, peeling, or splitting during filing. My tip: Wait until your nails have fully dried after washing or showering before you start filing.
3. File in One Direction
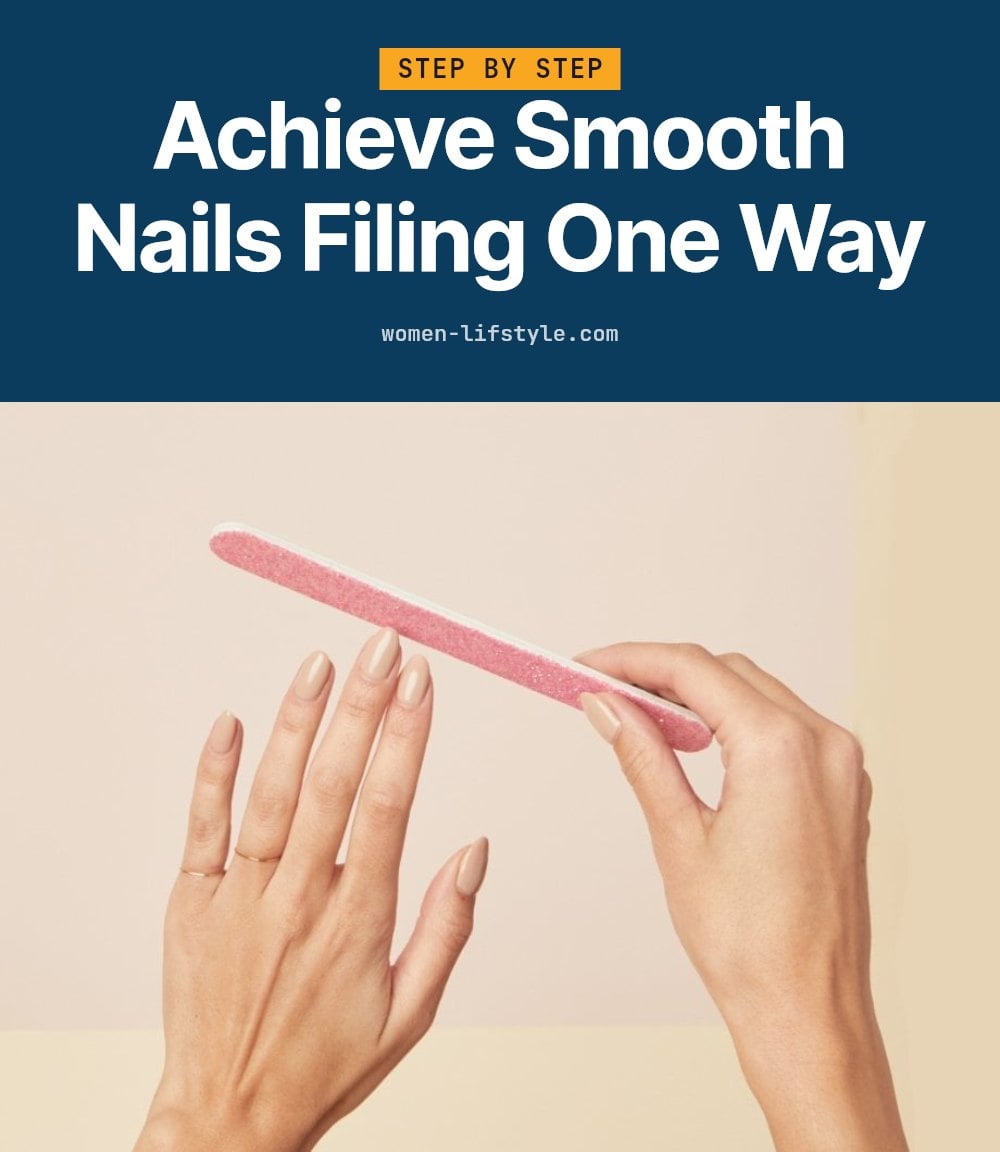
Always file your nails in one gentle, consistent direction, from the side to the center. A back-and-forth sawing motion can fray and split the delicate layers of your nail. Tip: Think of it like a smooth stroke, lifting the file slightly after each pass.
4. Use the Right Angle
Hold the file at a slight angle, around 45 degrees, under the nail. This creates a smooth, slightly beveled edge that resists snagging and breakage. Good to know: Don’t file straight across; a slight angle adds strength to the free edge.
5. Don’t File Too Deeply
Avoid filing too deeply into the corners or sides of your nails. Aggressive filing in these areas can weaken the nail structure, making it more prone to breakage or even ingrown nails. Pro move: Focus on the free edge and gently round the corners rather than digging in.
6. Shape for Strength
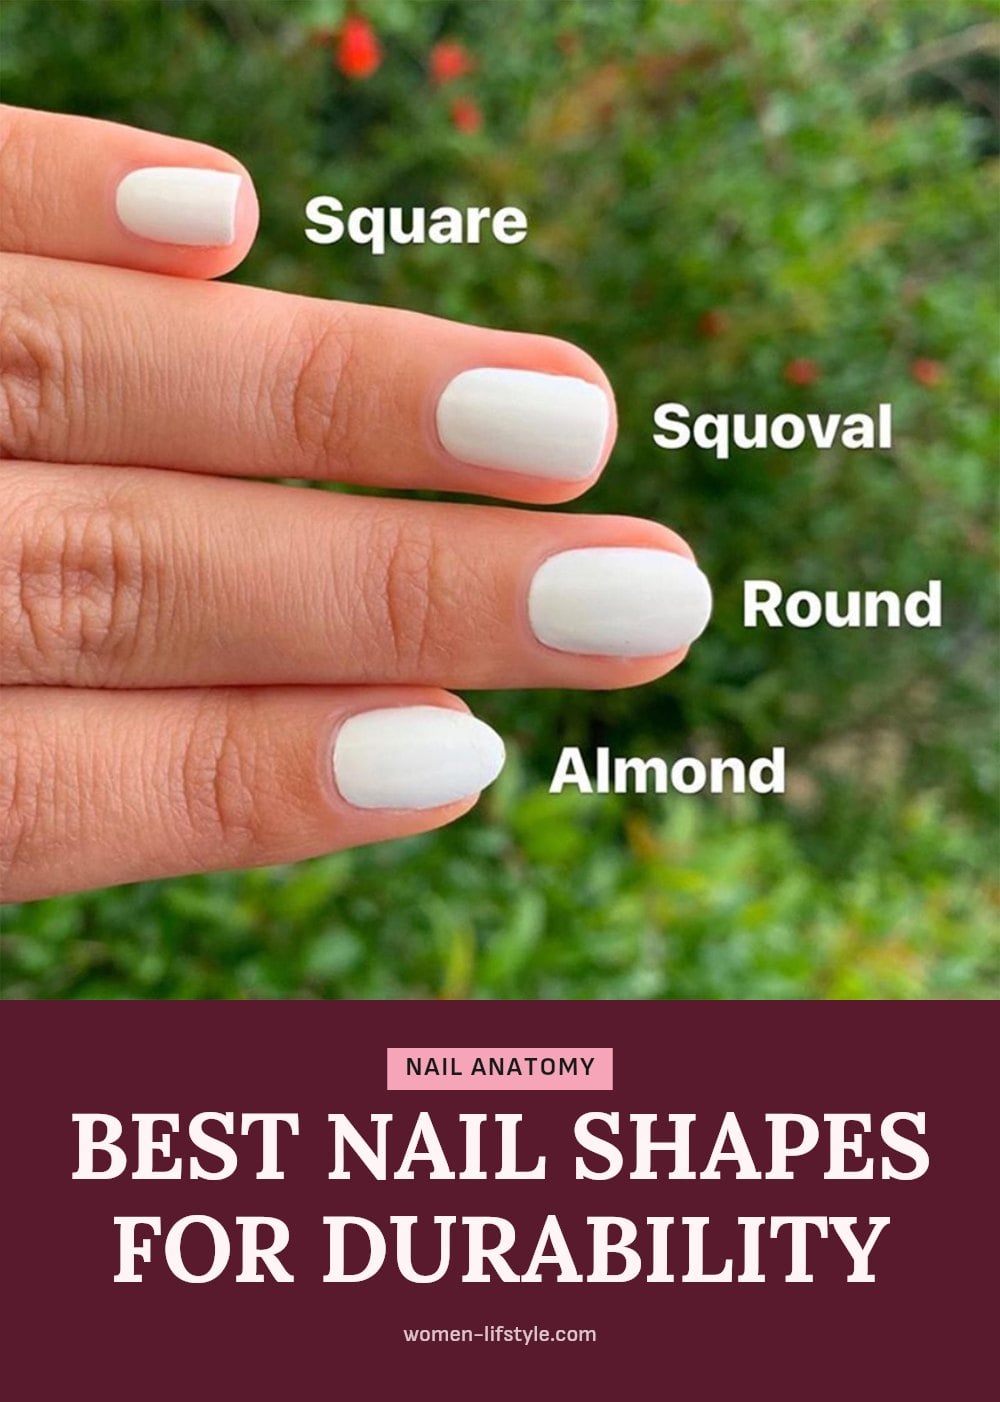
Nails are strongest when filed into a square, squoval, or rounded shape. These shapes are less prone to breakage than pointed or stiletto styles. Quick tip: Consider your lifestyle when choosing a shape; more active hands benefit from stronger, rounded edges.
7. Start with Coarser Grit
If you need to significantly shorten your nails, start with a coarser grit file (lower number). Once you reach the desired length, switch to a finer grit (higher number) for shaping and smoothing the edges. Tip: Don’t use a very coarse file for delicate shaping; it can cause damage.
8. Smooth with Finer Grit
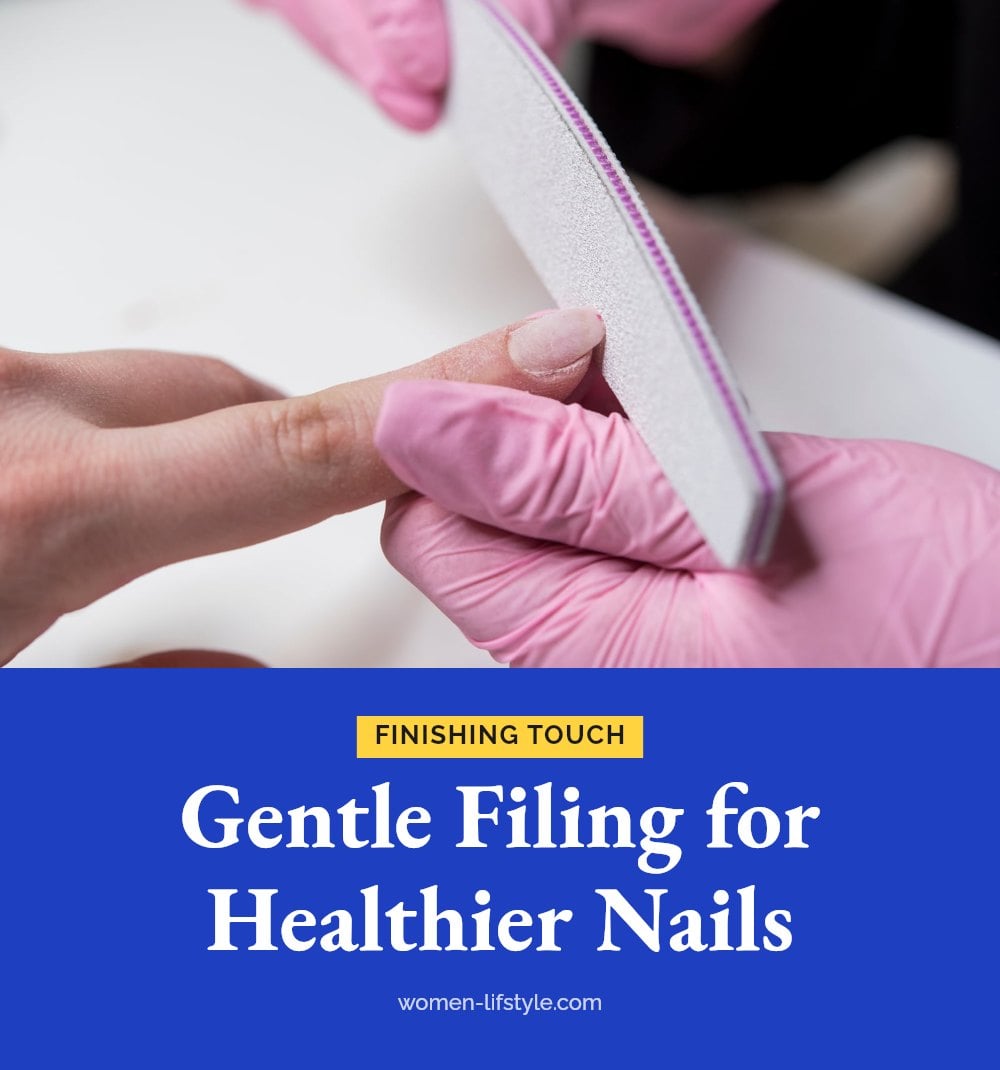
Switch to a fine-grit file (180-240 or higher) once your nails are the right length and basic shape. This step smooths away any rough edges that could catch on clothing or snag. My tip: A glass or crystal file is ideal here because it gently seals the nail edge, which helps prevent future splitting.
9. Buff Sparingly
A buffing block can add a natural shine to your nails after filing. But use it sparingly, over-buffing thins the nail plate and weakens your nails over time. My tip: Buff only once every few weeks, and stick to the finest grit side for a gentle polish without damage.
10. Clean Your Files
Clean your reusable nail files after each use, especially glass or crystal ones. Nail dust and bacteria can build up on the surface, making the file less effective and potentially spreading infection. My tip: Rinse glass files with soap and water, then let them air dry completely before storing.
11. Moisturize After Filing
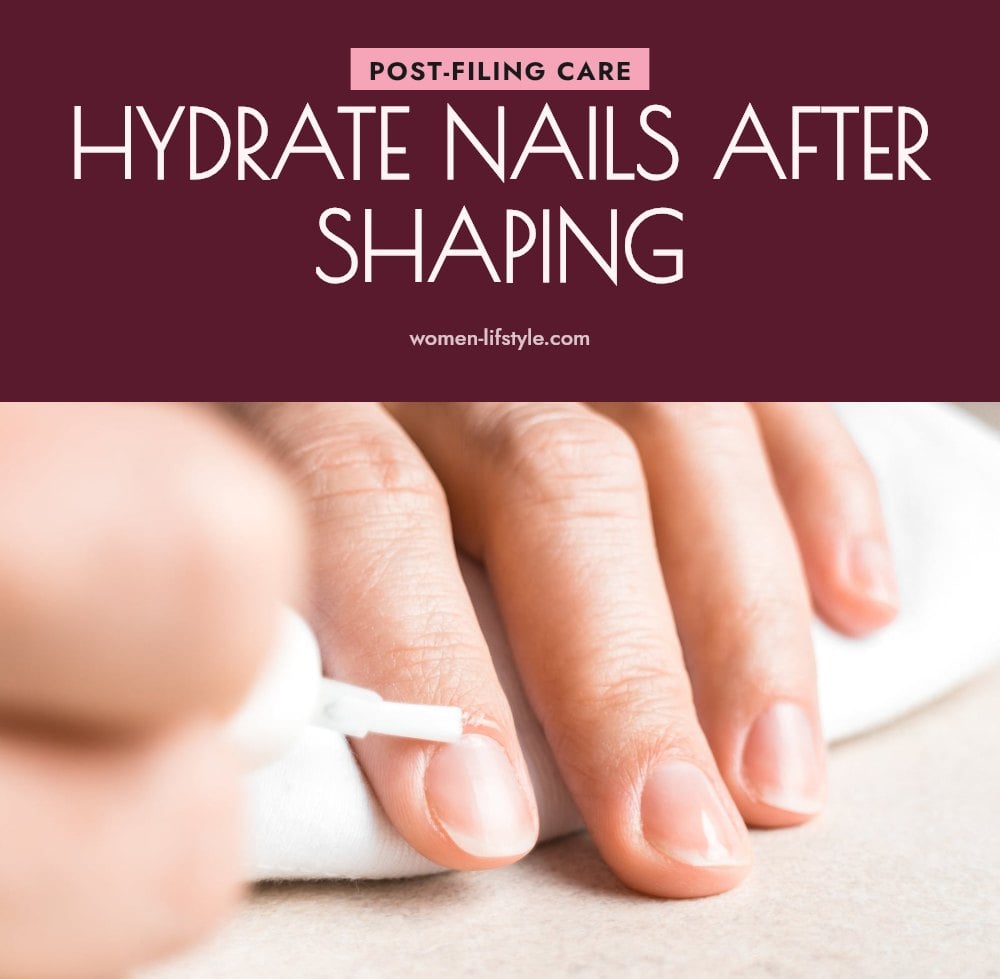
Finish your filing routine by applying cuticle oil to the nail base and a nourishing hand cream over the whole hand. This rehydrates the nail plate and surrounding skin after the filing process. My tip: Regular moisturizing keeps nails flexible, which reduces the chance of breakage later.
Common Nail Filing Mistakes to Avoid
Sawing Motion: Filing back and forth creates micro-fractures that lead to splits and peeling. Always file in one smooth direction from side to center.
Filing Wet Nails: Wet nails are softer and more prone to tearing. Make sure your nails are completely dry before you start filing.
Using a Coarse File for Shaping: A very coarse grit file (80-100) is meant for shortening, not shaping. It can damage delicate nail edges. Switch to a finer grit (180-240) for shaping and finishing.
Over-Filing Sides and Corners: Filing too deeply into the sides weakens the nail structure and can lead to breakage or ingrown nails. Gently round the edges instead of digging in.
Ignoring File Hygiene: Dirty files can spread bacteria and become less effective. Clean reusable glass or crystal files with soap and water after each use and let them air dry.
Frequently Asked Questions
How often should I file my nails?
File your nails as needed to maintain your preferred shape and length. For most people, this means filing about once a week or every few days, depending on how fast your nails grow and your daily activities.
Can I file my nails after a shower?
It’s best to wait until your nails are completely dry. Wet nails are softer and more prone to tearing, peeling, or splitting during filing. If you’ve just showered, give your nails time to air dry fully before you start.
What’s the best nail shape for strength?
Square, squoval (square with rounded corners), and rounded shapes are the strongest and least likely to break. Pointed or stiletto shapes are more fragile because they put more stress on the nail edge.
How do I clean my nail file?
For reusable files like glass or crystal, rinse them with soap and water after each use and let them air dry. This removes nail dust and bacteria, keeping the file effective and hygienic. Emery boards are harder to clean and should be replaced regularly.
Final Thoughts
Mastering nail filing is about consistency and using the right technique. Start by choosing the correct file grit for the job, always work on dry nails, and file in one smooth direction. Expect to file about once a week to maintain your desired shape and length. With these simple habits, you’ll notice fewer snags and less breakage over time. Your nails will thank you.