

Your toilet tank might look clean, but over time it can collect mineral deposits, mold, and bacteria that cause odors and stains in the bowl. Regular cleaning keeps everything fresh and helps your toilet flush efficiently. This article walks you through the steps to clean your tank safely, from gathering supplies to rinsing thoroughly.
Key Takeaways
- Turn off the water supply and flush to empty the tank before cleaning.
- Use white vinegar for mineral deposits and baking soda for odors.
- Never mix bleach with vinegar or other cleaners to avoid toxic fumes.
- Scrub all interior surfaces with a non-abrasive brush or sponge.
- Clean your tank at least once or twice a year, more often if you have hard water.
Why Cleaning Your Toilet Tank Matters
Your toilet tank might look clean, but it can collect mineral deposits, mold, mildew, and bacteria over time. These cause unpleasant odors and stains in the bowl, and they can even reduce flushing efficiency. Regular cleaning stops these problems before they start, helps internal parts like the flapper and fill valve last longer, and keeps everything working smoothly. The process is simple: turn off the water, flush the tank, add a cleaner, scrub, and rinse thoroughly.
1. Gather Your Cleaning Arsenal

Before you start, gather your supplies. You will need rubber gloves to protect your hands from grime and cleaning agents. Pick a non-abrasive brush or sponge, anything too harsh can scratch the porcelain and create new spots for buildup. For cleaning agents, white vinegar works well on mineral deposits, baking soda fights odors, and bleach can handle mold and mildew if used carefully. An old toothbrush is useful for tight spots around the fill valve and flapper.
2. Shut Off the Water and Empty the Tank
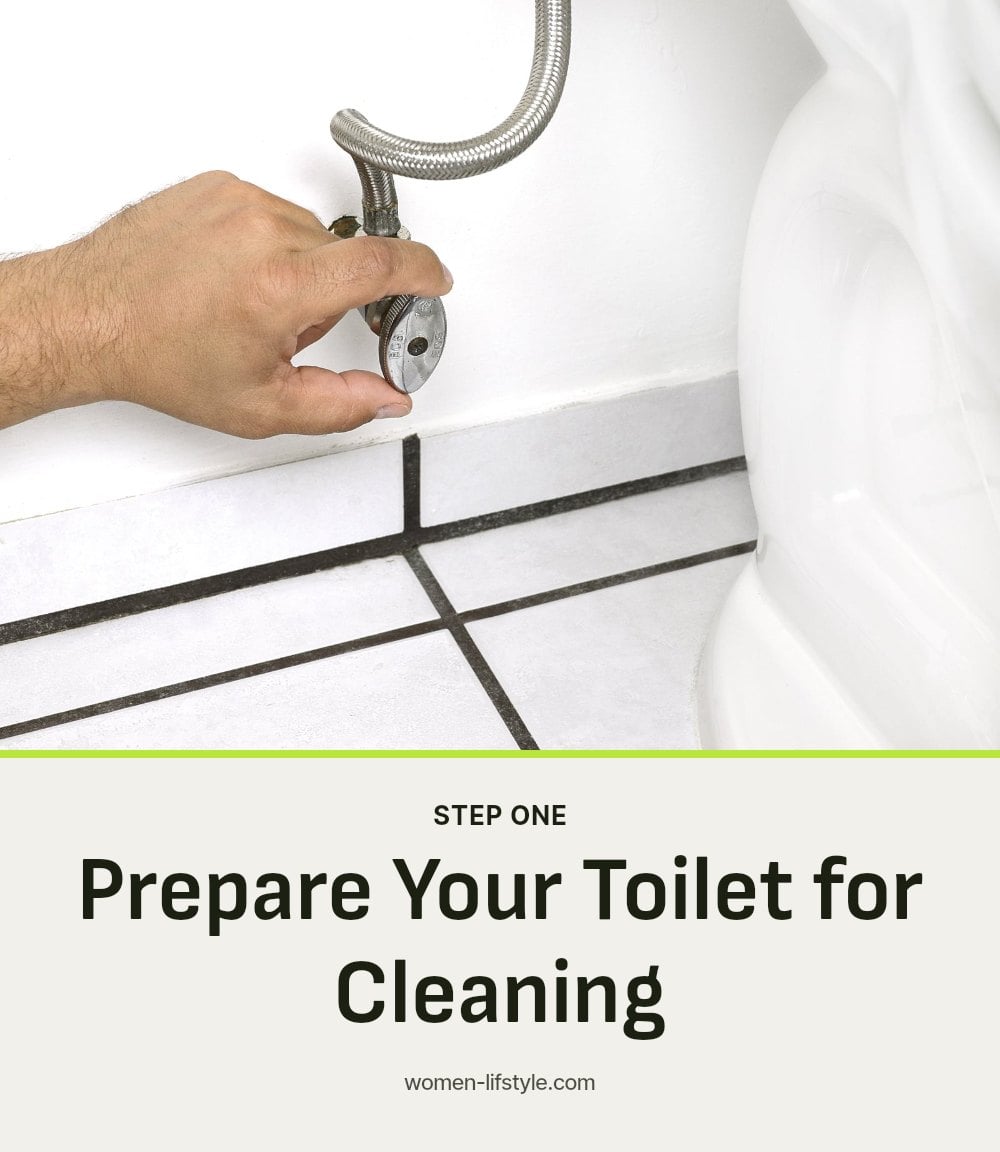
This step is non-negotiable. Find the shut-off valve near the base of your toilet and turn it clockwise to stop the water supply. Then flush the toilet to drain the tank. Most of the water will empty out, leaving just a little at the bottom. This keeps you safe from spills and lets the cleaning solution work directly on the grime instead of being diluted.
3. Vinegar: Your Go-To for Mineral Deposits

For hard water stains, white vinegar is your best friend. Pour 1 to 2 gallons directly into the empty tank until the water reaches its normal level. Let it sit for at least 30 minutes, for heavy calcium or rust buildup, leave it for several hours. The acid in vinegar dissolves those stubborn deposits without damaging the tank’s internal parts. Tip: If the smell bothers you, open a window or run the bathroom fan.
4. Baking Soda: The Odor Fighter
Sprinkle about a cup of baking soda onto the damp surfaces inside the tank, including the sides and bottom. Baking soda naturally neutralizes odors and acts as a gentle abrasive to lift light stains. If you’re dealing with both smells and mineral buildup, add the baking soda first, then pour in vinegar. The fizzing reaction helps loosen grime while the baking soda continues to deodorize.
5. Bleach for Mold and Mildew (Use with Caution)
If you see stubborn mold or mildew, add about a cup of bleach directly to the water remaining in the tank. Let it sit for 15 to 20 minutes to kill the growth. Caution: Never mix bleach with vinegar or any other cleaner. This creates toxic chlorine gas. Keep the bathroom well-ventilated during and after use, and wear gloves. After soaking, scrub the affected areas with your brush.
6. Scrub Away the Grime
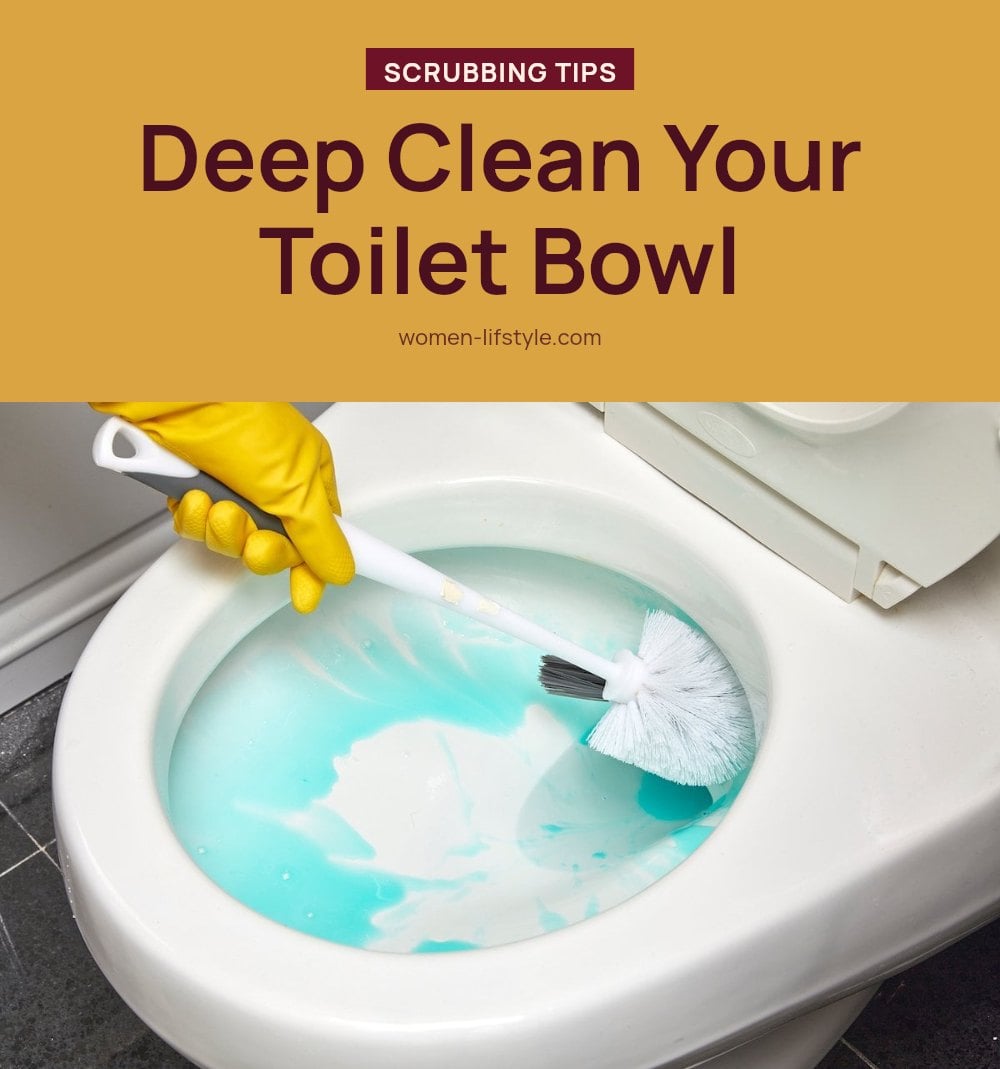
Use your non-abrasive brush or sponge to scrub every interior surface: the sides, bottom, and any visible components like the fill valve or flapper. Focus on spots with stains, mold, or mineral crusts. An old toothbrush works well for tight spaces around the valve and flapper. Scrubbing loosens the grime that the cleaning agents have softened, so nothing is left behind.
7. Rinse Thoroughly
Turn the water supply valve counterclockwise to let the tank refill. Once it’s full, flush the toilet. Repeat this process two or three times. Each flush carries away cleaning solution and loosened debris, preventing it from settling in the bowl or re-depositing on tank surfaces. This step ensures your tank is truly clean and ready for normal use.
8. Don’t Forget the Outside
While the tank is empty, wipe down the exterior surfaces with an all-purpose bathroom cleaner and a clean cloth. The top, sides, and base collect dust, fingerprints, and splashes that you notice every time you use the toilet. Tip: Use a microfiber cloth to avoid streaks, and pay extra attention to the handle and the area around the lid where grime builds up. This quick step completes the job, leaving the whole toilet looking fresh inside and out.
9. Avoid These Common Tank Cleaning Mistakes
A few missteps can undo all your work or even damage the toilet. Forgetting to turn off the water is the most common mistake, and it leads to water overflowing when you open the tank. Using harsh chemicals like toilet bowl cleaners inside the tank corrodes rubber seals and plastic parts over time. Mixing cleaners is dangerous, never combine bleach with vinegar or ammonia-based products because they produce toxic chlorine gas. Abrasive scrubbers like steel wool scratch the porcelain, creating rough spots where grime clings even more. Stick to non-abrasive tools and one cleaner at a time.
10. Keep It Clean: Prevention Tips
Keeping the tank clean longer takes minimal effort. Regular cleaning once or twice a year prevents buildup from becoming stubborn, and if you have hard water, increase that to every six months. Avoid drop-in tablets that promise a clean bowl, many of these blue tablets degrade rubber and plastic parts, causing leaks that waste water and money. Address leaks promptly, a constantly running toilet keeps the tank environment damp, which accelerates mineral deposits and mold growth. A quick fix now saves you from a bigger job later.
11. When to Call a Pro
Most tank cleaning is DIY, but some issues need a professional. Persistent leaks after cleaning that you cannot locate or fix, such as water seeping from the base, require an expert to inspect the seals or replace parts. Flushing problems that continue after a thorough cleaning, like weak flushes or constant running, point to a mechanical issue with the fill valve or flapper. Severe clogs or damaged internal components that you cannot access or repair safely are best left to a plumber to avoid causing more harm.
Frequently Asked Questions
How often should I clean my toilet tank?
You should clean your toilet tank at least once or twice a year. If you have hard water, increase that to every six months to prevent mineral buildup from becoming stubborn.
Can I use toilet bowl cleaner in the tank?
No, do not use harsh chemical toilet bowl cleaners directly in the tank. They can damage internal components like the flapper and fill valve, leading to leaks or poor flushing.
What causes a dirty toilet tank?
Mineral deposits from hard water, mold, mildew, and bacteria thrive in the dark, damp environment of the tank. These cause stains, odors, and can reduce flushing efficiency over time.
Will cleaning the tank help with a slow flush?
Yes, removing mineral buildup and debris from the tank can improve water flow and flushing power. If the problem persists after cleaning, you may need to inspect or replace internal parts.
Why is my toilet tank turning blue?
Blue water in the tank usually comes from drop-in cleaning tablets. These tablets can degrade rubber and plastic components over time, so it is best to avoid using them regularly.
Final Thoughts
For most tanks, a vinegar soak followed by a gentle scrub is all you need. Expect the process to take about 30 minutes to an hour, and plan to repeat it once or twice a year. With regular care, your toilet will stay fresh and work smoothly for years.
This article provides general information on cleaning your toilet tank and is not a substitute for professional advice. If you notice persistent leaks, unusual odors, or flushing problems after cleaning, consult a plumber or toilet repair professional for a proper diagnosis.
