

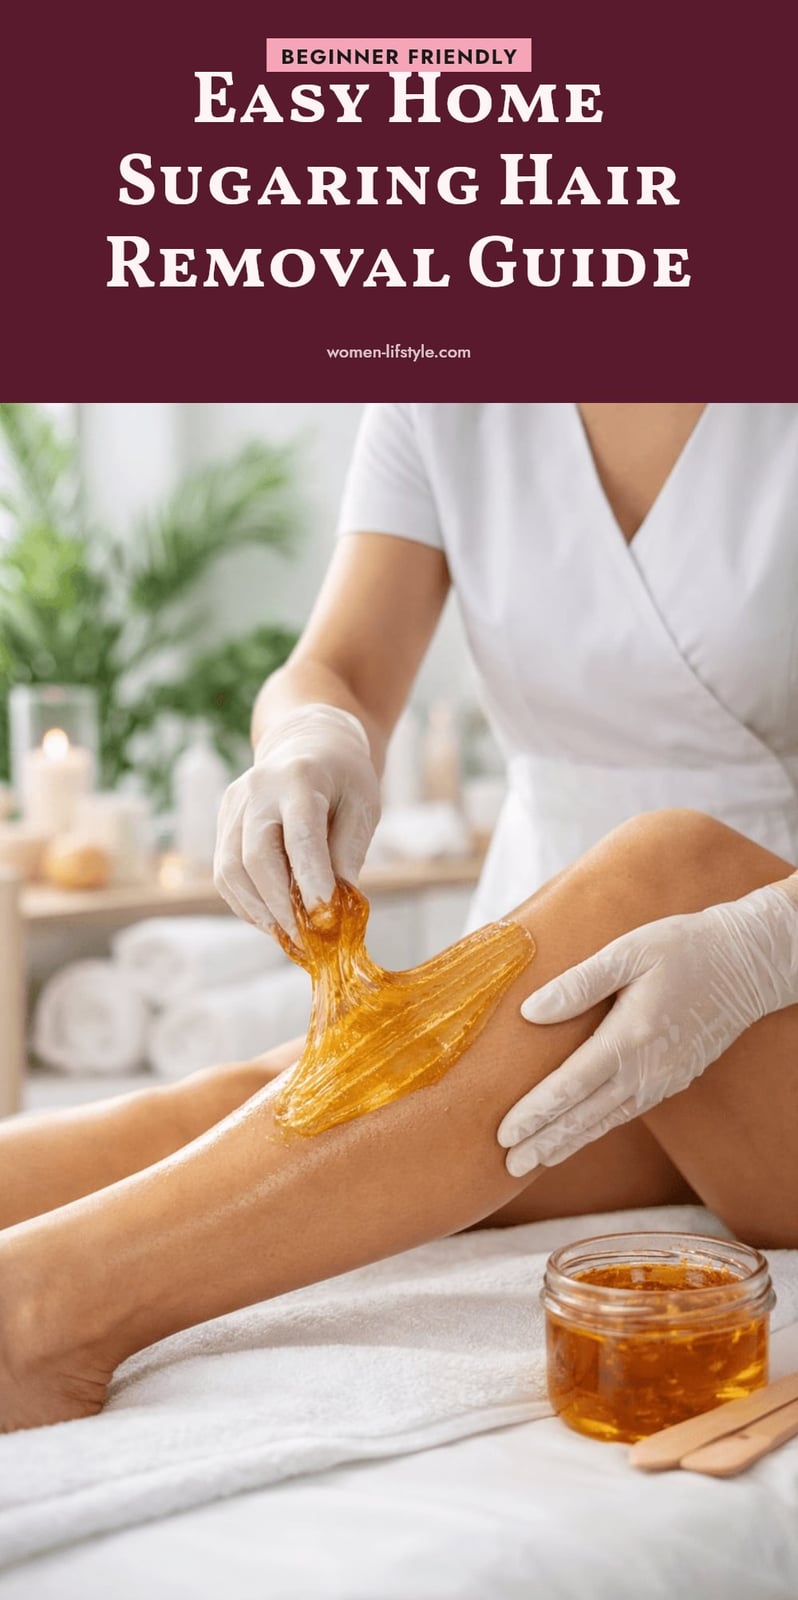
If you’re tired of razor bumps or expensive waxing appointments, sugaring might be the natural solution you’ve been looking for. This ancient hair removal method uses a simple paste of sugar, lemon juice, and water to gently remove hair in the direction of growth, which can reduce breakage and ingrown hairs. In this guide, I’ll walk you through everything you need to know about sugaring at home, from making the paste to mastering the flicking technique.
Key Takeaways
- Hair should be about 1/4 inch long for effective sugaring.
- Apply paste against hair growth, then flick it off in the direction of growth.
- Always use snugly fitted gloves for better grip and control of the sugar ball.
- Exfoliate skin 24-48 hours before sugaring to help prevent ingrown hairs.
- Results typically last 3-4 weeks, with regular sugaring leading to finer regrowth over time.
What Is Sugaring and How Does It Work?
Sugaring is a natural hair removal method that uses a simple paste made from sugar, lemon juice, and water. Unlike waxing, which pulls hair against the direction of growth, sugaring removes hair in the direction it grows. This technique can reduce breakage and ingrown hairs, making it a gentler option for many people. The paste adheres only to hair and dead skin cells, not to live skin, which often means less discomfort. With practice, you can do sugaring at home, saving money while using a natural alternative to salon treatments.
Your Sugaring At-Home Toolkit
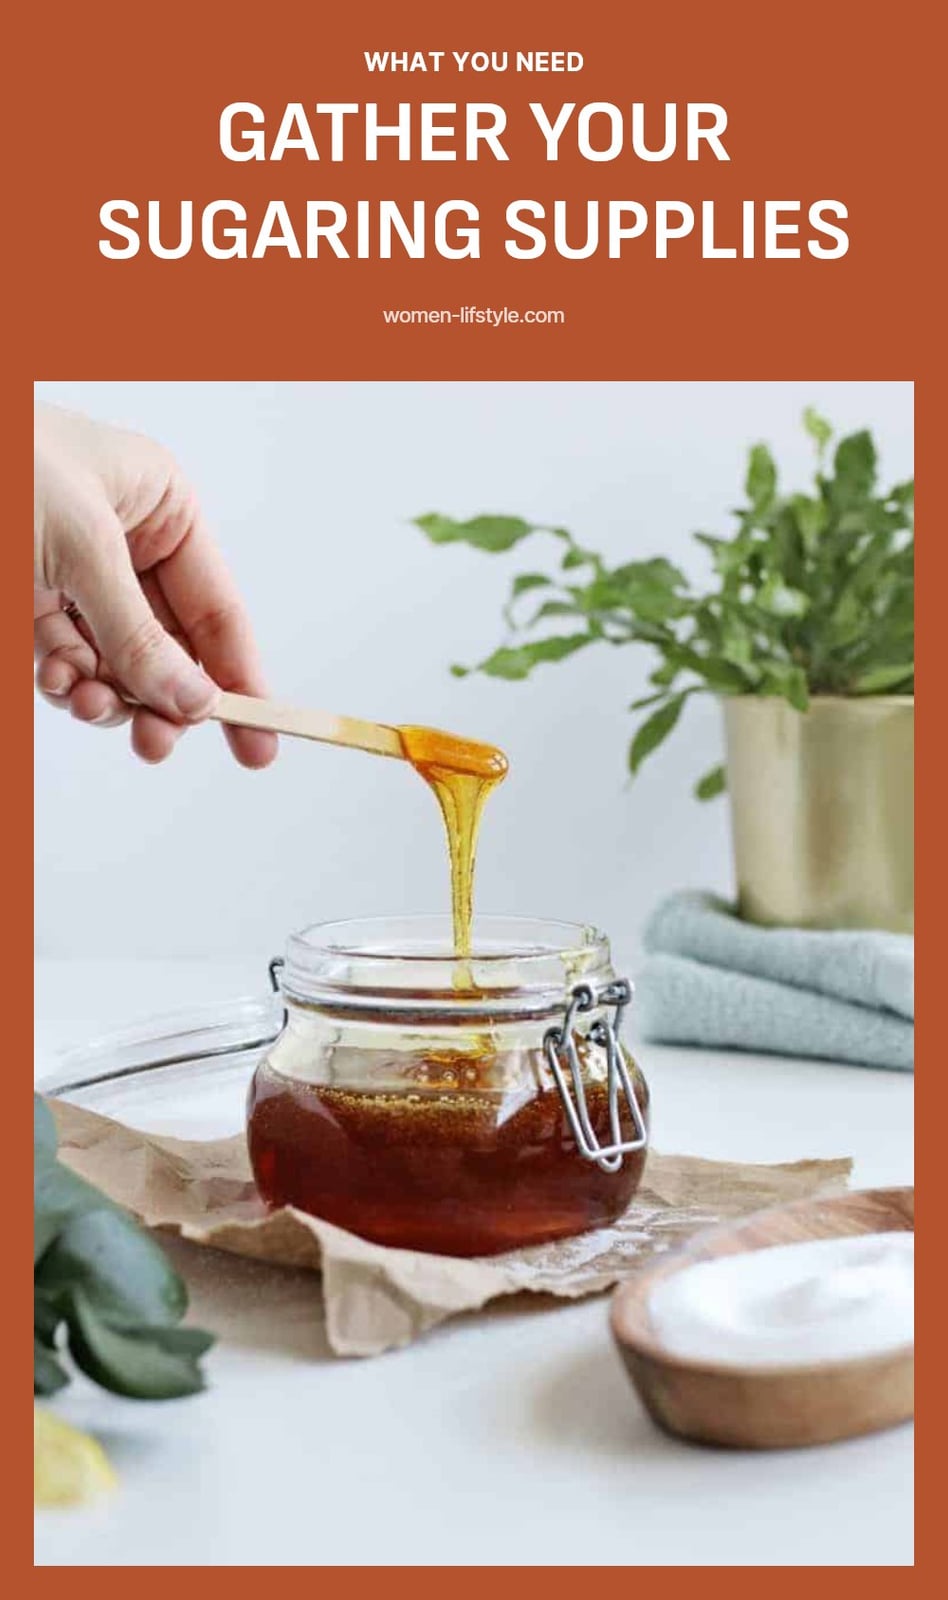
Before you start, gather everything you need for making the paste and the sugaring process itself. Here is your toolkit:
- Granulated sugar: the base for your paste.
- Lemon juice: helps with consistency and acts as a natural preservative.
- Water: to achieve the right texture for the paste.
- Saucepan: for cooking the sugar paste.
- Candy thermometer (optional): highly recommended for precise temperature control.
- Spatula or butter knife: for applying the paste if using the strip method, or for scooping for the hand method.
- Cotton strips (optional): needed only if you plan to use the strip method.
- Fitted gloves: crucial for the hand-held method to prevent mess and improve grip.
- Talcum powder or cornstarch: to prep skin by absorbing moisture.
- Aloe vera gel or soothing lotion: for post-sugaring care.
Making Your Own Sugaring Paste
For a standard paste, use a ratio of 2 parts sugar to 1 part lemon juice and 1 part water. Cook the mixture over medium heat, stirring occasionally, until it turns an amber color and has a consistency similar to warm honey. A candy thermometer can help you hit the sweet spot, typically around 250°F (121°C) for a medium consistency. Tip: Let the paste cool completely before use. It should be pliable but not too sticky.
Step-by-Step: Sugaring Hair Removal at Home
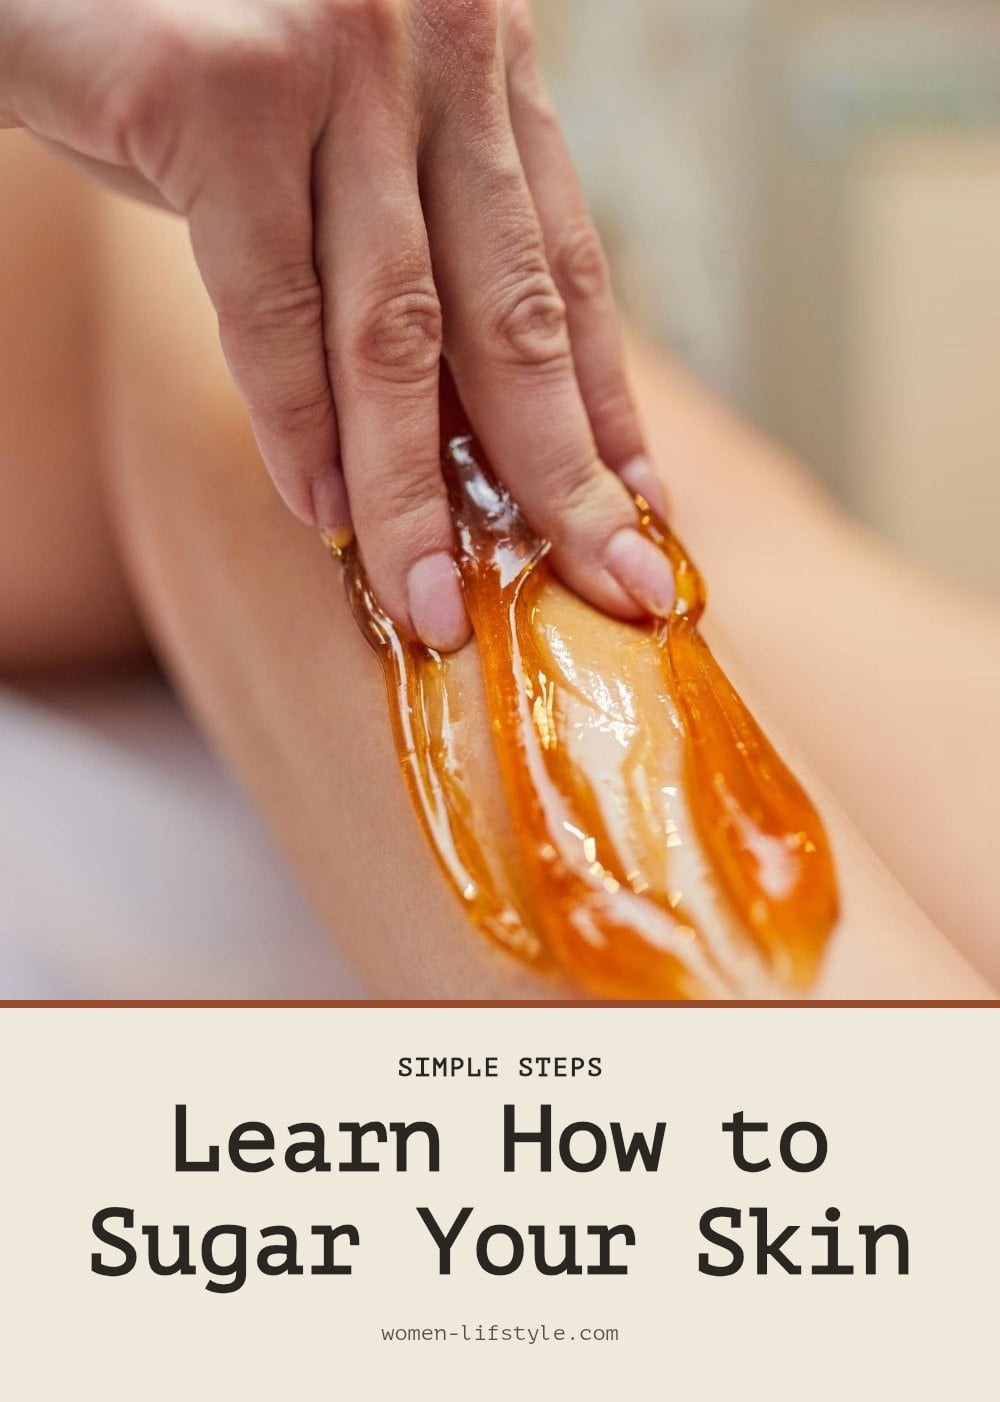
- Put on fitted gloves: Wear snugly fitted gloves to ensure proper grip and control of the sugar paste. Extra-small gloves work well for a secure fit.
- Scoop a small ball of paste: Using three fingers and your thumb, scoop a honey-like ball of paste about the size of a golf ball. Keep your pinky out of the way.
- Practice in your hand: Manipulate the sugar ball in your gloved hand until it stays in one piece and feels pliable. Do not skip this step.
- Prepare your skin: Clean and dry your skin thoroughly, then apply a cornstarch-based powder to absorb any moisture. This prevents the paste from sticking to skin instead of hair.
- Apply the paste against the grain: Push the sugar onto your skin against the direction of hair growth. Mold it onto the skin about three times to ensure all hairs are properly embedded.
- Hold the skin taut: For larger body parts, use your free hand to hold the skin taut. This minimizes discomfort and improves hair removal.
- Flick in the direction of growth: Flick the sugar off quickly and confidently in the direction of hair growth. Do not hesitate, or the paste may get stuck.
- Pick up residue: Use the sugar ball on your hand to pick up any remaining paste or residue.
- Remove stubborn hairs: For small hairs that remain, use your fingertip to flick them off.
- Apply pressure: Immediately after flicking, apply pressure to the treated area to help relieve any discomfort.
Pro move: Once the sugar ball is full of hair and no longer effective, discard it. To dispose of it cleanly, remove the sugaring glove by turning it inside out over the sugar, then place this glove inside the other glove, and tie it off.
Prefer to watch? Destiny Pino walks through the whole method in this 12-minute video. The how-to part starts at 3:43.
Common Sugaring Mistakes and How to Fix Them
Not using proper gloves: Gloves aren’t just for hygiene. Snugly fitted gloves give you the grip you need to manipulate the sugar ball and prevent a sticky mess. Without them, the paste will cling to your skin and be nearly impossible to work with.
Skipping the practice run: Before you touch your skin, spend a minute working the sugar ball in your gloved hand. You want it to feel pliable and stay in one piece. If you skip this, you will struggle to apply it smoothly.
Hesitating during flicking: A quick, confident flick in the direction of hair growth is non-negotiable. If you hesitate, the paste will stick and the hair won’t release. Commit to the motion.
Not preparing your skin: Clean, dry skin is a must. Apply a cornstarch-based powder to absorb any moisture. This prevents the paste from sticking to your skin and ensures it grabs only the hair.
Using a ‘tired’ sugar ball: Once the ball is full of hair or becomes too soft and sticky, discard it. Continuing to use it will only cause frustration and ineffective removal.
Post-Sugaring Skin Care for Smooth Results
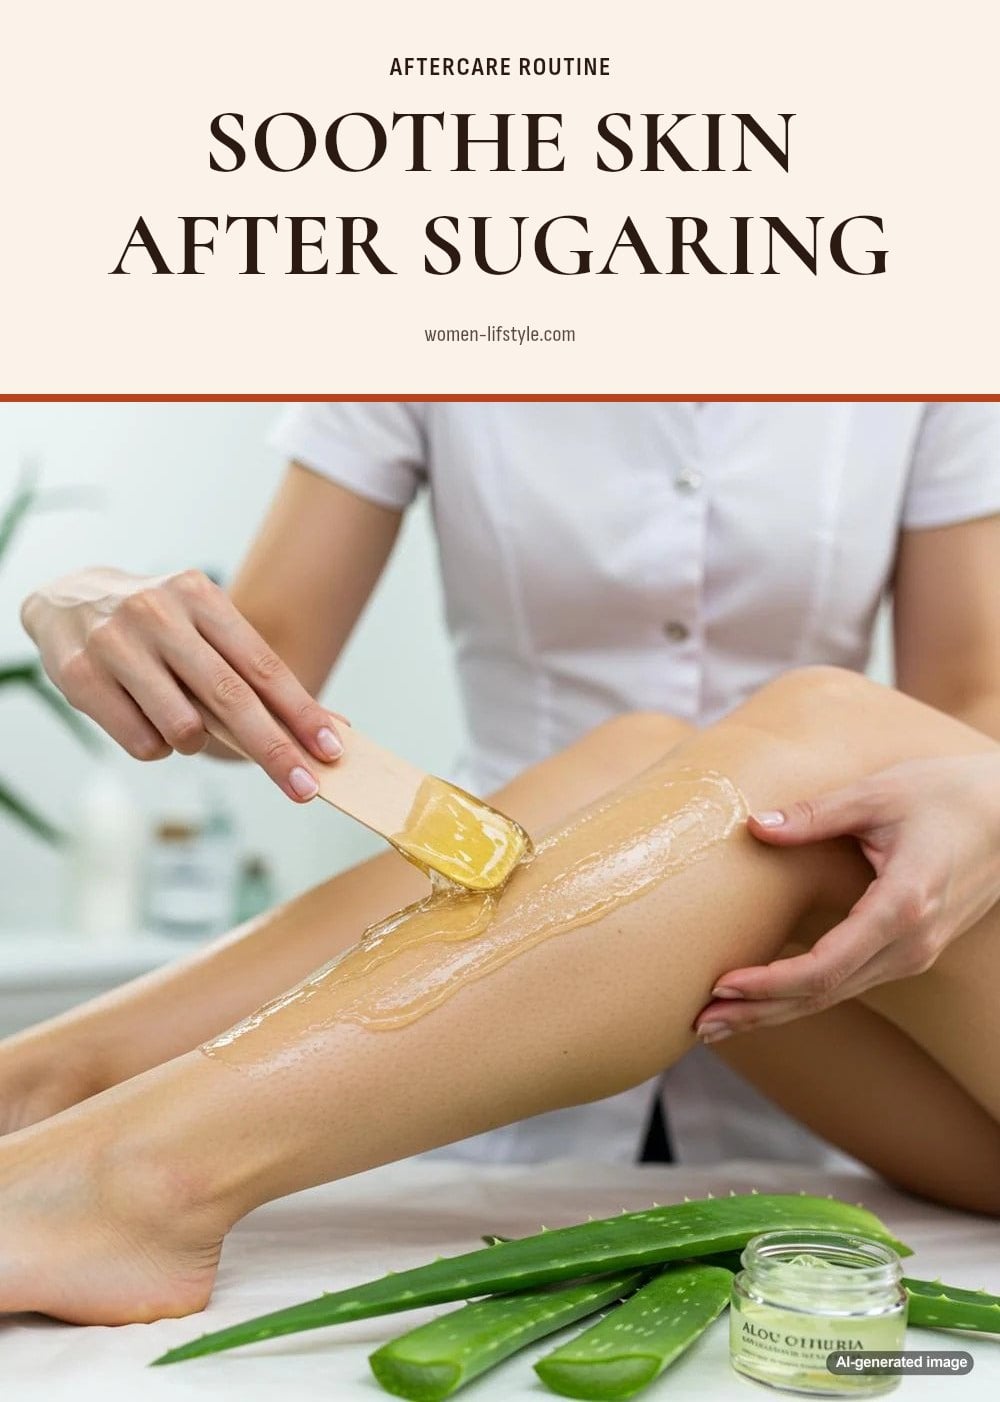
Soothe your skin: Right after you finish, apply a soothing lotion or aloe vera gel. This calms any redness and helps your skin recover quickly.
Avoid heat and friction: For the next 24-48 hours, skip hot showers, saunas, tight clothing, and intense exercise. These can irritate freshly sugared skin.
Exfoliate gently: A day or two later, start gentle exfoliation to prevent ingrown hairs. Continue 2-3 times a week between sessions.
Moisturize daily: Keep your skin hydrated with a non-comedogenic moisturizer. This maintains softness and supports healthy regrowth.
Protect from the sun: Freshly sugared skin is more sensitive to UV rays. Apply sunscreen to any exposed areas.
Sugaring Timeline and Cost Savings
Preparation time: Making the sugaring paste takes about 10-20 minutes. You can make a batch and store it for later use.
Session duration: A full sugaring session can last from 30 minutes to over an hour. The time depends on the area you are treating and how practiced you are with the technique.
Results last: You can expect smooth skin for about 3-4 weeks before you need another session. That is comparable to professional waxing.
Long-term benefits: With regular sugaring, many people notice finer, sparser hair regrowth over time.
Cost savings: The ingredients for the paste are inexpensive and reusable. Doing it at home is much more affordable than salon visits.
When to Consult a Professional or Stop Sugaring
If you experience excessive redness, swelling, prolonged pain, or any signs of infection such as pus or fever, stop sugaring immediately and consult a doctor. Do not sugar over moles, warts, cuts, rashes, sunburned, or irritated skin.
If you have pre-existing skin conditions like eczema, psoriasis, or very sensitive skin, consult a dermatologist before trying sugaring at home. They can advise whether the method is safe for you.
If you consistently struggle with making the paste or mastering the technique, consider visiting a professional sugaring salon for your first few sessions. Learning from an expert can save you frustration and help you get the technique right.
Frequently Asked Questions
Is sugaring less painful than waxing?
Many people find sugaring less painful than waxing because the paste adheres only to hair and dead skin cells, not live skin. The lukewarm temperature also reduces the risk of burns. However, pain tolerance varies, so you may still feel some discomfort, especially on sensitive areas.
How long does hair need to be for sugaring?
Hair should be about 1/4 inch long for sugaring to work effectively. If it’s shorter, the paste won’t grip it well. If it’s longer than 1/2 inch, trim it first to avoid extra pain or breakage.
Can sugaring cause ingrown hairs?
Sugaring can actually help reduce ingrown hairs because it removes hair in the direction of growth, which minimizes breakage. To further prevent them, exfoliate a day or two before sugaring and moisturize regularly between sessions.
How often should I sugar?
Results typically last 3-4 weeks, so you can sugar again once your hair grows back to about 1/4 inch. Regular sugaring may lead to finer regrowth over time, which can make sessions quicker and less uncomfortable.
Can I sugar my face or sensitive areas?
Yes, you can sugar your face or other sensitive areas, but proceed with caution. Use a very small ball of paste and test the temperature on a patch of skin first. Avoid moles, warts, cuts, or rashes, and stop if you experience excessive redness or pain.
What if my sugaring paste is too sticky?
If your paste is too sticky, it may be undercooked or too soft. Try cooking it a bit longer to thicken it, or add a small amount of sugar. Alternatively, let it cool slightly, as a firmer consistency can be easier to handle.
Final Thoughts
My tip for beginners: start with a small area like your legs to get comfortable with the technique before moving to more sensitive spots. Expect to spend at least 30 minutes on your first session, and don’t be discouraged if it takes a few tries to get the hang of it. With practice, you’ll find sugaring a gentle, cost-effective way to keep your skin smooth for weeks at a time.
This article is for informational purposes only and is not a substitute for professional medical or dermatological advice. If you have a persistent skin condition, severe irritation, or any concerns about your skin, consult a doctor or dermatologist before attempting sugaring.
