

You have silver jewelry or flatware that has lost its shine, and you want to bring it back without damaging the pieces. The good news is that tarnish is reversible, and you likely already have the ingredients in your kitchen to do it safely. This article covers why silver tarnishes, the best home methods for cleaning it, and how to store it so it stays bright longer.
Key Takeaways
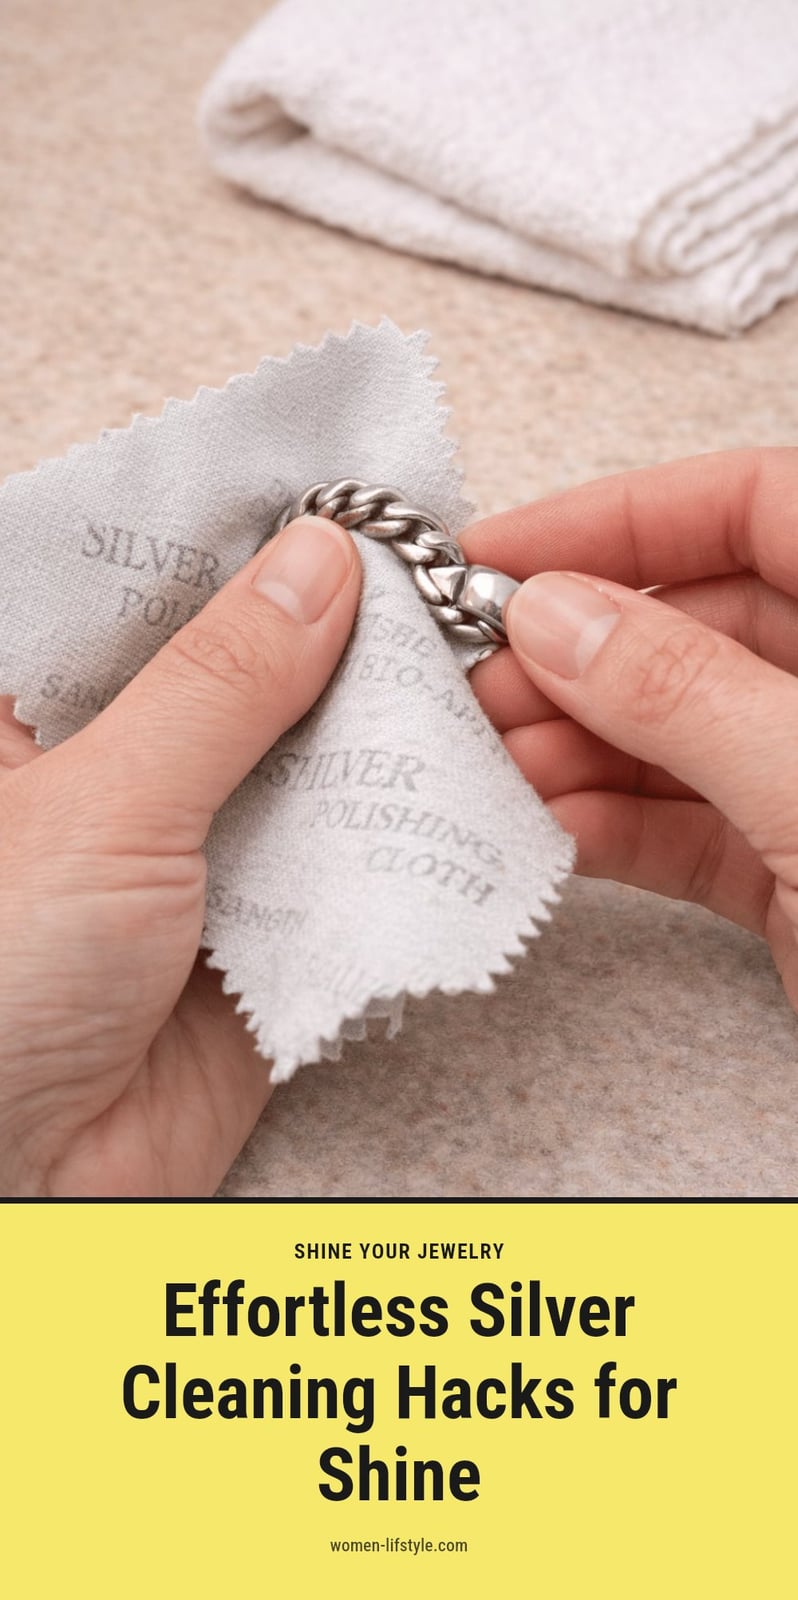
- For light tarnish, buff gently with a soft, lint-free cloth in circular motions.
- For heavy tarnish, use the baking soda and aluminum foil method with hot water.
- Never use abrasive materials, bleach, ammonia, or dishwasher detergents on silver.
- Rinse thoroughly and dry immediately after cleaning to prevent water spots.
- Store silver in airtight bags or cloth-lined boxes with anti-tarnish strips.
How to Clean Tarnished Silver Effectively
For light tarnish, start by gently polishing with a soft, lint-free cloth. For heavier tarnish, the most effective home method is the baking soda and aluminum foil reaction: line a dish with foil, add hot water and baking soda, then submerge the silver. Always test any method on an inconspicuous area first. After cleaning, rinse thoroughly with clean water and dry immediately with a soft cloth to prevent water spots and re-tarnishing.
Why Silver Tarnishes and How to Slow It Down
Tarnish is silver sulfide, a chemical compound that forms when silver reacts with sulfur compounds naturally present in the air. This reaction is unavoidable, but certain conditions speed it up significantly.
What Accelerates Tarnish
- Humidity and air pollution: Moisture and pollutants in the air increase the rate of reaction.
- Contact with specific materials: Rubber, wool, eggs, and onions all release sulfur compounds that cause faster tarnishing.
Pure silver, also called fine silver, tarnishes more slowly than sterling silver because sterling contains copper, which reacts more readily with sulfur. Understanding these triggers helps you control how quickly your silver loses its shine.
Essential Tools and Ingredients for Cleaning Silver
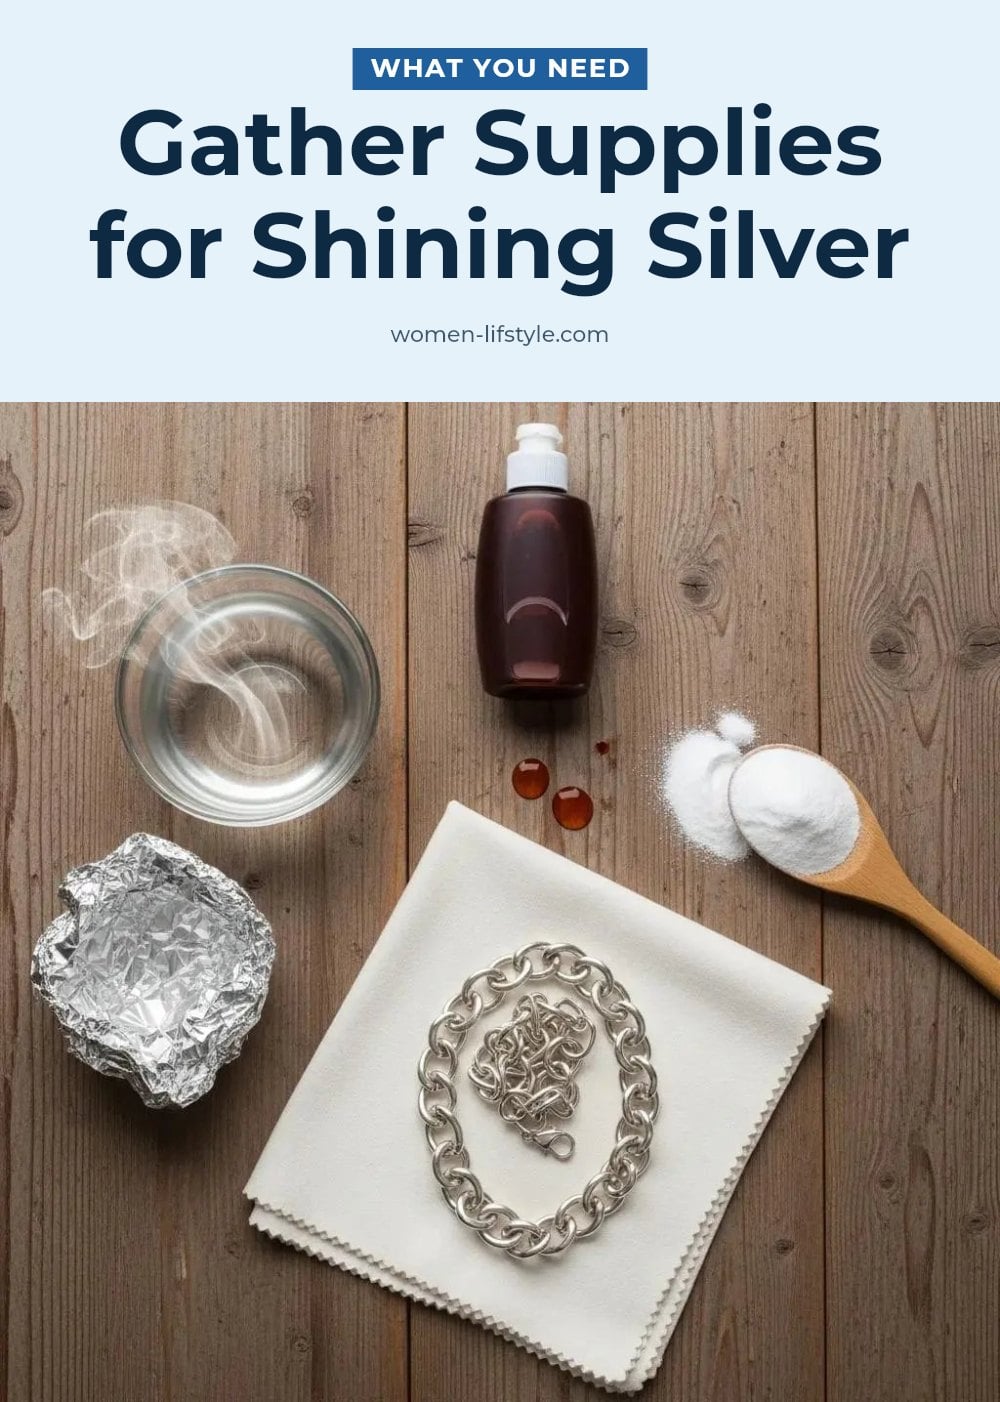
Here is everything you need to clean silver at home, most items are already in your kitchen.
- Soft polishing cloth: Use for gentle cleaning and final drying.
- Baking soda and aluminum foil: Create an electrochemical reaction to reverse tarnish.
- Hot water: Necessary to activate the baking soda and foil method.
- Plain white toothpaste: A mild abrasive for spot cleaning, not gel or whitening types.
- White vinegar: Combine with baking soda to form a gentle abrasive paste.
- Mild dish soap: For general cleaning before polishing.
- Soft-bristled brush: Reaches crevices and detailed areas.
- Shallow dish or bowl: Holds items during soaking.
Effective Methods for Cleaning Silver at Home
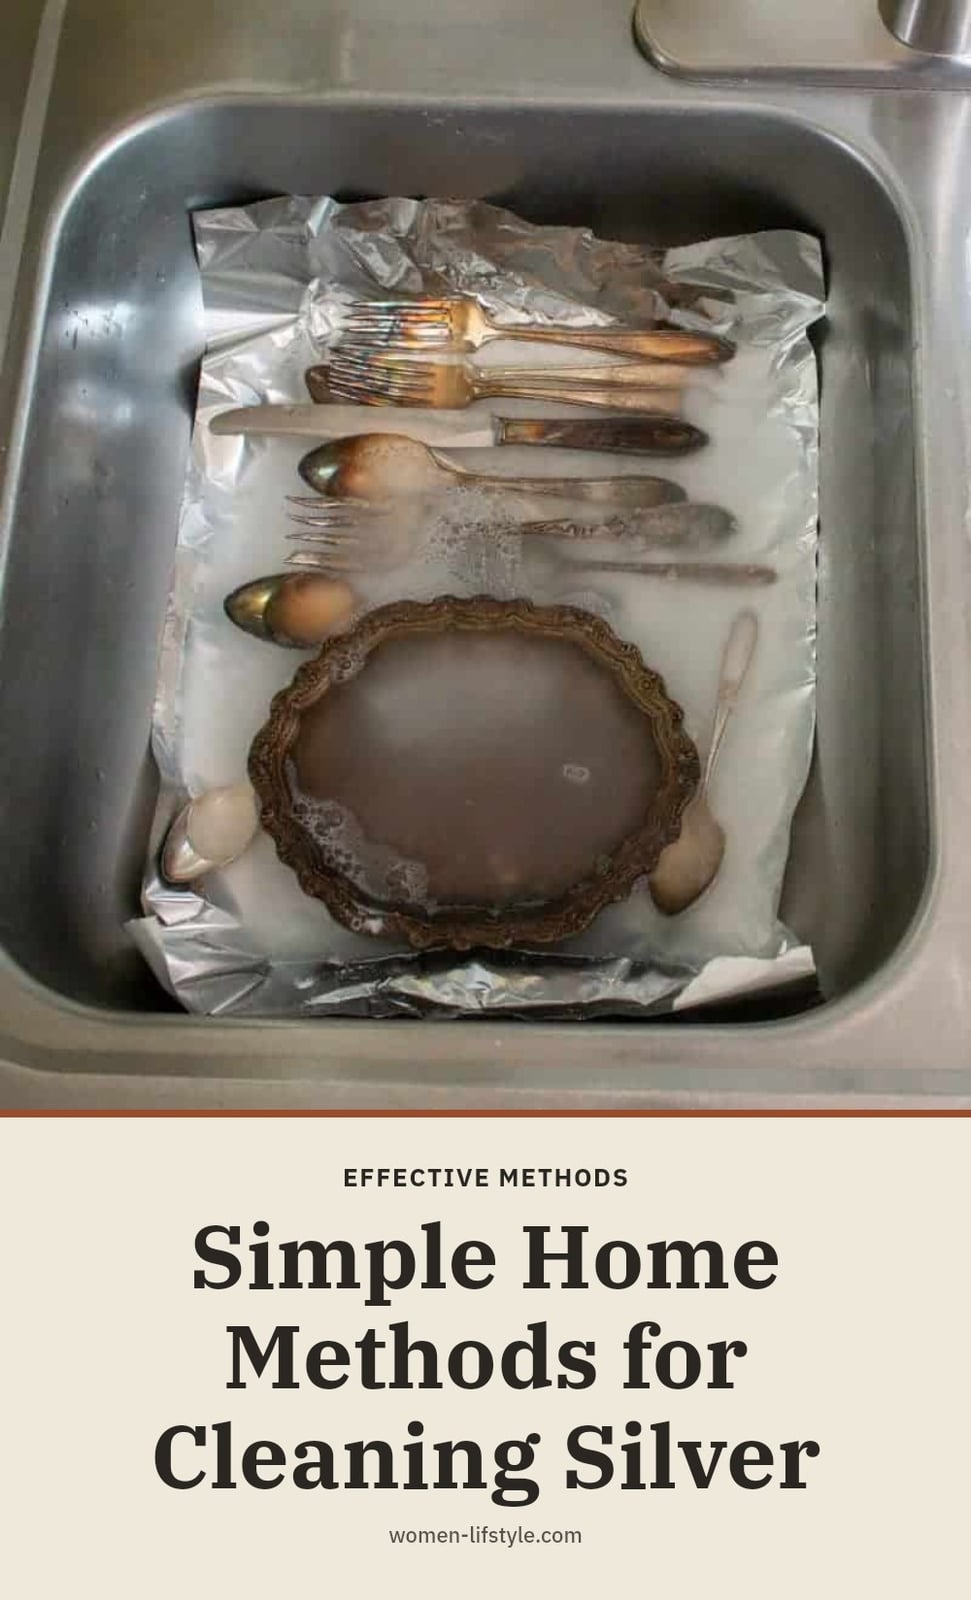
Different levels of tarnish call for different techniques. Here are the methods I rely on.
Polishing with a Soft Cloth
Best for light tarnish and regular maintenance. Simply buff the silver with a clean, soft cloth. My tip: Use gentle, circular motions and change the cloth section often to avoid redepositing tarnish.
Baking Soda and Aluminum Foil
This electrochemical method works well for moderate to heavy tarnish. Line a bowl with aluminum foil, add hot water and a tablespoon of baking soda, then submerge the silver. Wait 2-3 minutes, then rinse and dry. Caution: Do not use this on antique or plated silver, as the reaction can be too strong.
Toothpaste for Localized Tarnish
Apply a small amount of plain white toothpaste to a damp cloth and rub gently on tarnished spots. Rinse immediately. Caution: Avoid gel, whitening, or micro-bead formulas, they are too abrasive.
Baking Soda and Vinegar Paste
Mix baking soda and white vinegar into a thick paste. Apply with a soft cloth, let sit for 1-2 minutes, then rinse. The mild acidity helps break down tarnish without harsh scratching.
Commercial Silver Polish
For stubborn tarnish on solid silver items, a commercial polish offers targeted chemical and abrasive action. Follow the product instructions, and always test on a hidden area first.
Common Silver Cleaning Mistakes to Avoid
Paper towels and harsh sponges scratch silver surfaces, leaving fine marks that dull the shine. Stick to soft, lint-free cloths only.
Bleach, ammonia, and dishwasher detergents cause chemical damage and accelerate tarnishing. Never put silver in the dishwasher.
Not all toothpastes are safe. Gel, whitening, and micro-bead formulas are too abrasive. Use plain white paste only.
Letting silver air dry creates water spots and re-tarnish spots. Dry immediately with a soft cloth.
On plated silver, vigorous rubbing removes the thin silver layer. Use light pressure and gentle motions.
Rinse thoroughly after any cleaning method. Leftover residue can discolor the surface and attract more tarnish.
After Cleaning: Rinsing, Drying, and Storing Your Silver
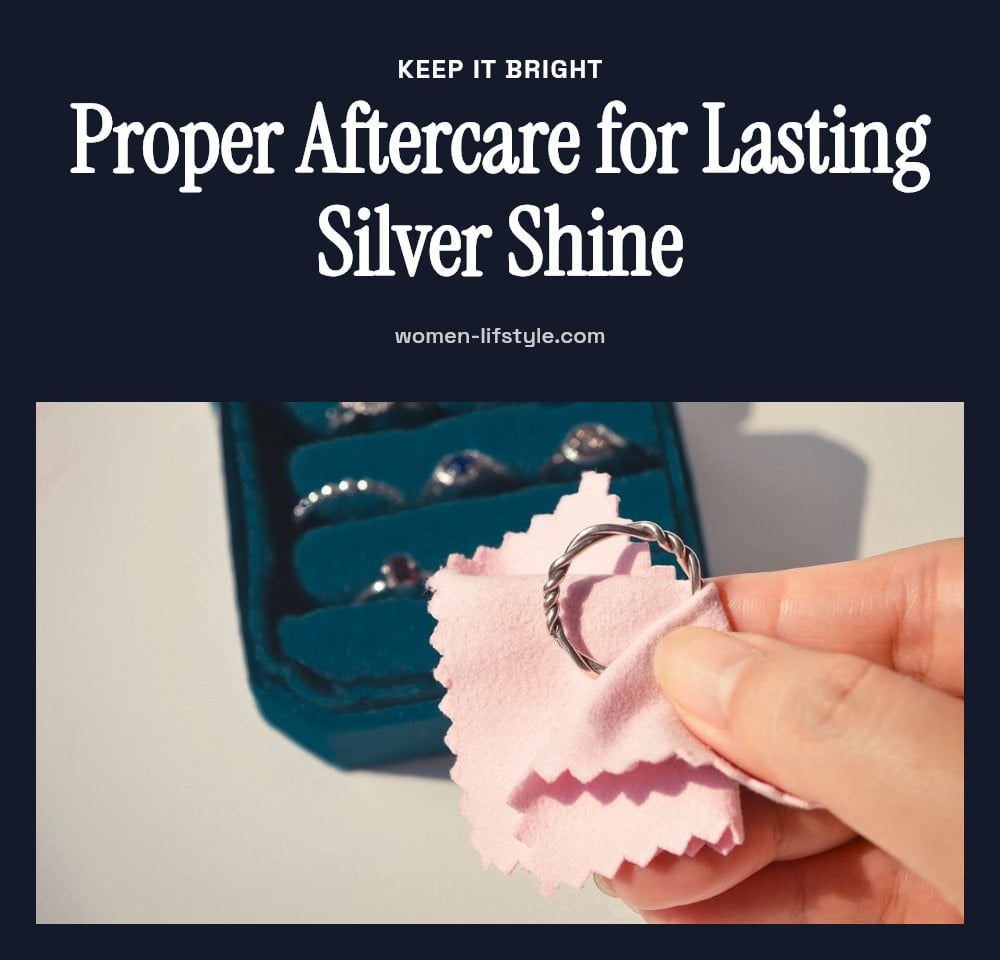
After cleaning, rinse every piece under clean running water to remove all traces of baking soda, vinegar, or polish. Pay special attention to crevices and intricate details.
Dry silver immediately and completely with a soft, lint-free cloth. Do not let it air dry, as water spots will form and can lead to re-tarnishing.
When handling clean silver, wear cotton gloves to avoid transferring fingerprints and skin oils. Oils accelerate tarnish formation.
Store silver in a cool, dry place. Airtight bags or cloth-lined boxes work best. Add anti-tarnish strips to slow down future tarnish.
How Long Cleaning Takes and Expected Costs
Light tarnish on a few pieces takes just a few minutes with a soft cloth. Heavily tarnished items may need a 5-10 minute soak in the baking soda and aluminum foil bath, or two applications. Results appear immediately after rinsing.
Homemade cleaning solutions cost pennies, using baking soda, vinegar, and foil you already own. Commercial silver polishes run under $20 and last for many uses. Anti-tarnish strips are an inexpensive add-on that extends the time between cleanings.
Frequently Asked Questions
Can I use hand sanitizer to clean silver?
Hand sanitizer is not recommended for cleaning silver. The alcohol and gels can leave a sticky residue and may not effectively remove tarnish. Stick to the methods in this article, such as a soft cloth or the baking soda and aluminum foil bath, for safe and reliable results.
How often should I clean my silver?
How often you clean depends on how much you use the pieces and where you store them. For items you use daily, a quick buff with a soft cloth every few weeks is enough. Heavily tarnished pieces might need cleaning every few months. You will know it is time when the shine starts to dull.
Does lemon juice clean silver?
Lemon juice is acidic and can help remove tarnish, but it is not as effective as the baking soda and aluminum foil method. You can try dipping a soft cloth in lemon juice and buffing gently, but be sure to rinse and dry thoroughly afterward. Test it on a small area first.
Is it safe to clean antique silver at home?
Antique silver can be delicate, and aggressive cleaning may damage the patina or intricate details. For valuable or antique pieces, it is safest to consult a professional silversmith or restorer. If you choose to clean at home, test any method on an inconspicuous spot first and use the gentlest approach.
What causes silver to tarnish so quickly?
High humidity, air pollution, and contact with sulfur-containing materials like rubber, wool, or certain foods (eggs, onions) speed up tarnishing. Sterling silver, which contains copper, tarnishes faster than pure silver. Storing silver in airtight containers with anti-tarnish strips can help slow the process.
Final Thoughts
My tip: Start with the gentlest method, a soft cloth, and only move to the baking soda bath if the tarnish is stubborn. You will see results immediately after rinsing, and the homemade method costs pennies. With proper storage, you can keep your silver looking beautiful for months between cleanings.
