

If your shower has turned into a weak drizzle, mineral buildup is likely the culprit. Calcium and magnesium from hard water can clog the spray holes, killing your water pressure and leaving unsightly crust behind. The good news is that a simple vinegar soak can restore your shower head in just a few hours.
In this article, I’ll walk you through the best cleaning hacks, from bag soaks for fixed heads to deeper scrubbing and maintenance tips, so you can enjoy a strong, even flow again.

Key Takeaways
- Soak your shower head in white vinegar for several hours or overnight for best descaling results.
- Use a plastic bag and rubber band to soak a non-removable shower head in place.
- Scrub loosened deposits with an old toothbrush or soft brush after soaking.
- Rinse thoroughly with clean water to remove all vinegar residue.
- Clean your shower head every 1-3 months, depending on water hardness.
Why Your Shower Head Needs Cleaning
Mineral deposits, especially calcium and magnesium from hard water, are the main reason your shower head loses pressure and starts looking crusty. That white buildup isn’t just ugly, it narrows the spray holes and reduces flow. Regular cleaning prevents severe buildup, extends the life of your shower head, and keeps your shower hygienic. White vinegar is the most effective and safe solution for dissolving these deposits without damaging most finishes.
1. Gather Your Cleaning Essentials
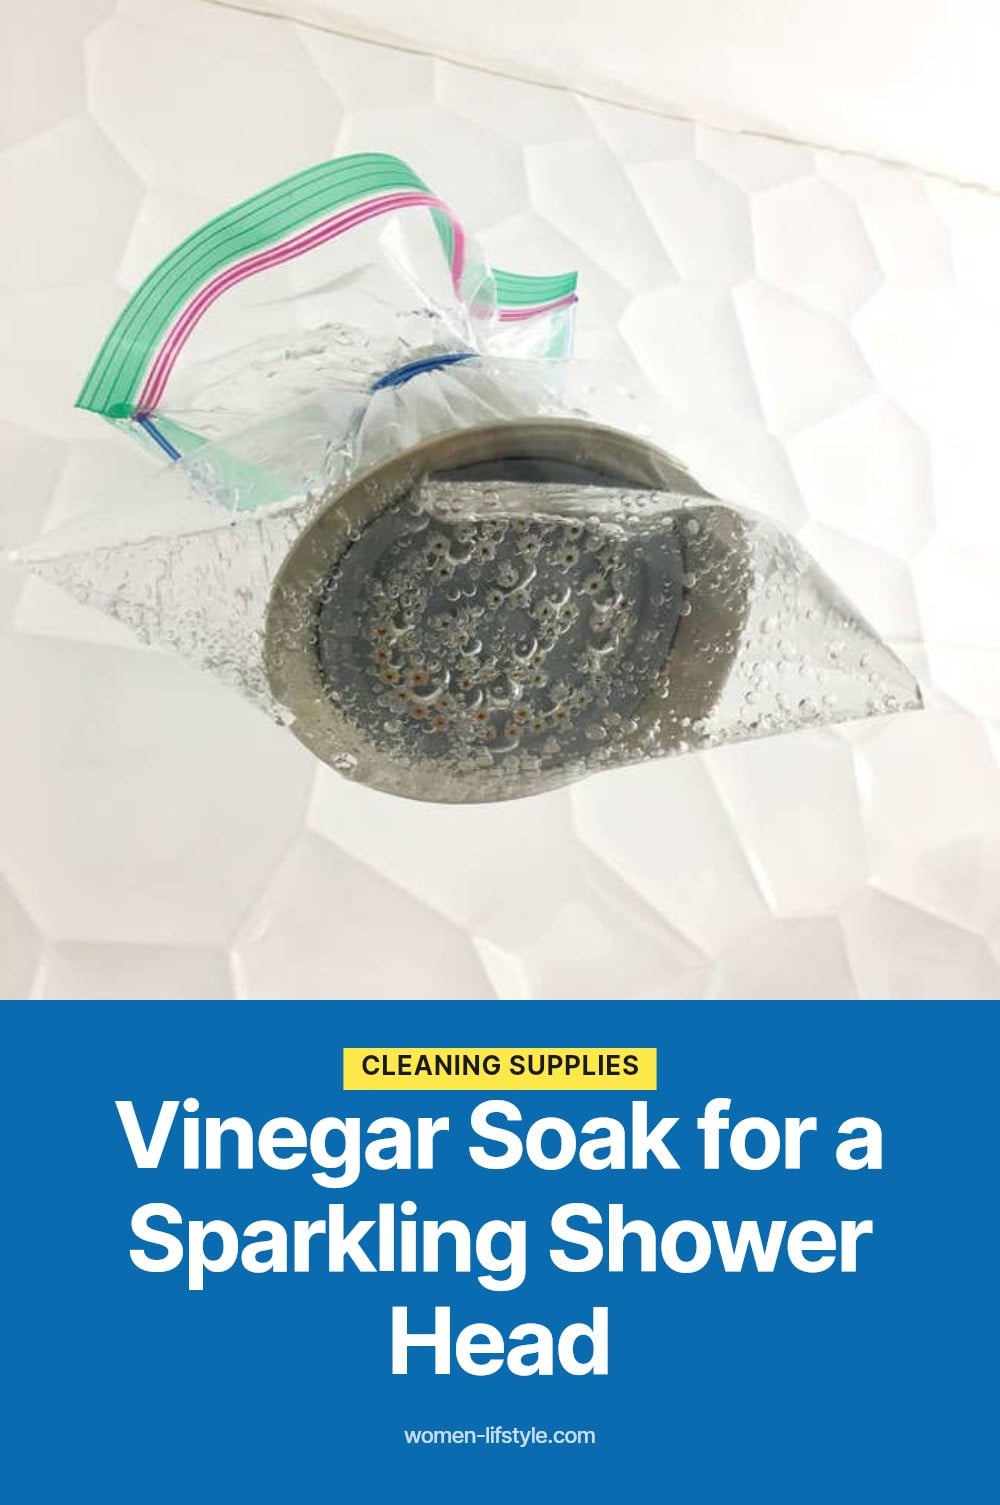
Before you start, round up these essentials. You’ll need white vinegar, a plastic bag (gallon size works well), and a rubber band or twist tie to hold it in place. An old toothbrush or soft brush helps scrub loosened deposits, and a microfiber cloth gives a final polish.
- White vinegar: dissolves mineral buildup naturally.
- Plastic bag and rubber band: for soaking a fixed shower head.
- Old toothbrush or soft brush: for scrubbing nozzles and crevices.
- Microfiber cloth: for drying and polishing.
- Baking soda (optional): makes a paste for stubborn spots.
- Pliers or wrench (optional): helps remove a stiff shower head.
2. Soak a Non-Removable Shower Head
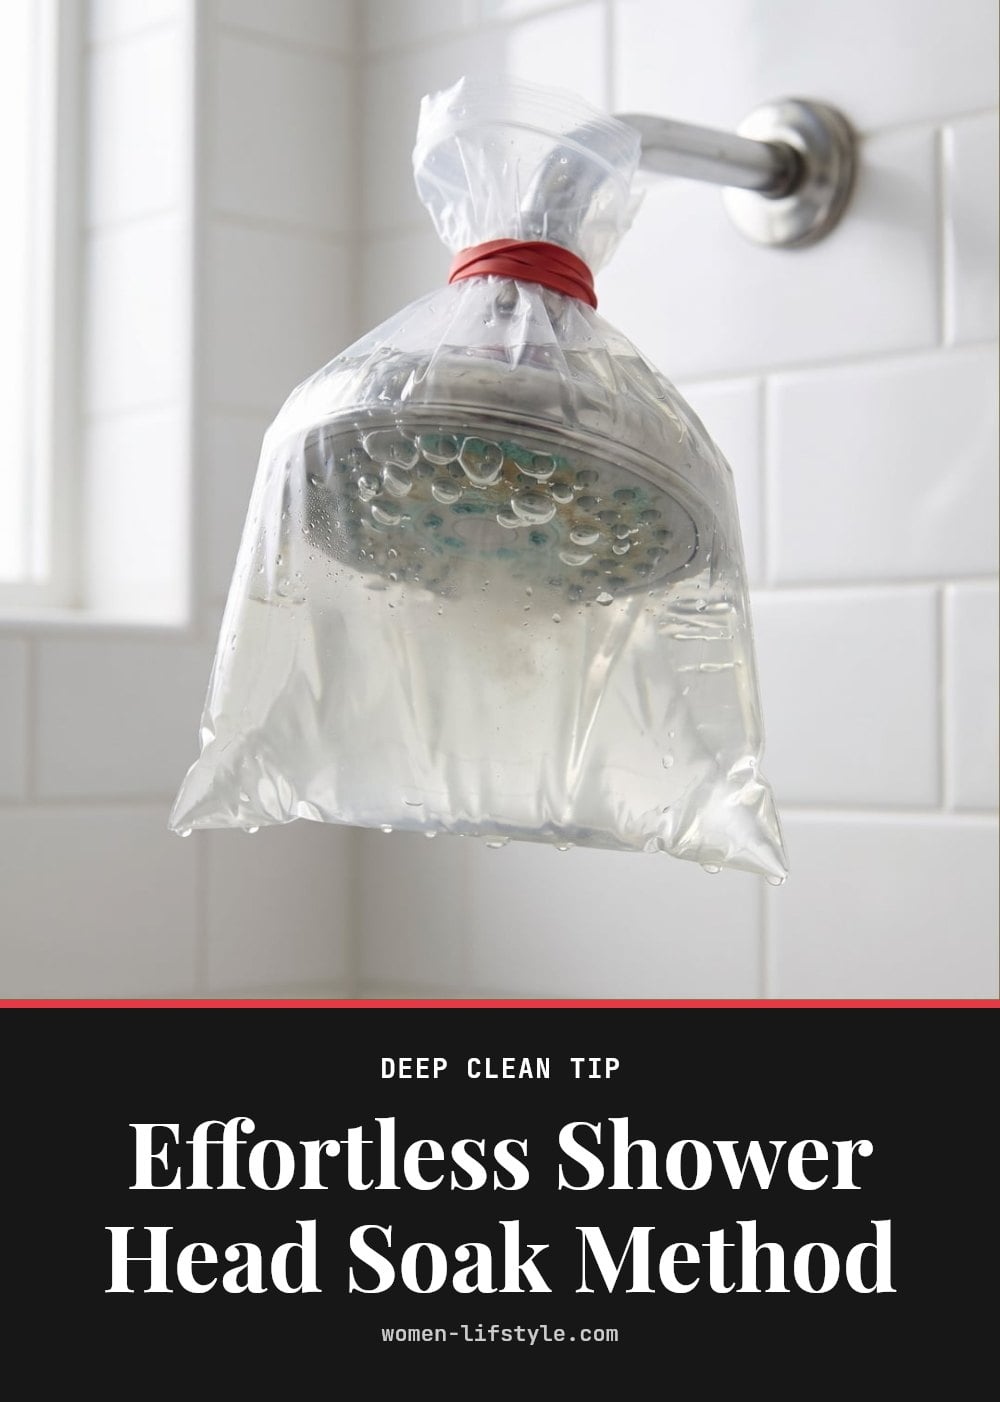
If your shower head is fixed in place, use the bag method. Fill a sturdy plastic bag with enough white vinegar to fully submerge the shower head. Carefully place the bag over the head, making sure it’s completely immersed, then secure the bag tightly around the neck with a rubber band or twist tie to prevent spills.
Leave it to soak for several hours, ideally overnight. The vinegar slowly dissolves the mineral deposits, so the longer it sits, the better the results. Check the bag occasionally for leaks, especially if you have a handheld sprayer nearby.
3. Remove and Soak a Detachable Head
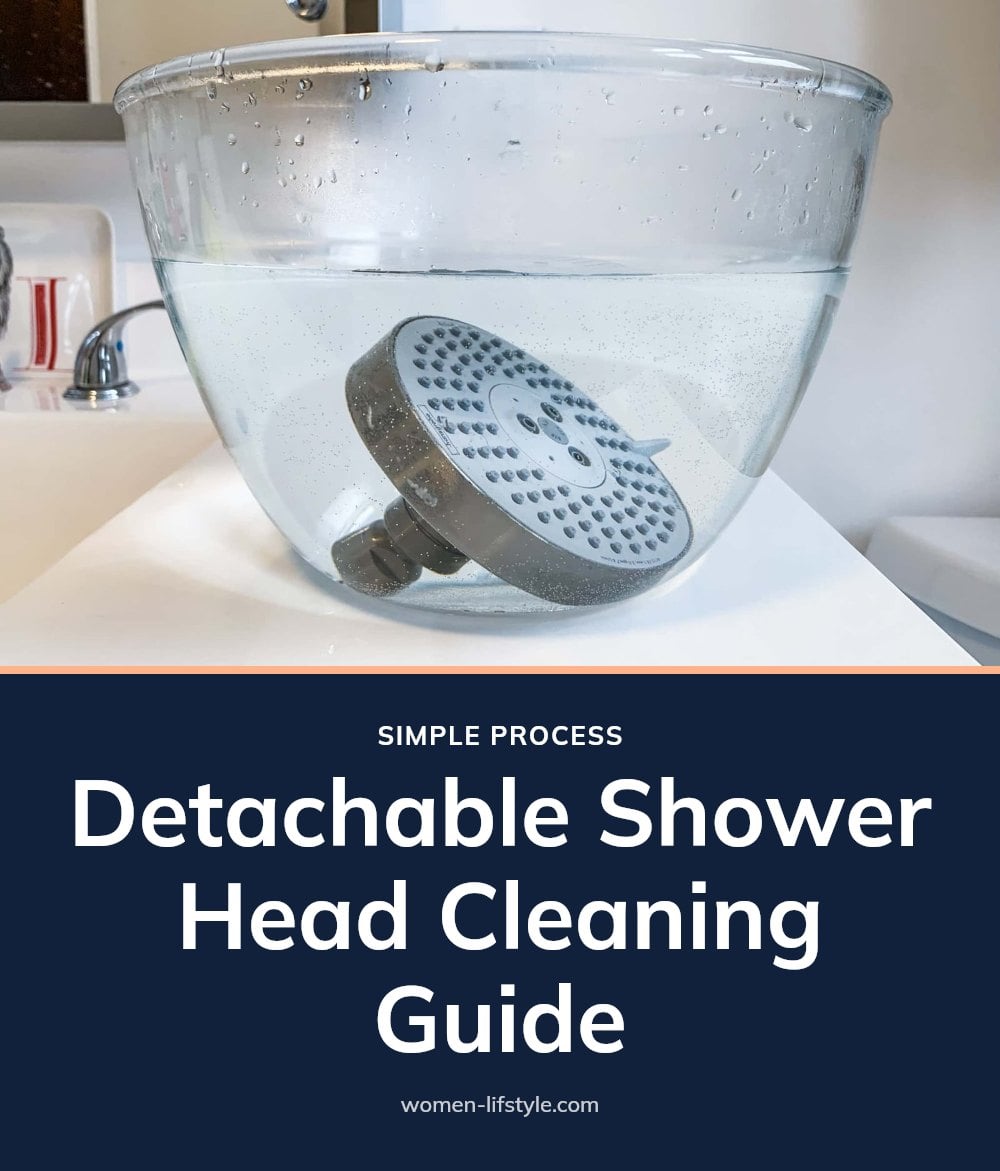
If your shower head is detachable, removing it is the most thorough option. Twist it counter-clockwise by hand, or use pliers or a wrench if it’s stiff. Once off, submerge the entire shower head in a bowl or bucket filled with white vinegar.
Let it soak for 4 to 12 hours, or overnight, depending on how severe the buildup is. This method cleans every surface, including the internal parts that the bag method can’t reach. After soaking, you’ll be ready to scrub and rinse.
4. Scrub Away Loosened Deposits

After soaking, remove the shower head from the vinegar or take off the bag. Use an old toothbrush or a soft brush to gently scrub away any remaining mineral deposits, especially from the nozzles. For shower heads with rubber nozzles, you can often dislodge deposits by simply rubbing them with your fingers. This is gentler on the material than scrubbing.
My tip: Focus on the individual spray holes to ensure maximum water flow. Pay extra attention to any nozzles that still look clogged after the soak.
5. Rinse Thoroughly with Water
Once you’ve scrubbed away the deposits, rinse the shower head thoroughly with clean, warm water. If the shower head was removed, rinse it under the tap until all vinegar residue is gone. If it was soaked in place, remove the bag and run the shower on hot for a few minutes to flush out any remaining vinegar and loosened debris.
This step is crucial to prevent any lingering vinegar smell. A thorough rinse also ensures no leftover particles re-clog the nozzles.
6. Polish for a Sparkling Finish
After rinsing, use a microfiber cloth to wipe down and polish the shower head. This will remove any water spots and leave it looking clean and shiny. A dry polish can also help prevent new mineral deposits from forming as quickly by keeping the surface smooth.
7. Tackle Stubborn Spots with Baking Soda
For really tough, caked-on mineral deposits that don’t budge with vinegar alone, create a paste. Mix a small amount of baking soda with a few drops of vinegar to form a thick paste. Apply the paste directly to the stubborn areas, let it sit for 15-30 minutes, then scrub gently with a brush and rinse.
Caution: Test on an inconspicuous area first if you’re concerned about your shower head’s finish. This paste is a safe booster for most finishes, but always check before applying to a large area.
8. Disassemble for Deeper Cleaning
Check your manual first: Some shower heads can be partially disassembled for deeper cleaning of internal screens and components. Refer to your shower head’s manual for specific instructions on disassembly. Soak these individual parts in vinegar, scrub with a soft brush, and rinse well before reassembling.
Caution: Don’t force disassembly if components feel stuck or if you’re unsure how to reassemble. Forcing it can crack plastic parts or strip threads, causing leaks or permanent damage.
9. Maintain Regular Cleaning Schedule
Set a recurring reminder: To prevent severe buildup and maintain optimal water pressure, I clean my shower head regularly. Aim for a quick wipe-down every month or a thorough vinegar soak every 1-3 months, depending on how hard your water is.
Tip: Consistent maintenance takes 15 minutes of active time and saves you from scrubbing rock-hard deposits later. Mark it on your calendar and stick with it.
10. Avoid Harsh Chemicals and Abrasives
Stick to vinegar: Never use abrasive cleaners, harsh chemicals like bleach, or scouring pads on your shower head. These can corrode, discolor, or permanently damage the finish, especially on brushed nickel or chrome.
My tip: White vinegar is powerful enough for mineral deposits and much safer for most finishes. If you need extra scrubbing power, use a soft brush or a baking soda paste instead of any abrasive pad.
11. Safety First When Cleaning
Ventilate the bathroom: Always ensure good airflow when working with vinegar, especially in a small bathroom. Open a window or turn on the exhaust fan to avoid strong fumes.
Protect your eyes: Avoid getting vinegar in your eyes; if contact occurs, rinse immediately with plenty of water for at least 15 minutes. Never mix vinegar with bleach, as this creates dangerous chlorine gas.
Tip: These simple precautions keep you safe while you get your shower head sparkling clean. A well-ventilated space and careful handling make the process worry-free.
Common Shower Head Cleaning Mistakes
Using Harsh Cleaners: Many people reach for strong chemical cleaners, but these can permanently damage your shower head’s finish. Stick to white vinegar for descaling. It dissolves mineral deposits without harming chrome, nickel, or other common finishes.
Not Soaking Long Enough: A quick spray won’t cut it for mineral buildup. Allow several hours or overnight for the vinegar to truly dissolve deposits. The longer the soak, the less scrubbing you will need.
Neglecting Regular Cleaning: Waiting until water pressure is severely impacted makes the job much harder. Clean proactively every 1-3 months to maintain flow and prevent stubborn crust from forming.
Forgetting to Rinse Thoroughly: If you don’t rinse well, you’ll be left with a lingering vinegar smell. Flush with hot water for a few minutes after cleaning to remove all residue.
Scrubbing Rubber Nozzles: For flexible rubber nozzles, gently rubbing them with your fingers is more effective and less damaging than harsh scrubbing. This dislodges deposits without tearing the soft material.
Frequently Asked Questions
How often should I clean my shower head?
For most homes, a thorough vinegar soak every 1-3 months is ideal, depending on your water hardness. If you live in an area with very hard water, you may need to clean it monthly. A quick wipe-down with a microfiber cloth between soaks can help keep buildup at bay.
Can I use bleach to clean my shower head?
No, you should avoid bleach and other harsh chemicals. They can corrode or discolor the finish, especially on chrome or brushed nickel. Stick to white vinegar, which is a natural descaler that safely dissolves mineral deposits without damaging most finishes.
What if my shower head is still clogged after cleaning?
If the flow is still weak after a vinegar soak and scrub, the buildup may be deeper inside. Check if your shower head can be disassembled for a more thorough cleaning of internal screens. If it’s still not working, it might be time to replace the shower head, especially if it’s old or severely corroded.
Does hard water affect shower heads?
Yes, hard water is the main culprit behind clogged shower heads. It contains high levels of calcium and magnesium, which leave mineral deposits that narrow the spray holes and reduce water pressure. Regular cleaning is especially important in hard-water areas to prevent severe buildup.
Can I clean a brass shower head with vinegar?
Vinegar is generally safe for brass, but it’s always wise to test on a small, inconspicuous area first. Some specialized finishes may react differently. If you’re unsure, check your manufacturer’s recommendations or consult a professional before soaking the entire head.
Final Thoughts
For a shower head that flows like new, commit to a vinegar soak every 1-3 months, depending on how hard your water is. This simple routine takes about 15-30 minutes of active time plus a few hours of soaking, and it will keep mineral buildup from stealing your pressure. The first time you feel that strong, even spray again, you’ll know it was worth it.
