

Figuring out the best nail shape for your fingers can feel overwhelming with so many options out there. Your ideal shape really comes down to your finger length, nail bed width, and personal style, and getting it right makes your hands look instantly more polished. This article walks you through the five most common shapes, square, round, oval, almond, and coffin, and gives you a simple step-by-step method to shape them at home without damaging your nails.

Key Takeaways
- Always file dry nails in one direction using a file no coarser than 180 grit.
- Match your nail shape to your cuticle line for a more natural, harmonious look.
- For tapered shapes like almond or coffin, consider a gel overlay to prevent flexing and breakage.
- Shape your nails every one to two weeks to maintain the outline and avoid snags.
- The squoval shape is the strongest and a great choice if you want durability with a clean look.
Finding Your Ideal Nail Shape
Your ideal nail shape depends on your finger length, nail bed width, and personal style. The five most common shapes are square, round, oval, almond, and coffin, each with a distinct aesthetic. Square offers a strong, classic look, while round is soft and low-maintenance. Oval elongates the fingers, almond adds elegance, and coffin makes a bold statement. Choosing the right shape enhances your hands’ overall appearance and can even make your fingers look longer. My tip: hold your hand flat and imagine each shape on your nails before you commit.
Tools for Perfect Nail Shaping
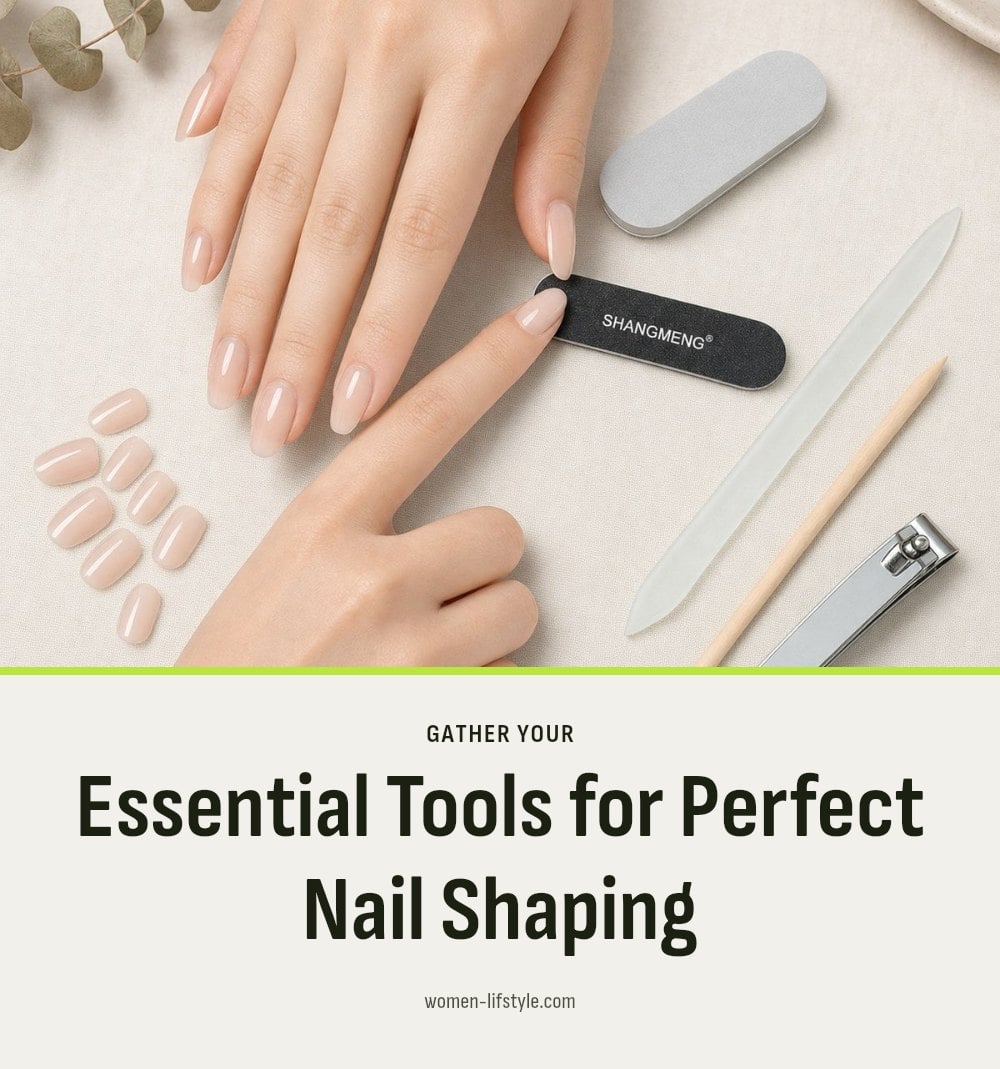
You only need a few tools to shape nails well at home. The most essential is a good quality nail file, ideally an emery board or glass file, with a grit no coarser than 180. Finer grits, like 200, prevent splitting and leave a smooth edge.
- Nail file: Use for all shaping; choose a finer grit for finishing.
- Nail buffer: Smooths the surface and adds shine after filing.
- Cuticle pusher: Gently pushes back cuticles for a cleaner nail bed.
- Cuticle oil: Hydrates cuticles and supports healthy nail growth.
Step-by-Step: How to Shape Your Nails at Home
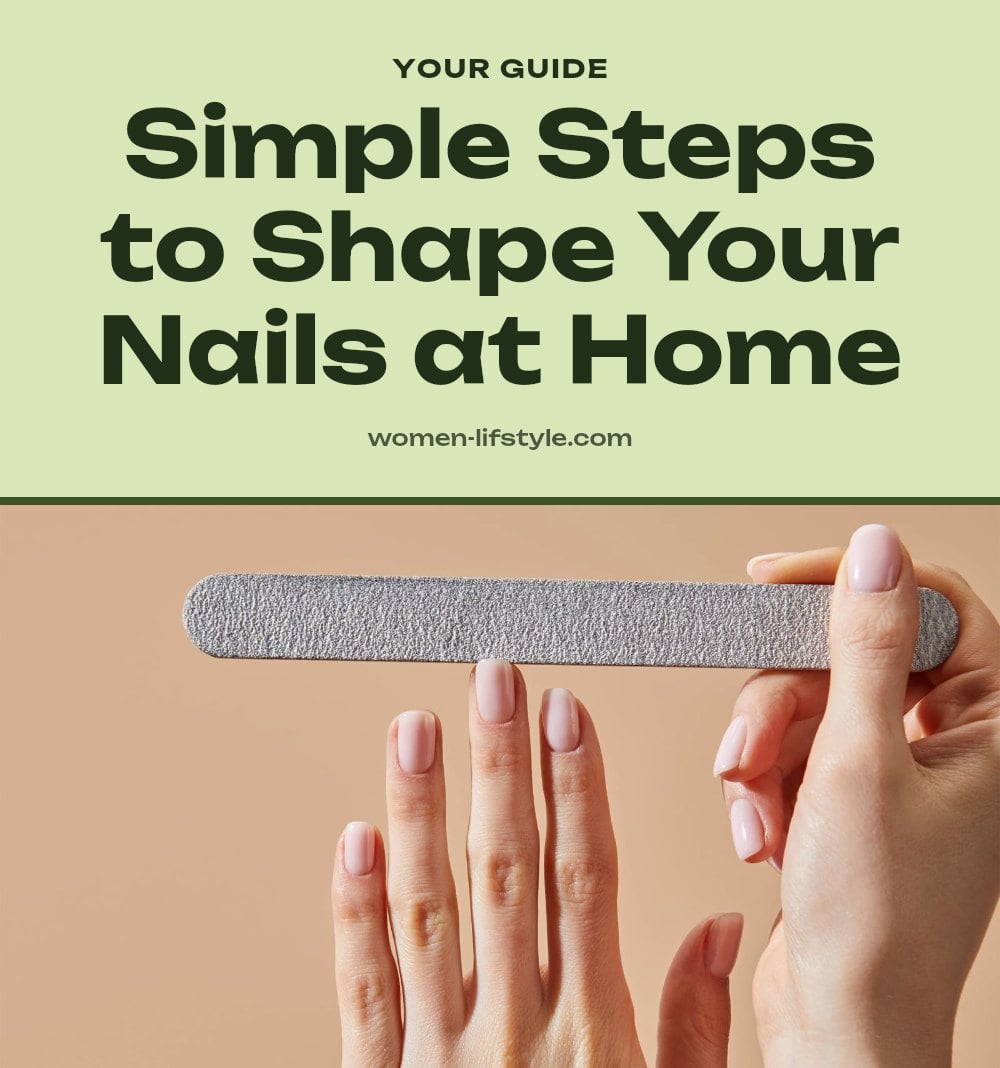
Start with clean, completely dry nails. Wet nails are weaker and more likely to split. Use a file no coarser than 180 grit, ideally 200, and always file in one direction, never sawing back and forth.
- Prepare your nails: Wash and dry your hands thoroughly. Push back cuticles gently if you like, but skip any filing until nails are fully dry.
- Choose your shape: Decide on square, round, oval, almond, or coffin before you start. This guides every file stroke.
- File the free edge: For square nails, file straight across. For round nails, follow the natural curve of your fingertip, filing in one direction.
- Refine the sides: For oval nails, file the sides more deeply than round to create an egg-like shape. For almond nails, taper the sides to a point, but never dig into the sidewalls.
- Shape the tip: For coffin nails, taper the sides to a straight, flat tip. If you need to shorten the nail first, use nippers, then file to refine.
- Smooth and finish: Switch to a finer grit file to smooth any rough edges. Wipe away dust and apply cuticle oil to hydrate.
Caution: Over-filing can thin and weaken nails. Stop if you feel any pain or discomfort.
If you learn better by watching, this 12-minute video from Paola Ponce Nails shows every step.
Common Nail Shaping Mistakes to Avoid
Avoid these common mistakes to keep your nails healthy and strong.
- Filing wet nails: Always ensure your nails are completely dry before filing to prevent weakening and breakage.
- Sawing back and forth: File in one direction only to prevent fraying the nail edge and splitting.
- Using coarse files: Files coarser than 180 grit can cause natural nails to split; opt for finer grits for natural nails.
- Filing too aggressively: Avoid filing too deeply into the sides or aggressively, which can thin and weaken nails.
- Ignoring natural shape: Consider your finger and nail bed shape when choosing a nail shape for a harmonious look.
Expert Tips for Long-Lasting Nail Shapes
Match your cuticles: Align your nail shape with your cuticle line for a more natural look. If your cuticles are rounded, a round or oval shape will flow better than a sharp square.
Strengthen with gel: Tapered shapes like almond and coffin put more stress on the nail. A gel overlay adds rigidity so the nail doesn’t flex and break at the stress point.
Regular maintenance: Shape your nails every one to two weeks. A quick touch-up prevents chips from catching and keeps the outline clean.
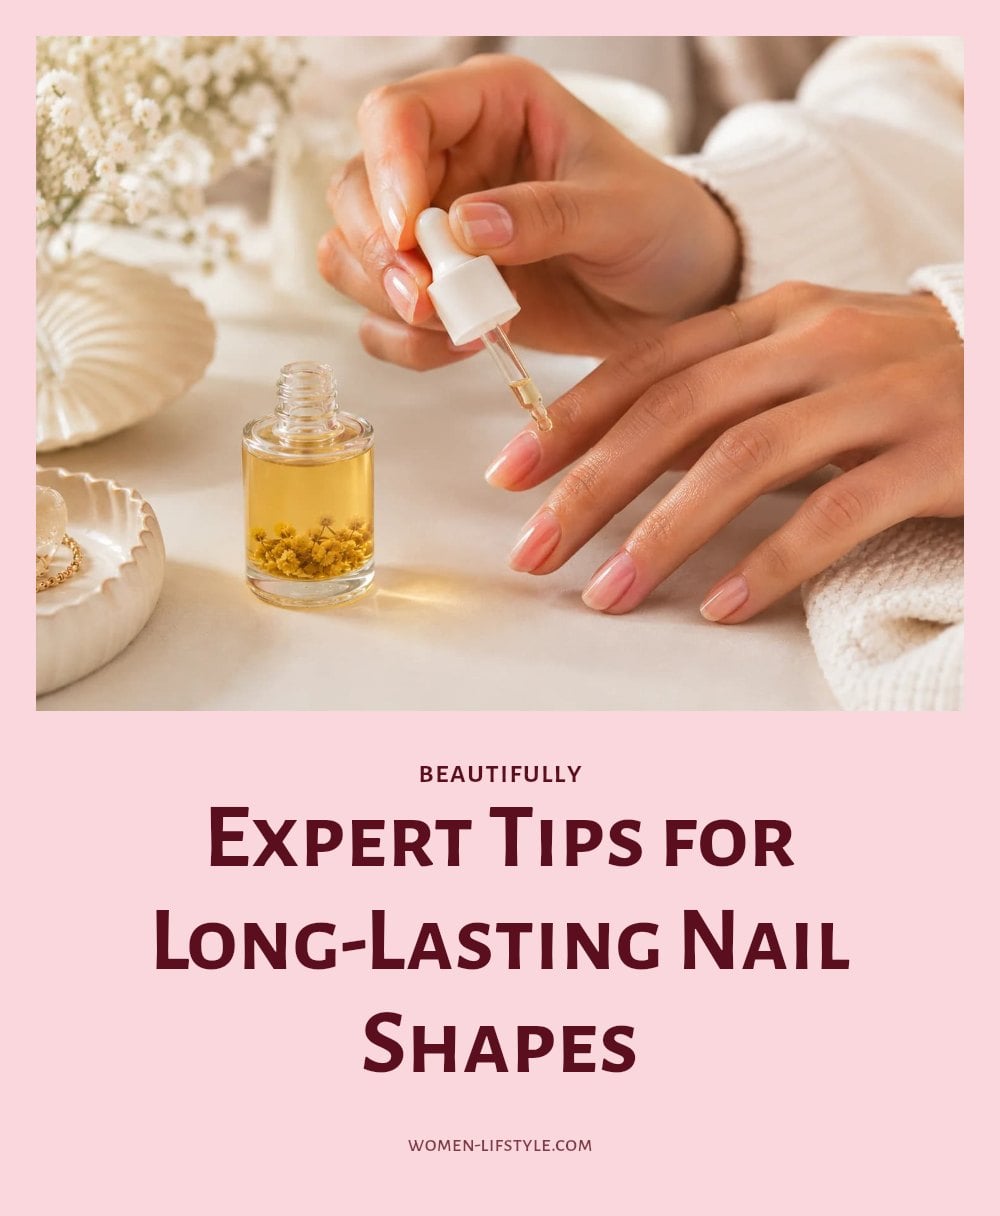
Moisturize daily: Rub cuticle oil and hand lotion into the nail plate and surrounding skin. Hydrated nails are more flexible and less likely to peel or snag.
Choosing the Right Nail Shape for You
| Shape | Best For | Key Characteristic |
|---|---|---|
| Square | Long, narrow nail beds | Strong, classic look |
| Round | Short fingers, low-maintenance | Soft, follows fingertip curve |
| Oval | Short, wide nail beds | Elongates the finger |
| Almond | Slender hands | Elegant, tapered point |
| Coffin | Long nails, bold style | Flat tip, dramatic taper |
Choose a shape that balances your finger length and nail bed width. Square is strong and classic, round is soft and low-maintenance, oval elongates, almond is elegant, and coffin is bold.
How Often to Shape Your Nails
Shape your nails every one to two weeks. Your growth rate and desired length determine the exact timing, faster growers or those keeping a short length may need a weekly touch-up.
Regular shaping keeps the outline clean and prevents snags or chips that can travel down the nail. It also helps maintain the structural strength of the chosen shape, especially for tapered styles.
Frequently Asked Questions
Can I change my nail shape easily?
Yes, you can change your nail shape, but it takes time if you are going from a very short or wide shape to a long, tapered one. You will need to let your nails grow out gradually and file them into the new shape over several weeks. Avoid trying to force a dramatic change all at once, as that can weaken your nails.
What nail shape makes fingers look longer?
Oval and almond shapes are best for making fingers appear longer because they elongate the nail bed. These shapes draw the eye upward and create a slender, graceful line. If you have short or wide nail beds, oval is especially flattering.
Is it better to file or clip nails?
Filing is gentler and gives you more control over the final shape, especially for curves and tapered ends. Clipping is fine for shortening length quickly, but always follow up with a file to smooth the edge. Never clip into the sides of the nail, as that can lead to ingrown nails.
How do I prevent my nails from splitting after shaping?
Always file dry nails in one direction using a file no coarser than 180 grit. Avoid sawing back and forth, which frays the edge. Finish with a finer grit file (like 200) to smooth any roughness, and keep your nails moisturized with cuticle oil to maintain flexibility.
What are the best nail shapes for short fingers?
Round and oval shapes are the most flattering for short fingers because they follow the natural curve of the fingertip and create a soft, lengthening effect. Avoid square or coffin shapes, which can make short fingers look stubbier. A round shape is also very low-maintenance.
Final Thoughts
My tip: start with a squoval shape if you are new to shaping at home. It is the strongest and easiest to maintain while still looking polished. Expect to touch up your shape every one to two weeks as your nails grow. With a good file and a consistent routine, you can keep your nails looking salon-fresh without the hassle.
