Painting your walls is one of the quickest and most affordable ways to transform a room, and you don’t need to be a pro to get great results. The key is in the prep work, choosing the right tools, and knowing a few simple techniques. This guide walks you through every step, from cleaning and patching to rolling on that final coat, so you can tackle the project with confidence.
Key Takeaways
- Thoroughly clean and patch walls before painting to ensure good adhesion and a smooth finish.
- Use painter’s tape on trim and ceilings for crisp, clean lines.
- Apply primer over patched areas, new drywall, or when changing from a dark to a light color.
- Most walls need two thin coats of paint for even coverage and durability.
- Remove painter’s tape while the paint is still slightly wet to prevent peeling.
Your First Step to Beautifully Painted Walls
Painting walls is one of the most rewarding DIY projects you can tackle, and it doesn’t require years of experience to get a beautiful result. The real secret to a professional-looking finish isn’t in how fast you roll. It’s in how well you prepare. Thorough cleaning, patching any holes or cracks, and applying primer where needed make the difference between paint that peels in six months and paint that stays smooth for years. Choosing the right paint type and finish, along with quality tools like a good angled brush and roller, also sets you up for success from the start.
1. Gather Your Essential Tools and Materials
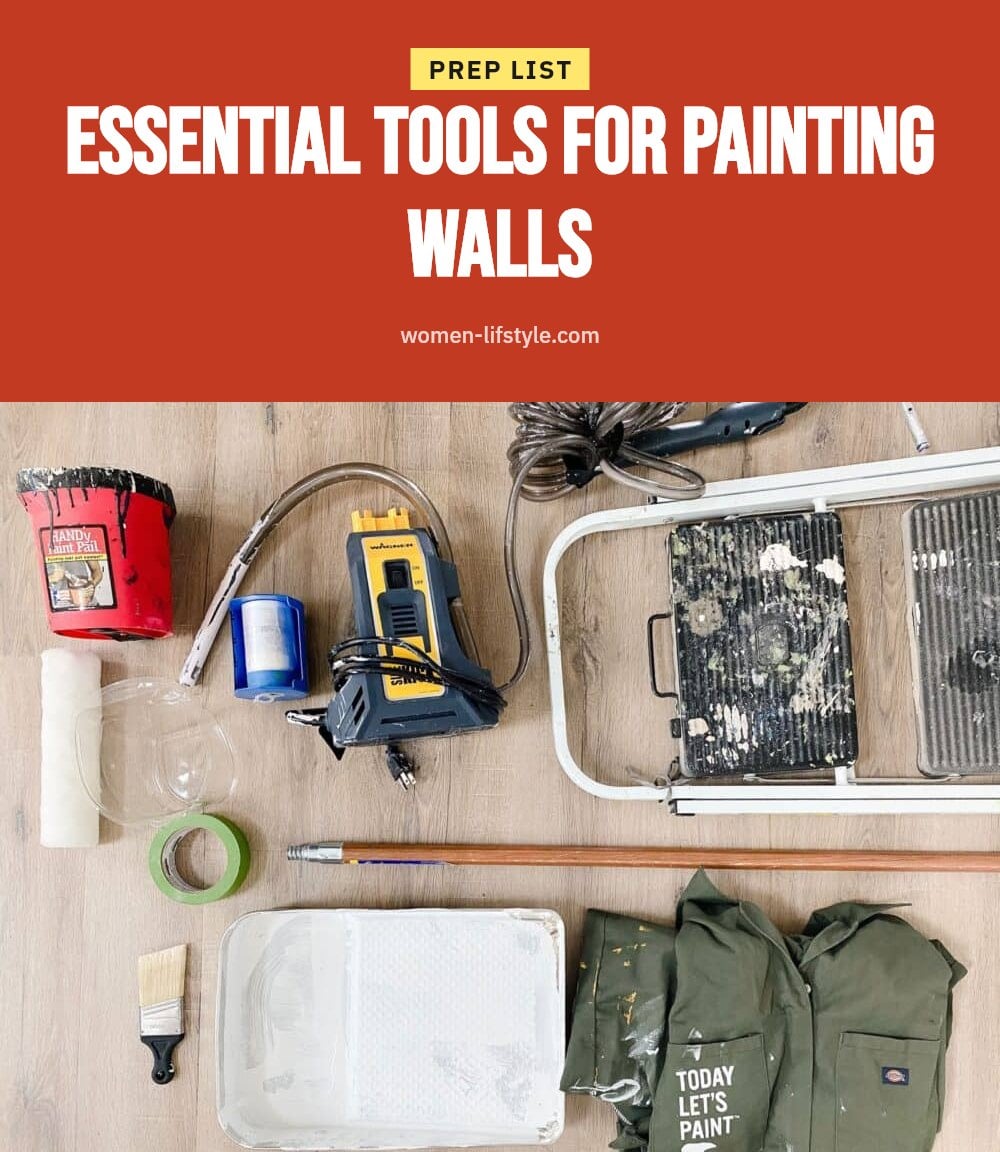
Before you even open a paint can, lay out everything you’ll need so you’re not searching mid-project. You’ll want drop cloths to protect floors, painter’s tape for trim, spackle or joint compound for repairs, sandpaper or a sanding block, a mild cleaning solution like TSP substitute, a sponge, paint brushes (especially an angled one), rollers with the right nap for your wall texture, a paint tray, an extension pole, primer, and your interior wall paint.
Tip: A good angled brush for “cutting in” around edges makes a huge difference for crisp lines. Don’t skimp on this. It’s worth the extra few dollars.
2. Clean Your Walls Thoroughly
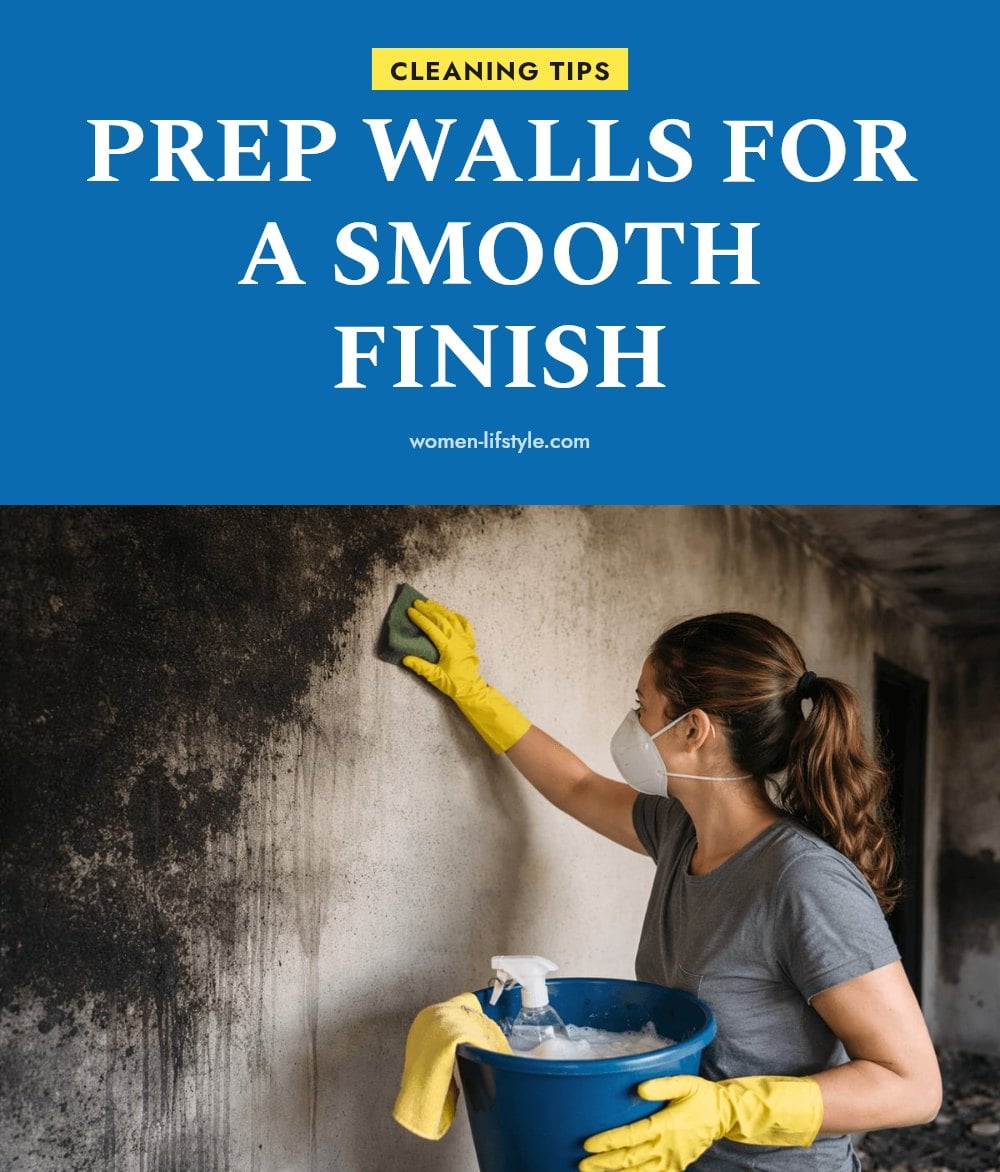
Don’t skip cleaning, even if the walls look clean. Dirt, dust, and grease prevent paint from sticking properly, which leads to peeling and uneven coverage later. Mix a mild detergent or a TSP substitute with warm water and use a damp sponge to wipe down every wall surface, focusing on areas near light switches and door frames where grime builds up.
Caution: Let the walls dry completely before moving to the next step. Painting over a damp or dirty surface is a sure way to ruin your hard work.
3. Patch and Sand Imperfections
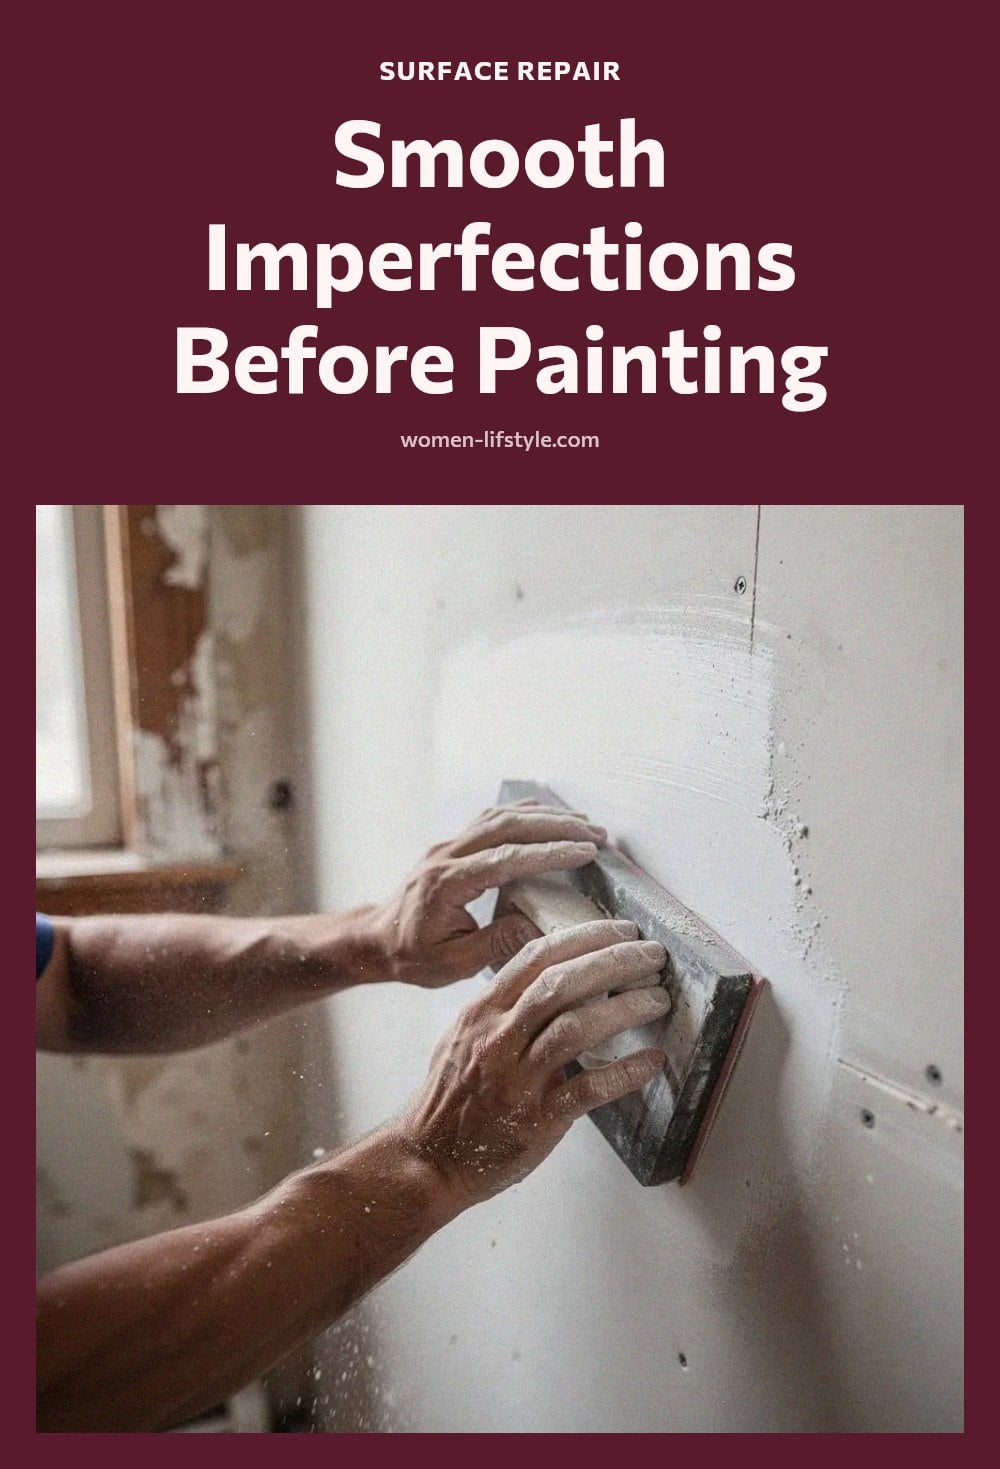
Small holes from picture hooks or minor cracks are easy to fix. Fill them with spackle or joint compound using a putty knife, then let it dry completely according to the package instructions, usually an hour or two.
Once dry, sand the patched areas smooth with a sanding block or fine-grit sandpaper (120-150 grit works well). This creates a seamless surface so your paint doesn’t show every repair. My tip: Run your hand over the area after sanding to feel for any bumps or unevenness, then sand a little more if needed.
4. Protect Your Trim and Floors
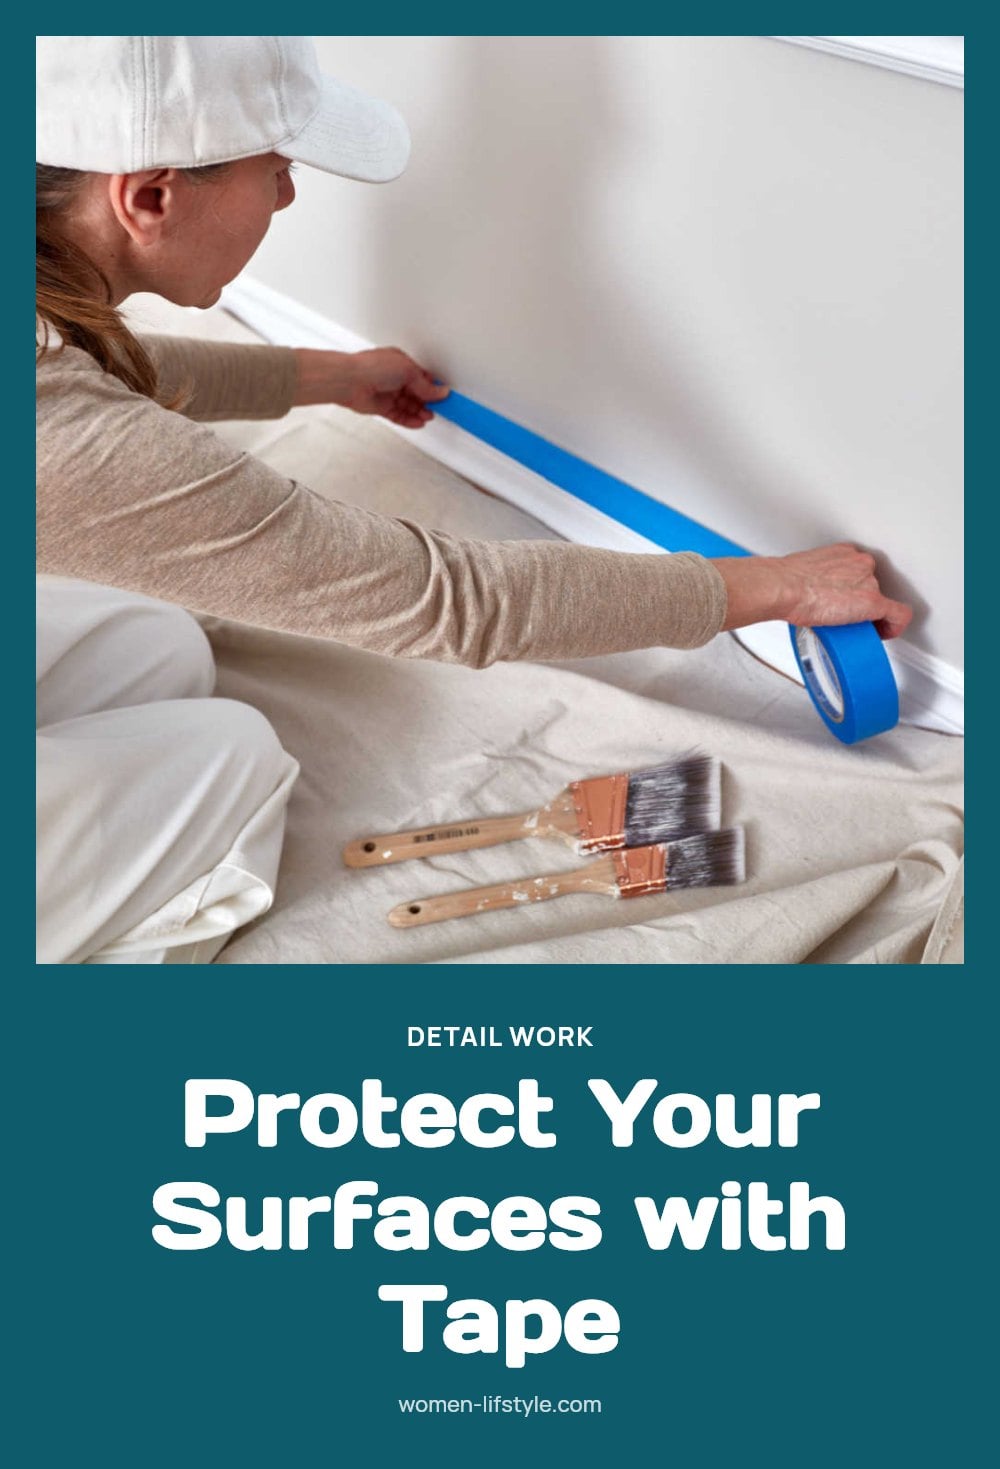
Apply painter’s tape carefully along baseboards, door frames, window casings, and ceilings. Press the edges down firmly so paint can’t seep underneath. This gives you crisp, clean lines without any messy touch-up work later.
Lay down drop cloths or plastic sheeting on your floors and over any furniture you can’t move out of the room. Trust me, drips happen, and cleanup is much easier this way. Canvas drop cloths are better than plastic for floors because they absorb spills and don’t get slippery.
5. Prime for Best Adhesion and Color
Primer isn’t always necessary, but it’s crucial for new drywall, patched areas, or when you’re making a big color change (like going from dark to light). It seals the surface so the paint adheres evenly and prevents blotchiness.
My tip: If you’re painting over a very dark color with a light one, a tinted primer can save you an extra coat of paint. Ask the paint store to tint the primer toward your final color. This cuts down on the number of topcoats you’ll need and gives a truer result.
6. Choose the Right Paint Type and Finish
For interior walls, latex (water-based) paints are generally easiest to work with, drying faster and cleaning up with just water. Oil-based paints are more durable but messier and require solvents for cleanup, so they’re rarely worth the hassle for DIY wall painting.
Consider your finish carefully. Flat hides imperfections but is harder to clean. Eggshell or satin offers a good balance of durability and subtle sheen, making them great for living rooms and bedrooms. Semi-gloss or high-gloss works well in high-traffic areas like kitchens and bathrooms where washability is key.
7. Master the ‘Cutting In’ Technique
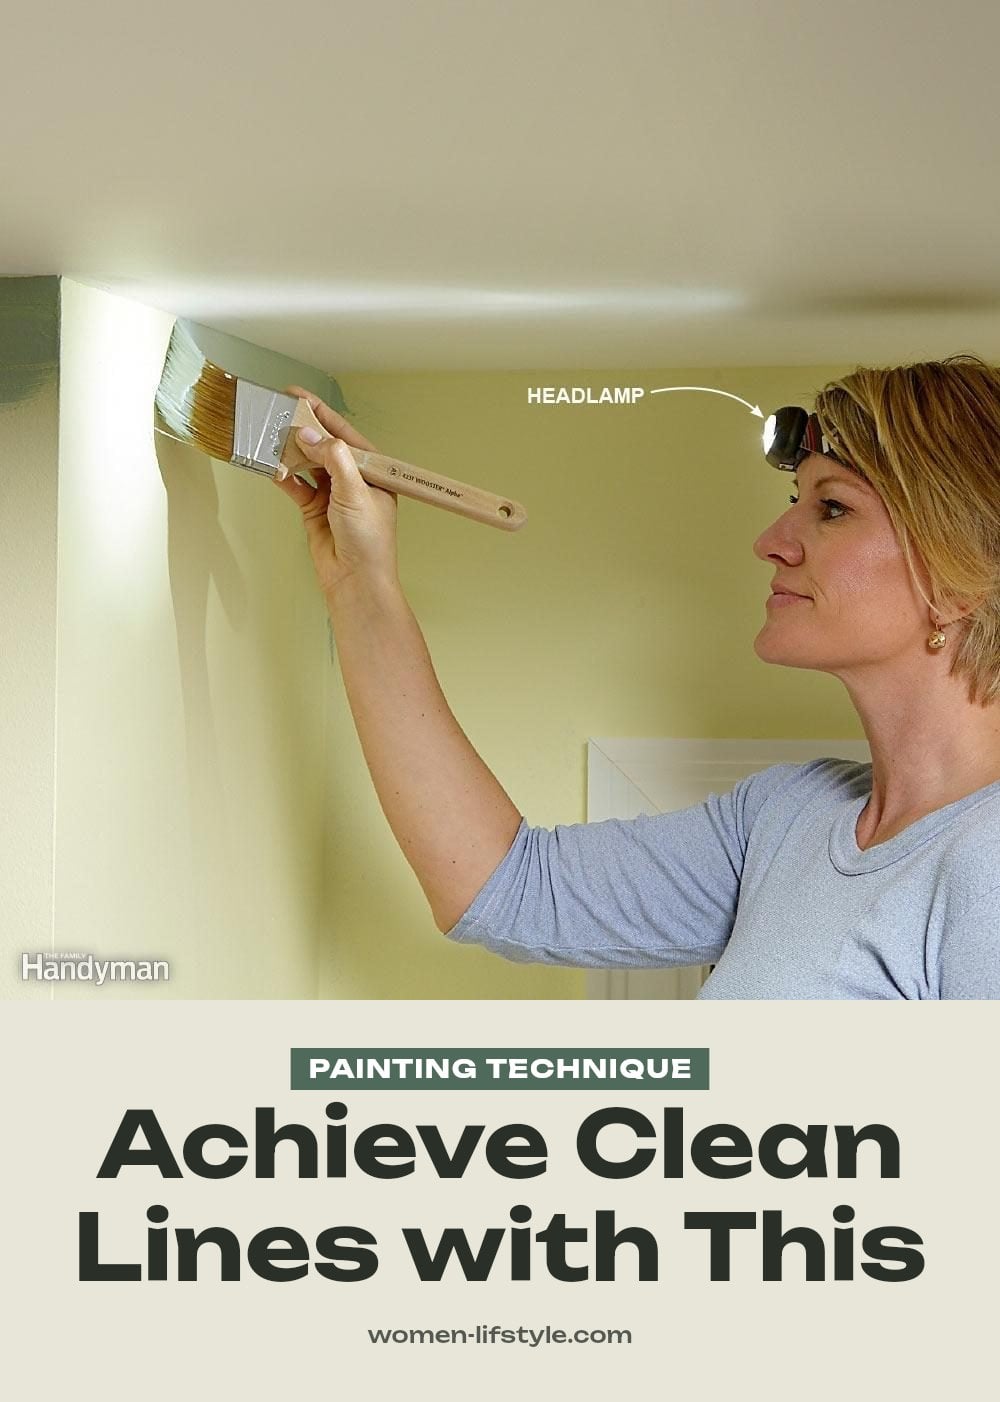
Before you grab your roller, use an angled brush to ‘cut in’ along the edges where the wall meets the ceiling, trim, and corners. This creates a clean, straight line that your roller can’t reach. Work in 3-4 foot sections so the paint stays wet and blends smoothly.
Don’t overload your brush. Dip about a third of the bristles into the paint, tap off the excess against the side of the can, and use steady, controlled strokes. Tip: A steady hand and a good quality angled brush make all the difference here. Cheap brushes tend to leave stray bristles and uneven lines.
8. Roll Walls for Even Coverage
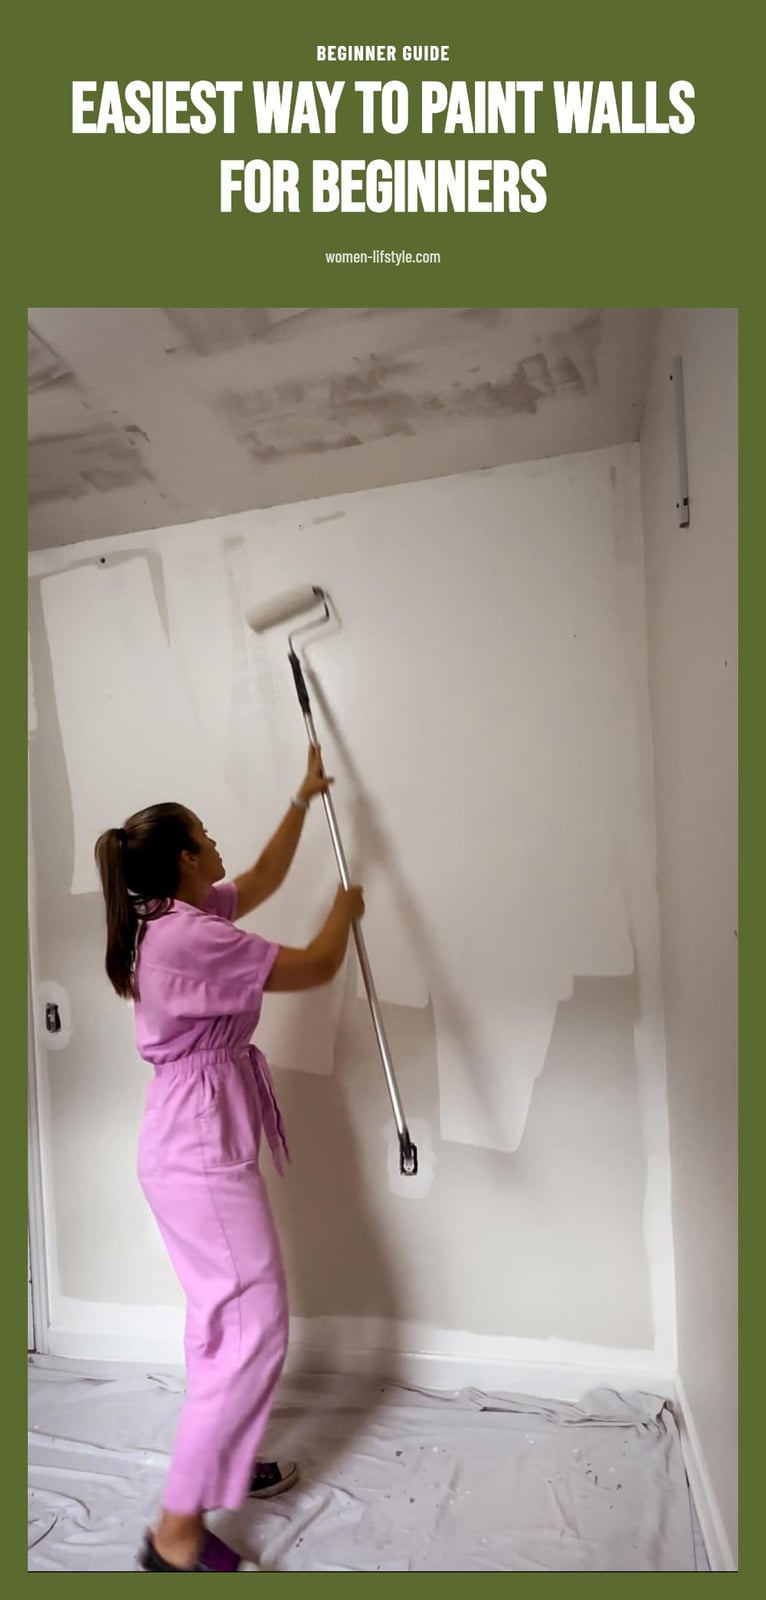
Pour paint into your tray, loading the roller evenly but not oversaturating it. Roll in a ‘W’ or ‘M’ pattern on the wall, then fill in with vertical strokes, working in small sections at a time. An extension pole for your roller is a back-saver and helps you reach high spots easily while keeping even pressure across the wall. Overlap your strokes slightly to avoid visible roller marks.
9. Apply Multiple Thin Coats
Most walls need two thin, even coats for optimal coverage and durability. Don’t try to get full coverage in one thick coat, which leads to drips and uneven drying. Allow the first coat to dry completely according to the manufacturer’s instructions before applying the second. Patience is key for a smooth, professional finish.
10. Remove Painter’s Tape at the Right Time
For the cleanest lines, remove painter’s tape while the paint is still slightly wet. If you wait until it’s fully cured, the paint can peel off with the tape. Pull the tape off slowly at a 45-degree angle. If you have any small bleeds, a damp cloth or a craft knife can carefully clean them up.
11. Ensure Proper Ventilation and Safety
Always keep windows open and use fans to ventilate the room while painting. Inhaling paint fumes can be unpleasant and even harmful. Wear protective eyewear to guard against splashes, and gloves to protect your skin. Keep paint and tools safely out of reach of children and pets. Good to know: Always be careful on ladders or step stools.
Common Painting Mistakes to Avoid
Skipping surface preparation: Not cleaning or patching walls before painting leads to poor adhesion and an uneven finish. Always prep.
Forgetting primer: Without primer, especially over repairs or dark colors, you’ll get uneven color and poor coverage. Prime when needed.
Not using painter’s tape: This results in messy lines on your trim and ceiling. Tape meticulously for crisp edges.
Applying only one coat: Most walls need two coats for full, even coverage and durability. Be patient and apply a second coat.
Not letting paint dry between coats: This can cause peeling, bubbling, and a poor finish. Always follow drying times.
Using the wrong paint or finish: Different rooms need different durability. Choose latex for easy cleanup and the right sheen for the area.
Frequently Asked Questions
How long does it take to paint an average room?
For a typical bedroom or living room, plan on spending one to two days total. Preparation, including cleaning, patching, and taping, can take several hours to a full day. The actual painting, with drying time between coats, will take another day.
Can I paint over wallpaper?
Painting over wallpaper is possible, but it’s not recommended unless the wallpaper is in perfect condition and well-adhered. Loose seams or bubbles will show through the paint. It’s usually better to remove the wallpaper first, then prepare the wall as you would for any painting project.
How do I clean my paint brushes and rollers?
For latex paint, clean brushes and rollers immediately after use with warm, soapy water. Rinse until the water runs clear, then reshape the bristles and let them dry. For oil-based paints, you’ll need mineral spirits or paint thinner, followed by soap and water.
What’s the best way to choose a paint color?
Test paint samples on your wall before committing. Paint a large swatch (at least 2×2 feet) and look at it at different times of day and under your room’s lighting. Colors can look very different in natural light versus lamp light, so this step helps you avoid surprises.
What is the best way to prepare walls for painting?
Start by cleaning the walls with a mild detergent or TSP substitute to remove dirt and grease. Then patch any holes or cracks with spackle or joint compound, let it dry, and sand the area smooth. Finally, apply painter’s tape to trim and ceilings, and prime where needed.
Final Thoughts
If you take your time with preparation and follow the steps in order, you’ll end up with a finish that looks like it was done by a professional. Expect the whole process for an average room to take one to two days, including drying time between coats. Stick with it, and you’ll love the refreshed look of your space.