Learning to braid your own hair opens up a world of easy, everyday styles without needing heat or a salon appointment. Whether you are getting ready for work or a night out, a neat braid can look polished in minutes. This guide walks you through the basic three-strand braid and a few popular variations, plus the simple tricks that make the process smoother.
Key Takeaways
- Start with a basic three-strand braid: cross right over middle, then left over the new middle.
- Always detangle hair from ends to roots before braiding to prevent knots and snags.
- Practice on damp hair if strands feel slippery; use a spray bottle for light moisture.
- Use a mirror when braiding the back of your head to keep sections even and tension consistent.
- Secure the end with a fabric-covered elastic to avoid snagging and breakage.
Start Braiding Your Hair Today
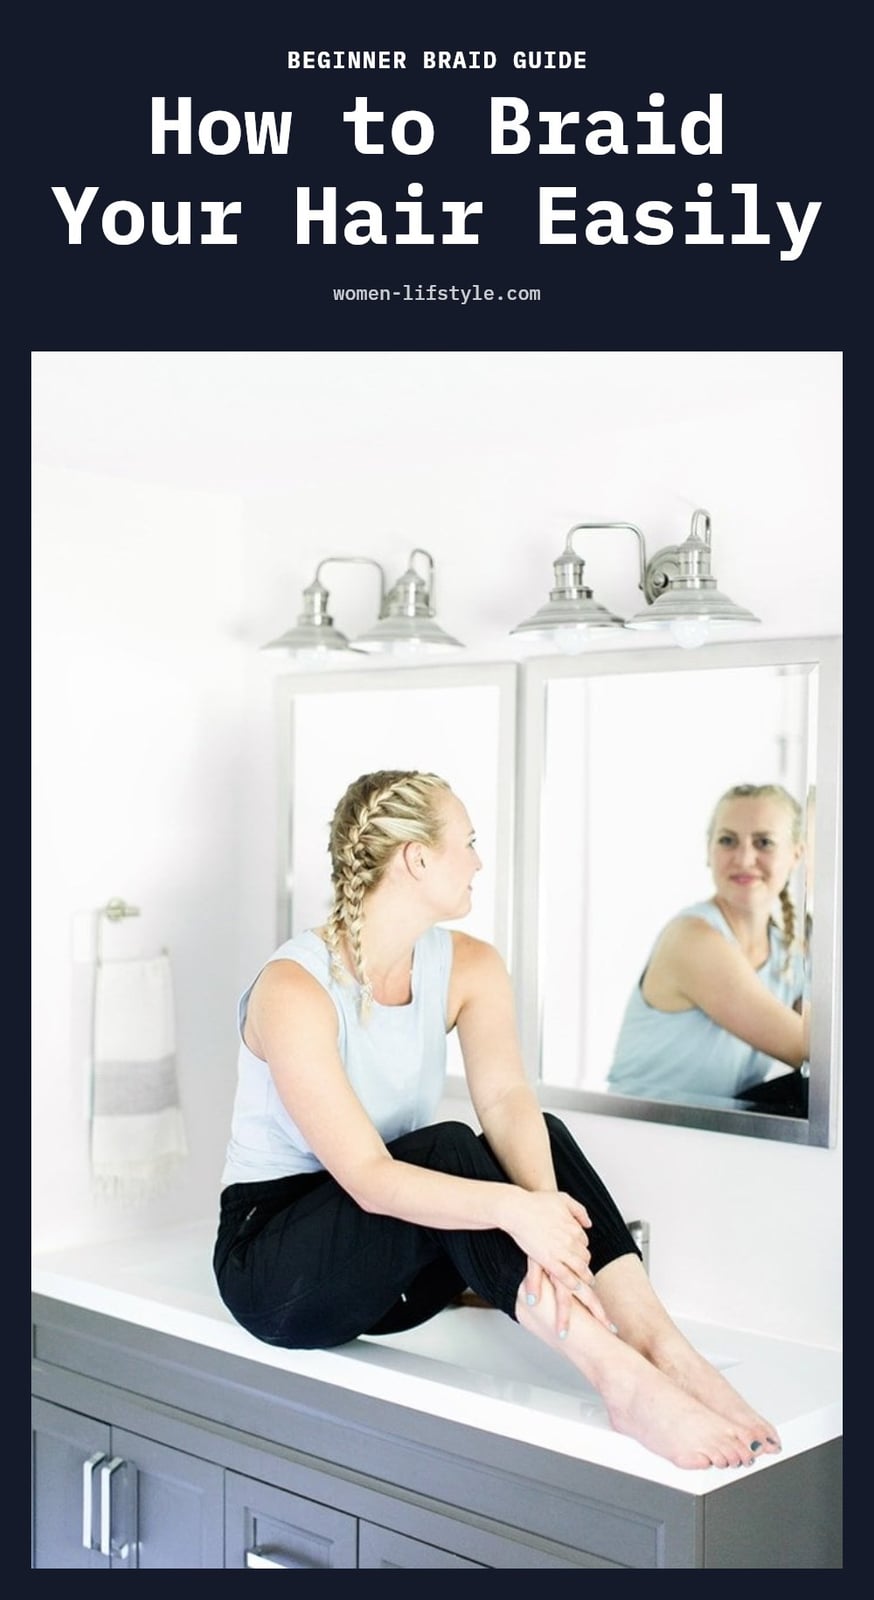
Braiding your own hair is just dividing sections and interlacing them to create a woven pattern. Start with a basic three-strand braid: cross the right strand over the middle, then cross the left strand over the new middle. Repeat this pattern all the way down. Patience and consistent tension are what make a neat, secure braid. It’s a skill you can learn with a little practice.
Your Braiding Essentials: What You’ll Need
You don’t need much to start braiding. Here is what actually helps:
- Hairbrush or wide-tooth comb: Essential for detangling before you start.
- Hair ties or elastic bands: To secure the end of your braid.
- Hair clips or sectioning clips: Keep sections separate and out of the way.
- Mirror: A must for seeing the back of your head.
- Light styling cream or gel: Manages flyaways and adds a bit of grip.
- Water spray bottle: Dampens hair for better control without soaking it.
Step-by-Step: How to Do a Basic Three-Strand Braid
Detangle your hair: Brush or comb through from ends to roots until there are no knots. Tangles will ruin your braid.
- Divide into three sections: Split your hair into three equal strands at the nape of your neck or wherever you want the braid to start.
- Cross right over middle: Take the right section and cross it over the center section. The right becomes the new middle.
- Cross left over middle: Take the left section and cross it over the new middle. The left becomes the new middle.
- Repeat the pattern: Keep crossing right over middle, then left over middle, working your way down the length.
- Maintain consistent tension: Keep each pass snug but not tight. Loose tension makes the braid messy.
- Secure with a hair tie: Wrap a fabric-covered elastic around the end. Avoid rubber bands that snag hair.
Tip: Practice on damp hair first. It gives you more grip and control while you learn the motions.
Beyond the Basic: French, Dutch, and Fishtail Braids
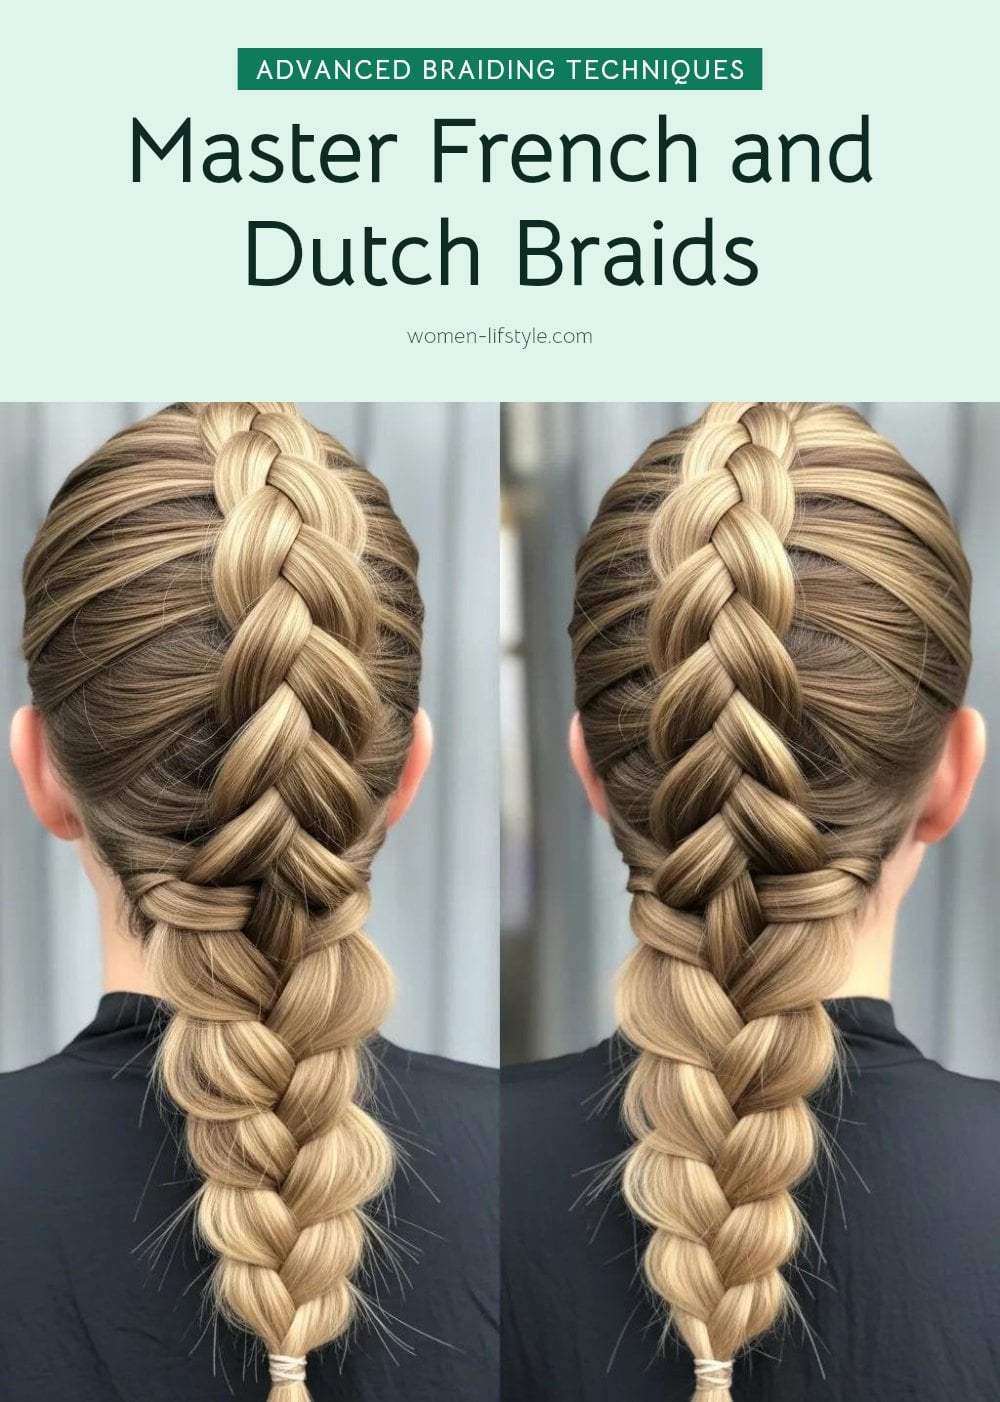
Once you have the basic three-strand braid, try these three popular styles. Each uses a different crossing technique.
French Braid
Start at your hairline with three small sections. Before crossing each strand over the middle, add a small piece of new hair from the same side. This incorporates hair as you go down. My tip: Keep your hands close to your scalp and grab even amounts of new hair each time for a smooth look.
Dutch Braid
This is a French braid, but you cross each strand under the middle section instead of over. The under-crossing pushes the braid up, creating a raised, 3D effect. My tip: Hold each strand taut as you cross under so the braid stays raised and doesn’t flatten out.
Fishtail Braid
Divide your hair into two sections. Take a small strand from the outer edge of the left section and cross it over to join the inner edge of the right section. Repeat on the opposite side. Keep alternating, using tiny pieces each time. Tip: The smaller the strands you take, the more defined and intricate the fishtail pattern will be.
Practice each one a few times. The crossing direction and the addition of new hair are what make them different.
Common Braiding Blunders and How to Fix Them
Even after practicing the steps, a few common mistakes can trip you up. Here is how to spot and fix them.
- Not detangling hair sufficiently: Knots turn into snarls mid-braid. Always brush from ends to roots until smooth before you start.
- Using uneven sections: Unequal strands make the braid lopsided. Take your time to divide hair into three equal parts at the start.
- Losing tension: A loose grip lets the braid fall apart. Keep your hands close to your head and pull each strand snug as you cross.
- Starting too far from the scalp (French/Dutch braids): This leaves a gap near the crown. Begin gathering hair right at the hairline to avoid it.
- Pulling too hard: Tight braids hurt and can damage hair over time. If you feel discomfort, loosen the tension immediately.
- Not securing the braid properly: A loose end unravels fast. Use a fabric-covered elastic and wrap it tightly at the bottom.
Top Tips for Perfecting Your Braids
After plenty of practice (and a few messy attempts), I have found these tricks make a real difference.
- Practice on damp hair: Damp strands grip better and are less slippery. Spritz with water from a spray bottle for easier control.
- Use a mirror: A second mirror or a handheld one helps you see the back of your head and catch mistakes early.
- Keep your hands close to your head: This gives you more leverage and keeps tension consistent, especially for French and Dutch braids.
- Experiment with section sizes: Thicker sections create a chunky braid; thinner ones make it finer. Try both to see what you like.
- Apply a light styling product: A pea-sized amount of gel or cream smooths flyaways without making hair stiff.
- Use fabric-covered elastics: Rubber bands snag and break hair. Fabric-covered ones slide off gently and cause less damage.
- Don’t give up: Your first few braids may not look perfect. Each attempt builds muscle memory, so keep going.
How Long Does It Take to Learn and Braid?
Braiding is a skill that improves quickly with regular practice. Here is what to expect for time and cost.
- Learning timeline: Mastering the basic three-strand braid can take several attempts. With daily practice, most people feel confident within a few days to two weeks.
- Braiding time: A single braid typically takes 5 to 30 minutes, depending on the style and your hair length. French or fishtail braids lean toward the longer end.
- Cost: Braiding is free to learn. All you need are a brush, hair ties, and maybe a mirror, tools you probably already have at home.
Frequently Asked Questions
Can braiding damage your hair?
Braiding itself does not damage hair, but pulling too tightly or using harsh elastics can. Avoid excessive tension on the scalp to reduce the risk of traction alopecia, and choose fabric-covered hair ties instead of rubber bands. If you feel pain, loosen the braid immediately.
How long do braids typically last?
A standard three-strand braid can last one to two days if you sleep on it carefully. Tighter braids tend to hold longer, but do not pull so tight that it causes discomfort. For heatless waves, braid dry hair before bed and unbraid in the morning.
Is it better to braid wet or dry hair?
Damp hair is easier to grip and control, so spritzing with water can help beginners. However, braiding very wet hair may lead to frizz as it dries and can make strands more fragile. Dry hair works well for most styles and reduces the risk of breakage.
What is the easiest braid for beginners?
The basic three-strand braid is the simplest to learn. It uses only three sections and a repeating cross-over pattern with no added hair. Once you master that, you can try French or Dutch braids, which incorporate new hair with each cross.
How do I make my braids look neat and last longer?
Keep consistent tension as you braid, and use even sections for a balanced look. Applying a light gel or cream can tame flyaways and add shine. Tighter braids last longer, but be careful not to pull so hard that it hurts your scalp.
Final Thoughts
For your first braid, stick with the basic three-strand technique until the motion feels natural. Expect a few messy attempts before it looks the way you want, most people feel confident within a few days to two weeks of regular practice. Once you have that down, you can move on to French, Dutch, or fishtail braids for more variety.