

Hardwood floors add timeless beauty to any home, but keeping them looking new takes the right approach. You already know that sweeping and mopping matter, but using too much water or the wrong cleaner can do more harm than good. This article covers the essential dos and don’ts for safe, effective hardwood floor care, from daily dust removal to choosing the right products for your floor’s finish.
Key Takeaways
- Sweep or vacuum with a hard floor attachment daily to every few days to prevent scratches.
- Damp mop with a well-wrung microfiber mop and a pH-neutral hardwood cleaner.
- Wipe up spills immediately with a soft, dry cloth to avoid water stains and damage.
- Avoid steam mops, abrasive cleaners, ammonia, bleach, and oil soaps on hardwood floors.
- Use felt pads on furniture legs and doormats at entrances to protect against scratches and dirt.
The Secret to Sparkling Hardwood Floors
Effective hardwood floor cleaning starts with regular dry removal of dust and debris, then occasional damp cleaning. The most important rule is to avoid excessive moisture and harsh chemicals, which can cause irreversible damage like warping or finish stripping. Understanding your floor’s finish is key to choosing the right cleaning methods and products for lasting beauty.
1. Sweep or Vacuum Regularly
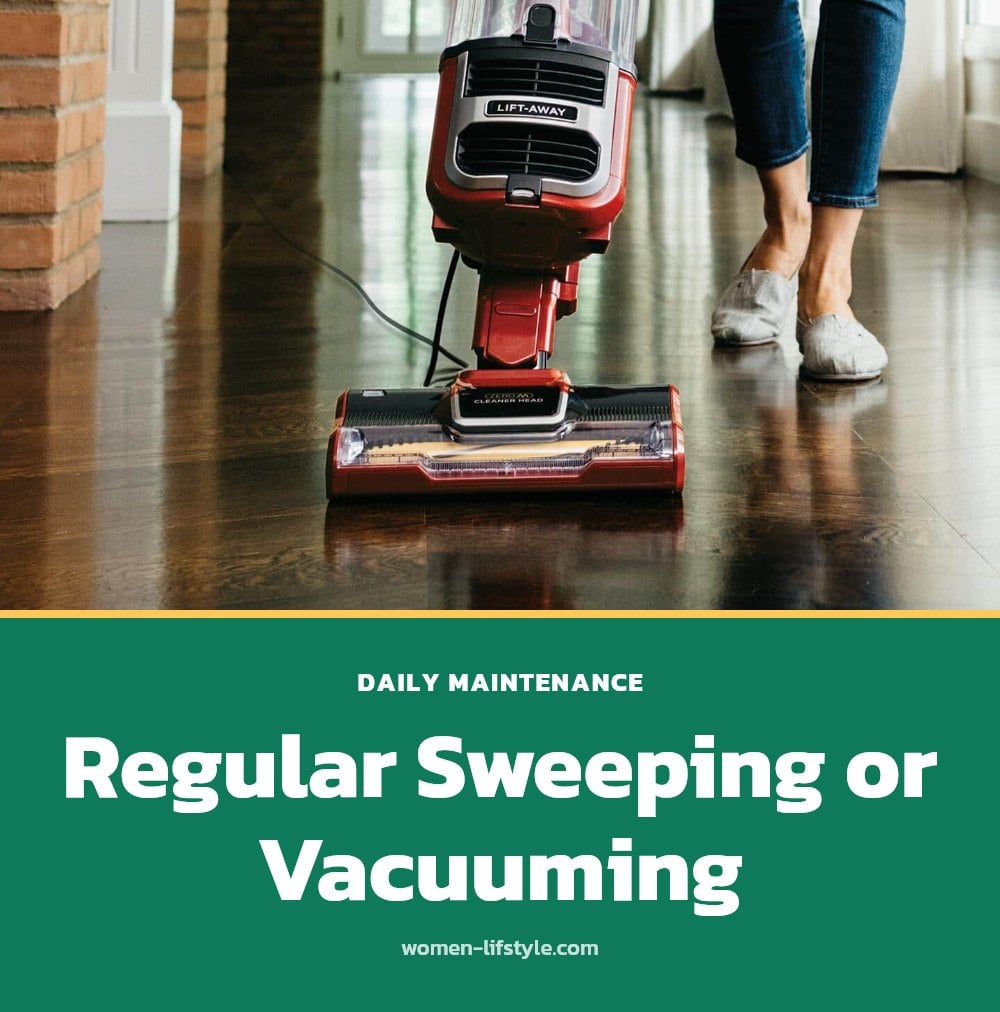
Regular sweeping or vacuuming is your first line of defense against scratches and dullness. Grit and dirt act like sandpaper underfoot, so removing them daily or every few days, especially in high-traffic zones, is crucial.
My tip: Always use a vacuum cleaner with a hard floor attachment or a ‘hard floor’ setting to prevent scratching. A soft-bristle broom works well for quick sweeps between deeper cleanings.
2. Damp Mop with Care
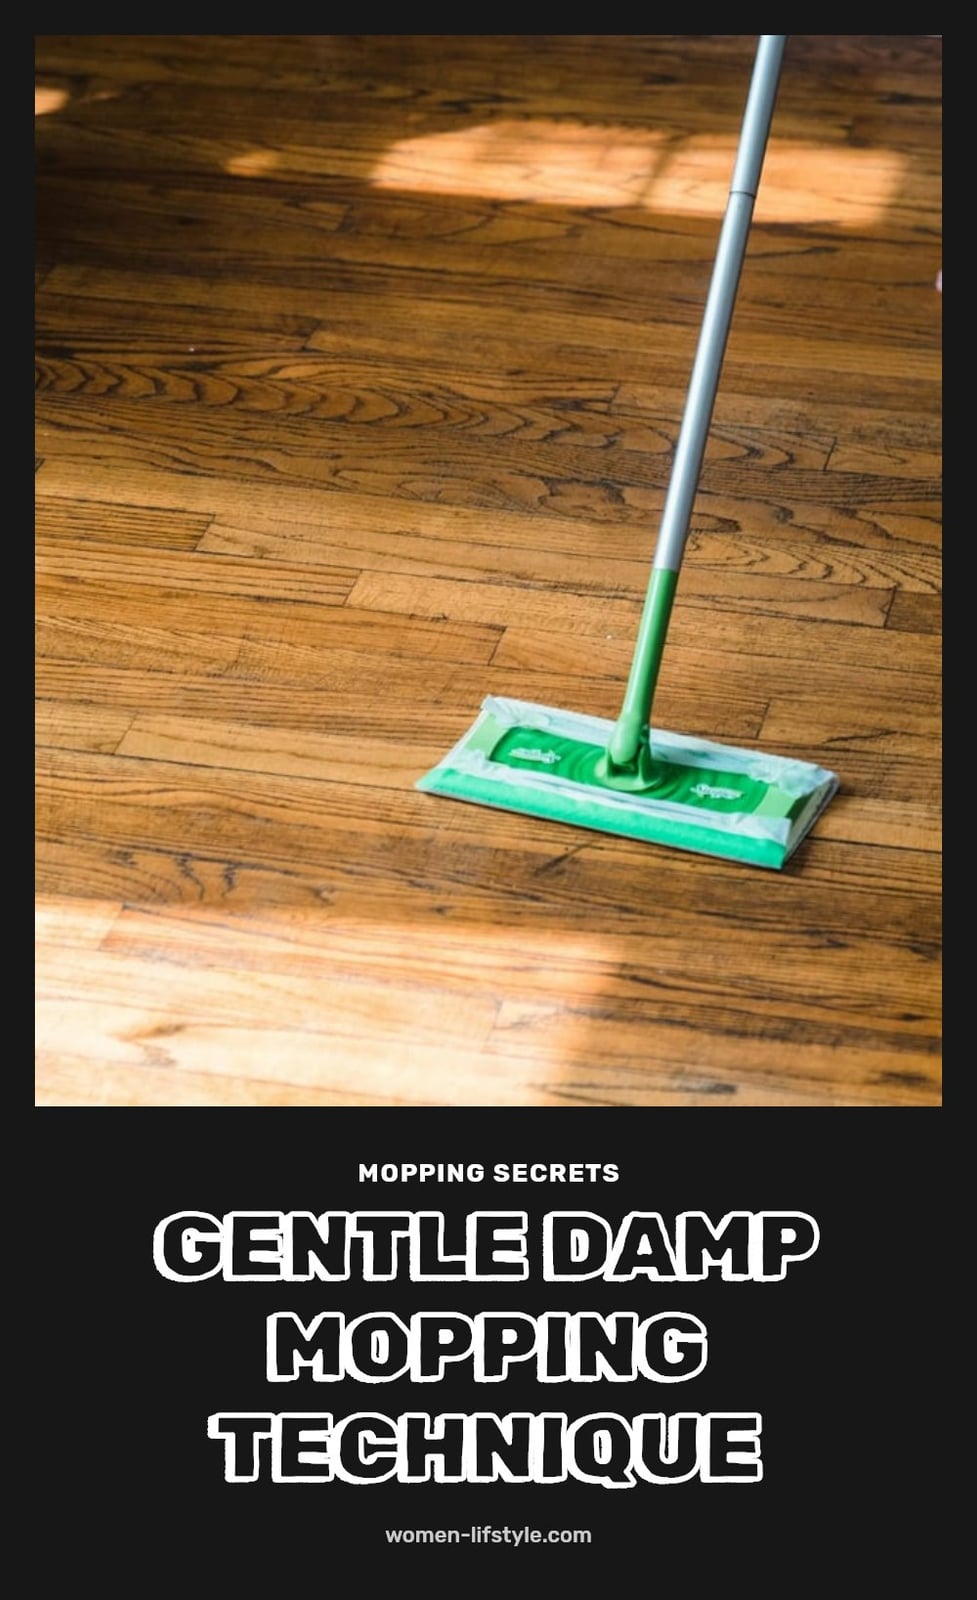
When it’s time for a deeper clean, damp mopping is the way to go, but ‘damp’ is the operative word. Use a well-wrung microfiber mop; excess water is the enemy of hardwood and can cause warping or finish damage.
My tip: I always make sure my mop is just barely moist, not dripping, before it touches my floors. Wring it until no water runs off when you squeeze.
3. Choose the Right Cleaner
For most finished hardwood floors, a pH-neutral cleaner specifically designed for hardwood is your best bet. These cleaners are formulated to clean effectively without stripping the finish or leaving residue.
Caution: Always test a new cleaning product in an inconspicuous area first to ensure it won’t damage your floor’s finish. Apply a small amount on a cloth and check for discoloration or dullness before using it on the whole floor.
4. Wipe Spills Immediately
Spills happen, but the window to act is short. Grab a soft, dry cloth and wipe the area immediately, before the liquid has time to seep into the wood or stain the finish. Even a few minutes can allow water to penetrate and cause discoloration or swelling. Tip: Keep a microfiber cloth handy in the kitchen or dining area for quick clean-ups.
5. Protect with Felt Pads and Rugs
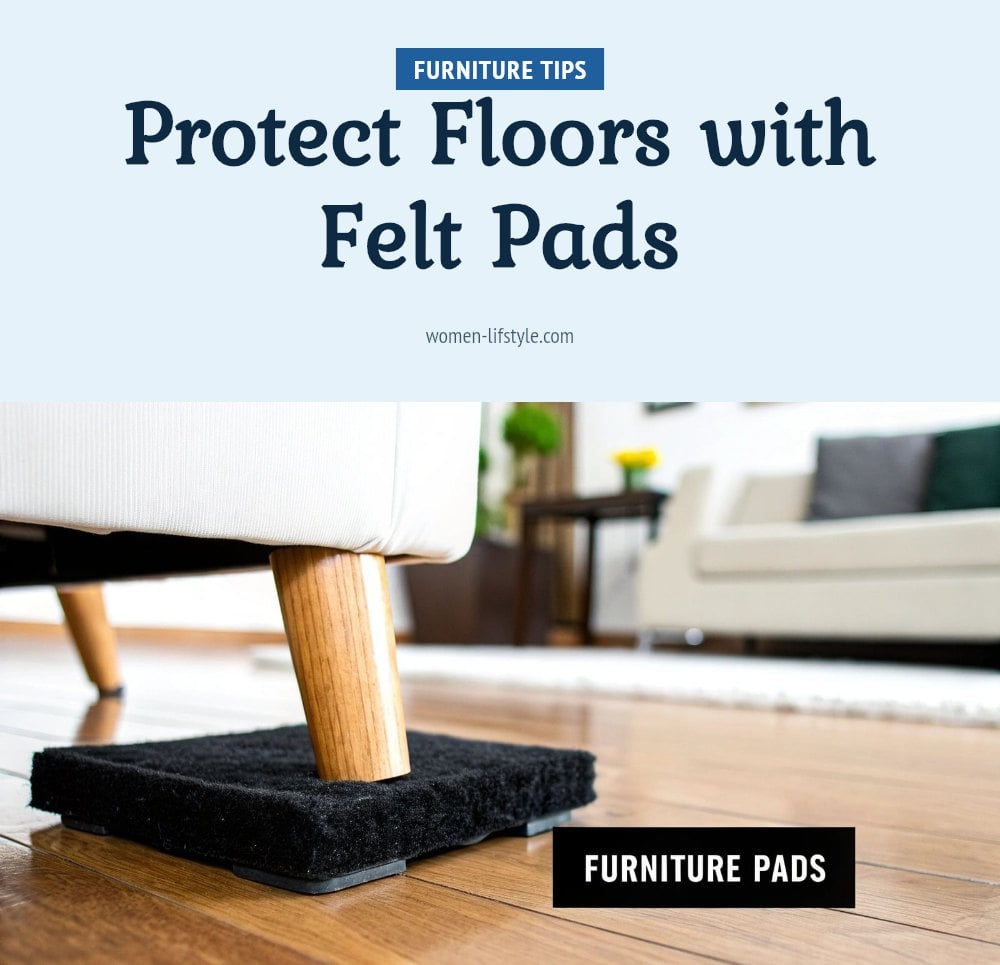
Prevention saves you from repairs later. Attach felt pads to the bottom of every furniture leg, chairs, tables, sofas, beds. These pads slide smoothly and prevent the scratches and dents that come from dragging or shifting furniture. Area rugs add another layer of protection in high-traffic spots like entryways and under dining tables, where daily wear is heaviest. Good to know: Check felt pads periodically and replace them if they’re worn down or dirty.
6. Avoid Harsh Chemicals and Abrasives
Not all cleaners are safe for hardwood. Skip abrasive cleaners, steel wool, and stiff scrubbing pads. They scratch the finish and leave a dull surface. Ammonia-based products, bleach, and oil soaps can strip the protective layer or leave a sticky residue that attracts more dirt. Caution: Even gentle vinegar can dull some finishes over time, so I avoid it unless I’m absolutely sure about my floor’s finish.
7. Say No to Steam Mops
Steam mops seem like a quick fix, but they are one of the worst things you can use on hardwood. The intense heat and excess moisture penetrate the finish and can warp the wood itself, leading to costly repairs or full replacement. Pro move: Stick to a damp microfiber mop and a hardwood-specific cleaner for safe and effective cleaning.
8. Use Doormats at Entrances
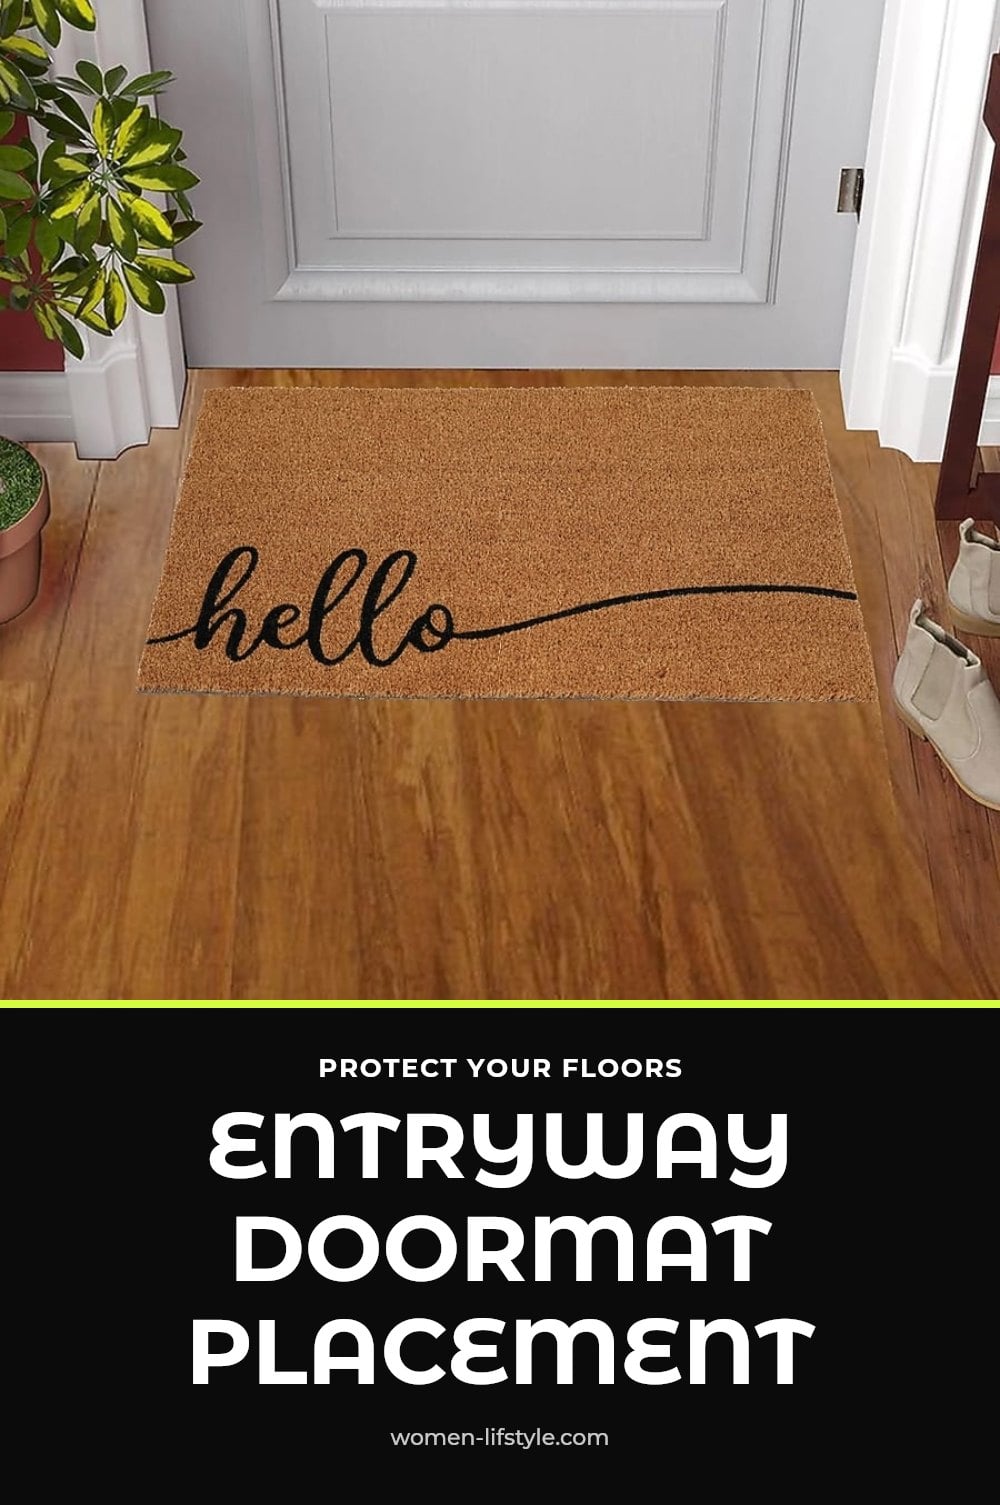
Place a sturdy doormat at every outside door, inside and out if you can. A good mat traps dirt, grit, and moisture before they ever touch your hardwood. That matters because those tiny particles act like sandpaper under shoes, scratching the finish over time. Quick tip: Choose mats with a rough, absorbent surface that you can shake out or wash easily. A mat that stays damp or caked with mud isn’t helping.
9. Understand Your Floor’s Finish
Your cleaning routine depends on what finish your floor has. Polyurethane finishes are common and tolerate a pH-neutral cleaner well. But wax or oil finishes are softer, so you must use a cleaner made specifically for waxed floors. Using the wrong product can strip the wax or leave a cloudy film. Tip: If you don’t know your finish, test a pH-neutral hardwood cleaner in a hidden corner first. That is the safest starting point.
10. Buff for Extra Shine (If Applicable)
Buffing is not a cleaning step, it is an occasional shine booster. After a thorough cleaning, a floor buffer with a soft pad can restore the gloss on certain finishes, especially polyurethane. This is not a weekly task. Tip: I only consider buffing every few years, and only after the floor is completely clean and dry. Over-buffing can wear down the finish, so keep it rare.
11. Consider Professional Deep Cleaning
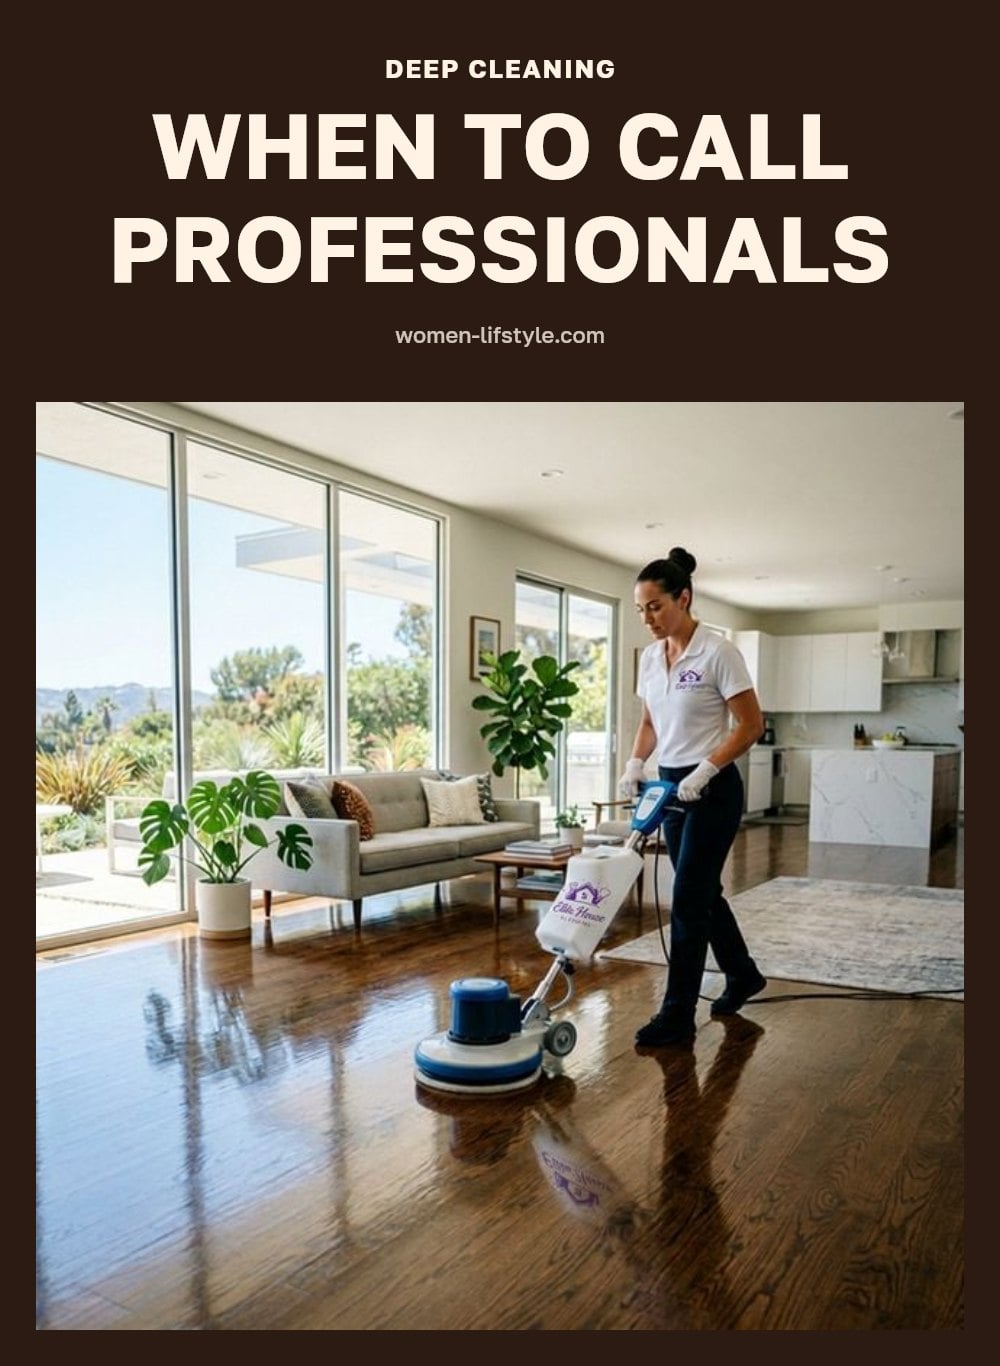
Even with the best at-home care, grime builds up over time in the wood’s pores. Professionals use industrial-grade machines and cleaners that reach deeper without damaging the finish. They can also spot and fix minor scratches or dull patches. Good to know: If your floors look tired after a good clean, call a pro. Every three to five years is a reasonable schedule for most homes.
Common Hardwood Floor Cleaning Mistakes to Avoid
Even careful owners make mistakes. The biggest one is using too much water: it warps, swells, and damages the finish. Always wring your mop until it is just damp, not wet. Another common error is ignoring spills. Letting liquid sit, even for a few minutes, can cause stains and water damage that are hard to reverse. Wipe them up immediately with a dry cloth.
Using a vacuum with an active beater bar is another mistake. Those rotating bristles scratch and dull the surface. Use a hard floor attachment or switch to a vacuum’s dedicated hard floor setting instead. Finally, applying furniture polish or car wax to your floors. These products leave a slippery, hazy residue that is difficult to remove and are not designed for hardwood. Stick with a pH-neutral hardwood cleaner. For floors with a wax finish, use only a cleaner formulated specifically for waxed floors.
Frequently Asked Questions
How often should I deep clean my hardwood floors?
Deep cleaning or refinishing is typically needed every few years, depending on foot traffic and wear. Between those sessions, you can maintain your floors with regular sweeping and occasional damp mopping. If your floors look dull or feel rough despite your regular routine, it may be time to call a professional for a deep clean.
Can I use a regular vacuum cleaner on hardwood floors?
Yes, as long as you turn off the beater bar or switch to a hard floor setting. A beater bar can scratch and dull the floor’s finish. Use a vacuum designed for hard floors or one with a dedicated hard floor attachment to safely remove dust and grit without causing damage.
What’s the best way to remove scuff marks from hardwood?
For most finished hardwood floors, a soft cloth with a small amount of pH-neutral hardwood cleaner can gently buff away scuff marks. Avoid abrasive pads or harsh chemicals, which can strip the finish. For stubborn marks, a dab of baking soda on a damp microfiber cloth may help, but test it in an inconspicuous area first.
Are there specific cleaners for different types of hardwood finishes?
Yes, the right cleaner depends on your floor’s finish. Polyurethane finishes handle pH-neutral hardwood cleaners well. Wax or oil finishes require cleaners formulated specifically for waxed floors, as standard products can strip the protective layer. Always check your floor’s finish before buying a cleaner and test a new product in a hidden spot first.
How can I protect my hardwood floors from pet scratches?
Keep your pet’s nails trimmed short to reduce scratching. Place doormats at entrances to catch dirt and debris that can act like sandpaper. Area rugs in high-traffic zones and felt pads under furniture also help. For active pets, consider a protective floor finish or wax designed to resist scratches, but always follow the manufacturer’s recommendations for your floor type.
Final Thoughts
Stick with a simple routine: sweep or vacuum often, damp mop sparingly, and always use a cleaner made for hardwood. Your floors will stay beautiful for years without needing premature refinishing. With consistent care, you can avoid costly repairs and enjoy that warm, natural shine every day.
