

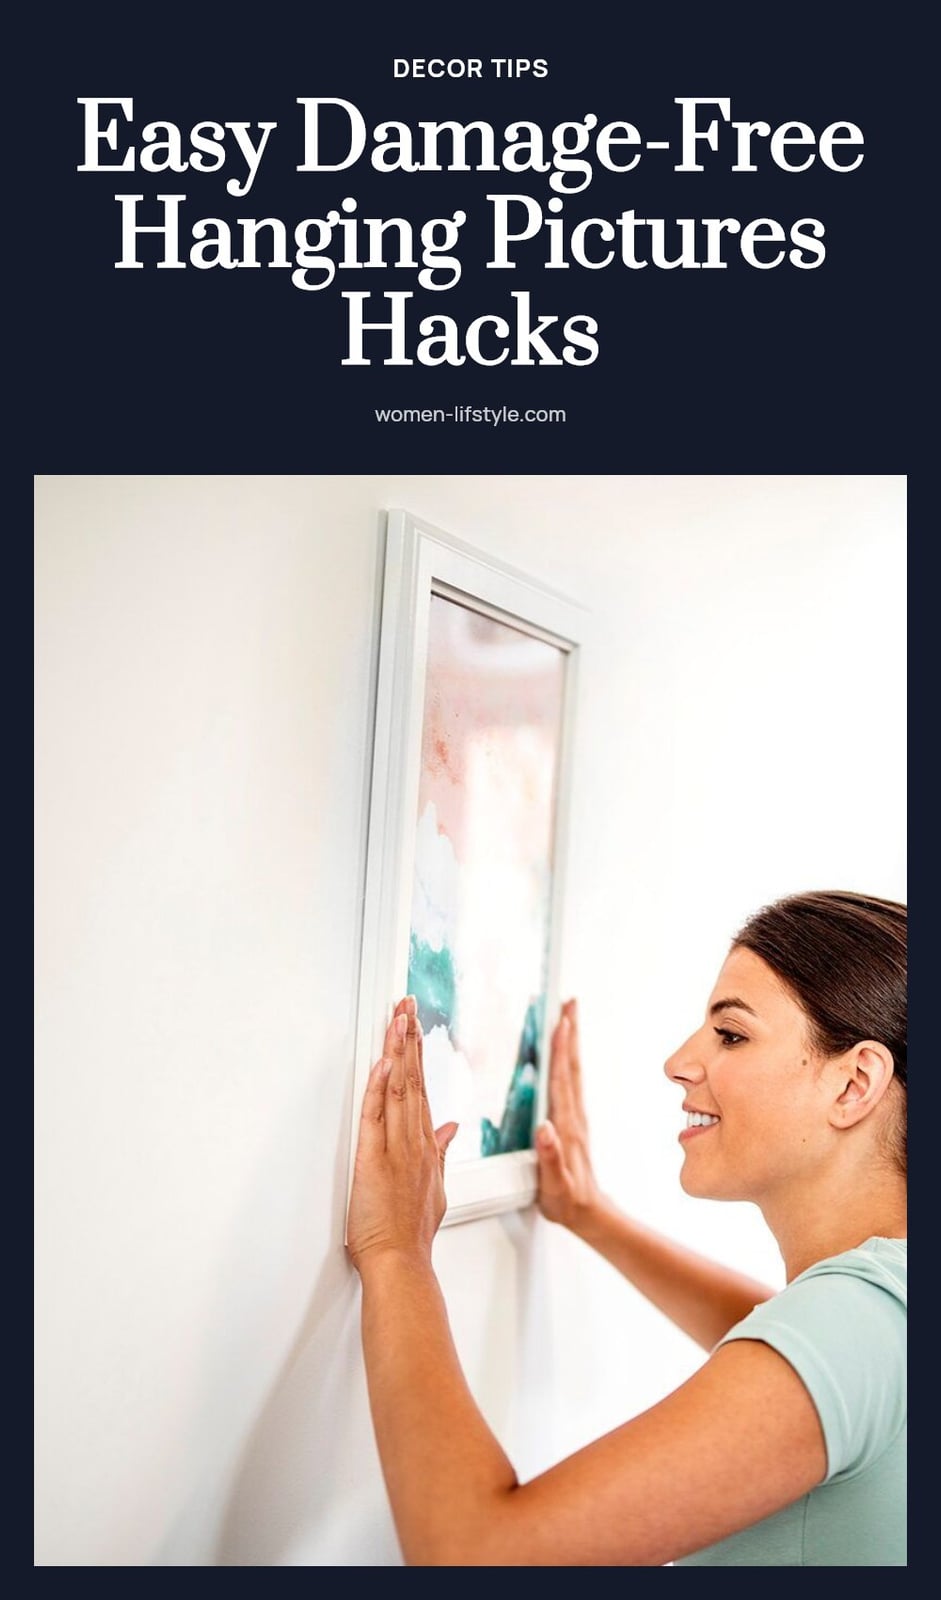
Decorating your walls shouldn’t mean committing to holes and repairs, especially if you’re renting or just like to change things up. The good news is there are plenty of clever, damage-free ways to hang pictures that look polished and stay secure. In this article, I’ll walk you through the best nail-free methods, what to watch out for, and how to avoid common mistakes so your walls stay pristine.
Key Takeaways
- Choose adhesive strips or hooks based on the weight limit printed on the package.
- Clean and dry the wall surface before applying any adhesive product.
- Wait at least 7 days after painting before using adhesive strips.
- Remove adhesive strips by stretching them downward slowly, not pulling straight off.
- For heavy pieces, consider leaning, easels, or picture rails instead of adhesives.
Hang Pictures Without Nails: Easy Hacks
You can absolutely hang pictures without nails using a variety of methods that protect your walls from holes and damage. The best approach depends on the picture’s weight, your wall surface, and the look you’re going for. From adhesive strips to creative leaning displays, there’s a secure, nail-free solution for almost every piece of art.
1. Adhesive Picture Hanging Strips
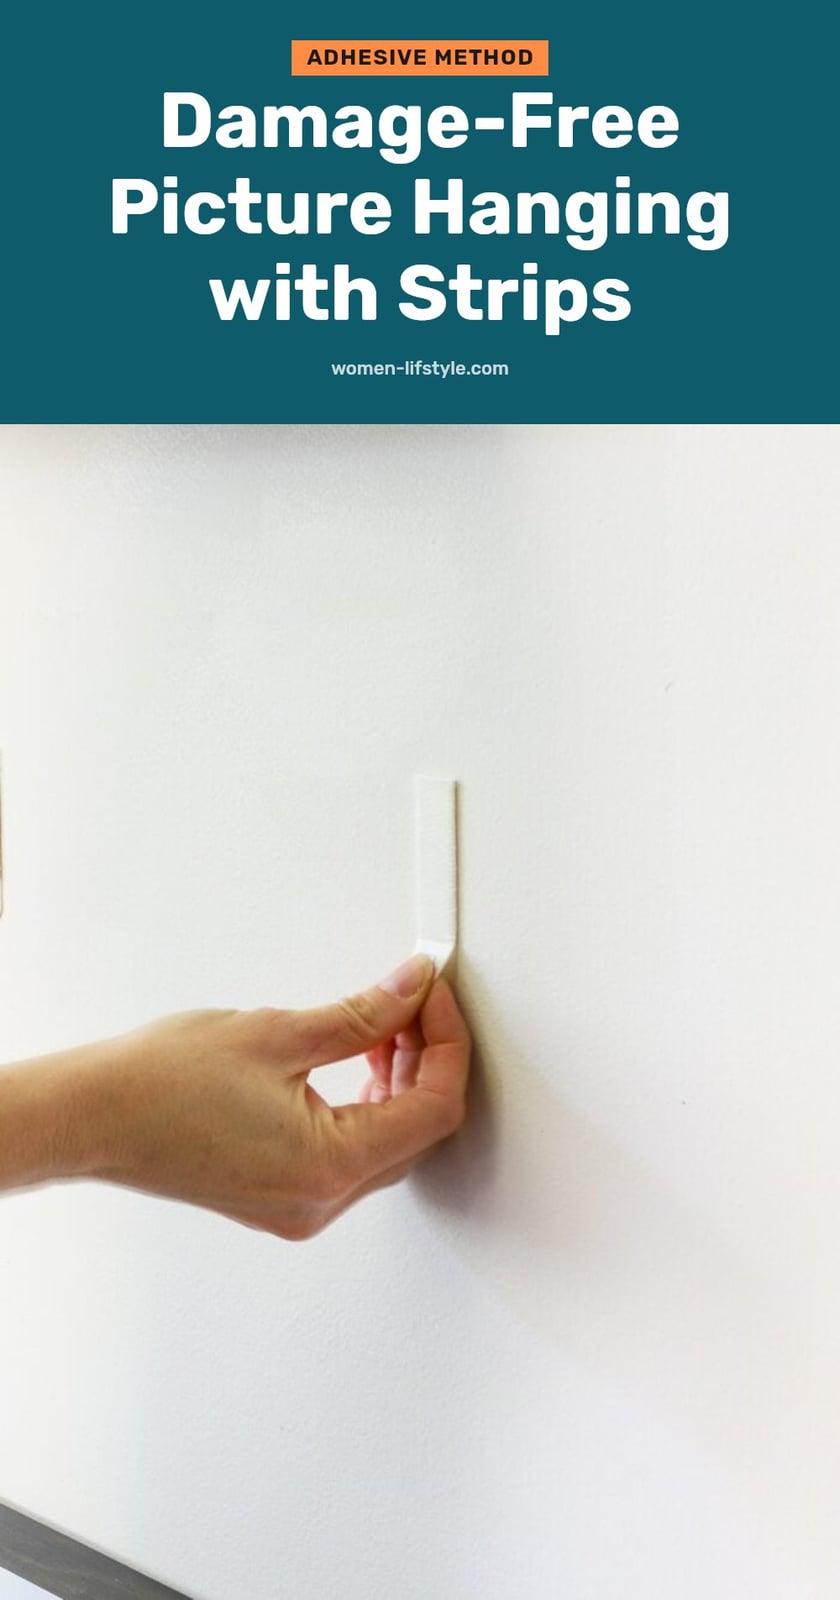
These are my go-to for most frames. Adhesive picture hanging strips are designed to hold various weights, with the capacity clearly marked on the packaging (like up to 16 lbs per set). Make sure your wall surface is clean and dry first. Press the strips firmly onto the frame and then the wall for about 30 seconds each, and always wait the recommended time (usually an hour) before hanging the picture.
- Tip: For clean removal, stretch Command strips downwards slowly instead of pulling them straight off.
2. Adhesive Hooks
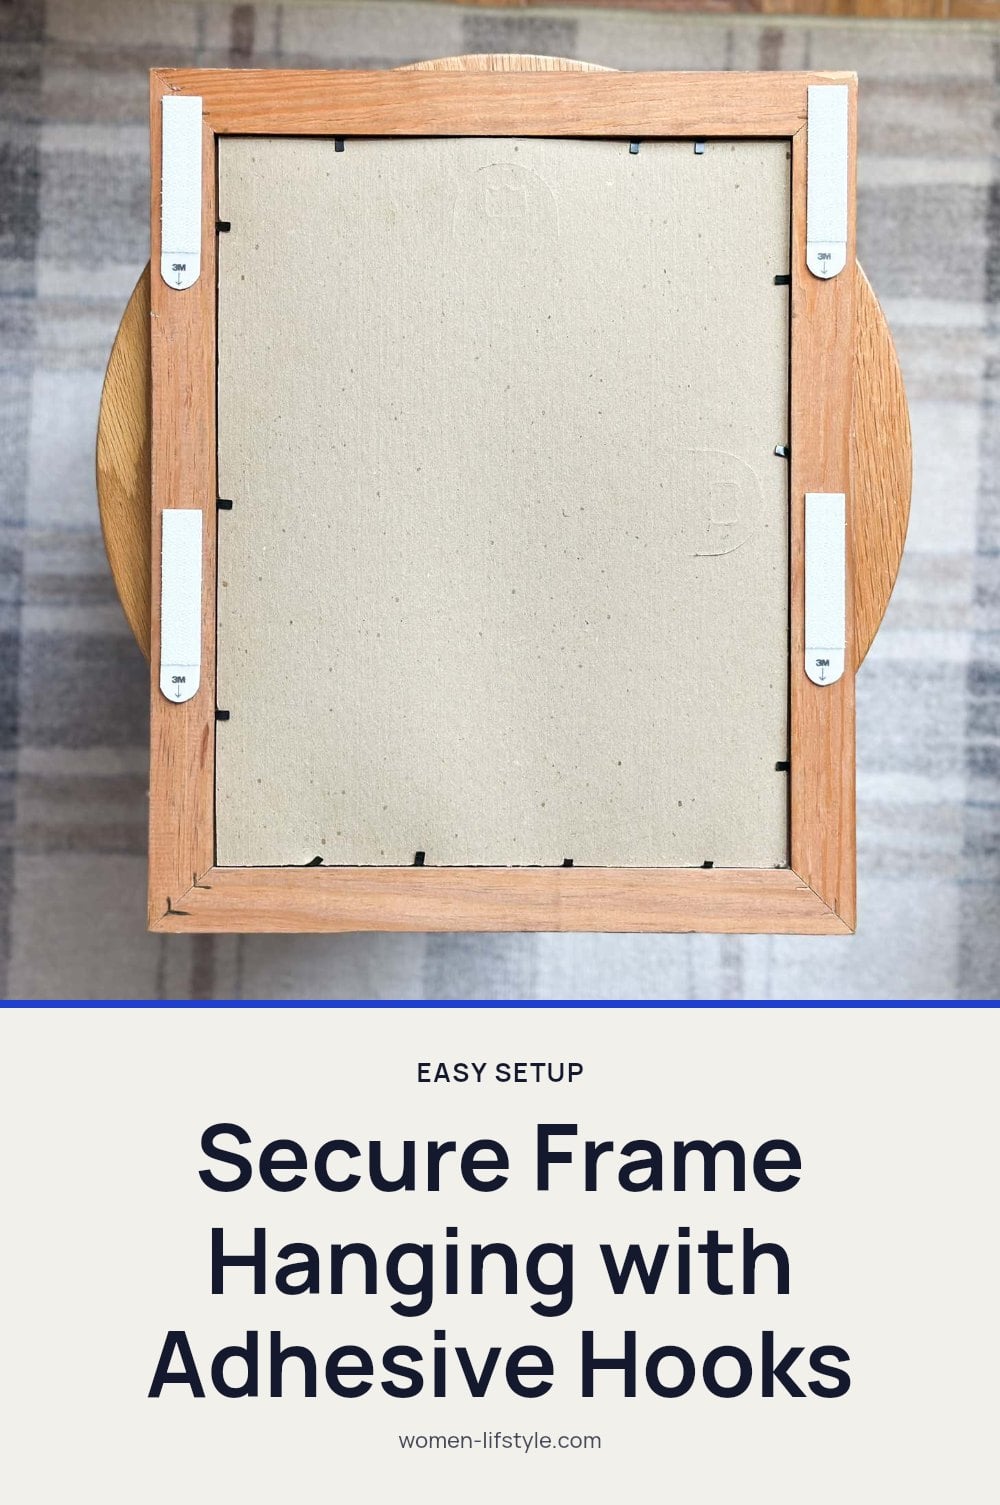
For lighter items like small frames, calendars, or decorative pieces, adhesive hooks are a fantastic choice. They come in various sizes and styles, some even decorative. Just like with strips, clean and dry the wall surface thoroughly before application. Apply the hook, press firmly, and wait the specified time before hanging anything.
- Caution: Always check the weight limit on the packaging to ensure it can support your item.
3. Leaning Artwork on Furniture
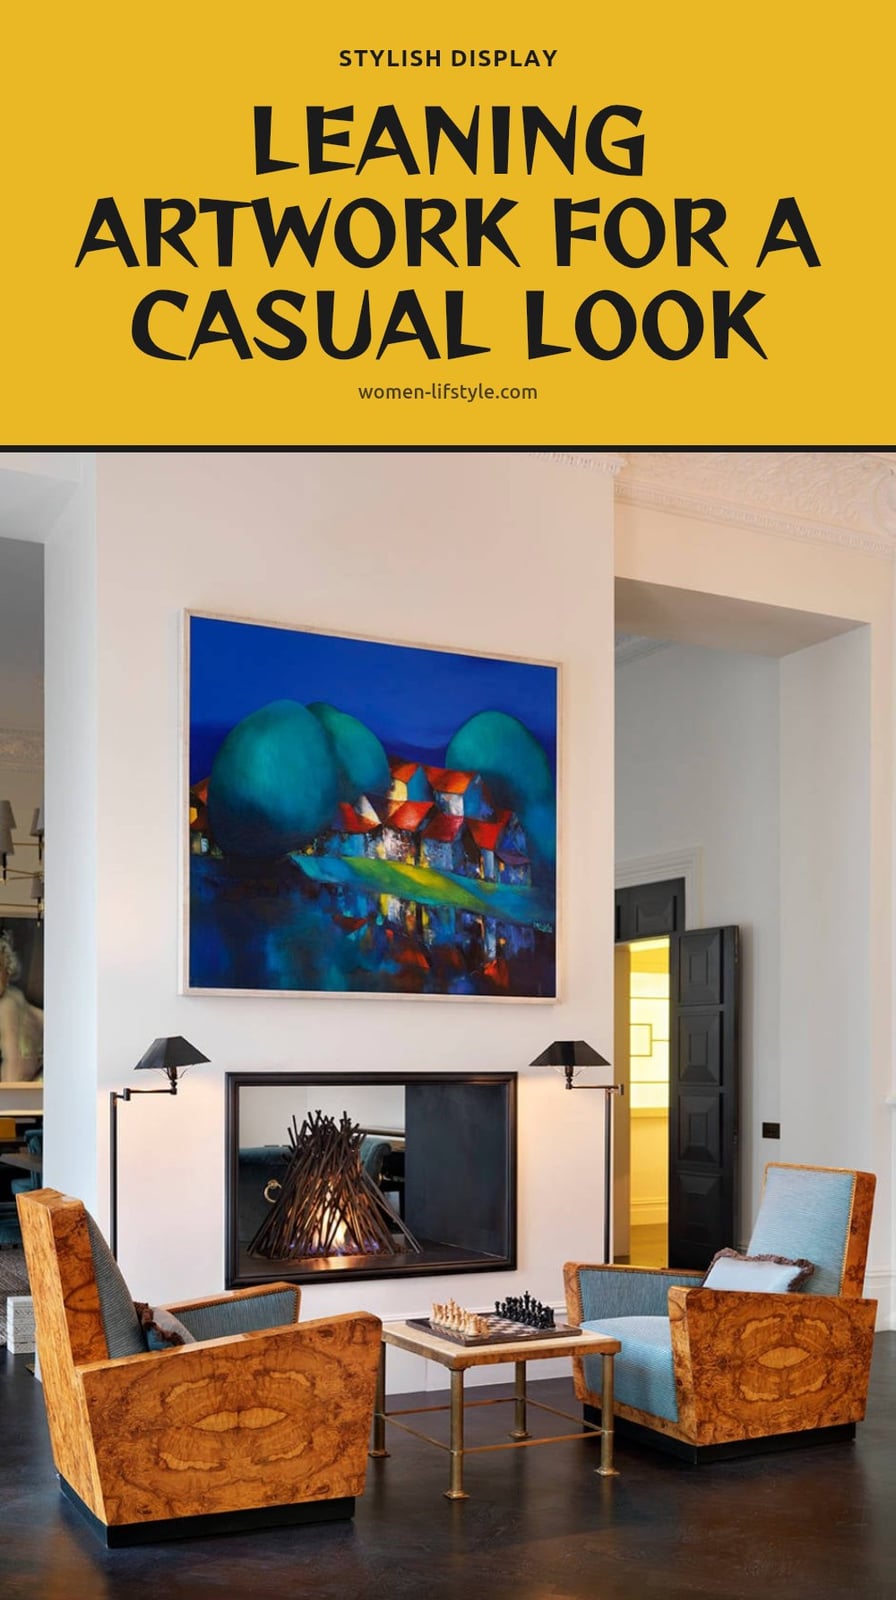
This is one of my favorite styling tricks. Leaning artwork against a wall on a console table, mantelpiece, or shelf is a super chic and damage-free decorating technique. It works beautifully for both small and large pieces, creating a relaxed, curated look. You can layer multiple frames for a gallery effect.
- Tip: Ensure the surface is stable and the artwork is placed where it won’t easily be knocked over, especially if it’s a valuable or fragile piece.
4. Washi Tape or Painter’s Tape
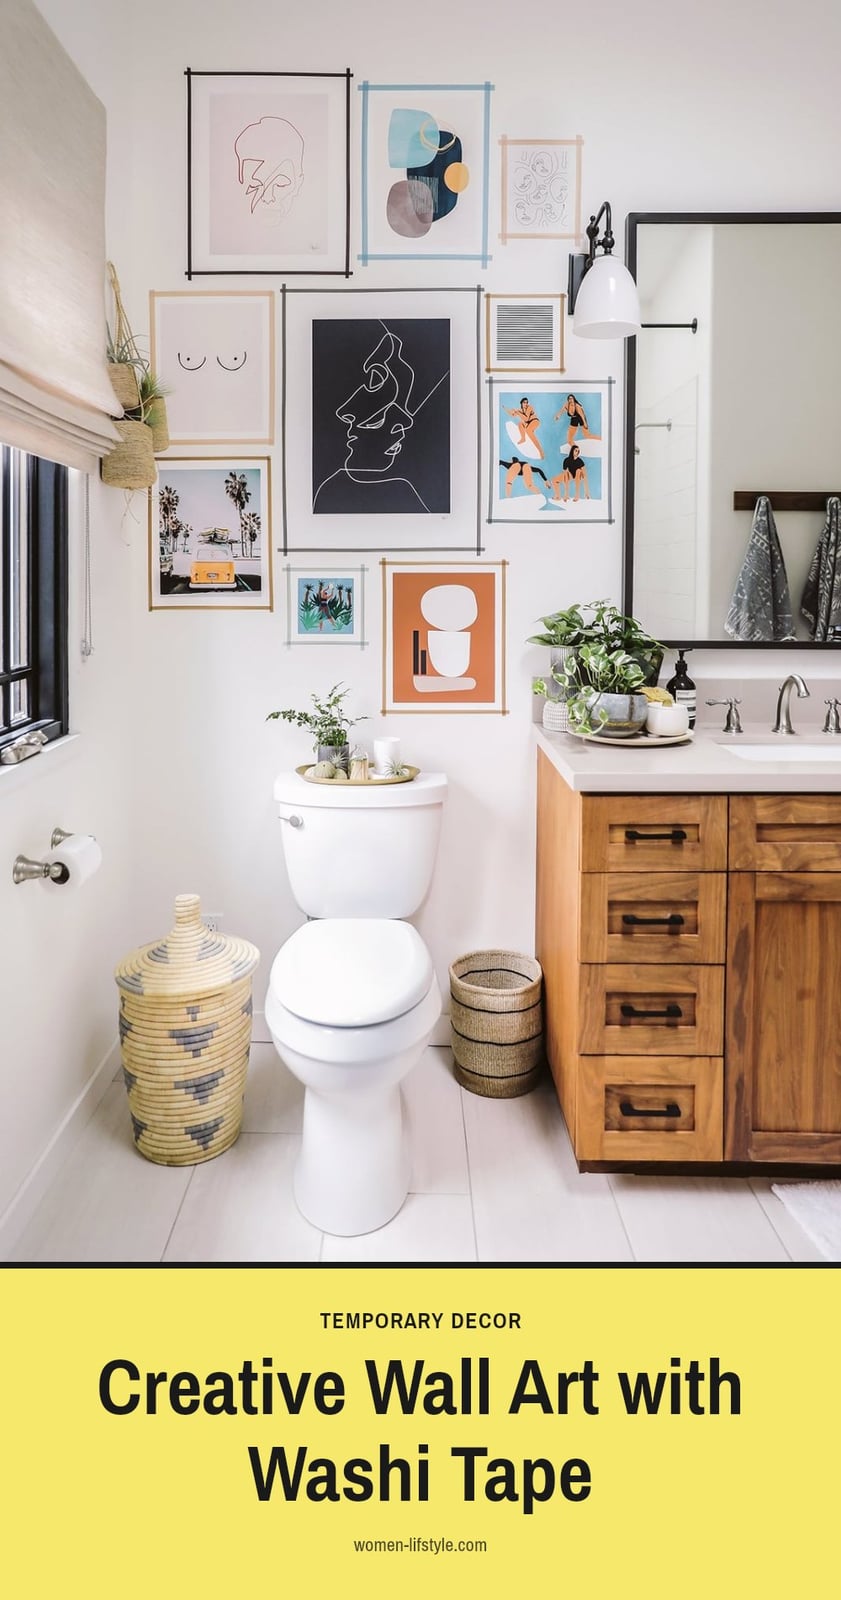
For a temporary and playful display, washi tape or painter’s tape works perfectly with lightweight prints or photos. You can create fun patterns or borders directly on the wall, which makes it ideal for renters or anyone who likes to change their decor often. The tape is gentle on most wall surfaces.
Caution: While generally safe, avoid using on delicate wallpaper or freshly painted walls. Wait at least 7 days for paint to cure to prevent damage upon removal.
5. Picture Rail Molding
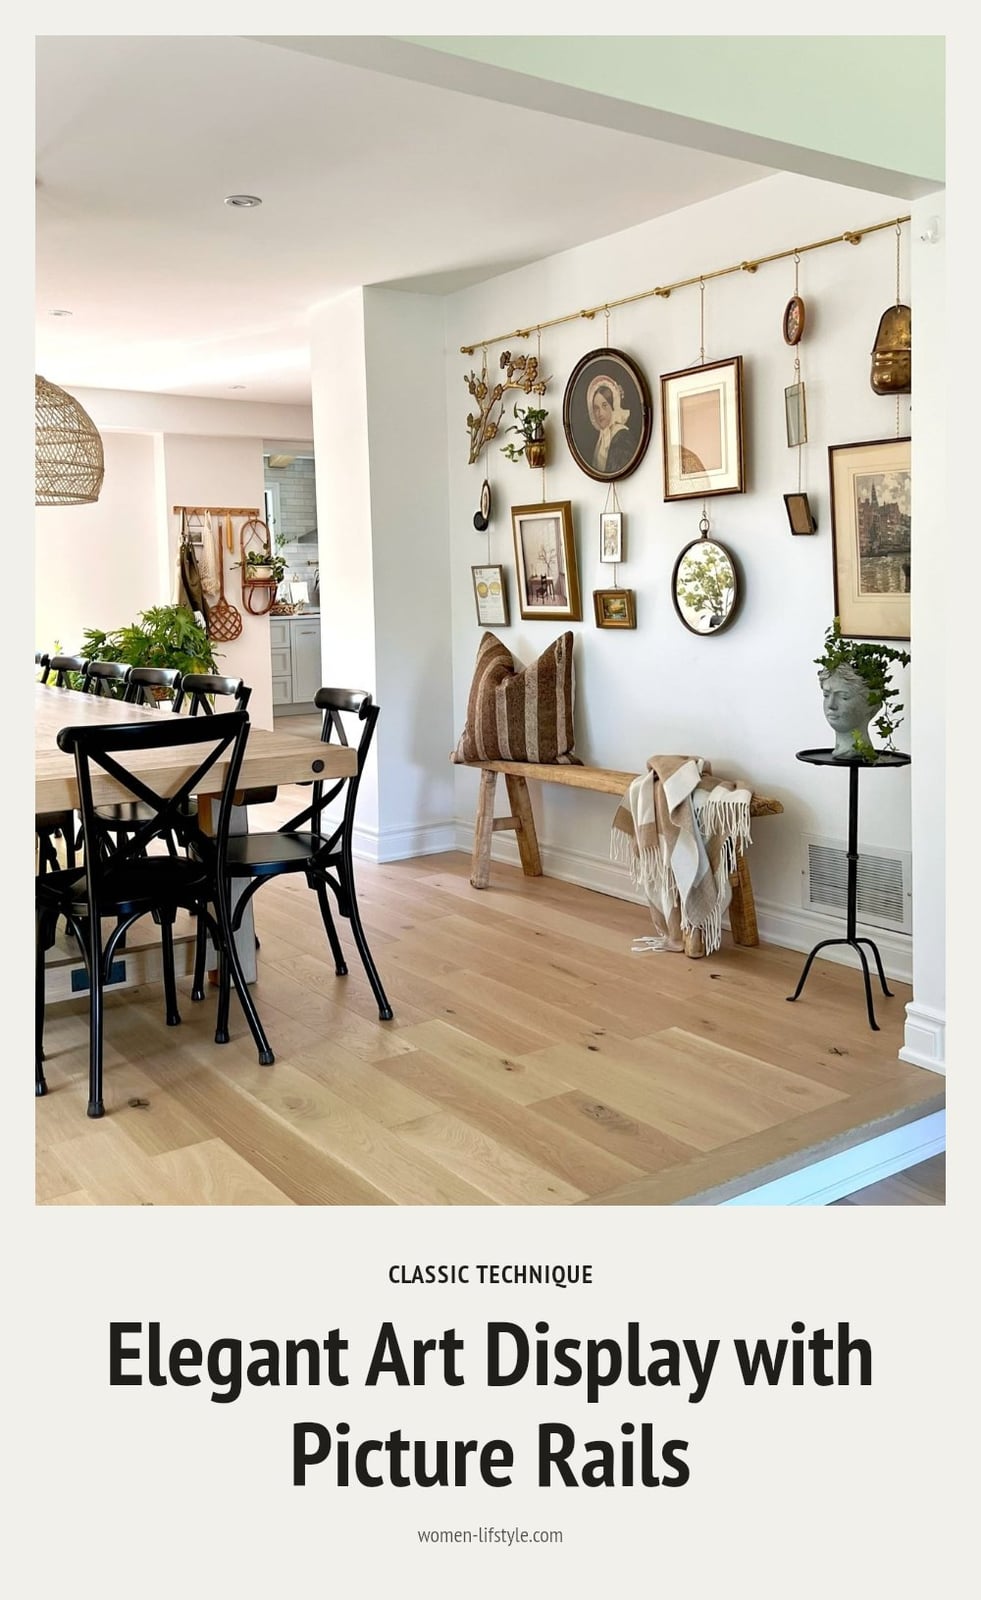
If you have picture rail molding in an older home, you’ve got a built-in nail-free solution. Special hooks and cords hang pictures from the rail without ever touching your wall. This classic method lets you easily adjust the height and arrangement of your frames.
My tip: Look for vintage-style picture rail hooks and braided cords to complete the authentic look.
6. Displaying Art on Easels
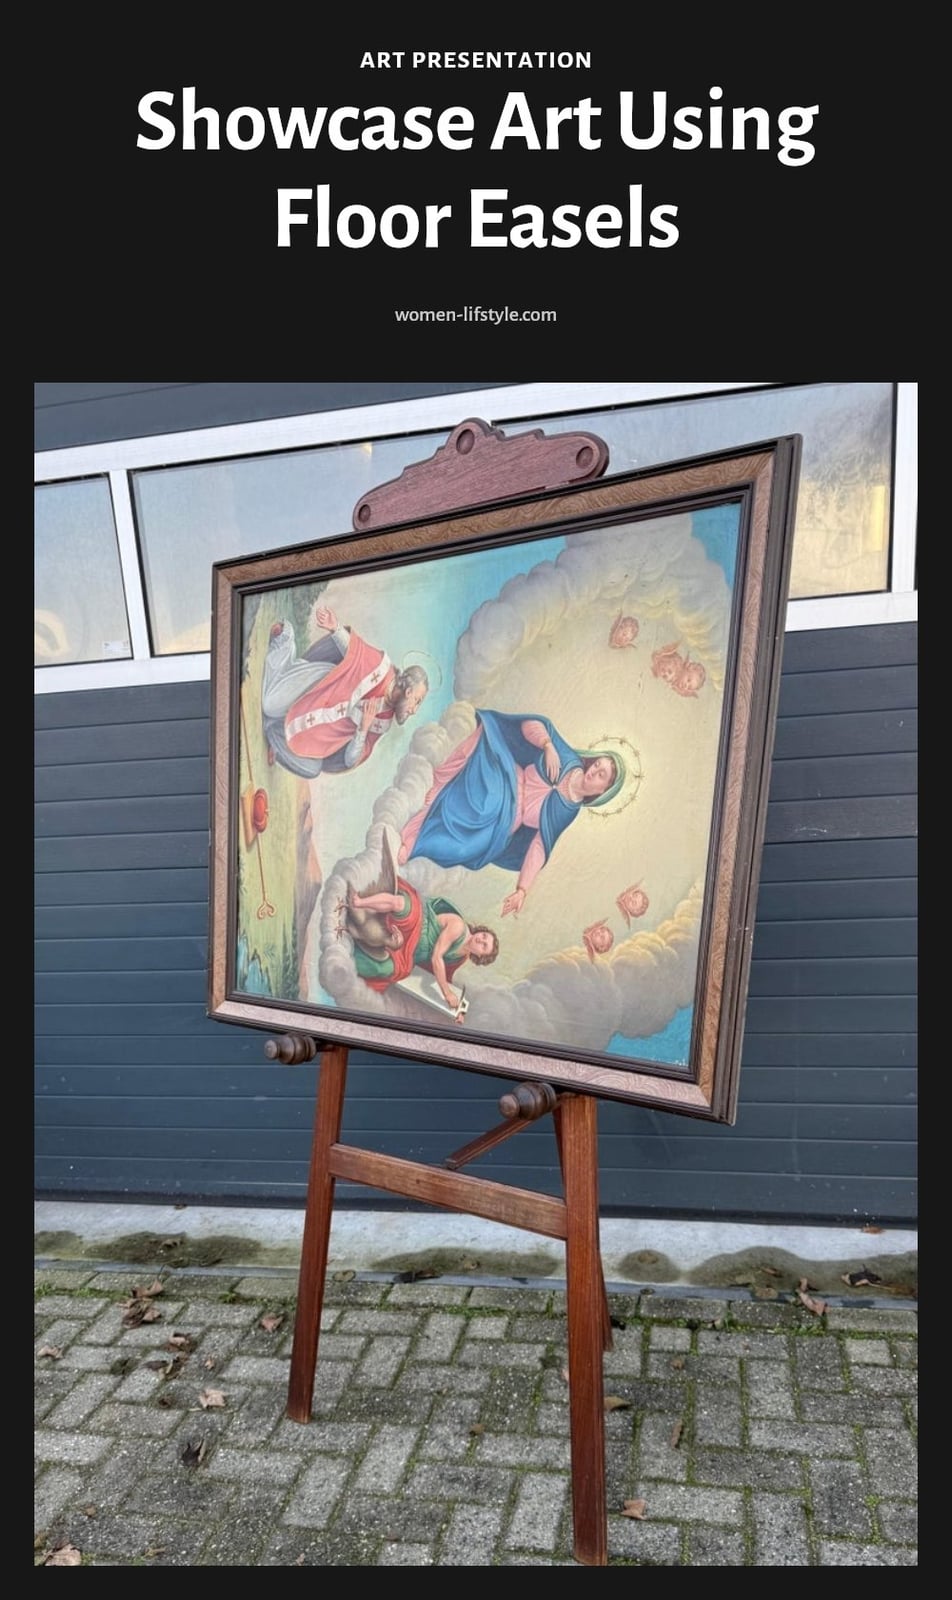
For larger, statement pieces, an easel showcases art without any wall attachment. It adds an artistic touch to any room and comes in various sizes and materials, from tabletop versions for smaller frames to floor-standing ones for canvases.
Tip: This is especially great for art you want to move around or highlight in different areas of your home.
7. Magnetic Paint or Strips
Magnetic paint or magnetic strips create a fun, interactive surface for displaying lightweight photos, prints, or kids’ artwork. You can paint a section of wall with magnetic primer and topcoat with your desired color, or apply self-adhesive magnetic strips directly.
Consider this for a home office or child’s room where you want to frequently change what’s on display without leaving marks.
8. Tension Rods
Tension rods aren’t just for curtains. You can use them in doorways or between two walls to hang lightweight fabric art, small frames with S-hooks, or even string lights. This is a fantastic solution for renters or anyone who wants to avoid wall damage in tricky spots.
My tip: Ensure the tension rod is securely placed and can support the weight of what you’re hanging. It’s best for very light items.
9. Over-the-Door Hooks
Don’t forget the back of your doors. Over-the-door hooks are perfect for hanging lightweight framed art, especially in bedrooms or bathrooms where you might have less wall space. They simply slip over the top of the door, requiring no tools or wall alterations.
Tip: Choose hooks with a slim profile so your door can still close properly.
10. Picture Ledges or Shelves
While installing a picture ledge or shelf might involve a few small nails, once it’s up, you can display and rearrange countless frames without any further wall damage. This creates a versatile display area where you can layer pictures, add small plants, or other decorative objects.
Tip: Choose a sturdy ledge and ensure it’s installed correctly to safely hold your items.
11. Command Poster Strips
For posters, unframed prints, or very lightweight photos, Command Poster Strips are a quick and easy solution. They’re designed to hold lighter items securely. These strips are typically smaller and less robust than the picture hanging strips, so they’re best for paper-based items.
Remember to clean the surface and press firmly for proper adhesion, and always stretch downwards for clean removal.
Common Mistakes When Hanging Pictures Without Nails
Not cleaning the wall surface is the most common mistake. Any dust, dirt, or grease prevents adhesive products from sticking properly, leading to fallen pictures. Always wipe down the area with rubbing alcohol and let it dry completely before applying anything.
Ignoring weight limits: Every adhesive product has a weight capacity clearly marked on the packaging. Overloading strips or hooks is the quickest way to have your art come crashing down. Always check the packaging and err on the side of caution by choosing a set rated for more than your picture weighs.
Hanging on freshly painted walls: Patience is key here. Applying adhesive to paint that hasn’t fully cured, usually at least 7 days, can cause the paint to peel off when you remove the strips. Wait the full time before sticking anything up.
Improper removal: Don’t just rip adhesive strips off the wall. Most stretch-release products require you to slowly stretch the tab downwards, parallel to the wall, for a clean, damage-free removal. Pulling straight off can tear the paint or drywall.
Using adhesives on unsuitable surfaces: Wallpaper, highly textured walls, or delicate finishes are often not compatible with adhesive products. Always read the manufacturer’s recommendations before applying anything to these surfaces.
Frequently Asked Questions
How long do adhesive strips last on walls?
Adhesive strips are designed for long-term use, often lasting for months or even years if applied correctly and not overloaded. However, they’re not meant for permanent installation. Over time, heat, humidity, and weight can affect adhesion, so check periodically and replace if you notice any loosening. For a more permanent display, consider a picture ledge or rail.
Can I use adhesive strips on textured walls?
Adhesive strips generally work best on smooth surfaces. On textured walls like popcorn or orange peel, they may not stick properly and could fail. If your walls have a light texture, you might try, but for heavily textured surfaces, it’s safer to use a different method like leaning art or an easel. Always test a small area first if you’re unsure.
What’s the best way to remove adhesive hooks?
To remove adhesive hooks without damaging your wall, don’t pull them straight off. Instead, gently stretch the adhesive tab downward slowly, parallel to the wall, until the hook releases. This stretch-release method minimizes the risk of peeling paint or leaving residue. If there’s any sticky residue left, use rubbing alcohol to clean it off.
Are there options for hanging heavy pictures without nails?
Yes, but you’ll need to think beyond adhesives. For heavy framed art, consider leaning it against a wall on a console table or mantel, using a floor-standing easel, or if you have picture rail molding, use hooks and cords. These methods avoid wall damage entirely and can support significant weight safely. Adhesive strips are not recommended for very heavy pieces.
Final Thoughts
For most frames, adhesive strips are a reliable choice, just check the weight rating and prep the wall properly. If you’re hanging something heavy or irreplaceable, skip the adhesives and go with a leaning display or an easel to be safe. Give adhesive methods about an hour to set before hanging your picture, and you’ll enjoy a damage-free wall that’s easy to update whenever the mood strikes.
