

Starting your makeup journey can feel overwhelming with all the brushes on the market. But you don’t need a giant collection to get a flawless look. In this article, I’ll walk you through the essential brushes every beginner should own, explain what each one does, and share my best tips for keeping them in top shape.
Key Takeaways
- Start with four or five versatile brushes for a complete routine.
- Match brush bristle type to product: synthetic for liquids, natural for powders.
- Clean brushes weekly for daily use to avoid buildup and bacteria.
- Use light pressure and circular motions for a smooth, streak-free finish.
- Store brushes upright or flat, and always dry them completely before storing.
Which Makeup Brushes Do You Actually Need?
If you’re just starting out, you really only need four or five versatile brushes to handle your entire routine. Focus on a foundation brush for your base, a powder brush for setting, a blush brush for color, and one or two eye brushes for blending and detail. That small set is enough to apply product evenly, blend smoothly, and keep your look polished without complicating your collection. These essentials cover the core steps so you can build skill before adding more tools.
Finding Your Perfect Match: Brush Types Compared
Every brush in your kit is designed with a specific purpose, from the density of the bristles to the shape of the head. Matching the brush to the product type is what gives you that smooth, even finish instead of streaks or patchiness.
| Brush Type | Best For | Bristle Preference |
|---|---|---|
| Foundation brush (flat-top kabuki) | Liquid and cream foundation, full coverage | Synthetic |
| Powder brush (large, fluffy) | Loose or pressed powder, setting makeup | Natural hair |
| Blush brush (tapered) | Powder blush, color placement | Natural hair |
| Eyeshadow blending brush (dome-shaped) | Blending eyeshadow in the crease | Natural hair |
| Angled brush (slanted edge) | Eyeliner, brows, contour | Natural hair |
Synthetic bristles are non-absorbent, so they push liquid and cream products onto your skin rather than soaking them up. Natural bristles have tiny cuticles that grab powder particles and release them evenly for a softer, more diffused look. Choosing the right bristle type for your product is the single most impactful decision you can make for a flawless application.
1. Foundation Brush: Your Base Builder
A dense, flat-top kabuki brush is ideal for buffing liquid foundation into the skin for full coverage. Synthetic bristles are a must for liquid and cream foundations to prevent product absorption and streaks.
- Use circular motions: This helps achieve a seamless, airbrushed finish.
- Start from the center: Apply foundation in the middle of your face and blend outward.
- Build coverage gradually: Add thin layers rather than one thick coat.
2. Powder Brush: Setting Your Look
A large, fluffy, and soft powder brush is perfect for evenly distributing loose or pressed powder. It sets your foundation without disturbing it, preventing a cakey look. Natural hair bristles are often preferred for powder products for better pickup and distribution.
- Tap off excess: This avoids heavy application.
- Press and roll: Use a pressing motion to set makeup, then roll to blend.
- Focus on the T-zone: Apply more powder where you get oily.
3. Blush Brush: Adding a Pop of Color

A blush brush is smaller and slightly tapered compared to your powder brush, which gives you control for precise placement on the apples of your cheeks. The tapered shape lets you blend the color outward toward your hairline without creating harsh lines. Tip: Tap off excess product before the first swipe so you can build the color gradually instead of starting with a heavy patch.
4. Eyeshadow Blending Brush: Softening Your Eyes
An eyeshadow blending brush is the tool that turns a harsh stripe of color into a soft, seamless gradient. Its fluffy, dome-shaped head diffuses pigment in the crease without depositing too much in one spot. Use light, circular motions where the two shades meet, and keep blending until no hard edge remains. That motion is what gives you a professional, airy finish.
5. Angled Brush: The Versatile Detailer
An angled brush earns its place in any kit because it does the work of three tools. The sharp, slanted edge draws crisp lines for gel eyeliner, fills sparse brows with powder, and carves out precise contour under the cheekbones. My tip: Use it with gel liner for a sharp wing or with brow powder for natural-looking brows. A single brush, multiple looks.
Common Makeup Brush Mistakes to Avoid
Using the wrong brush for the product: A fluffy powder brush soaks up liquid foundation and leaves streaks instead of an even layer. Match your brush to the product type: synthetic bristles for liquids and creams, natural bristles for powders.
Not cleaning brushes regularly: Unclean brushes collect bacteria, oil, and old product that can cause breakouts and muddy application. Clean them at least once a week, and more often for eye brushes if you have sensitive skin.
Applying too much pressure: Pressing hard into the skin pushes product into pores and creates streaks or uneven patches. Use a light hand and build coverage gradually so you stay in control.
Believing you need every brush: You do not need a twenty-piece set to get a polished look. Start with a foundation brush, a powder brush, a blush brush, and one or two eye brushes. Add more only when your routine demands it.
Pro Tips for Brush Care and Application
Choose based on product type: Always match the brush to what you’re applying. Synthetic bristles are non-absorbent and work best with liquid and cream products like foundation or concealer. Natural bristles are ideal for powder products like setting powder, blush, or eyeshadow.
Start with multi-purpose brushes: Before buying a full set, pick a few brushes that can handle multiple jobs. A medium-sized fluffy brush can apply blush, bronzer, or even blend eyeshadow. A flat angled brush works for liner, brows, and contour.
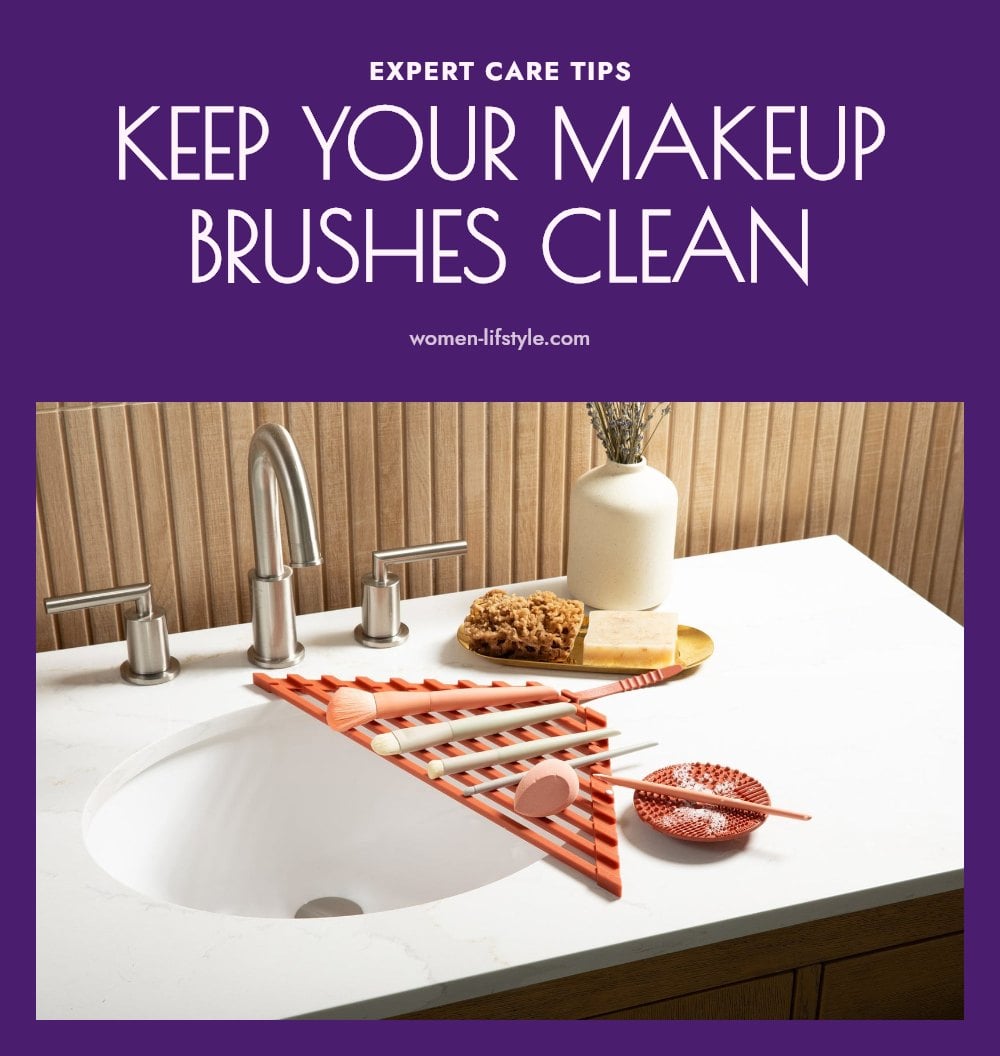
Clean brushes regularly: Dirty brushes collect bacteria, oil, and old product that can cause breakouts and ruin application. Use a brush cleaning solution or mild soap and water at least once a week. Rinse thoroughly and reshape the bristles before drying.
Store brushes correctly: Keep brushes upright in a holder or laid flat to maintain their shape. Never store wet brushes upright, water seeps into the ferrule, loosens the glue, and invites mold. Always let them dry completely with bristles pointing down or sideways.
Use light pressure: Pressing hard creates streaks and uneven coverage. Use gentle, circular motions for foundation and light sweeping strokes for powder. Build product gradually instead of loading the brush all at once.
Frequently Asked Questions
How often should I clean my makeup brushes?
You should clean your brushes at least once a week if you use them daily. Eye brushes may need more frequent cleaning, especially if you have sensitive skin or use them with creamy products. Regular cleaning prevents product buildup and bacterial growth, keeping your skin healthy and your brushes performing well.
Can I use one brush for both liquid and powder products?
Technically, you can, but it’s not recommended. Using a brush for both types without cleaning it in between can lead to uneven application and product contamination. If you want to switch between liquid and powder, clean the brush thoroughly first. For convenience, you might prefer separate brushes for each type.
Are expensive makeup brushes always better?
Not necessarily. While higher-priced brushes often use better materials and craftsmanship, many affordable options perform just as well for beginners. Focus on the brush’s shape, bristle type, and how it feels in your hand rather than the price tag. A well-chosen mid-range brush can last for years with proper care.
What’s the difference between natural and synthetic bristles?
Natural hair bristles, like those from animals, are better at picking up and distributing powder products, making them ideal for setting powder, blush, and eyeshadow. Synthetic bristles are non-absorbent and work best with liquid and cream products like foundation and concealer. They are also easier to clean and are a cruelty-free option.
How do I store my makeup brushes to keep them in good shape?
Store brushes upright or flat to help them maintain their shape. Avoid storing them wet, as water can seep into the ferrule and loosen the glue, causing bristle shedding. Make sure brushes are completely dry before storing them to prevent mold or mildew growth. A simple cup or a brush roll works well.
Final Thoughts
Now that you know which brushes to buy and how to care for them, you can build a simple, effective kit without the clutter. My tip: invest in a few quality brushes that you’ll actually use daily, and clean them on a regular schedule. Expect your routine to feel smoother and more polished within a week or two of consistent practice. The right tools make all the difference, so enjoy the process and let your skills grow.
