

If your clothes are taking longer to dry than they used to, or they feel hotter than normal when the cycle ends, your dryer vent might be telling you something. A clogged vent isn’t just an inconvenience; it’s a fire risk hiding in plain sight. This article covers the practical steps you can take to keep your dryer running safely and efficiently, from basic lint screen habits to a full annual cleaning routine.

Key Takeaways
- Clean the lint screen after every load to remove the bulk of lint before it reaches the vent.
- Inspect the transition duct behind your dryer every 3 to 6 months for kinks or damage.
- Clean the entire dryer vent system, from dryer to exterior cap, at least once a year.
- Use rigid metal ductwork for the main vent run to reduce lint buildup and fire risk.
- Watch for warning signs like longer drying times, hot clothes, or a burning smell and act on them immediately.
Why Cleaning Your Dryer Vent is Crucial
Cleaning your dryer vent is one of the most important home safety tasks you may overlook. Lint buildup restricts airflow, forcing your dryer to run longer and hotter, which increases energy bills and wears out the appliance faster. More critically, lint is highly flammable, and a clogged vent is a leading cause of dryer fires. Regular maintenance clears that risk, extends the life of your dryer, and keeps your home safer.
1. Clean the Lint Screen Every Load

Make it a habit to clean the lint screen after every single load. This simple step removes the bulk of lint before it can travel further into the vent system. It is your first line of defense against clogs and reduces the fire risk significantly. A quick swipe takes seconds but saves you from bigger problems later.
2. Inspect the Transition Duct Regularly
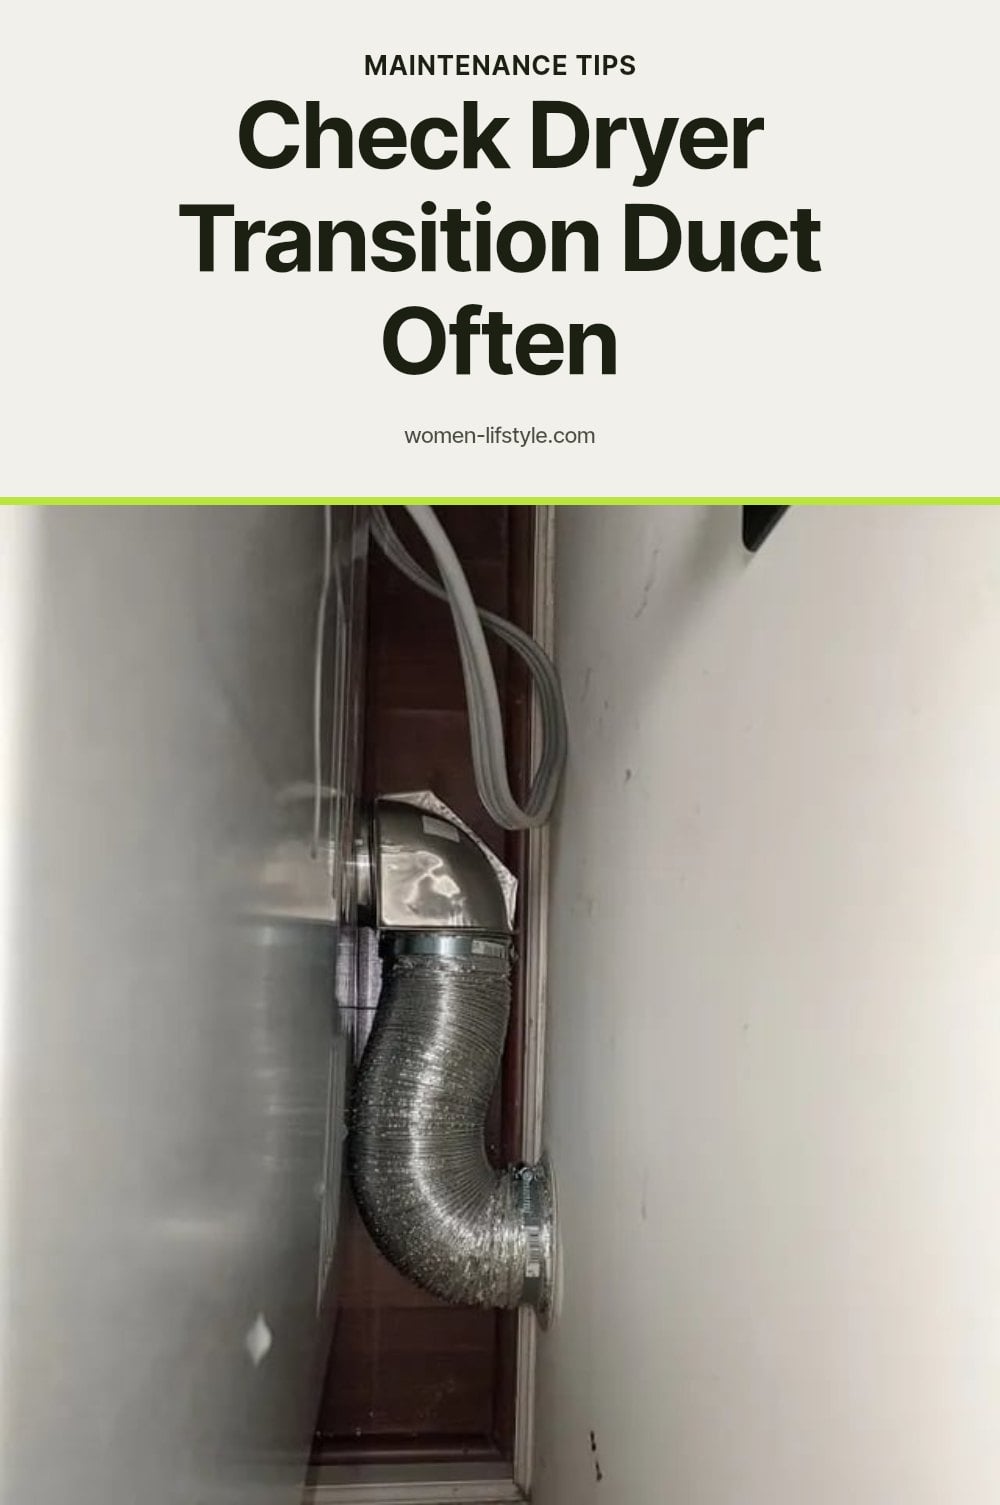
The transition duct, the flexible hose directly behind your dryer, needs a visual check every 3-6 months. Look for kinks, crushes, or tears that restrict airflow and trap lint. Also confirm the duct is properly connected to both the dryer and the wall opening, and that it does not sag or bunch up. A damaged or loose transition duct undermines the whole system.
3. Clean the Exterior Vent Cap

At least once a year, head outside and check the dryer vent cap on your house. Remove any lint, debris, or bird nests that block the flap, and make sure the flap opens freely when the dryer runs. A blocked exterior cap traps hot, moist air, which can quickly lead to a clogged vent system and increase the fire hazard. A clear cap keeps your whole vent working efficiently.
4. Gather the Right Tools

Before you start, gather a vacuum cleaner with hose attachments, a dryer vent cleaning brush kit (the long, flexible brush is key), a screwdriver or nut driver for clamps, and work gloves. A face mask can also be helpful to avoid inhaling dust and lint. Having everything ready makes the job faster and keeps you safe.
5. Disconnect Your Dryer Safely
Always unplug your electric dryer from the wall outlet before starting any cleaning. If you have a gas dryer, turn off the gas supply valve and carefully disconnect the gas line. If you’re unsure about handling gas, it’s best to call a professional for gas dryer maintenance. Gently pull the dryer away from the wall to access the transition duct.
6. Clean the Transition Duct and Dryer Opening

Once disconnected, use your vacuum’s hose attachment to thoroughly clean the inside of the transition duct. Also vacuum the dryer’s exhaust port where the duct connects, removing any visible lint buildup. My tip: Use a smaller brush from your kit to get into tight spots around the dryer opening for a more complete clean.
7. Brush Out the Main Vent Duct
Insert your long, flexible dryer vent cleaning brush into the main vent duct, pushing it as far as it will go. Twist and pull the brush back and forth to dislodge lint, then use your vacuum to suck up the loosened debris. Repeat this process from both ends of the duct, from the dryer side and the exterior vent cap side, for a thorough cleaning.
8. Reconnect and Test Your Dryer
Reconnect the transition duct: Attach it securely to both the dryer and the main vent opening. Tighten all clamps so no air leaks out, and double-check the duct isn’t kinked, crushed, or sagging, any bend restricts airflow and traps lint.
Restore power and test: Plug your electric dryer back in, or turn on the gas supply valve if you have a gas dryer. Run a short, empty cycle on a high-heat setting. Feel the air coming out of the exterior vent cap. It should be warm and forceful, not weak or cool.
9. Upgrade to Rigid Metal Ductwork
Switch to rigid metal ductwork: If you still have flexible plastic or foil ducts for the main vent run, replace them with rigid metal. The smooth interior surface collects far less lint and won’t kink, which lowers fire risk and keeps airflow strong.
Install it correctly: Use metal clamps, not screws that stick into the duct, protruding screws snag lint and create a new clog point. Rigid metal is the material recommended by dryer manufacturers for maximum safety and efficiency.
10. Watch for Warning Signs of Clogs
Notice longer drying times: If a normal load takes more than one cycle to dry, the vent is likely restricted. Clothes that feel unusually hot after a cycle also signal poor airflow, which can overheat the dryer’s heating element.
Act on a burning smell immediately: A burning smell is the most urgent warning. Stop the dryer right away and unplug it. Check the lint trap and the transition duct for obvious blockages, then inspect the main vent. If you can’t find the cause, call a professional before using the dryer again.
Watch for extra lint: Excessive lint on the lint screen, around the dryer, or on your clothes after a cycle means the vent system isn’t venting properly. Address it promptly before the buildup worsens.
11. Consider Professional Cleaning Annually
Schedule a professional cleaning annually: DIY cleaning handles the basics, but a pro has motorized brushes and inspection cameras that reach deep into long or complex vent runs. This is especially valuable if your dryer is on a second floor or the duct makes multiple turns.
Consider it for gas dryers and pet owners: Gas dryers require careful handling of the gas line, a professional avoids the risk of a leak. Homes with pets also tend to have more lint and fur in the system, so an annual deep clean catches buildup you might miss.
Common Dryer Vent Cleaning Mistakes to Avoid
Only cleaning the lint trap: This is a common oversight. The lint trap is just one part of the system; the entire vent from the dryer to the exterior needs attention.
Using the wrong transition duct: Flexible plastic or foil ducts can easily kink and trap lint, increasing fire risk. Always opt for rigid metal ducts.
Ignoring the exterior vent cap: A blocked exterior cap can quickly negate all your internal cleaning efforts. Make sure it’s clear and the flap opens freely.
Underestimating fire risk: Lint is highly flammable. A clogged vent isn’t just inefficient; it’s a serious fire hazard that requires prompt action.
Frequently Asked Questions
How often should I clean my dryer vent?
You should clean the entire dryer vent system at least once a year. If you have a large household, use the dryer multiple times a day, or have pets that shed heavily, consider cleaning it every six months. The lint screen should be cleaned after every load, and the transition duct and exterior vent cap should be checked every three to six months.
What are the signs of a clogged dryer vent?
Common signs include clothes taking longer than usual to dry, clothes feeling unusually hot after the cycle, a burning smell coming from the dryer, and excessive lint buildup on the lint screen or around the dryer. If you notice any of these, stop using the dryer and inspect the vent system or call a professional.
Can a clogged dryer vent cause a fire?
Yes, a clogged dryer vent is a serious fire hazard. Lint is highly flammable, and when it builds up in the vent, it restricts airflow. This causes the dryer to overheat, which can ignite the lint. Dryer fires are one of the leading causes of home fires, so keeping the vent clean is critical for safety.
What type of dryer vent material is best?
Rigid metal ductwork is the best choice for the main vent run. It has a smooth interior that collects far less lint than flexible plastic or foil ducts, and it won’t kink or crush. Flexible plastic or foil ducts are more prone to trapping lint and should be replaced with rigid metal whenever possible.
How long can a dryer vent be?
Dryer manufacturers typically specify a maximum length for the vent duct, often around 25 feet, with deductions for each elbow or bend. A longer or more complex vent run reduces airflow and increases the risk of clogs. If your vent is longer than recommended, consider a professional cleaning or a booster fan.
Final Thoughts
My tip: Make an annual appointment with yourself to clean the entire vent system, and set a calendar reminder to check the transition duct and exterior cap every three to six months. It takes less than an hour, and it’s one of the easiest ways to protect your home and your appliance. Realistically, if your vent run is long, has multiple bends, or you’re unsure about disconnecting a gas dryer, a professional cleaning once a year is money well spent. A clean vent means a safer laundry room and a dryer that works the way it should.
This information is for general informational purposes only and is not a substitute for professional advice. Always follow your dryer manufacturer’s instructions and local building codes. If you suspect a gas leak, smell a persistent burning odor, or are unsure about any step, stop and contact a qualified professional or your gas provider.
