

Your hairbrush works hard every day, but it also collects dead skin cells, oils, product residue, and loose strands. When you brush clean hair with a dirty brush, that buildup transfers right back, leaving your hair looking dull or greasy faster than it should. Deep cleaning your brushes and combs is a simple habit that keeps your tools hygienic and effective. In this article, I’ll walk you through a step-by-step method to get them truly clean, plus tips for caring for wooden or padded brushes.
Key Takeaways
- Remove all loose hair before wetting your brush to make cleaning effective.
- Soak non-wooden brushes in warm soapy water for about 3 minutes.
- Use a toothbrush to scrub between bristles and reach crevices.
- Air dry brushes completely, bristles down, to prevent mildew.
- Deep clean at least once a month, or more often with heavy product use.
Why Cleaning Your Hairbrush Matters
Your hairbrush works hard every day, but it also collects a lot of what you don’t want back on your hair: dead skin cells, natural oils, product residue, and loose strands. When you brush clean hair with a dirty brush, that buildup transfers right back, making your hair look dull or greasy faster than it should. It also makes your styling tools less effective, so they don’t glide or grip the way they should. A simple deep cleaning routine removes all that debris, helps your brushes work better and last longer, and supports a healthier scalp and hair overall.
Gather Your Hairbrush Cleaning Essentials
Before you start, gather everything you need. Having it all within reach makes the job quick and easy.
- Hair rake, rat-tail comb, or small scissors: For lifting and removing trapped hair from the bristles.
- Mild shampoo or gentle liquid soap: To create a cleaning solution that breaks down oils and product buildup.
- Warm water: For soaking and rinsing. Avoid hot water, which can warp plastic or damage bristles.
- Dedicated brush cleaning tool or old toothbrush: To scrub bristles, the base, and hard-to-reach crevices.
- Clean towel: For patting brushes dry and laying them out to air dry.
- Basin or sink: For mixing the cleaning solution and soaking brushes.
Step-by-Step: Deep Cleaning Your Hairbrushes and Combs
Ready to get your brushes truly clean? Follow these steps, and they’ll look and work like new.
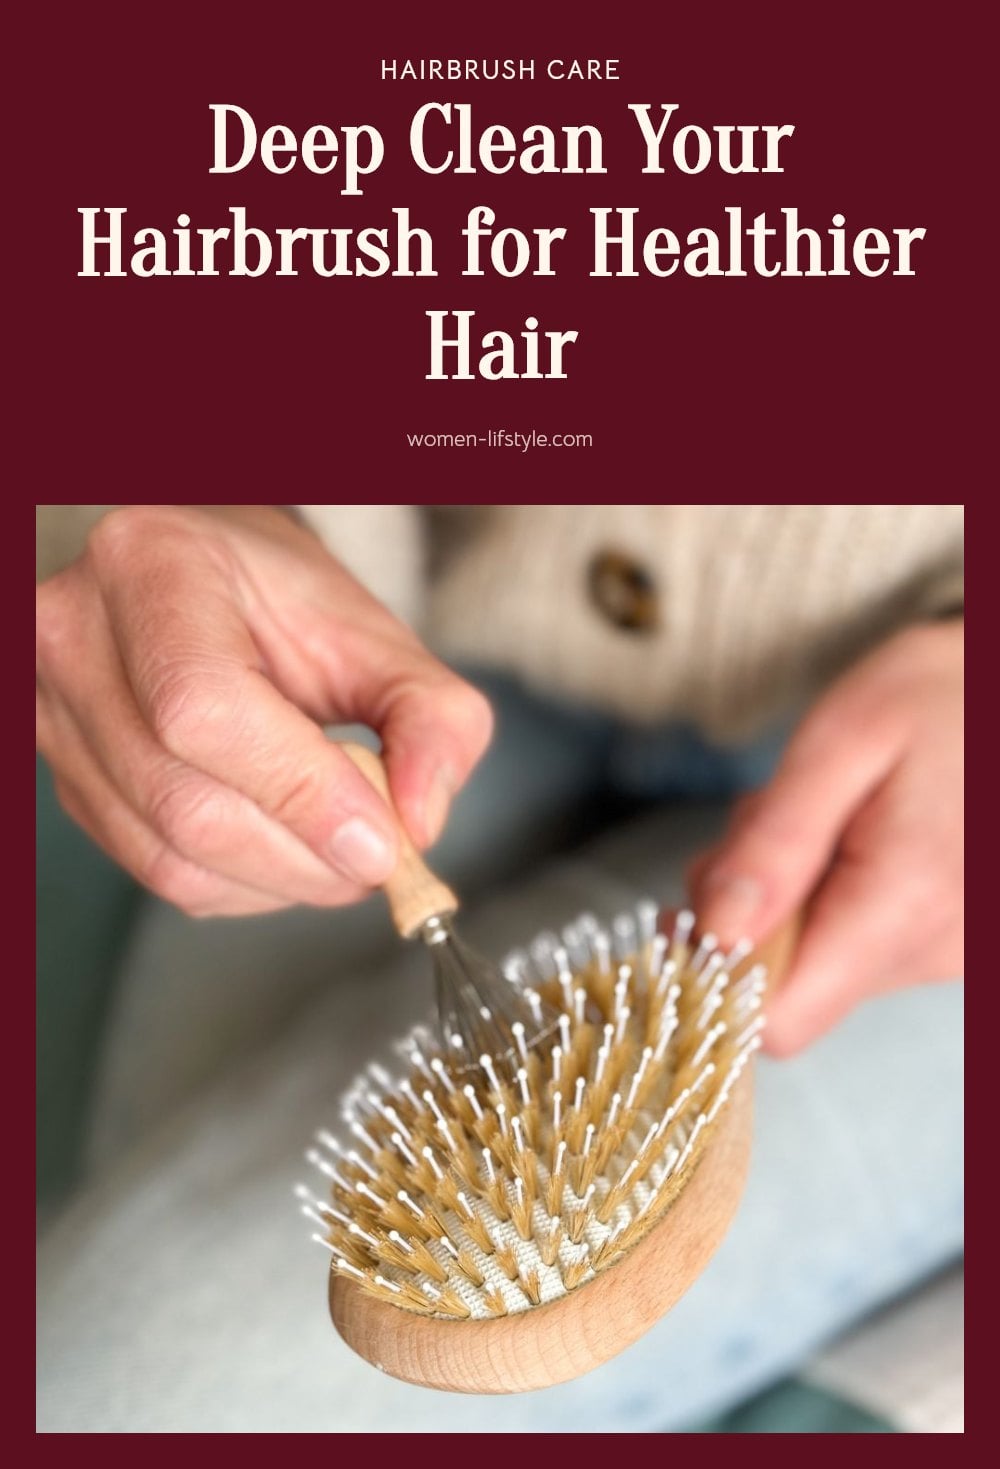
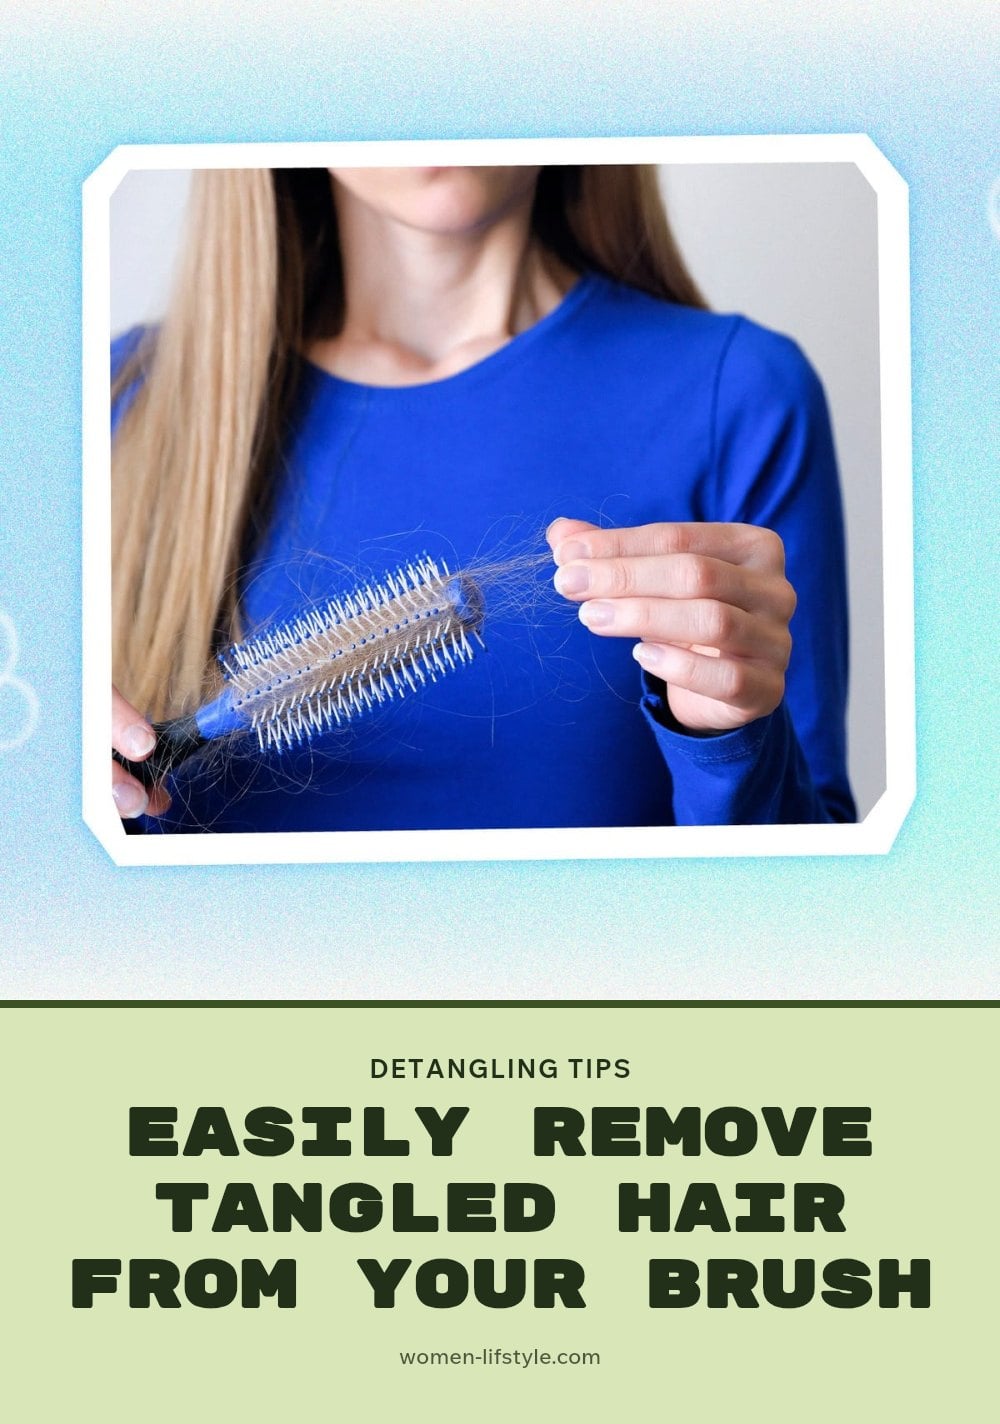
- Remove loose hair: Use a hair rake, rat-tail comb, or any long, skinny object to lift and pull out as much hair as possible, working down to the base of the bristles. For round brushes with densely wrapped hair, use a comb to lift the hair, then carefully cut a line up the middle with scissors and peel the hair off.
- Prepare the solution: Fill a bowl or sink with warm water and add a squirt of mild shampoo or gentle soap. For a deeper clean, add a pinch of baking soda or a splash of vinegar, but skip that for delicate materials.
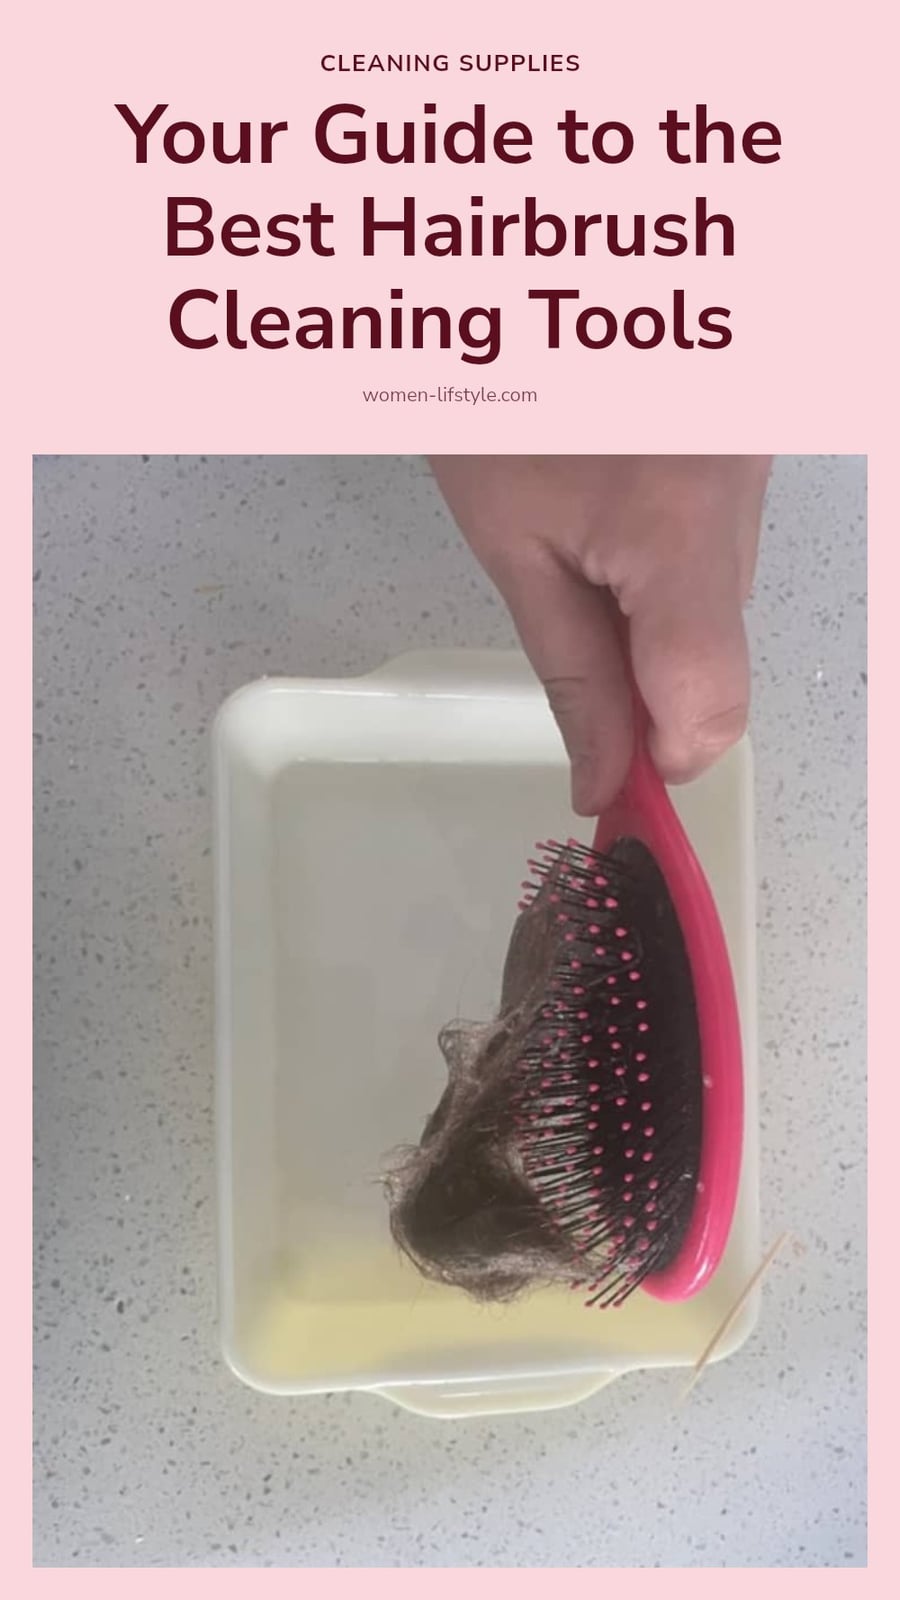
- Soak most brushes: For brushes without wood, cork, or padded bases, submerge them in the solution and let them soak for about 3 minutes. This loosens oils and product buildup.
- Scrub thoroughly: Use a dedicated toothbrush or old dish scrubber to clean the bristles, the base where they attach, the back of the brush, and the handle. Dip the brush back into the water during scrubbing to see which areas still need attention.
- Rinse well: Hold each brush under clean running water until all soap and debris are gone. Leftover soap will transfer to your hair and make it greasy.
- Dry completely: Pat the brush with a towel to remove excess moisture, then lay it bristles down on a clean towel to air dry fully. Storing a damp brush invites mildew.
- Handle fancy brushes differently: For brushes made of wood, cork, or with padded bases, dip only the bristles into the soapy water. Apply soap to your scrubbing tool, clean the bristles and base, then rinse quickly under running water without soaking the base.
- Pick out stubborn lint: After the brush is dry, inspect it for any remaining lint or debris. Use tweezers to carefully pull out any bits that didn’t come off during washing.
If you learn better by watching, this 15-minute video from Kayley Melissa shows every step. The how-to part starts at 4:06.
Special Care for Wooden and Padded Brushes
Wooden brushes and those with padded bases need a gentler touch. Submerging them in water for long periods can warp the wood or cause mildew to develop in the padding. Instead, fill a bowl with warm soapy water and dip only the bristles in, keeping the base and handle out of the water. Scrub the bristles with a toothbrush, then rinse quickly under running water, tilting the brush so the base stays as dry as possible.
Caution: Never soak these brushes. Even a few minutes of submersion can cause irreversible damage.
After cleaning, shake off excess water and lay the brush bristles down on a towel to air dry completely. This position lets moisture drain away from the base, preventing it from collecting in the padding or wood. Give it plenty of time to dry before storing.
Top Tips for a Super Clean Hairbrush
Keeping your brushes clean is easier when you know why you’re doing it. Better functionality, less friction on your hair, and overall hygiene are solid motivators. A dirty brush just deposits old product and oil back onto clean hair, and that makes the chore feel worth it.
Tip: A dedicated hair rake is amazing for pulling out hair, but a rat-tail comb or any long, skinny object works just as well. A chopstick can do the job in a pinch.
Boost your solution: For a deeper clean, add a pinch of baking soda or a splash of vinegar to your soapy water. Just be extra careful with delicate materials like wood or cork.
Multi-brush cleaning: If you have several brushes to tackle, stop up your sink and fill it with your cleaning solution instead of using a small bowl. It saves time and water.
Weekly habit: Between deep cleans, pull out accumulated hair about once a week. This simple step prevents major buildup and keeps your brushes functional longer.
Common Hairbrush Cleaning Mistakes to Avoid
Skipping hair removal is the first mistake. If you wash a brush with all the hair still in it, the soap and water just push the gunk around instead of lifting it away. Always pull out loose hair with a rake or comb before anything gets wet.
Submerging delicate brushes is another trap. Wooden handles and padded bases soak up water, which can cause warping, cracking, or mildew that ruins the brush. Keep those brushes dry above the bristles, and never leave them in a basin.
Incomplete rinsing leaves soap residue behind. That residue transfers straight to your clean hair, making it look greasy or dull. Rinse until the water runs completely clear.
Not drying completely is just as bad. Storing a damp brush in a drawer invites mildew and bacteria, which then end up on your scalp. Let brushes air dry bristles down on a towel.
Caution: Harsh chemicals or abrasive cleaners can degrade the brush material over time. Stick with mild shampoo or gentle soap to keep your tools lasting.
Maintaining Your Clean Brushes and Combs

Make it a habit to pull out loose hair from your brushes after each use, or at least once a week. This simple step significantly reduces buildup and keeps your brushes working better between deep cleans.
Monthly Deep Clean: Aim to deep clean your hairbrushes and combs at least once a month. If you use a lot of styling products, have oily hair, or notice significant buildup, clean them more frequently.
Store Properly: Always ensure your brushes are completely dry before storing them in a drawer or cabinet. Storing damp brushes invites mold and bacterial growth.
Inspect Regularly: Periodically check your brushes for signs of damage or excessive wear. If bristles are bent, the base is cracked, or the padding is coming loose, it’s time for a new one.
Frequently Asked Questions
How often should I clean my hairbrush?
Deep clean your hairbrush at least once a month, but if you use styling products frequently or have an oily scalp, consider doing it every two weeks. Between deep cleans, remove loose hair weekly to keep buildup from accumulating.
Can I use dish soap to clean my hairbrush?
Yes, dish soap is effective at cutting through oils and product residue. Use a small amount mixed with warm water, and rinse thoroughly to ensure no soap residue remains on the bristles.
What is the best way to dry a hairbrush?
After rinsing, shake out excess water and pat the brush with a clean towel. Then lay it bristles down on a dry towel and let it air dry completely, which prevents water from pooling in the base and causing mildew.
Why do lint pompoms form in hairbrushes?
Lint pompoms are tiny balls of fabric fibers, dust, and hair that get tangled in the bristles, especially on paddle brushes. They come from clothing, towels, and the air. Regular cleaning and removing hair weekly can help prevent them from forming.
Can I clean a wooden hairbrush the same way as a plastic one?
No, wooden brushes should not be submerged in water for long periods, as this can warp the wood or damage the finish. Instead, dip only the bristles into soapy water, scrub gently, and rinse quickly without soaking the base.
Final Thoughts
Make deep cleaning your hairbrushes a monthly habit, and pull out loose hair weekly to keep buildup in check. For most brushes, a quick soak and scrub with mild shampoo will do the trick; for wooden or padded brushes, stick to dipping only the bristles. Expect a few minutes of effort each time, and your tools will stay in good shape and your hair will thank you.
