

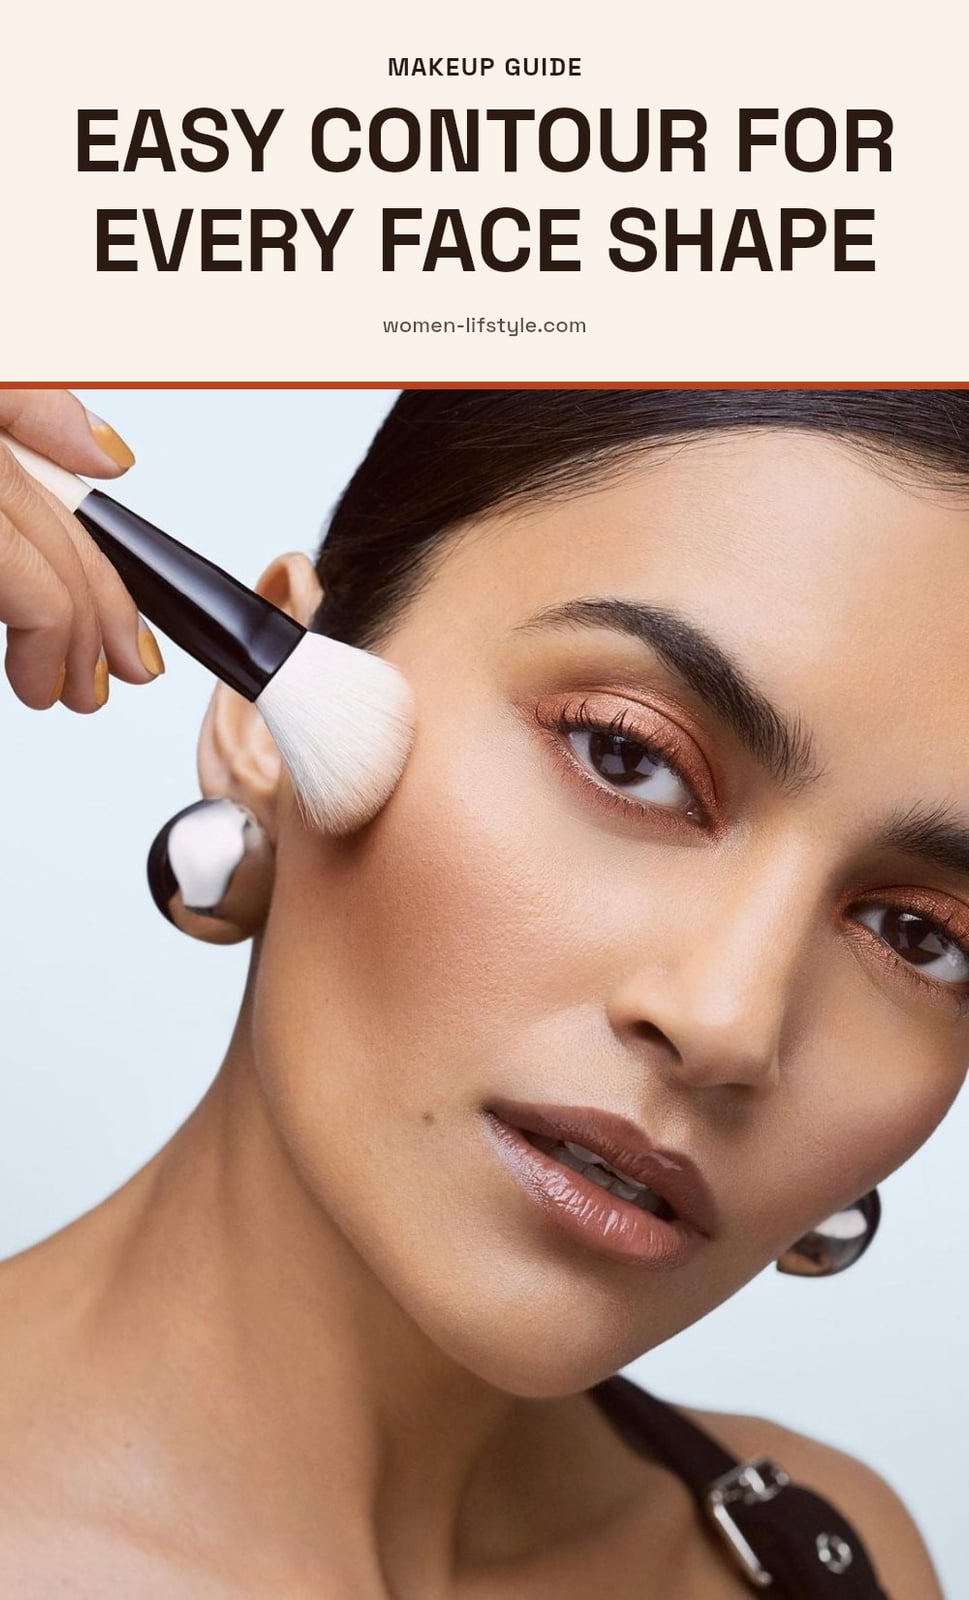
You want your makeup to define your features, not just cover them. That is exactly what contouring does. It uses shadows and highlights to sculpt your face and bring out your natural bone structure. This article covers how to choose the right shade and formula, where to apply contour for your specific face shape, and the common mistakes to avoid so you get a flawless, natural-looking finish every time.
Key Takeaways
- Choose a contour shade one to two shades darker than your skin with cool or neutral undertones.
- Apply contour to natural shadow areas: hollows of cheeks, temples, and jawline.
- Blend thoroughly with a brush or sponge to avoid harsh lines.
- Pair contour with a highlight one to two shades lighter on high points of your face.
- Set your look with translucent powder and setting spray for all-day wear.
What is Contouring and Why Does it Matter?
Contouring is a makeup technique that uses darker and lighter shades to create shadows and highlights on the face, defining features and giving a sculpted look. It enhances your natural bone structure by making certain areas recede and others stand out, adding depth and dimension to the face. The technique can be adapted for various face shapes to achieve desired effects, from softening angles to adding definition.
1. Choose the Right Contour Shade
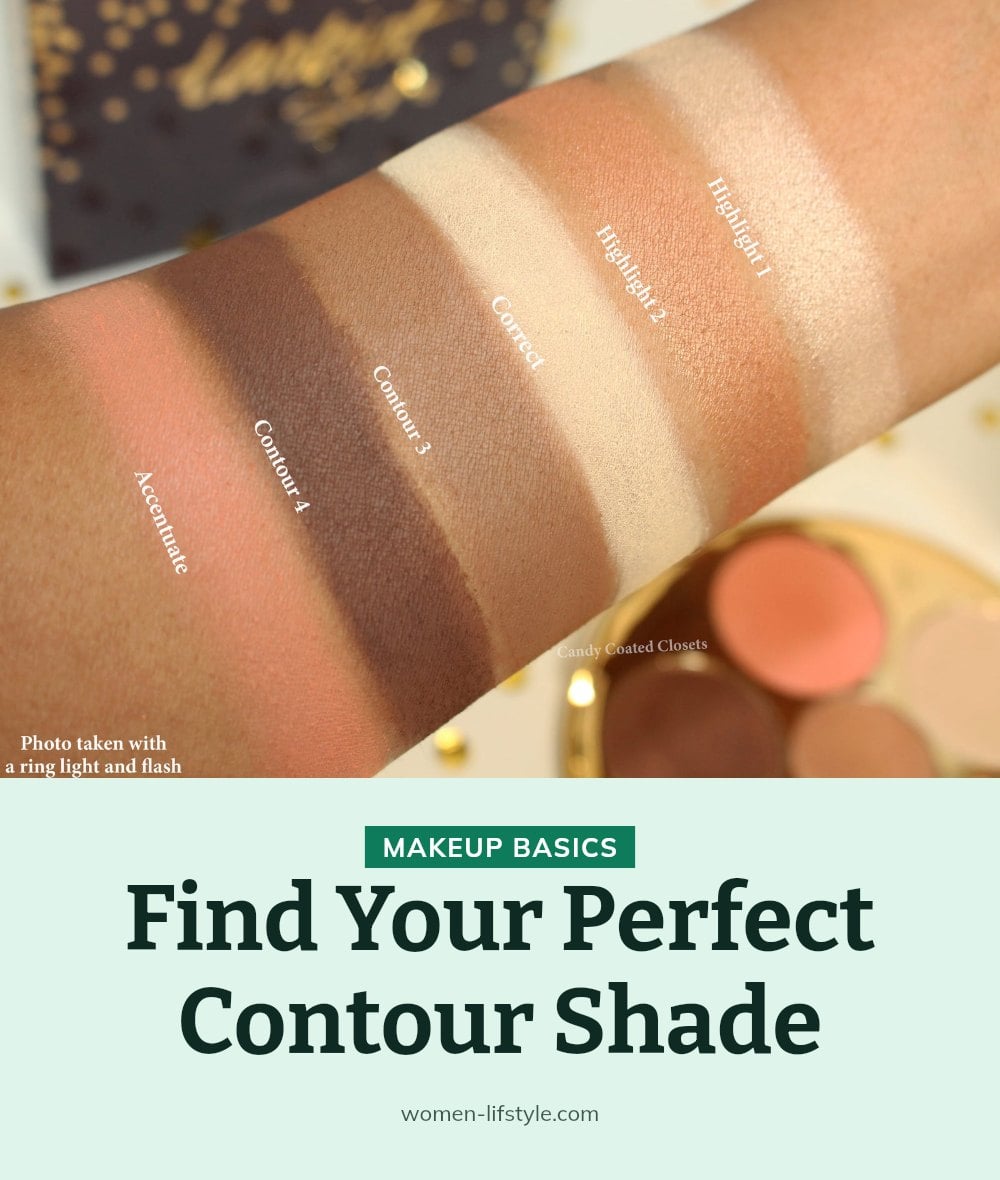
Select a contour product that is one to two shades darker than your natural skin tone. Opt for cool or neutral undertones to mimic natural shadows effectively. Avoid shades that are too warm or orange, as they can look unnatural and muddy.
- My tip: Test the shade on your jawline in natural light before buying. It should disappear into a shadow, not stand out as a stripe.
2. Pick Your Preferred Formula
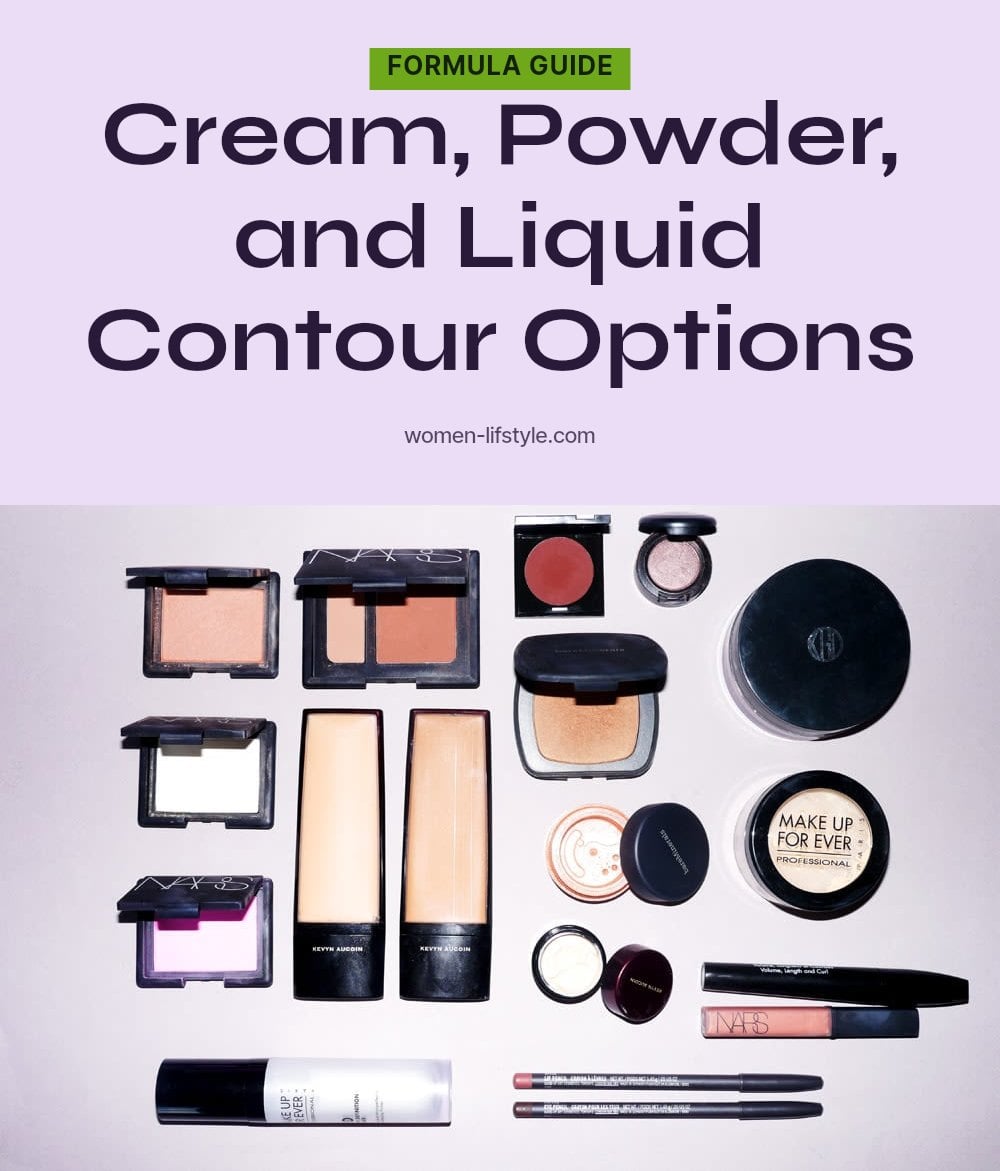
Contour products come in cream, stick, liquid, and powder formulas. Cream and liquid contours are best for a more natural, dewy finish and are applied before powder products. Powder contours are ideal for a matte finish and are applied after foundation and setting powder.
- Tip: If you have dry skin, stick with cream or liquid. For oily skin, powder works well to control shine.
3. Master Your Tools

Use an angled or fluffy contour brush for powder products to ensure even distribution and blending. A blending sponge is excellent for seamlessly blending cream and liquid contours. Clean your makeup tools regularly to prevent bacterial buildup and ensure smooth application.
- Caution: Dirty brushes can cause breakouts. Wash them at least once a week with a gentle soap.
4. Contour for a Round Face
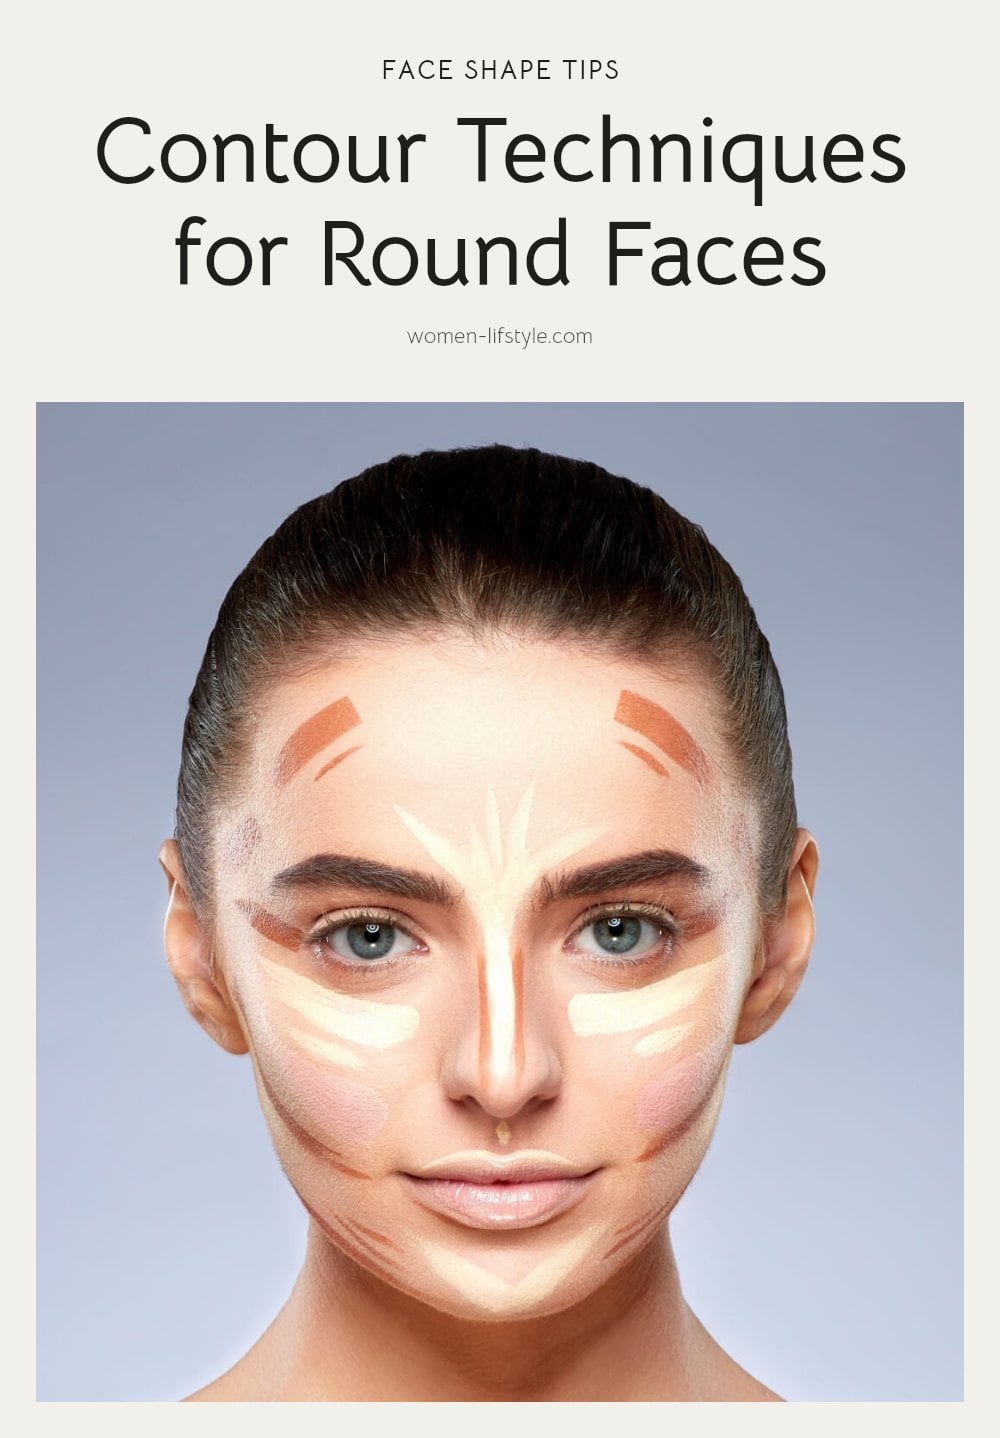
For a round face, apply contour along the temples, directly under the cheekbones, and along the jawline. This placement creates the illusion of more length and definition by adding shadows where the face naturally curves. My tip: Start the cheekbone line about an inch from your ear and angle it down toward the corner of your mouth for a lifted look.
Blend the temple contour upwards toward your hairline and the jawline contour downwards toward your neck. Use a fluffy brush or damp sponge in small circular motions so no edge remains. The goal is a soft shadow that reshapes without a visible line.
5. Contour for a Square Face
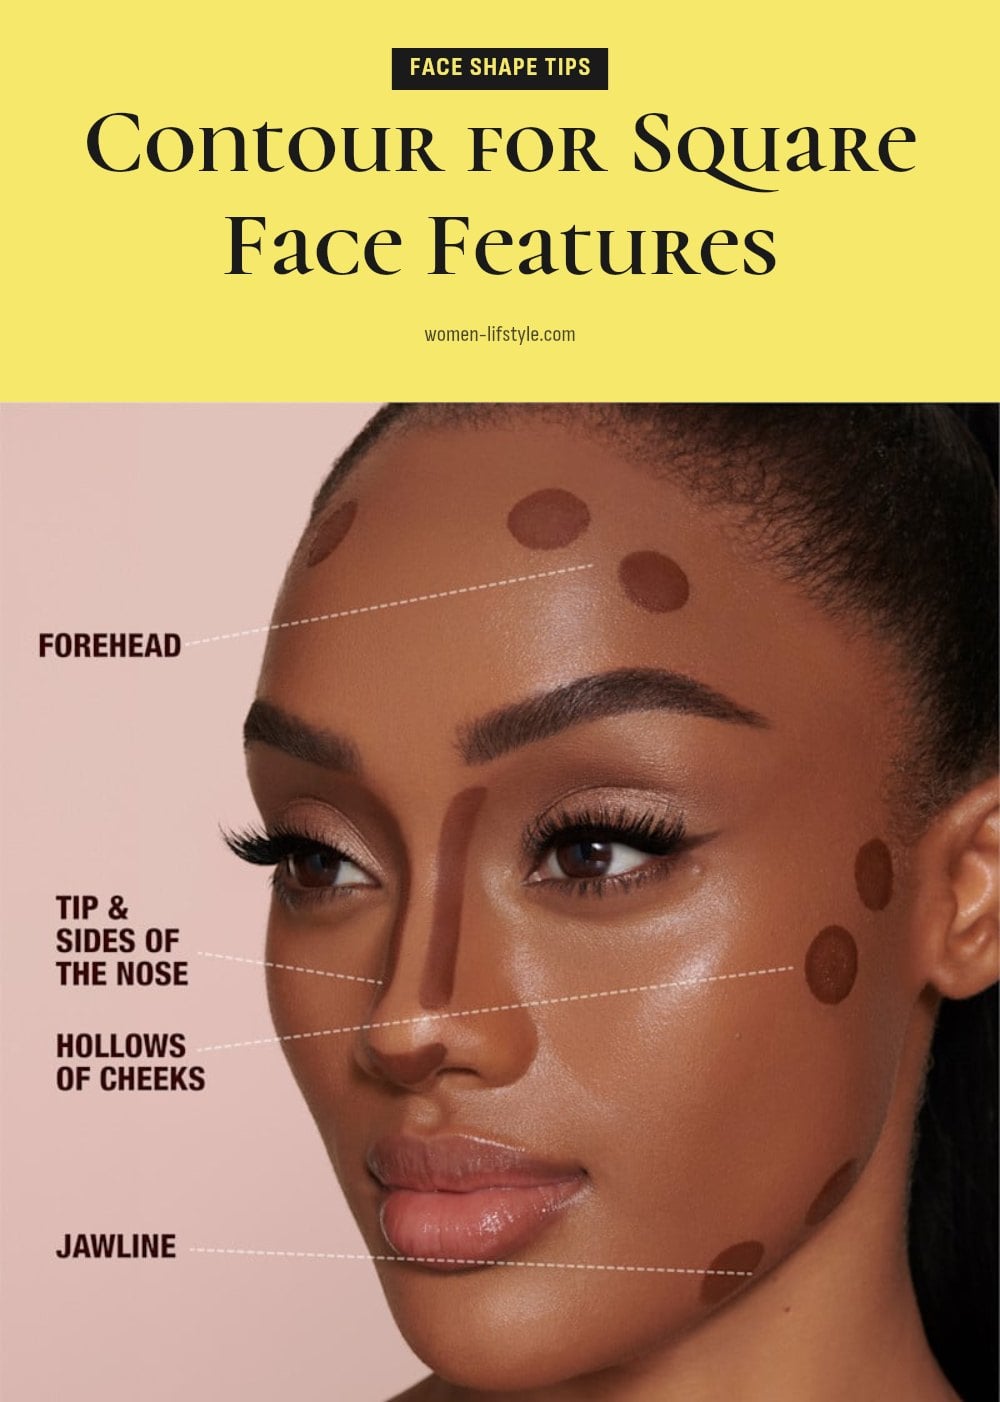
For a square face, your goal is to soften the strong angles of the jaw and temples. Focus your contour product along the temples, blending back into the hairline, and directly along the jawline from ear to chin. My tip: use a fluffy brush and windshield-wiper motions to diffuse any harsh lines, creating a natural shadow that makes the face appear more oval and less angular.
6. Contour for an Oval Face
An oval face is naturally balanced, so contouring here is minimal. Focus on enhancing the shadows you already see, mainly under your cheekbones. Use a light hand and a small amount of product to create a subtle shadow. Apply just below the cheekbone hollow and blend upward. Over-sculpting can disrupt the face’s natural harmony, so less is definitely more.
7. Contour for a Heart-Shaped Face
Apply contour to your temples, blending back into the hairline, and then sweep it under your cheekbones. This placement adds shadow to the wider upper part of your face, visually balancing it with a narrower chin. Tip: Use a tapered brush for the temples to keep the line precise, then blend downward in short, soft strokes to avoid any harsh cutoff between your forehead and cheeks.
8. Contour for a Long Face
Contour along the hairline and chin tip: For a long face, the goal is to visually shorten it. Apply your contour shade directly along your hairline from temple to temple, then add a small amount to the very tip of your chin. This creates a soft shadow that makes those areas recede, balancing out the length. Blend thoroughly so the shadow looks natural, not like a dark line.
9. Always Blend Thoroughly
Thorough blending is the most crucial step for natural-looking contouring. Blend until there are no harsh lines, ensuring a seamless transition between your contour shade and your foundation. Use a light hand and build intensity as you go, blending after each addition. A fluffy brush or damp sponge works well to diffuse the product into the skin.
10. Don’t Forget to Highlight
Highlighting works in tandem with contouring to create dimension. Use a product one to two shades lighter than your skin tone on the high points of your face. Apply highlight to the tops of your cheekbones, your brow bone, and the bridge of your nose to bring those areas forward. Tip: A tiny dot of highlighter on your cupid’s bow can make your lips look fuller.
11. Set Your Look for Longevity
After applying contour and highlight, set your makeup with a translucent setting powder. This locks in the cream or liquid products and prevents them from sliding around. Finish with a setting spray to lock everything in place and extend wear. This two-step process prevents your contour from fading or smudging throughout the day.
Common Contouring Mistakes to Avoid
Using the wrong shade: A contour that is too dark, too warm, or orange will look muddy and unnatural. Stick to cool or neutral tones that mimic real shadows on your skin.
Not blending enough: Harsh lines are a dead giveaway. Blend, blend, blend until your contour looks like a natural shadow, not a stripe.
Applying in the wrong areas: Contour should sit where shadows naturally fall: the hollows of your cheeks, temples, and jawline. Avoid placing it where the sun would hit your face.
Skipping the neck blend: If you contour your jawline, always blend the product down into your neck. A visible line where the color stops looks unfinished.
Using shimmer for shadows: Shimmer brings areas forward, which is the opposite of what contour does. For shadows, always use a matte finish.
Frequently Asked Questions
What is the difference between contour and bronzer?
Contour is designed to create shadows using cool or neutral undertones, mimicking the natural hollows of your face. Bronzer is meant to add warmth and a sun-kissed glow, usually with warmer, golden undertones. Use contour for definition and bronzer for a healthy flush of color.
Can I use foundation as a contour?
You can, but it is not ideal. A foundation that is one to two shades darker than your skin may work in a pinch, but it often has the wrong undertone (too warm or too neutral) and can look muddy. A dedicated contour product is formulated with cooler undertones to mimic natural shadows more effectively.
How do I make my contour last all day?
To extend wear, start with a well-prepped, primed face. After applying cream or liquid contour, set it with a translucent setting powder, then finish with a setting spray. This two-step process locks the product in place and prevents it from fading or sliding off during the day.
Should I contour every day?
It is not necessary for daily wear. Contouring takes extra time and product, so many people save it for special occasions or when they want a more polished look. For everyday, a light application of bronzer or a touch of highlight can give a subtle lift without the full contour routine.
Final Thoughts
My one recommendation is to start with a cream or powder contour in a neutral shade that is just one shade darker than your skin. Expect to spend a few extra minutes blending, but the result is a natural-looking sculpt that enhances your features without looking heavy. Remember, a little product and good blending go a long way, so keep practicing and you will find your perfect contour routine.
This article is for general informational purposes only and does not constitute professional makeup or skincare advice. Individual skin types and sensitivities vary. Always patch test new products and consult a dermatologist if you experience irritation or have persistent skin concerns.
