

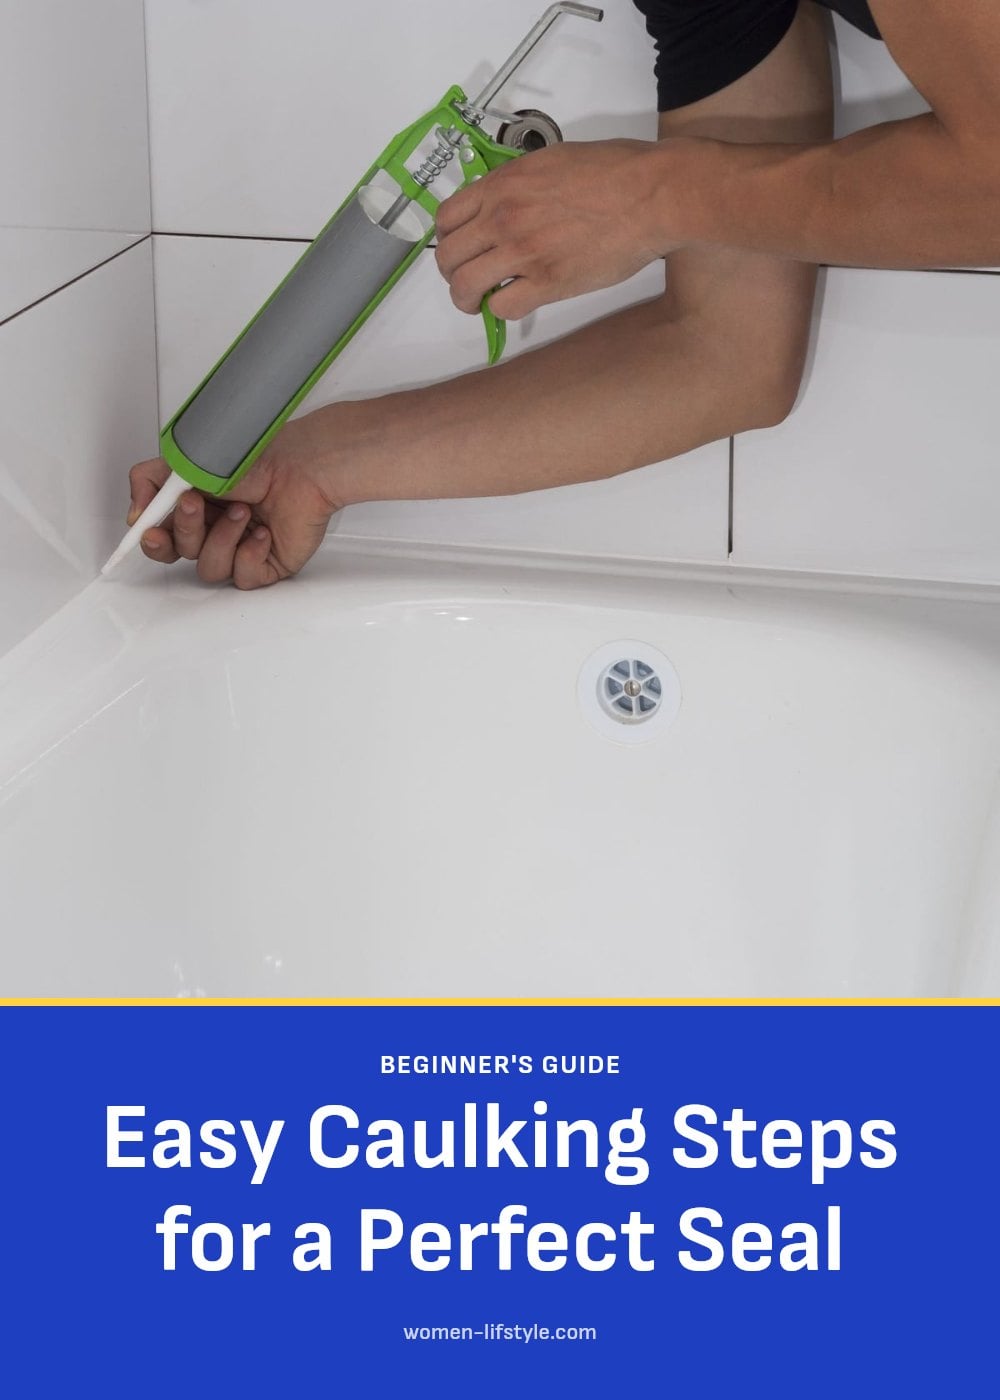
If you’ve ever noticed peeling caulk around your bathtub or a draft sneaking in through a window frame, you’re probably ready to fix it yourself. Caulking is one of those home tasks that looks tricky but is actually straightforward once you know the key steps. This article walks you through the whole process, from choosing the right type of caulk to applying it like a pro, so you can seal gaps and cracks with confidence.
Key Takeaways
- Remove all old caulk and clean the surface with rubbing alcohol before applying new caulk.
- Cut the caulk nozzle at a 45-degree angle to match the gap width for a precise bead.
- Apply caulk in a continuous, even motion, pushing it into the joint rather than on top.
- Tool the caulk immediately with a wet finger or tool for a smooth, professional finish.
- Allow full curing time (24 hours to several days) before exposing caulk to water or stress.
Why Proper Caulking Matters for Your Home
Caulking seals the joints and seams around windows, doors, baseboards, and plumbing fixtures. It stops water from seeping into walls, blocks drafts that raise your energy bills, and keeps insects from finding a way inside. A smooth, even bead of caulk also gives your home a finished, polished look you notice every time you walk into a room. The key is matching the caulk type to the job, because the wrong choice can peel or crack in months.
1. Gather Your Caulking Essentials
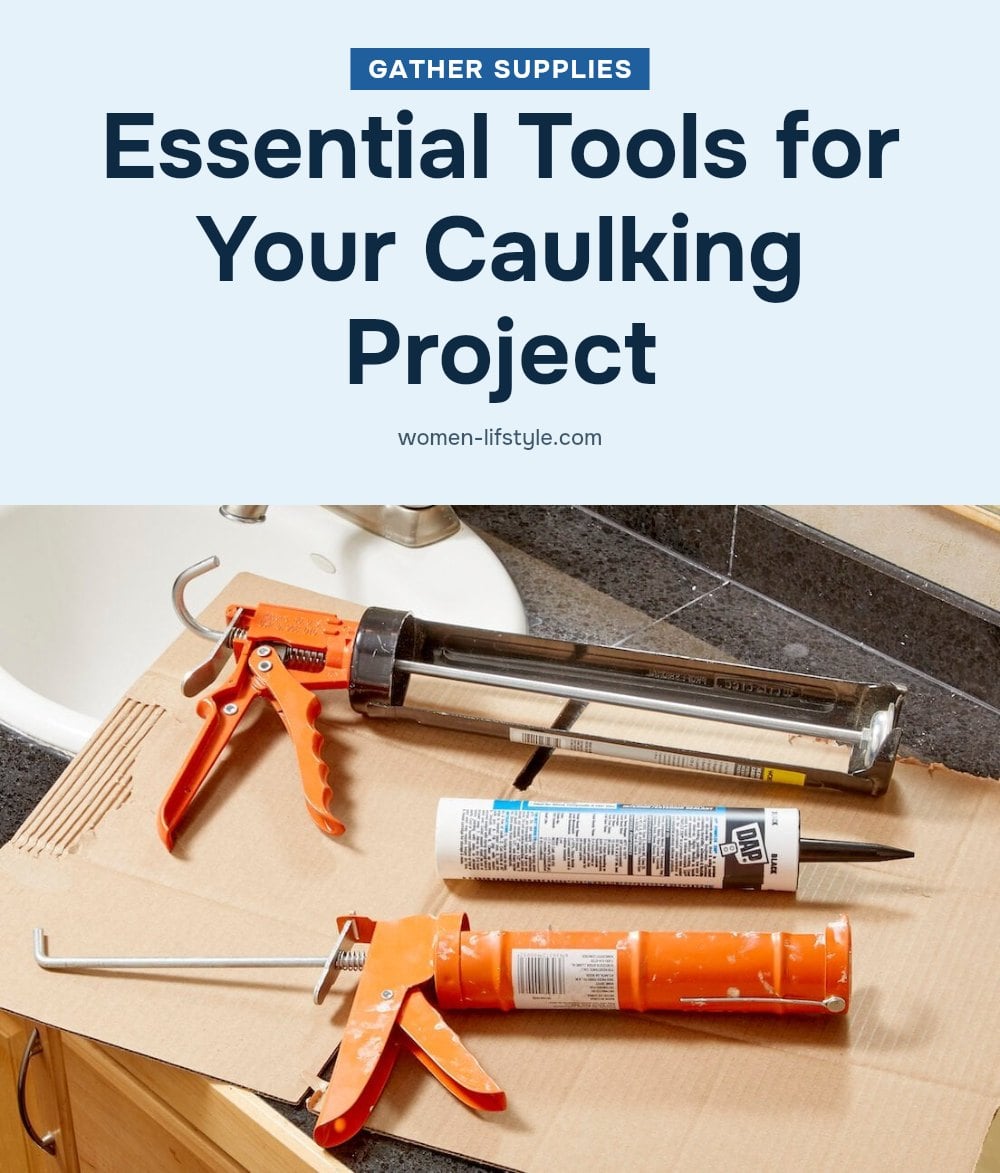
Before you start, gather everything you will need. A basic drip-free caulk gun gives you steady control. Pick the right caulk tube for your project. To remove the old stuff, grab a caulk removal tool or a utility knife. For cleaning, have rags, rubbing alcohol, or a bleach solution ready. Painter’s tape helps beginners get crisp edges. You also need something to smooth the bead, a caulk tooling tool, a wet finger, or a wet sponge works.
2. Choose the Right Caulk Type
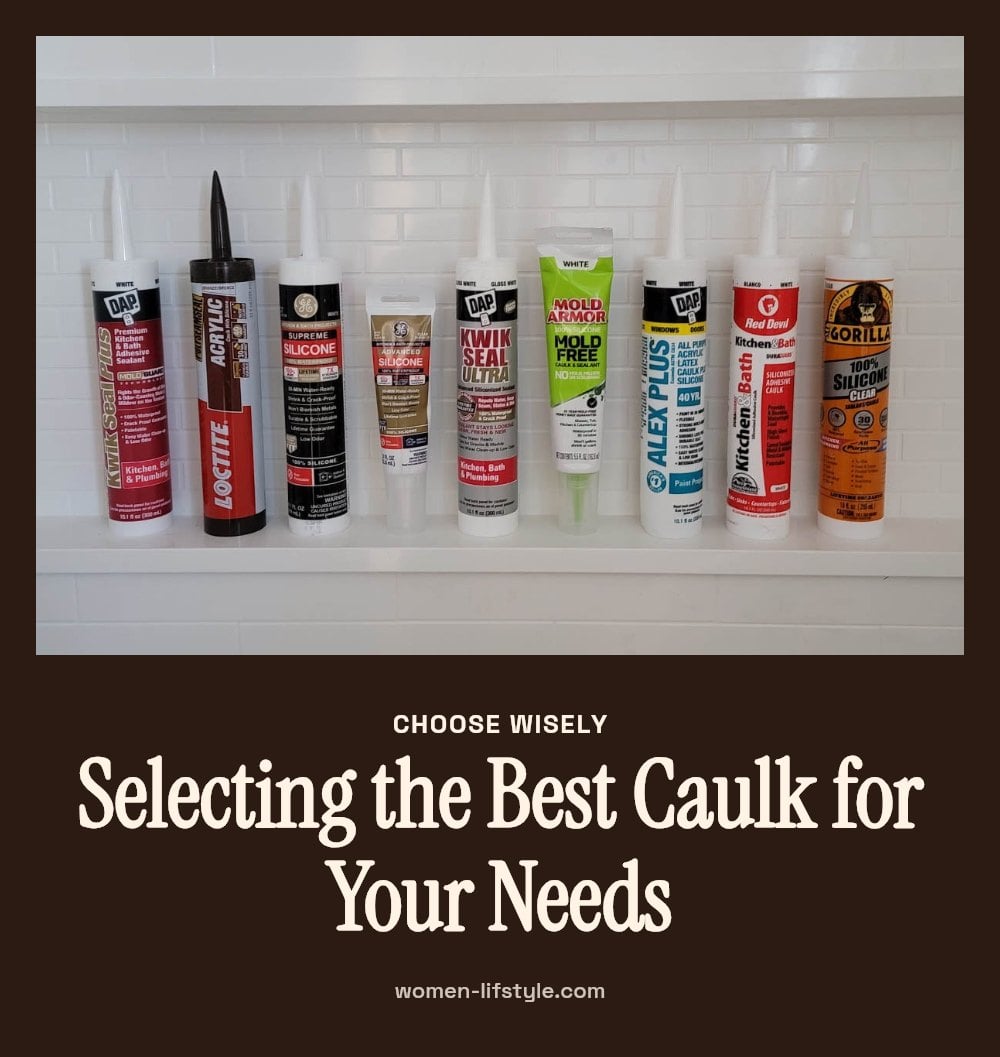
Acrylic Latex Caulk (Painter’s Caulk): Water-based, cleans up with soap and water, paintable. Best for interior gaps with little movement, like baseboards or door trim.
Silicone Caulk: Very flexible, fully waterproof, and durable. Ideal for bathrooms, kitchens, and outdoor use. Usually not paintable, so read the label if you plan to paint over it.
Polyurethane Caulk: Extremely durable and weather-resistant. Best for exterior applications and joints that see a lot of movement, like siding or concrete cracks.
My tip: Always check the label for specific applications and paintability before you buy.
3. Prepare the Surface Thoroughly
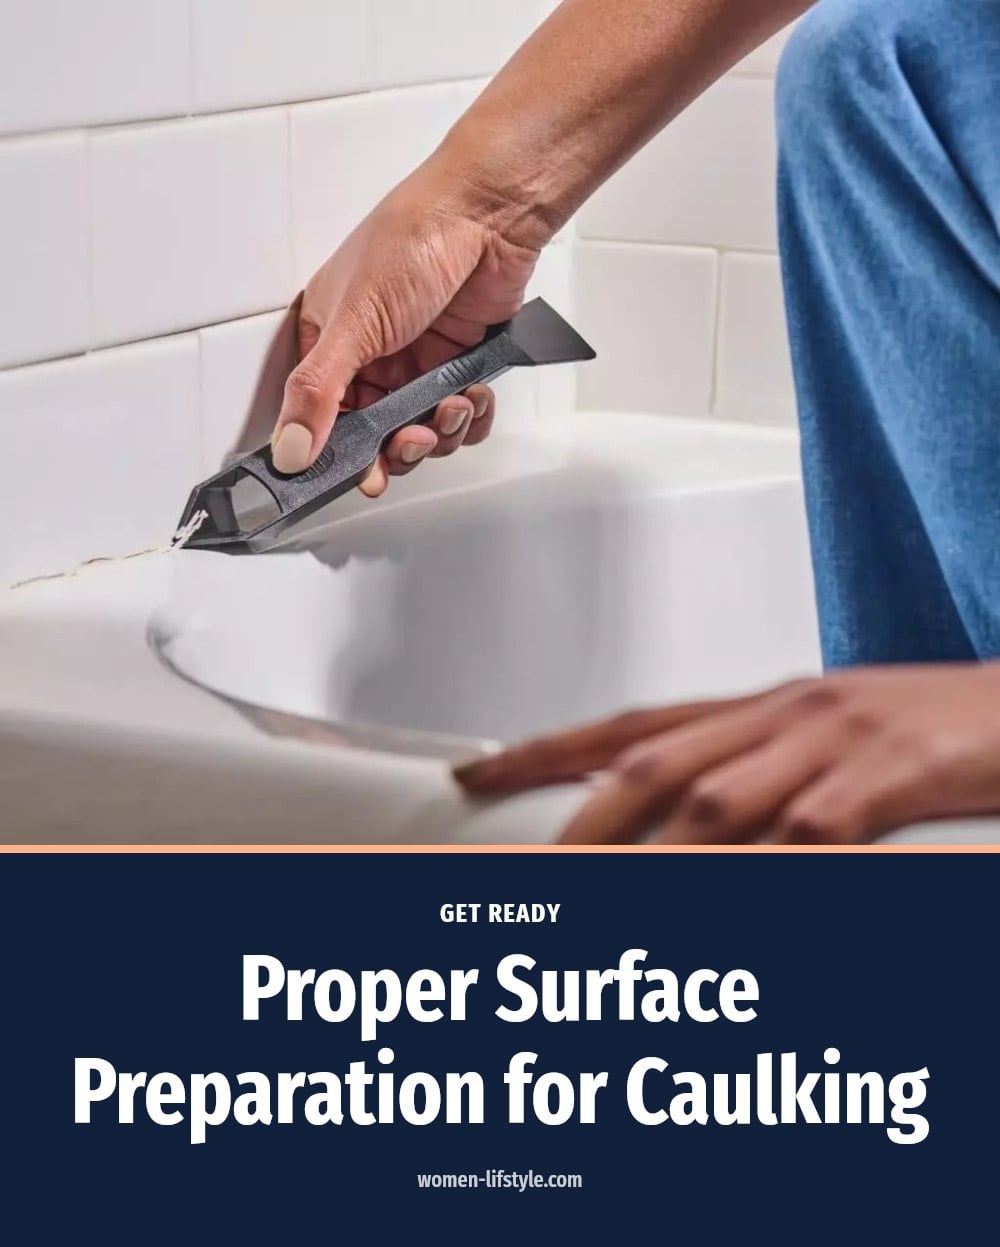
New caulk will not stick to old, dirty, or wet surfaces. Use a caulk removal tool or utility knife to scrape away every bit of old caulk. Then clean the area: scrub off dirt, mildew, and debris with rubbing alcohol or a bleach solution. Rinse and let the surface dry completely, bone dry is the goal. Don’t skip this step. Applying new caulk over old or dirty caulk is a common mistake that guarantees failure.
4. Cut the Nozzle Correctly
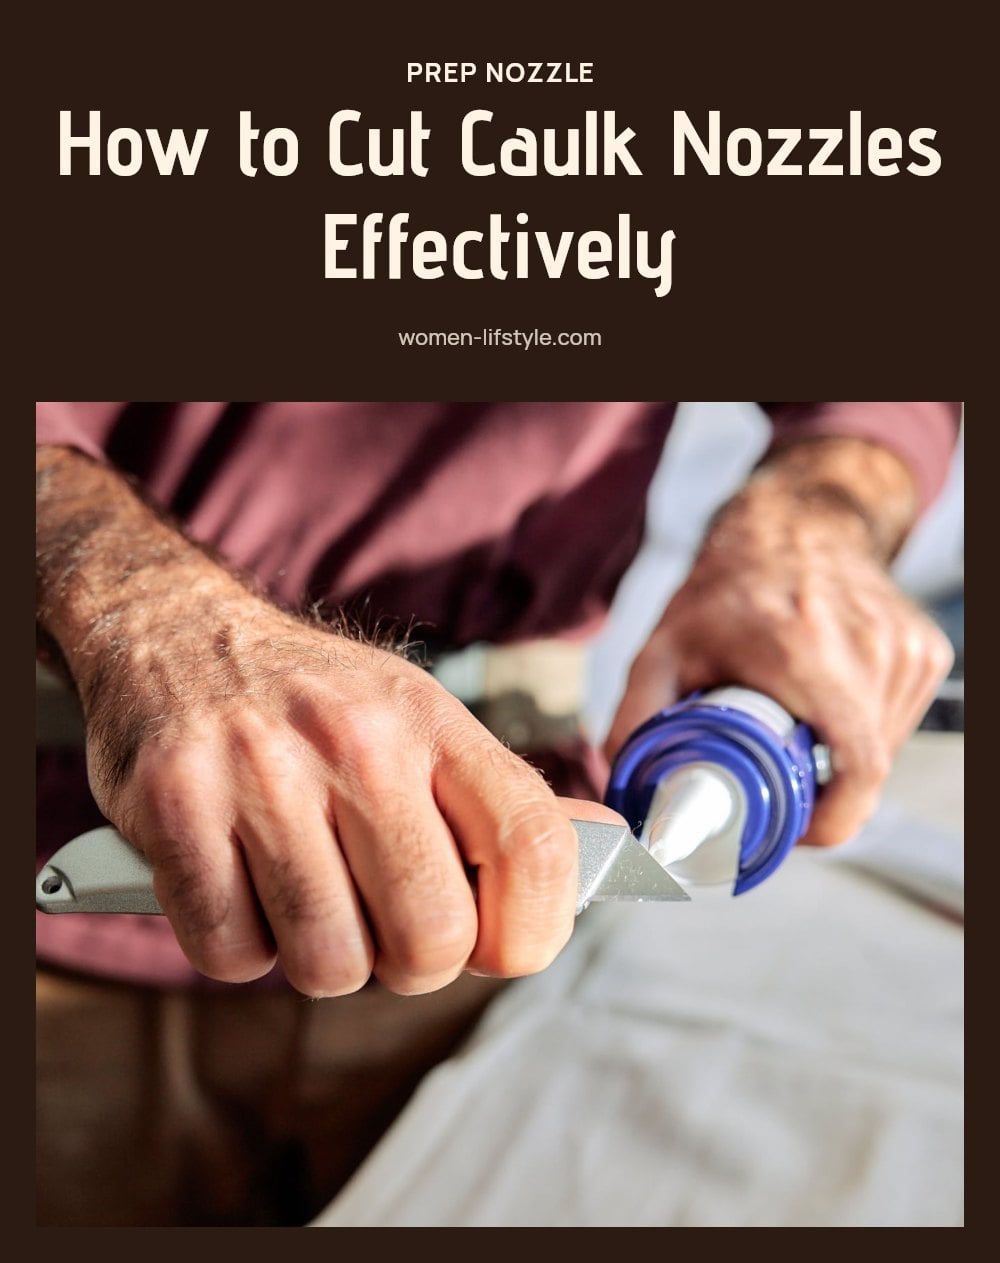
Cut the caulk tube nozzle at a 45-degree angle using a utility knife or scissors. Start with a smaller opening than you think you need; you can always cut more off, but you cannot put material back.
My tip: A smaller hole gives you more control and produces a finer bead, which is ideal for beginners. This approach helps you avoid a messy, oversized bead that is harder to tool.
5. Load and Operate the Caulk Gun
Insert the caulk tube into the caulk gun with the nozzle facing forward, then push the plunger rod firmly into the bottom of the tube. Use the built-in puncture tool on the gun or a long nail to break the inner foil seal inside the nozzle, without this step, no caulk will come out.
Apply steady, even pressure on the trigger to dispense the caulk. After each bead, release the pressure by pulling back the trigger release mechanism. If you forget, caulk will continue to ooze out and create a mess.
6. Apply Caulk in a Steady Bead

Apply at a 45-degree angle: Hold the caulk gun at a 45-degree angle to the joint. This is the application angle, separate from the 45-degree cut you made on the nozzle. Squeeze the trigger and move the gun in a continuous, even motion, pushing the caulk into the gap rather than just laying it on top of the surface.
Work in small sections: Limit each pass to about 2 to 3 feet, especially with fast-drying caulk, so you have time to tool it before it skins over. Aim for a consistent bead width that fills the gap without excess; too much caulk is harder to smooth and wastes product.
7. Tool the Caulk for a Smooth Finish
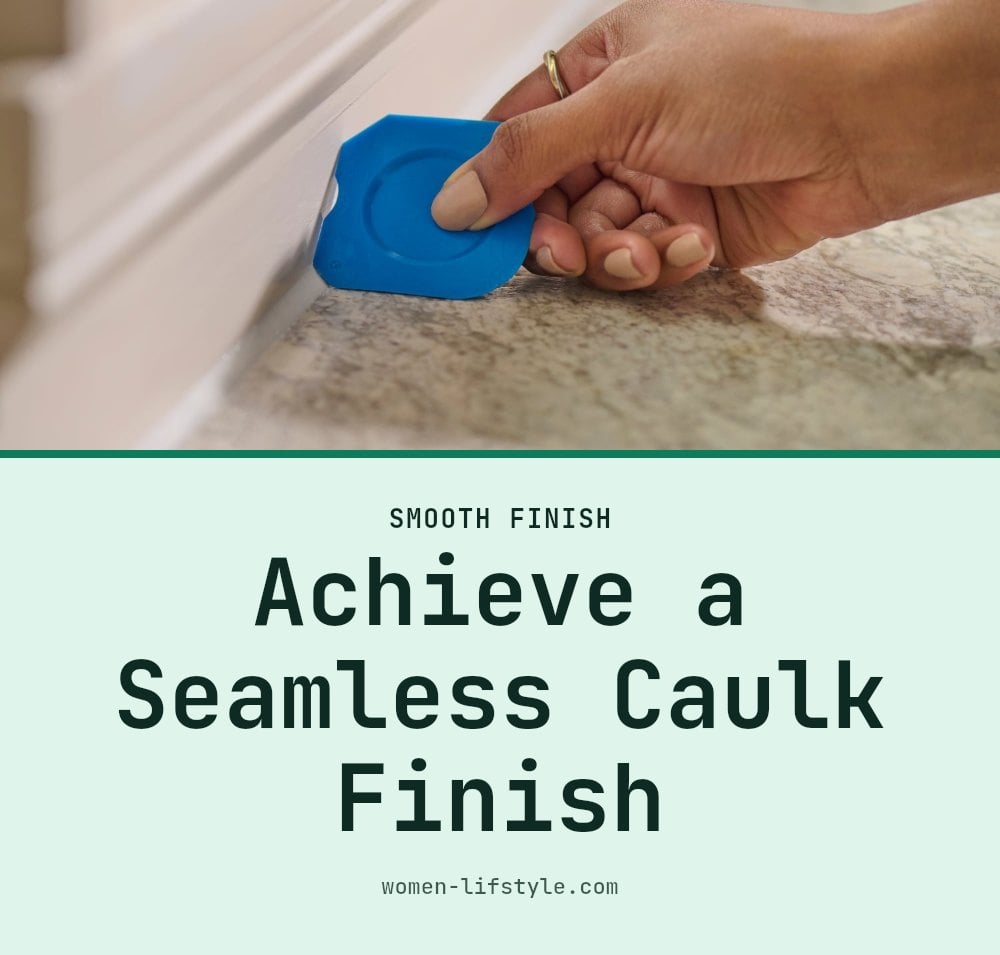
Immediately after applying a section of caulk, smooth it with a caulk tooling tool, a wet finger, or a wet sponge. This pushes the caulk firmly into the joint, ensures good adhesion to both surfaces, and creates a clean, professional finish.
Work quickly because caulk starts to skin over within minutes. Tip: Keep a damp cloth nearby to wipe excess caulk off your tool or finger as you go. A little cleanup now saves you from sanding or scraping later.
8. Remove Painter’s Tape (If Used)
If you used painter’s tape, remove it right after tooling each section of caulk. Pull the tape slowly and at a 45-degree angle away from the freshly applied caulk. This stops the tape from lifting the caulk edge and keeps your line straight.
Caution: Do not wait until the caulk cures. Once it hardens, the tape can pull the caulk out of the joint, ruining the seal. Work in small sections so the tape comes off before the caulk skins over.
9. Allow Adequate Drying and Curing Time
Caulk dries on the surface in 30 minutes to several hours, but full curing takes 24 hours to several days. During curing, the caulk reaches its maximum strength and water resistance. Always read the manufacturer’s instructions on the tube for exact times.
Caution: Do not expose the caulk to water, moisture, or stress before it is fully cured. Rushing this step can break the seal and force you to redo the work. Plan your project so the caulk can cure undisturbed.
10. Practice Good Safety Habits
Wear gloves to protect your hands, especially when using silicone or polyurethane caulk. These types are difficult to remove from skin. Ensure good ventilation in the work area, as some caulk types release strong fumes.
Avoid direct contact with skin and eyes. If caulk gets on your skin, wash thoroughly with soap and water. If it gets in your eyes, flush with water immediately. Use a utility knife or caulk removal tool carefully to prevent cuts when scraping old caulk.
11. Clean Up and Store Properly
Clean your tools right after use. For water-based caulk, use soap and water. For solvent-based caulk, use mineral spirits. Wipe down any excess caulk from surfaces before it dries, because dried caulk is much harder to remove.
To store an opened caulk tube, insert a long nail or screw into the nozzle to seal it, or cap it tightly. This prevents the caulk from drying out in the tube. Proper cleanup keeps your tools in good shape and your workspace tidy.
Common Caulking Mistakes to Avoid
Not preparing the surface: Always remove old caulk, dirt, and mildew. New caulk won’t adhere properly to a dirty or wet surface, so skipping this step guarantees failure.
Using the wrong caulk type: Silicone is not paintable, so using it where you plan to paint will cause peeling. Acrylic latex in a wet area will break down quickly. Match the caulk to the application every time.
Cutting the nozzle incorrectly: Too large creates a messy bead that is hard to control. Cut the nozzle at a 45-degree angle so the opening matches the width of your gap.
Applying too much caulk: Excess is difficult to tool smoothly and wastes product. For beginners, a thinner bead is easier to manage and tool cleanly.
Not tooling immediately: Tooling creates a smooth finish and forces the caulk into the joint for good adhesion. If you wait too long, the caulk will skin over and you cannot fix it.
Ignoring drying and curing times: Exposing caulk to water or stress before it is fully cured can ruin the seal and require a redo. Always check the manufacturer’s instructions for the specific product you are using.
Frequently Asked Questions
How long does caulk take to dry completely?
Caulk dries on the surface in 30 minutes to several hours, but full curing takes 24 hours to several days, depending on the product and humidity. Always check the manufacturer’s instructions for exact times, and avoid exposing the caulk to water or stress until it’s fully cured.
Can I paint over silicone caulk?
Standard silicone caulk is not paintable. If you need to paint over caulk, choose a paintable silicone or use acrylic latex caulk instead. Always read the label before buying to confirm if the product can be painted.
What’s the best way to clean caulk?
For water-based caulk, clean tools and spills with soap and water. For solvent-based caulk, use mineral spirits. Wipe up excess caulk before it dries, because dried caulk is much harder to remove. For skin, wash with soap and water immediately.
How often should caulk be replaced?
Caulk typically lasts 5 to 10 years, but it depends on the location and conditions. Bathroom caulk may need replacing sooner due to moisture and mildew, while interior caulk around baseboards can last longer. Inspect caulk annually for cracks, gaps, or peeling, and replace it as needed.
Can I caulk in cold weather?
Yes, but most caulks perform best when applied between 40°F and 100°F. Cold temperatures can make caulk thicker and harder to apply, and may slow curing. Always check the product label for the recommended temperature range, and avoid caulking if the surface is below freezing.
Final Thoughts
For most household jobs, acrylic latex caulk is a great starting point because it’s easy to clean up and paintable. Just remember that caulk needs time to fully cure, don’t rush to get the shower wet or paint over it before the manufacturer’s recommended time. With a little patience and the right technique, you can create clean, durable seals that keep your home protected and looking neat.
