

Ever finish cleaning your car windows only to see streaks appear the moment the sun hits them? You’re not alone. Most of us spray, wipe, and hope for the best, but the real secret to a streak-free shine is in the technique and tools you use, not just the cleaner. In this article, I’ll walk you through the step-by-step method that works every time, from pre-cleaning to buffing, and share my top tips for both the inside and outside of your car.
Key Takeaways
- Clean in the shade and use two separate microfiber cloths for washing and buffing.
- Wipe horizontally outside and vertically inside to spot streaks easily.
- Use ammonia-free cleaner or a DIY vinegar solution for tinted windows.
- Lower windows slightly to clean the top edge and prevent dirt transfer.
- Clean car windows every 2-4 weeks for best visibility and shine.
The Secret to Sparkling Car Windows
Achieving streak-free car windows is about technique and tools, not just the cleaner. The core method: clean in the shade, use separate microfiber cloths for washing and buffing, and wipe in specific directions so you can easily spot and fix any streaks. Always tackle the exterior first, then the interior, and don’t forget those often-missed edges.
1. Gather Your Cleaning Arsenal
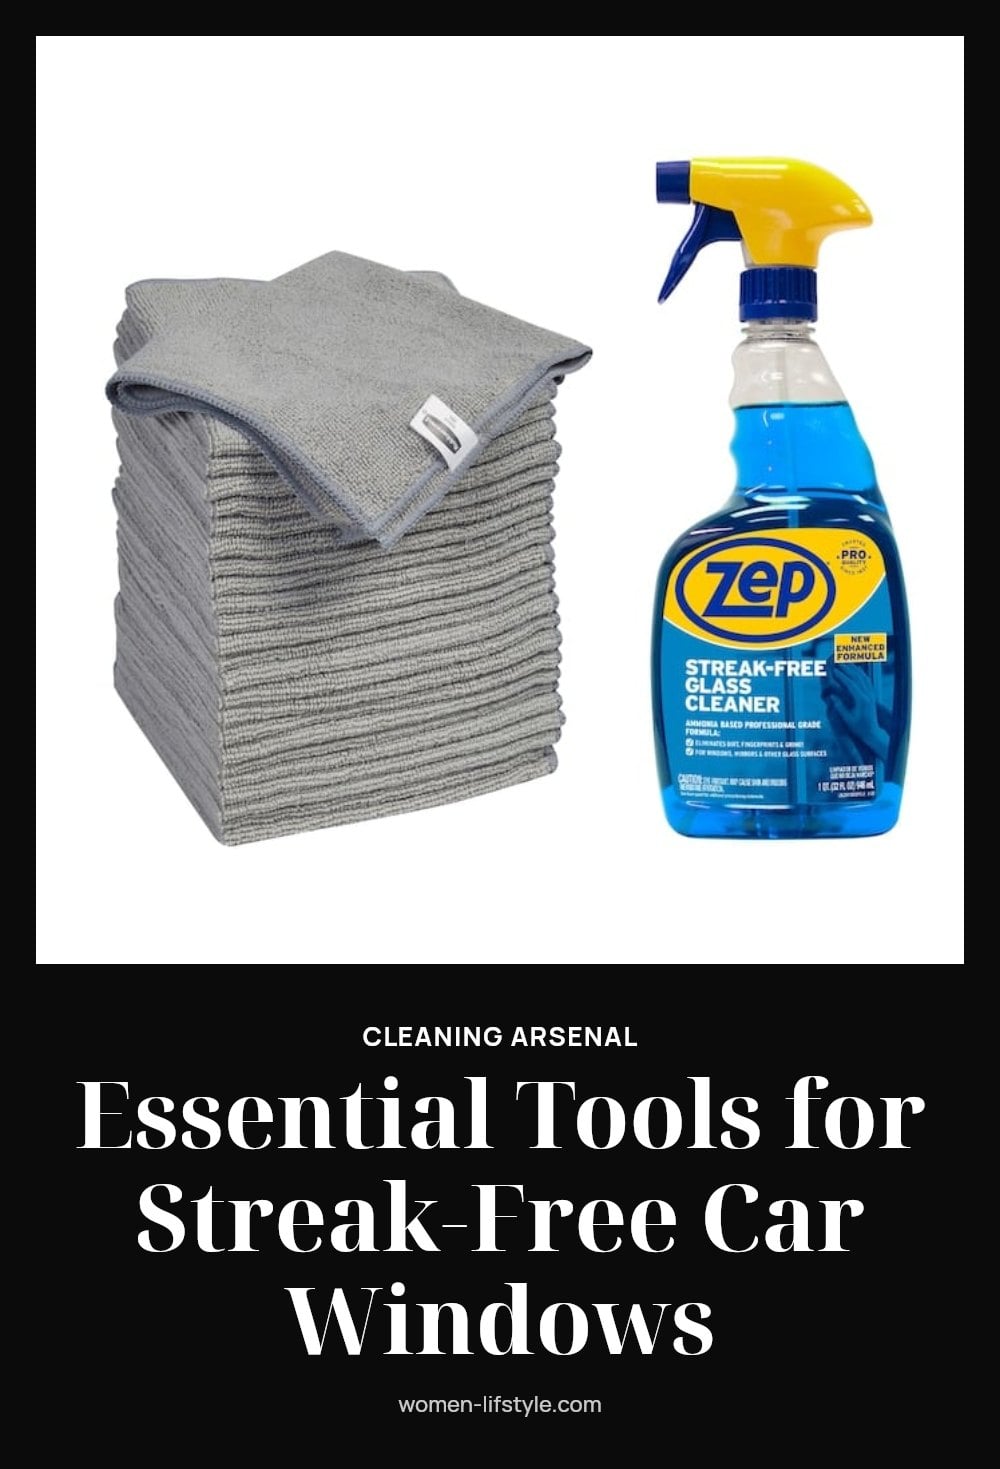
You need an ammonia-free automotive glass cleaner, especially if you have tinted windows, or a simple DIY solution of white vinegar and water. Grab at least two clean, lint-free microfiber cloths: one for applying cleaner and scrubbing, and another completely dry one for buffing to a streak-free finish.
- Ammonia-free cleaner prevents damage to window tints over time.
- Separate cloths avoid spreading dirt back onto the glass.
My tip: A spray bottle is essential for even application of your chosen cleaner.
2. Start with a Pre-Clean
Before you use glass cleaner, give your windows a quick wipe or vacuum to remove loose dust and debris, especially on the interior. This prevents dirt from turning into muddy streaks when you start cleaning, saving you extra work.
My tip: For exterior windows, a quick rinse with water or a wash with car soap can remove larger grime before the dedicated glass cleaner.
3. Work in the Shade

Always clean your car windows in the shade or on a cloudy day. Direct sunlight causes your cleaning solution to dry too quickly, leaving behind frustrating streaks and residue. This is one of the most common mistakes I have seen, and it makes all your effort useless.
4. Tackle the Exterior First
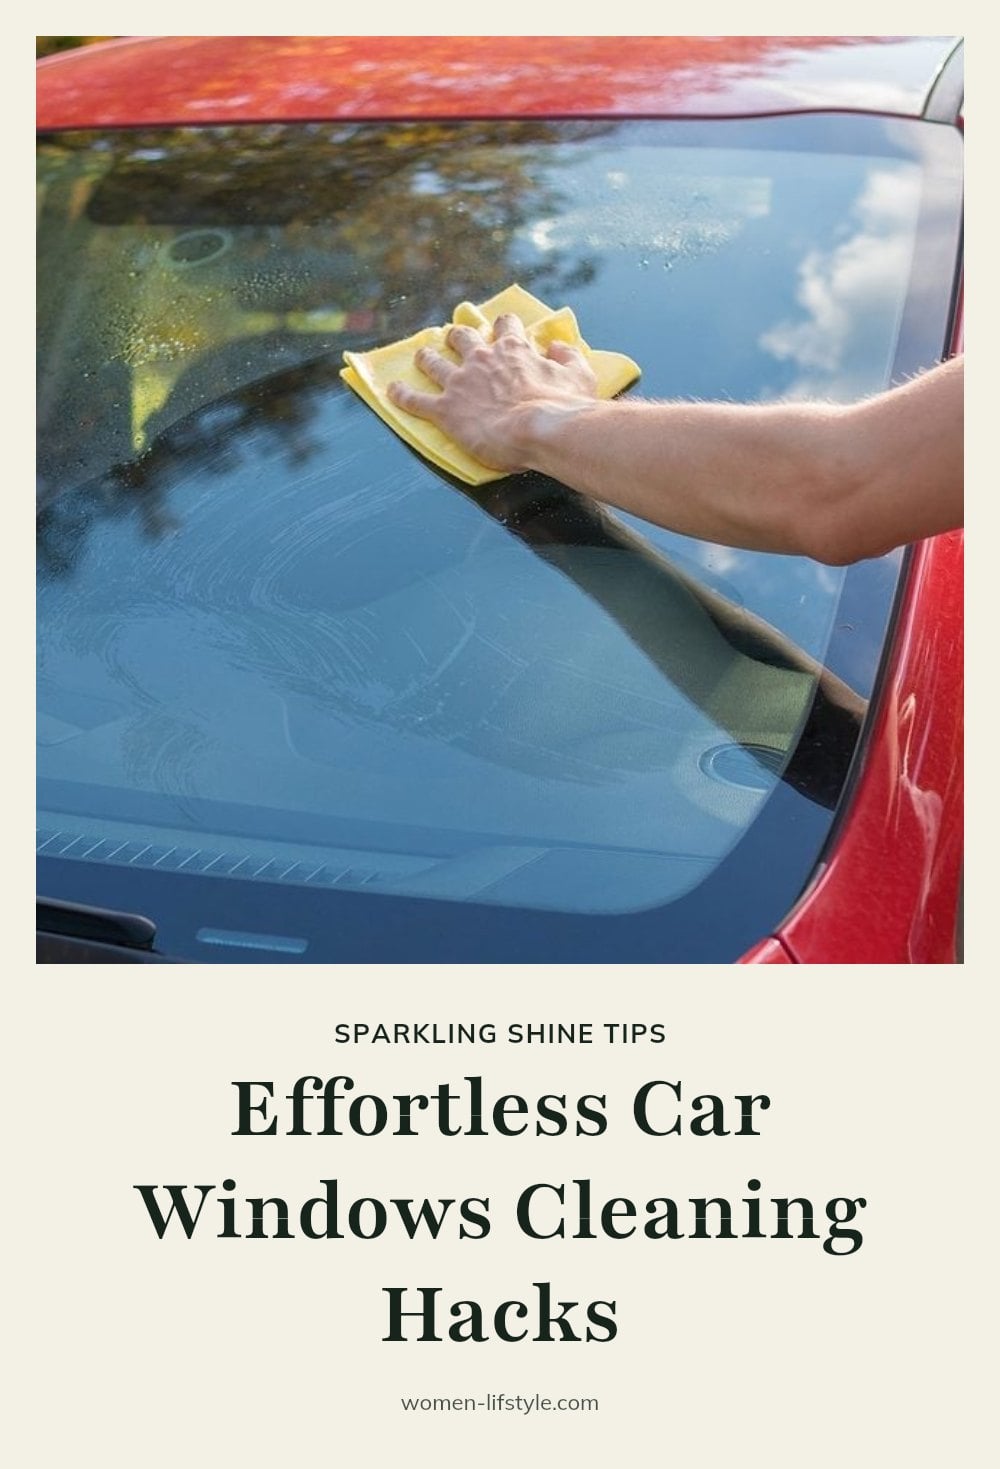
Start with the outside of your car windows, since they collect the most stubborn dirt and grime. Spray your cleaner onto a microfiber cloth, not directly onto the glass, to avoid overspray and drips. Wipe in consistent horizontal strokes across the entire surface.
Follow immediately with a clean, dry microfiber cloth to buff the glass until it is perfectly clear. Working in small sections keeps the cleaner from drying before you buff, which is the key to avoiding streaks.
5. Clean the Inside Carefully
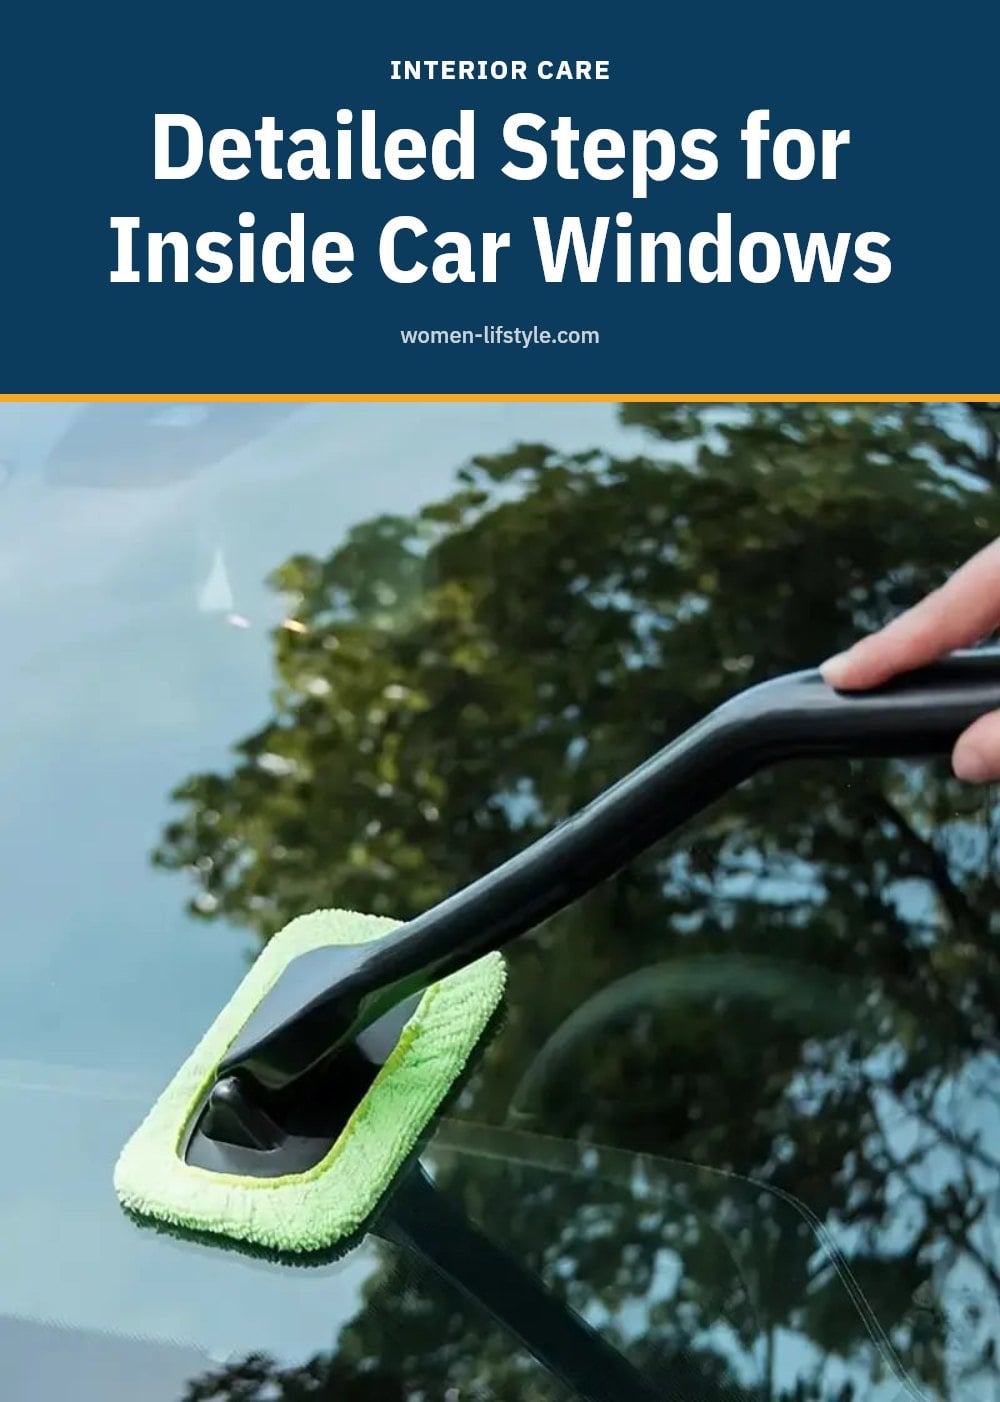
For the interior, switch to vertical wiping motions. This directional trick makes it easy to tell which side a streak is on: if you see a vertical streak, it is on the inside; a horizontal one means it is on the outside. Clean the glass in vertical strokes, then buff with a dry cloth the same way.
My tip: for hard-to-reach spots on the windshield, a long-handled window cleaning tool with a microfiber pad saves your arms and gets the job done without smearing.
6. Don’t Forget the Edges
Lower your windows a few inches to clean the top edge of the glass. That edge collects grime and dirt that can transfer back onto your freshly cleaned window as soon as you roll it up, undoing all your work.
Wipe the exposed top edge with your cleaner and a cloth, then buff it dry. It is a small detail, but it makes a huge difference in the overall cleanliness. I have made this mistake countless times and learned the hard way.
7. Deal with Stubborn Grime
For exterior windows with really stubborn grime, like sap or road tar, a clay bar can be incredibly effective. After washing the glass, glide the clay bar gently over the wet surface using a lubricant to lift embedded contaminants.
Follow up with your regular glass cleaner to finish. Caution: always use a dedicated automotive clay bar and follow its instructions carefully to avoid scratching the glass.
8. Consider Distilled Water
If streaks keep appearing even after a thorough cleaning, the minerals in your tap water might be the culprit. Hard water leaves calcium and magnesium deposits that show up as a hazy film once the glass dries.
Try using distilled water as a final rinse for exterior windows, or mix your DIY cleaning solution with distilled water instead of tap. This simple switch can significantly reduce mineral deposits and lead to a clearer finish, especially if you live in an area with hard water.
9. Clean Rubber Seals
The rubber seals around your windows can harbor dirt and debris, which can then transfer back onto your freshly cleaned glass. Give them a quick wipe with a damp cloth as part of your cleaning routine.
Run the cloth along the full length of each seal, top and sides. It’s a small step that prevents dirt from making a comeback, and it takes less than a minute per window.
10. The Power of Vinegar
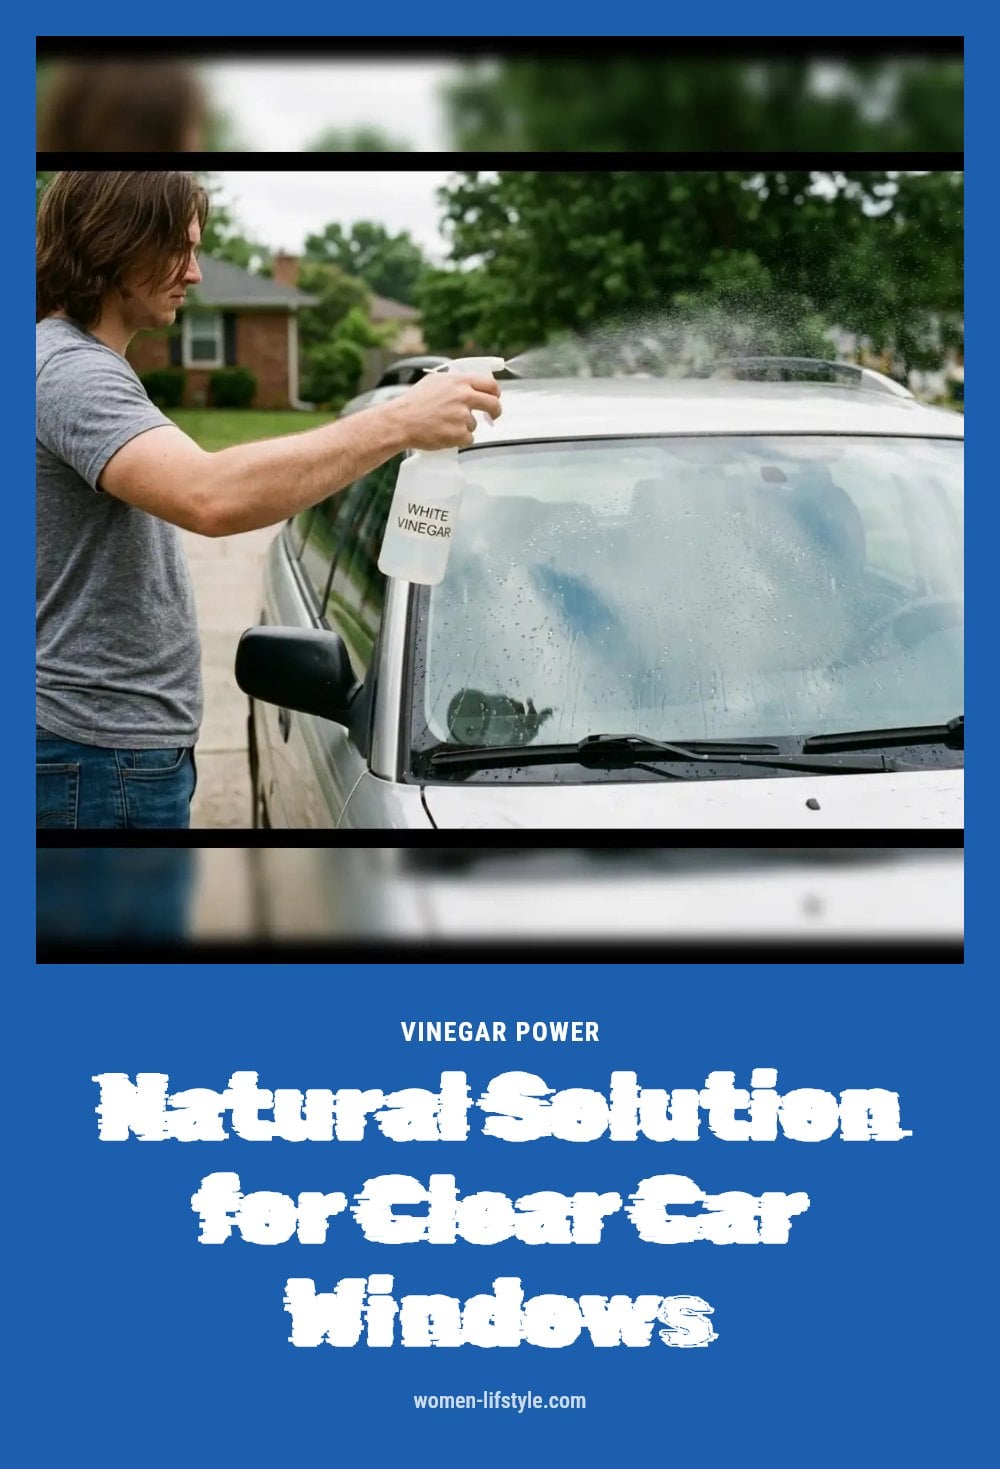
For a budget-friendly and effective DIY cleaner, mix equal parts white vinegar and distilled water in a spray bottle. This solution is excellent for cutting through grime and leaving a streak-free shine, and it’s safe for most automotive glass.
Spray it onto a microfiber cloth and wipe in your usual direction pattern. My tip: be mindful around sensitive interior surfaces like leather; always test in an inconspicuous area first before using it on your dashboard or seats.
11. Buff to Perfection
After cleaning, the final buffing step is crucial for eliminating any remaining streaks or haze. Use a completely separate, clean, and dry microfiber cloth, or even a crumpled piece of newspaper, though I personally prefer microfiber for consistency.
Buff in small circular motions until the glass is sparkling clear. Work in small sections so the cleaner doesn’t dry before you get to it. This is where the magic happens, and it takes less than a minute per window.
Common Car Window Cleaning Mistakes to Avoid
Using dirty cloths: This just spreads dirt and grime around, creating more streaks. Always use fresh, clean microfiber cloths, and swap them out as soon as they look soiled.
Cleaning in direct sunlight: The cleaner dries too fast, leaving streaks. Always work in the shade or on a cloudy day to give the solution time to work.
Using ammonia-based cleaners on tinted windows: Ammonia can damage window tints over time, causing them to peel or discolor. Opt for ammonia-free automotive glass cleaners instead.
Forgetting the top edge: When windows are rolled up, the top edge collects dirt. Lower them slightly to clean the entire surface, then roll them back up to finish.
Not cleaning interior windows: Interior windows accumulate a hazy film from off-gassing materials in your car. They need just as much attention as the exterior, so don’t skip them.
Frequently Asked Questions
Why do my car windows always look streaky after I clean them?
Streaks usually come from cleaning in direct sunlight, using a dirty cloth, or applying too much cleaner. The solution dries before you can buff it, leaving residue. Work in the shade, use a fresh microfiber cloth for buffing, and spray the cloth instead of the glass to control the amount.
Can I use regular household glass cleaner on my car windows?
Household glass cleaners often contain ammonia, which can damage tinted windows over time. They may also leave streaks on automotive glass. Stick with an ammonia-free automotive glass cleaner or a DIY vinegar and distilled water solution. That’s safer for your tint and your glass.
What causes the hazy film on the inside of my windshield?
That film comes from off-gassing of plastics, vinyl, and adhesives inside your car, plus dust and oils from your HVAC system. It builds up gradually and reduces visibility. Regular cleaning with a microfiber cloth and an ammonia-free glass cleaner will keep it under control.
How do I clean the inside of my car windows without leaving streaks?
Start by wiping down the dash and surfaces to remove dust, then vacuum the interior. Spray the cleaner on a microfiber cloth and wipe vertically on the inside. Use a second dry cloth to buff in small circles. For the windshield, a long-handled tool with a microfiber pad can help reach the corners.
Final Thoughts
For a reliable streak-free finish, commit to the shade, two cloths, and directional wiping every time. It takes about 15 minutes per window set, and you’ll see the difference immediately. Expect to redo it every 2 to 4 weeks, or sooner if you park under trees or drive on dusty roads. Once you get the hang of it, you’ll never go back to paper towels again.
