

Maybe you want to give your skin a little extra love without spending a fortune on fancy products. Homemade face masks let you target hydration, gentle exfoliation, or soothing care with ingredients you already have in your kitchen. This article covers what you need to know about creating and using DIY masks safely, with simple recipes for common skin concerns.
Key Takeaways
- Always perform a patch test before applying any new DIY mask to your face.
- Most DIY face masks should be left on for 10 to 20 minutes, no longer.
- Use fresh ingredients and mix only what you need for one application.
- Follow up with your usual moisturizer after rinsing off the mask.
- Expect subtle results after consistent use once or twice a week over several weeks.
Why DIY Face Masks Are a Great Choice
DIY face masks let you use natural ingredients like honey, oatmeal, and yogurt to target your specific skin concerns. They provide gentle hydration, mild exfoliation, and soothing benefits without the harsh chemicals found in some store-bought products. My tip: always patch test a new ingredient on your inner arm before trying it on your face. Remember, these masks offer subtler effects than commercial treatments, so keep your expectations realistic and consistent.
Your DIY Face Mask Toolkit
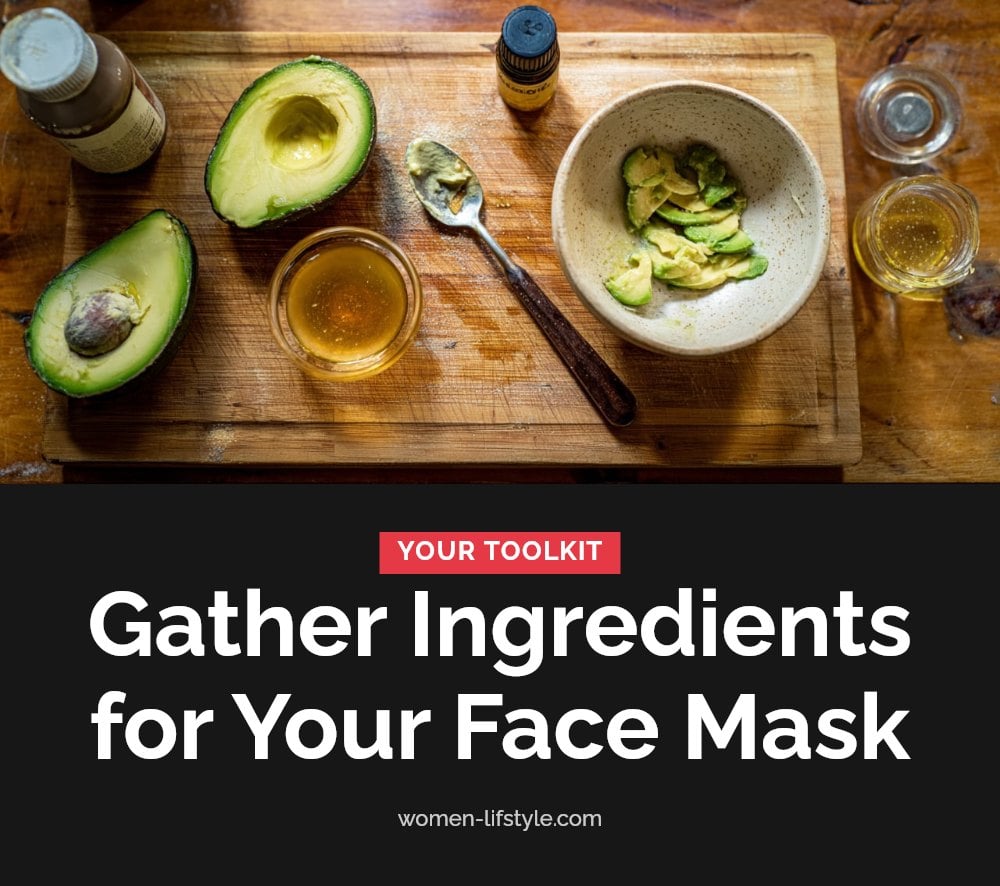
Before you start mixing, gather a few basic tools. You likely already have most of them in your kitchen.
- Mixing bowl for combining ingredients
- Spoon or spatula for stirring
- Measuring spoons for accurate ratios
- Clean brush or fingers for hygienic application
- Warm water for rinsing
- Soft towel for gentle drying
DIY Face Mask Recipes for Every Skin Concern
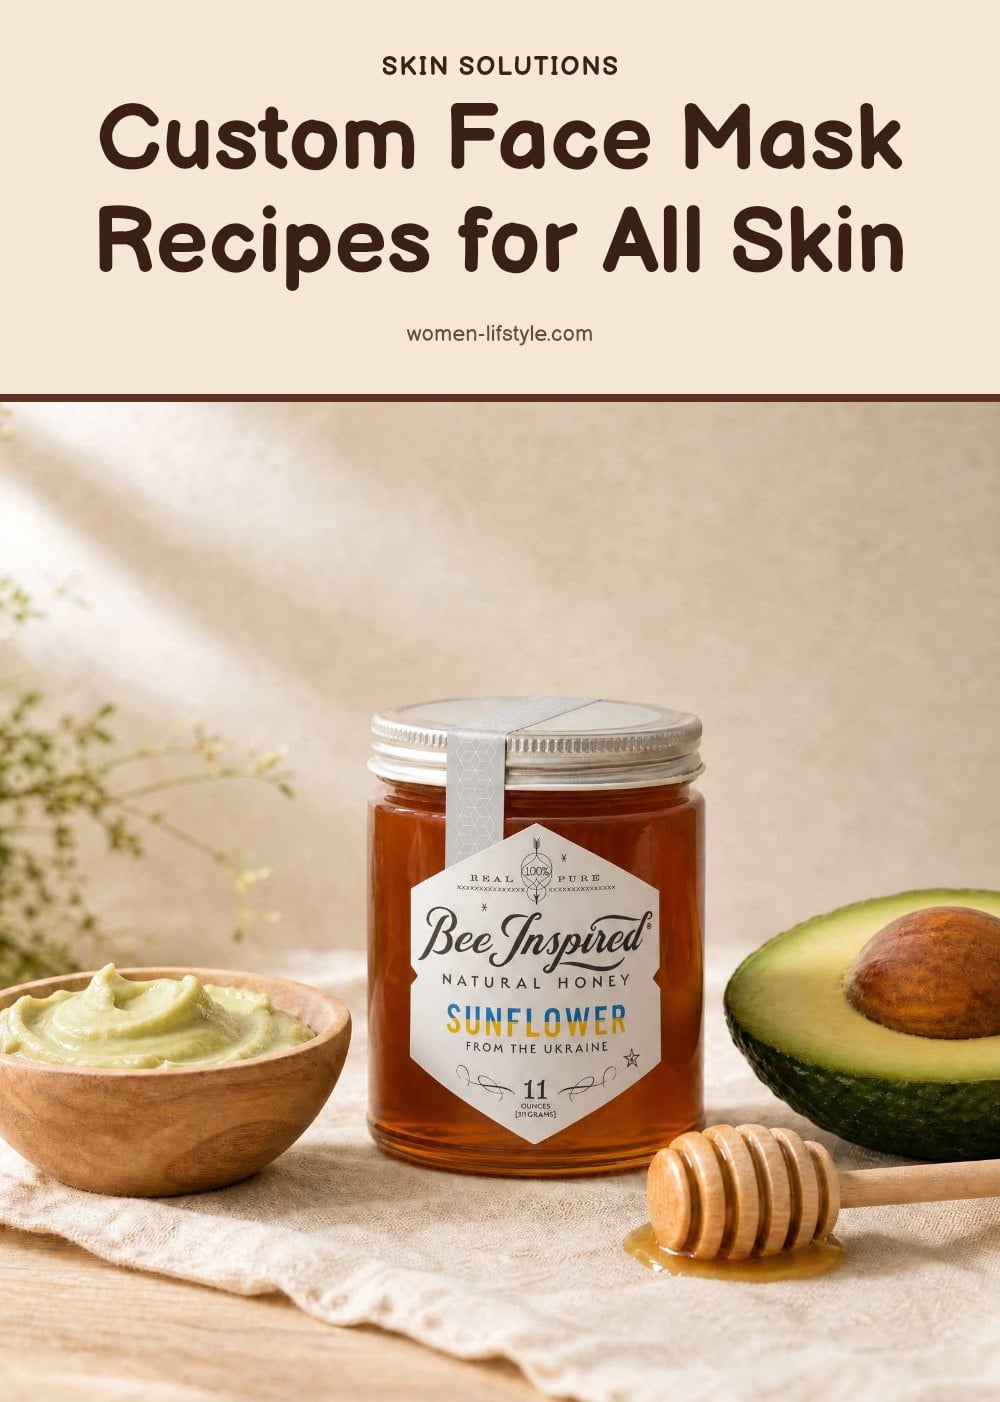
Here are four DIY face mask recipes, each designed for a different skin concern. Use fresh ingredients and mix only what you need for one application.
Honey and Oatmeal Mask for Sensitive or Acne-Prone Skin
Mix 1 tablespoon of raw honey with 1 tablespoon of finely ground oatmeal. Honey is a natural humectant that draws moisture into the skin, while oatmeal soothes inflammation. My tip: grind the oatmeal in a clean coffee grinder for a smoother paste that won’t scratch your skin.
Yogurt and Avocado Mask for Dry or Dull Skin
Combine 2 tablespoons of plain yogurt with 1/4 of a ripe avocado. Yogurt contains lactic acid, a gentle AHA that exfoliates and brightens, and avocado delivers healthy fats and vitamins E and C for deep moisture. Caution: use plain, unsweetened yogurt to avoid added sugars that can irritate.
Green Tea and Clay Mask for Oily or Combination Skin
Brew a cup of green tea, then mix 1 tablespoon of bentonite or kaolin clay with enough cooled tea to form a spreadable paste. Clay absorbs excess oil and impurities, and green tea adds antioxidants that protect against environmental damage. Pro move: add 1 drop of tea tree oil for extra oil control, but skip it if you have sensitive skin.
Aloe Vera and Turmeric Mask for Irritated Skin
Stir 2 tablespoons of pure aloe vera gel with 1/2 teaspoon of turmeric powder. Aloe vera calms redness and irritation, and turmeric offers anti-inflammatory benefits. Caution: turmeric can temporarily stain your skin yellow. Leave the mask on for 10 to 20 minutes, then rinse thoroughly. Wear an old shirt during application.
How to Apply Your Homemade Face Mask
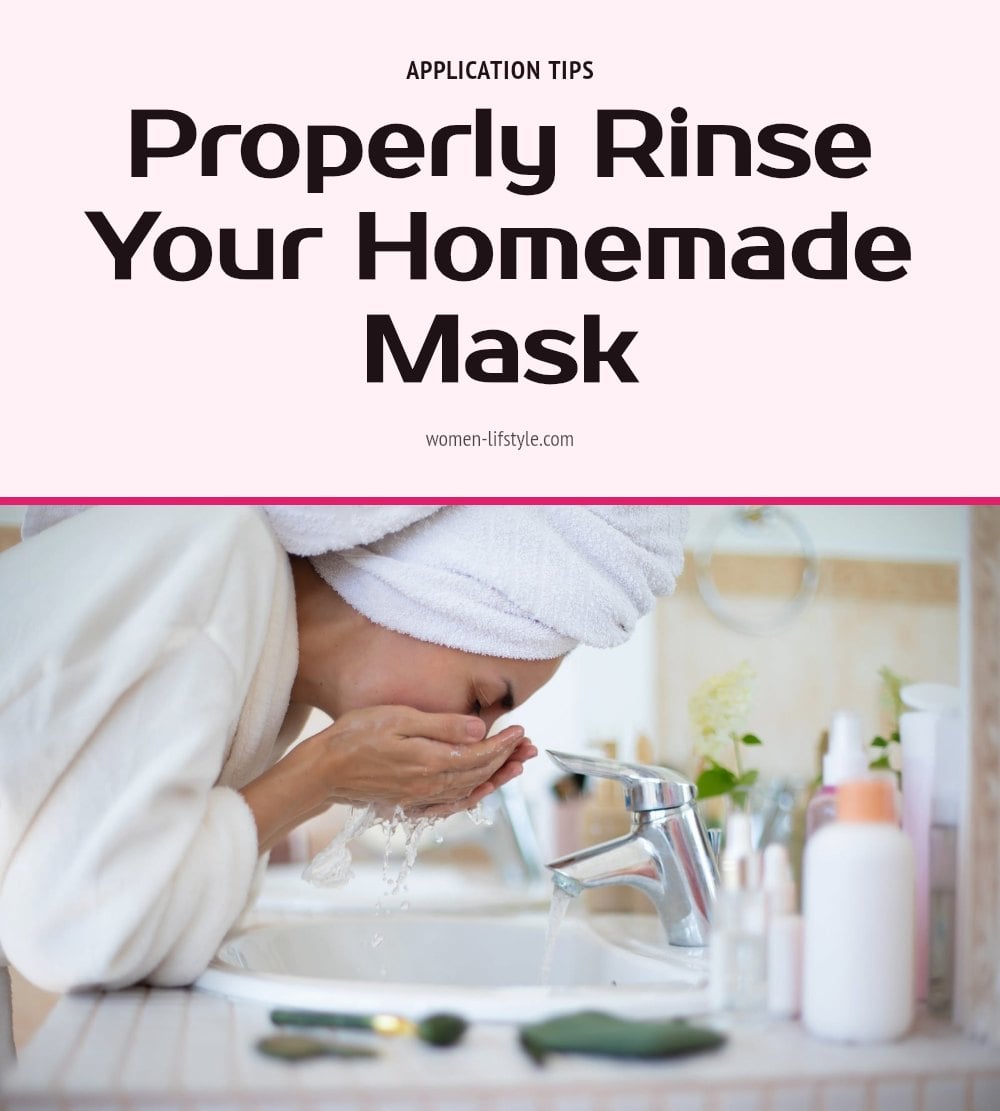
Follow these steps for the best results with any DIY face mask.
- Cleanse your face: Wash with your usual cleanser and pat dry. A clean base lets the mask ingredients work directly on your skin.
- Patch test: Dab a small amount of the mask behind your ear or on your inner arm. Wait 10 minutes to check for any stinging or redness.
- Apply the mask: Use a clean brush or your fingers to spread an even layer over your face, keeping a 1/2-inch margin around your eyes and lips.
- Relax: Leave the mask on for 10 to 20 minutes. Set a timer so you don’t forget. Avoid talking or making big facial expressions while it dries.
- Rinse off: Use lukewarm water and gentle circular motions to remove all traces of the mask. Splash your face several times to ensure nothing remains.
- Moisturize: Pat your face dry with a soft towel and apply your regular moisturizer. This locks in hydration and soothes your skin after the treatment.
Common DIY Face Mask Mistakes to Avoid
Using harsh ingredients: Pure lemon juice is highly acidic and can cause irritation, stinging, and photosensitivity. Instead, dilute it with water or yogurt, or skip it entirely if your skin is sensitive.
Skipping the patch test: Always test a small amount of your mask on your inner arm or behind your ear before applying it to your face. This simple step can prevent a full-face allergic reaction.
Leaving the mask on too long: A typical DIY mask should be left on for 10-20 minutes. Leaving it on longer can dry out your skin or cause irritation, especially with ingredients like clay or acids.
Applying to dirty skin: Cleansing your face first removes oil, makeup, and debris so the mask can penetrate effectively. A clean base makes a noticeable difference.
Expecting a cure: DIY masks offer gentle, gradual benefits. They are not a treatment for severe conditions like cystic acne, rosacea, or eczema. For those, see a dermatologist.
When to Consult a Dermatologist
If you experience persistent redness, itching, burning, or swelling after using a DIY mask, stop using it and consult a dermatologist. These could be signs of an allergic reaction or irritation.
If you have a pre-existing skin condition such as eczema, rosacea, or severe acne, talk to a professional before trying new ingredients. A dermatologist can recommend treatments that are safe and effective for your specific needs.
If your skin concerns don’t improve or get worse after several weeks of consistent DIY mask use, it’s time to seek medical advice rather than continuing on your own.
Frequently Asked Questions
How often can I use a DIY face mask?
Most DIY face masks are gentle enough for once or twice a week. Using them more often can lead to dryness or irritation, especially if the recipe includes exfoliating ingredients like yogurt or oatmeal. Stick to a weekly routine and watch how your skin responds.
Can I use store-bought ingredients for my DIY mask?
Yes, store-bought ingredients like plain yogurt, raw honey, or rolled oats work well as long as they are fresh and free from added sugars, flavors, or preservatives. Avoid pre-packaged mixes designed for cooking if they contain salt, spices, or other additives that could irritate your skin.
What if my skin feels tingly after applying a mask?
A mild tingling can be normal with ingredients like yogurt (due to lactic acid) or clay, but stinging, burning, or redness means irritation. Rinse the mask off immediately with lukewarm water and discontinue use. If the discomfort persists, consult a dermatologist.
Are DIY masks effective for severe acne?
DIY masks can help with mild breakouts by soothing inflammation or absorbing excess oil, but they are not strong enough to treat severe or cystic acne. For persistent or deep acne, a dermatologist can recommend targeted treatments like prescription creams or oral medications.
How do I choose the right ingredients for my skin?
Match ingredients to your main concern: honey and avocado for dry skin, yogurt for gentle exfoliation and brightness, oatmeal for sensitivity or redness, and clay for oily or acne-prone skin. If you have combination skin, you can layer ingredients or alternate recipes each week.
Final Thoughts
For a reliable starting point, try the honey and oatmeal mask if your skin is sensitive or prone to breakouts. It combines a natural humectant with soothing anti-inflammatory properties. Realistic expectations matter here: DIY masks are gentle helpers, not quick fixes, and consistent weekly use is what brings subtle improvements over time. Enjoy the process of mixing and applying, and listen to your skin along the way.
This information is for general educational purposes only and does not replace professional medical or dermatological advice. Individual skin reactions vary, and DIY treatments may not be suitable for everyone. If you have a persistent skin concern, a pre-existing condition, or a severe reaction, please consult a dermatologist or healthcare provider.
