

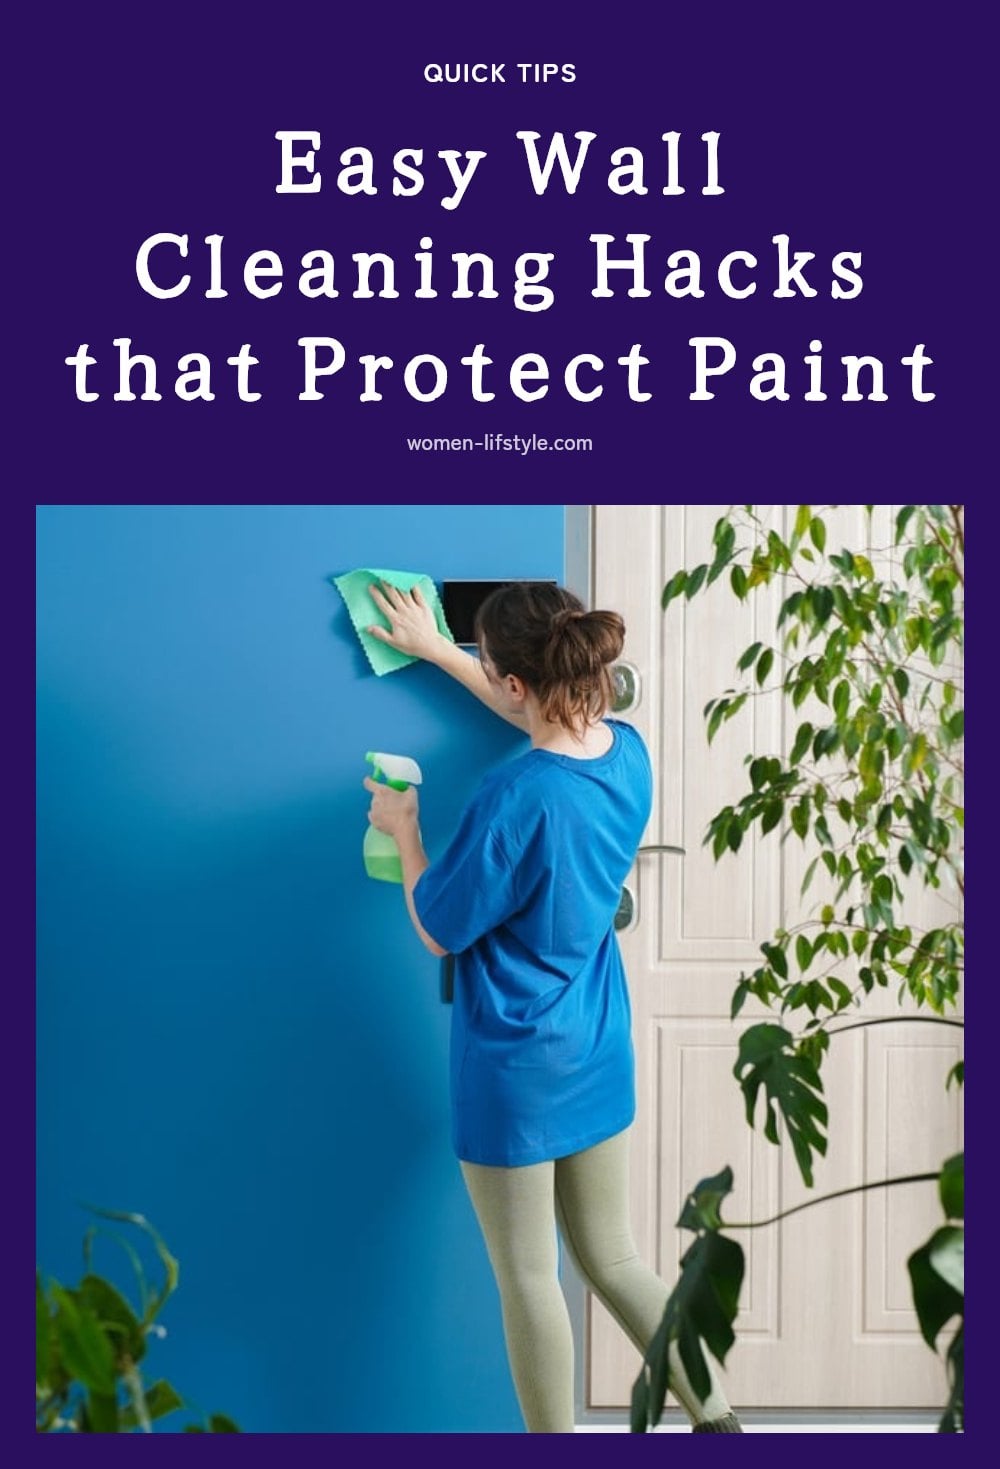
You don’t need harsh chemicals or heavy scrubbing to get your walls looking fresh again. The secret is matching your cleaning method to your paint type and using the right tools, which I break down in this article. From everyday dust to greasy smudges and stubborn crayon marks, you will find practical, paint-safe solutions that really work.
Key Takeaways
- Dust walls before any wet cleaning to prevent muddy streaks.
- Test any cleaning solution on an inconspicuous spot first.
- Use a mild dish soap and water mix for most washable paints.
- Work from the bottom up to avoid dirty water running down dry areas.
- Rinse walls with clean water after washing to remove soap residue.
The Fastest Way to Clean Walls
Start by dusting the walls from top to bottom with a microfiber cloth or a vacuum brush attachment. This keeps dust from turning into muddy streaks when you add water. For most washable paints, mix a few drops of mild dish soap into a bucket of warm water. Always test your cleaner in an inconspicuous spot before tackling the whole wall to make sure it won’t damage or discolor the paint.
Essential Tools and Cleaning Solutions

Gather these items before you start. My tip: I always keep these on hand for quick wall touch-ups.
- Soft microfiber cloths for general cleaning and rinsing without scratching.
- Non-abrasive sponges for gentle scrubbing on stubborn spots.
- Two buckets one for cleaning solution, one for clean rinse water.
- Mild dish soap for a gentle all-purpose cleaner safe on most paints.
- White vinegar for tougher, greasy stains (mix a small amount with water).
- Rubber eraser or melamine foam eraser for pencil marks and scuffs.
Step-by-Step: Cleaning Your Walls Effectively
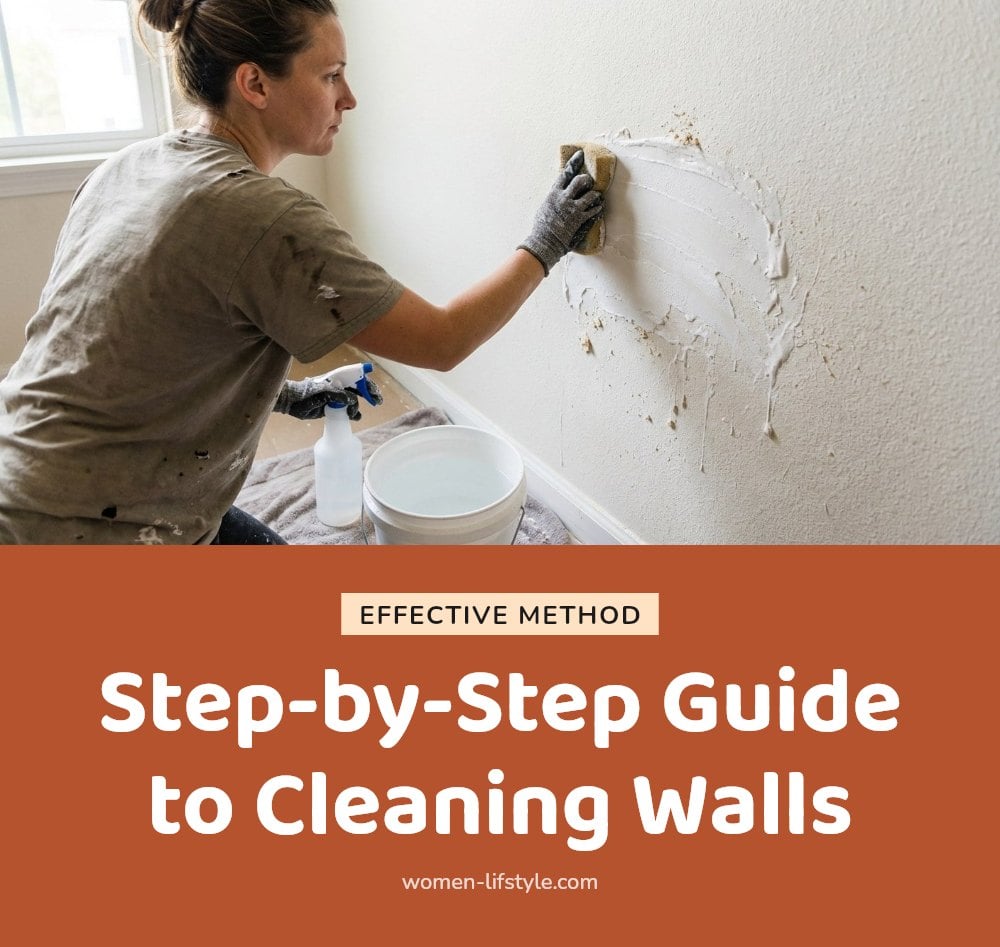
- Prepare the room: Move furniture away from the walls and lay down drop cloths or old towels to protect the floor.
- Dust thoroughly: Use a microfiber cloth or a vacuum with a soft brush attachment, working from the top of the wall down to the baseboard.
- Mix your solution: Fill one bucket with warm water and a few drops of mild dish soap. Fill the second bucket with plain warm water for rinsing.
- Test first: Dab a small amount of the cleaning solution on a hidden area, like behind a piece of furniture, and wait a few minutes to check for any discoloration or damage.
- Clean from bottom to top: Dip a soft sponge or cloth into the soapy water, wring it out well, and clean in small sections. This technique keeps dirty water from running down onto dry areas, which prevents new streaks from forming.
- Rinse: Wipe each section with a clean sponge or cloth dipped in the rinse water. Wring it out thoroughly so you don’t oversaturate the wall.
- Dry: Gently pat the wall with a dry microfiber cloth or let it air dry completely to avoid water marks.
Targeting Tough Stains: Specific Cleaning Hacks
Different stains need different treatments. Here is how to handle the most common ones.
Greasy stains
Mix one part white vinegar with three parts warm water, or use a mild degreaser. Apply with a soft cloth and blot, don’t rub hard, or you might spread the grease.
Pencil marks
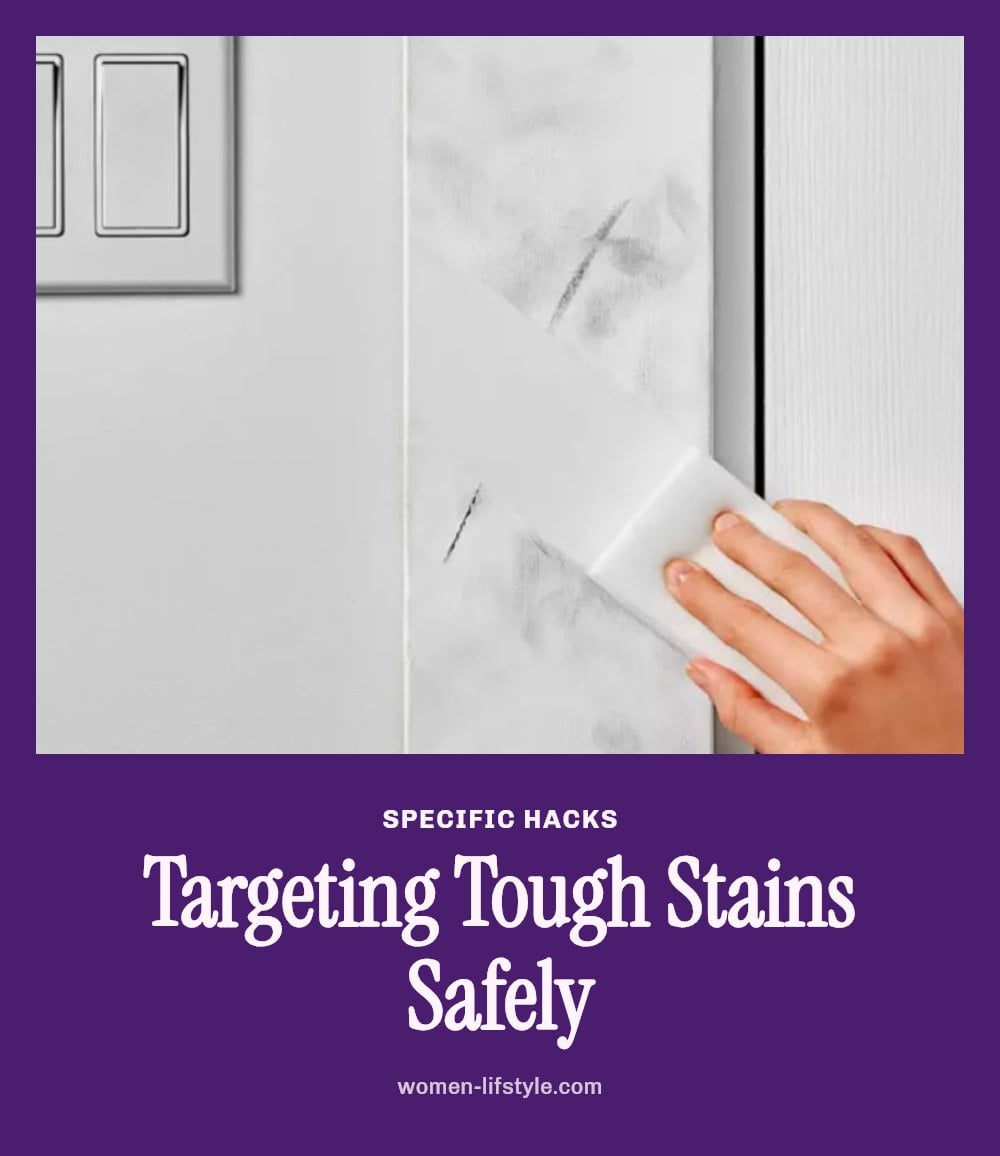
A clean rubber eraser often lifts pencil marks without any liquid. If that doesn’t work, a slightly damp melamine foam eraser will do the job.
Scuff marks
Rub gently with a melamine foam eraser. It is usually all you need for black scuffs from shoes or furniture.
Ink or permanent marker
Caution: These stains are very difficult to remove without damaging the paint. Your best bet is to touch up the area with matching paint or call a professional.
General grime
Mild dish soap and warm water on a soft sponge is enough for everyday dust and dirt buildup.
Choosing the Right Cleaning Approach for Your Paint Type
Not all walls are created equal. Your paint type and finish determine how much scrubbing they can handle. Here is a quick guide to match your cleaning method to your walls.
| Paint Type or Finish | Key Trait | Cleaning Recommendation |
|---|---|---|
| Latex (water-based) | Durable, flexible | Mild soap and water; gentle scrubbing is fine |
| Oil-based | Hard, less forgiving | Use only a soft cloth and mild cleaner; avoid scrubbing |
| Flat or matte | Porous, shows marks easily | Dust often; use a barely damp cloth; no rubbing |
| Satin or semi-gloss | More washable, less porous | Soap and water work well; can handle light scrubbing |
| Gloss or high-gloss | Very durable, easy to clean | Standard cleaning with mild solution; rinse thoroughly |
Tip: When in doubt, treat your walls like the gentlest finish in the table. Test any cleaner on a hidden spot first.
Common Wall Cleaning Mistakes to Avoid
I have made these mistakes so you do not have to. Avoiding these common errors will save you time and prevent damage.
- Using too much water: Oversaturating walls causes streaks and can loosen paint. Always wring out your sponge or cloth until it is just damp.
- Skipping the dusting step: Dust turns into muddy streaks when mixed with water. Always dust from top to bottom before you wet anything.
- Not testing cleaners: A cleaner that works on one wall can discolor or strip another. Test in a hidden corner before you start.
- Using abrasive tools: Scrub pads or stiff brushes scratch paint surfaces. Stick to soft microfiber cloths and non-abrasive sponges.
- Working top-to-bottom: Dirty water runs down onto dry areas and leaves new streaks. Clean from the bottom up instead.
- Leaving soap residue: Soap left on the wall attracts dust and dirt quickly. Rinse with clean water after washing.
Keeping Your Walls Cleaner Longer

A little prevention goes a long way. These habits keep your walls looking fresh between deep cleans.
- Dust walls regularly: Use a soft brush attachment on your vacuum or a microfiber cloth to remove dust before it builds up into grime.
- Address spills and marks immediately: The faster you blot a spill or wipe a mark, the less likely it will set into the paint.
- Choose washable finishes in high-traffic areas: Satin or semi-gloss paints in hallways, kitchens, and kids’ rooms are much easier to clean than flat paint.
- Consider protective coatings or washable wallpaper: In rooms prone to splashes or heavy use, a clear protective coating or scrubbable wallpaper can save you from repainting.
How Often to Clean Walls and Time Investment
You do not need to clean walls every week. A realistic schedule saves effort and protects your paint.
- General cleaning: Every few months or twice a year is enough for most rooms. Dust in between to extend the time.
- Spot cleaning: Tackle marks and spills as soon as you see them. A quick wipe takes minutes and prevents stains from setting.
- Time for a room: Expect 1 to 3 hours for a full clean, depending on room size and how dirty the walls are.
- Cost: Minimal. You probably already own dish soap, vinegar, microfiber cloths, and a sponge. No special products needed.
Frequently Asked Questions
Can I use a steam cleaner on painted walls?
It is risky. Steam cleaners deliver high heat and moisture that can soften paint, cause bubbling, or strip the finish, especially on flat or matte paints. If you must try, use the lowest setting and test in a hidden area first. For most painted walls, a damp cloth and mild cleaner are safer.
What is the best way to clean textured walls?
Textured walls trap dust in their grooves, so start by vacuuming with a soft brush attachment to loosen dirt. For wet cleaning, use a barely damp microfiber cloth and work in small sections. Avoid soaking the texture, as it can soften and crumble. Air dry completely afterward.
How do I remove crayon marks from walls?
Try a melamine foam eraser (like a magic eraser) or a dab of non-gel toothpaste on a soft cloth. Rub gently in circular motions. If the mark persists, make a paste of baking soda and water, apply it with a damp cloth, and buff lightly. Always test in a hidden spot first.
How do you clean walls before painting?
Use a mild degreaser or a mix of warm water and a few drops of dish soap to remove dirt, grease, and grime. Rinse thoroughly with clean water and let the walls dry completely for at least 24 hours. Skip this step and new paint may not adhere properly or could bubble.
Final Thoughts
For everyday cleaning, stick with the mild soap and water method it is gentle enough for most paint finishes and effective on general grime. Expect a single room to take 1 to 3 hours, depending on size and how dirty the walls are. With the right approach, you can keep your walls looking clean without risking damage to the paint.
