

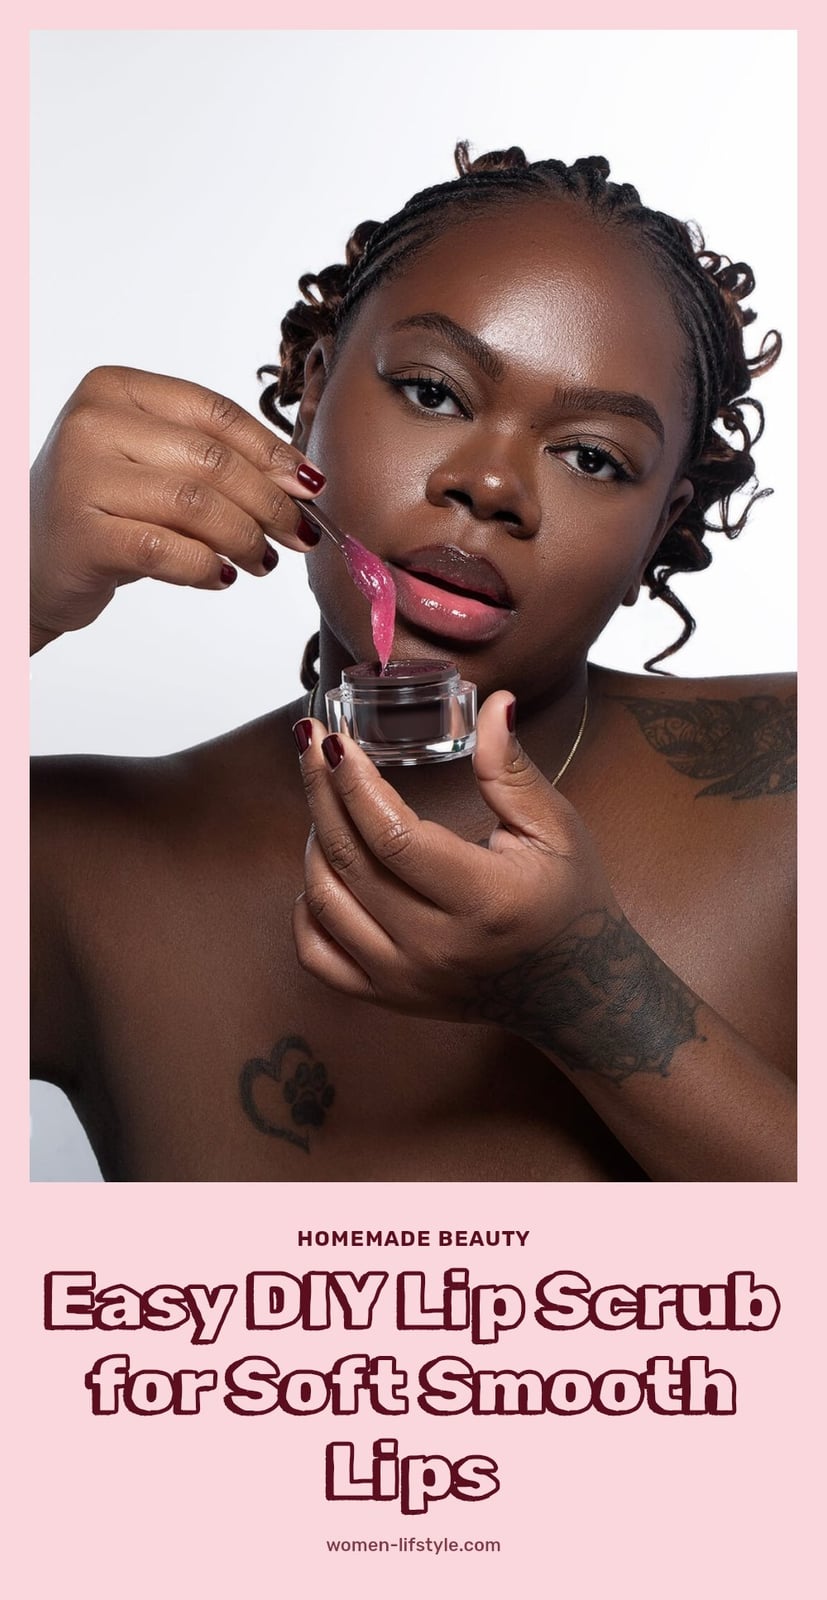
Dry, flaky lips can make any lipstick look uneven and feel uncomfortable. A homemade lip scrub is the simplest way to buff away dead skin and reveal a smoother pout using ingredients you already have in your kitchen. This article walks you through a basic recipe, step-by-step instructions, and tips to get the best results without irritation.
Key Takeaways
- Use fine-grained sugar as your exfoliant; it is gentler on delicate lip skin than salt or coarse crystals.
- Mix a 2:1 ratio of sugar to moisturizer (oil or honey) for a paste-like consistency that stays together.
- Apply the scrub to clean, slightly damp lips and massage in small circles for 30 to 60 seconds.
- Rinse with lukewarm water and follow immediately with a hydrating lip balm to lock in moisture.
- Store your homemade scrub in an airtight container in a cool, dark place and use it within a few weeks.
Why a Homemade Lip Scrub Works Wonders for Your Pout
A homemade lip scrub works by physically buffing away the top layer of dead, flaky skin cells, revealing the smoother, softer skin underneath. The magic is in the simple combination of a gentle abrasive like sugar with a nourishing oil or honey. This DIY approach not only preps your lips for flawless lipstick application but also lets you control every ingredient, making it cost-effective and tailored exactly to what your lips need.
Your Go-To DIY Lip Scrub Recipe
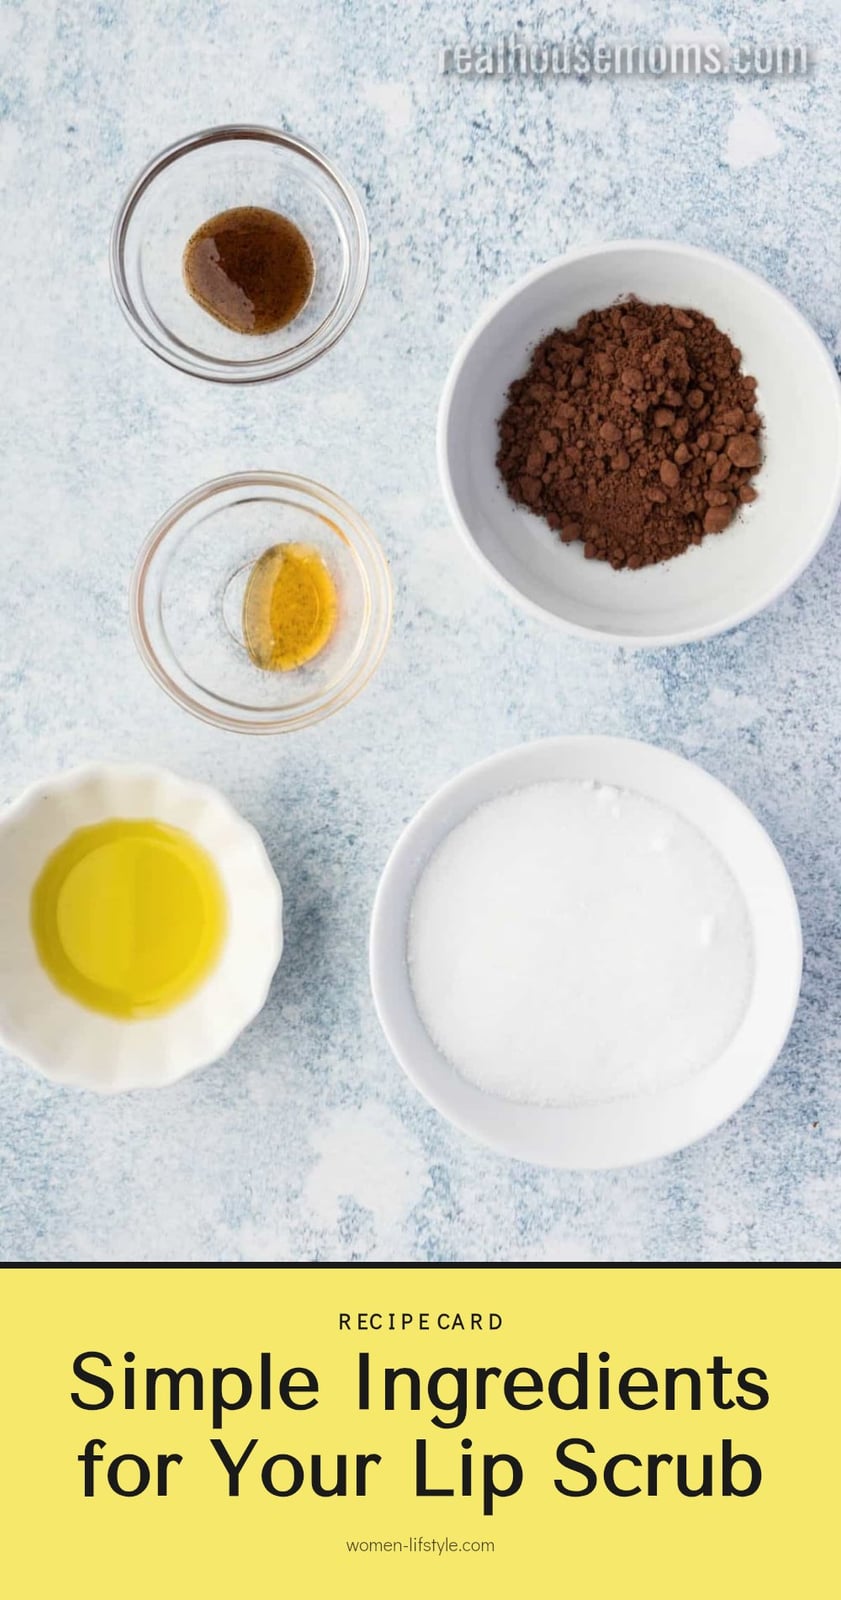
Here is the basic formula I keep coming back to. It makes one small batch, perfect for a few weeks of use.
- 1 tablespoon granulated sugar: This provides the gentle exfoliation to buff away dead skin.
- 1/2 tablespoon carrier oil: Coconut, olive, or jojoba oil all work well to moisturize deeply.
- 1/2 teaspoon honey: This adds humectant properties to draw in moisture and mild antiseptic benefits.
Tip: For an even softer scrub, swap the granulated sugar for brown sugar. Its finer, rounder crystals are especially gentle on sensitive lips.
Step-by-Step: Crafting and Using Your Lip Scrub
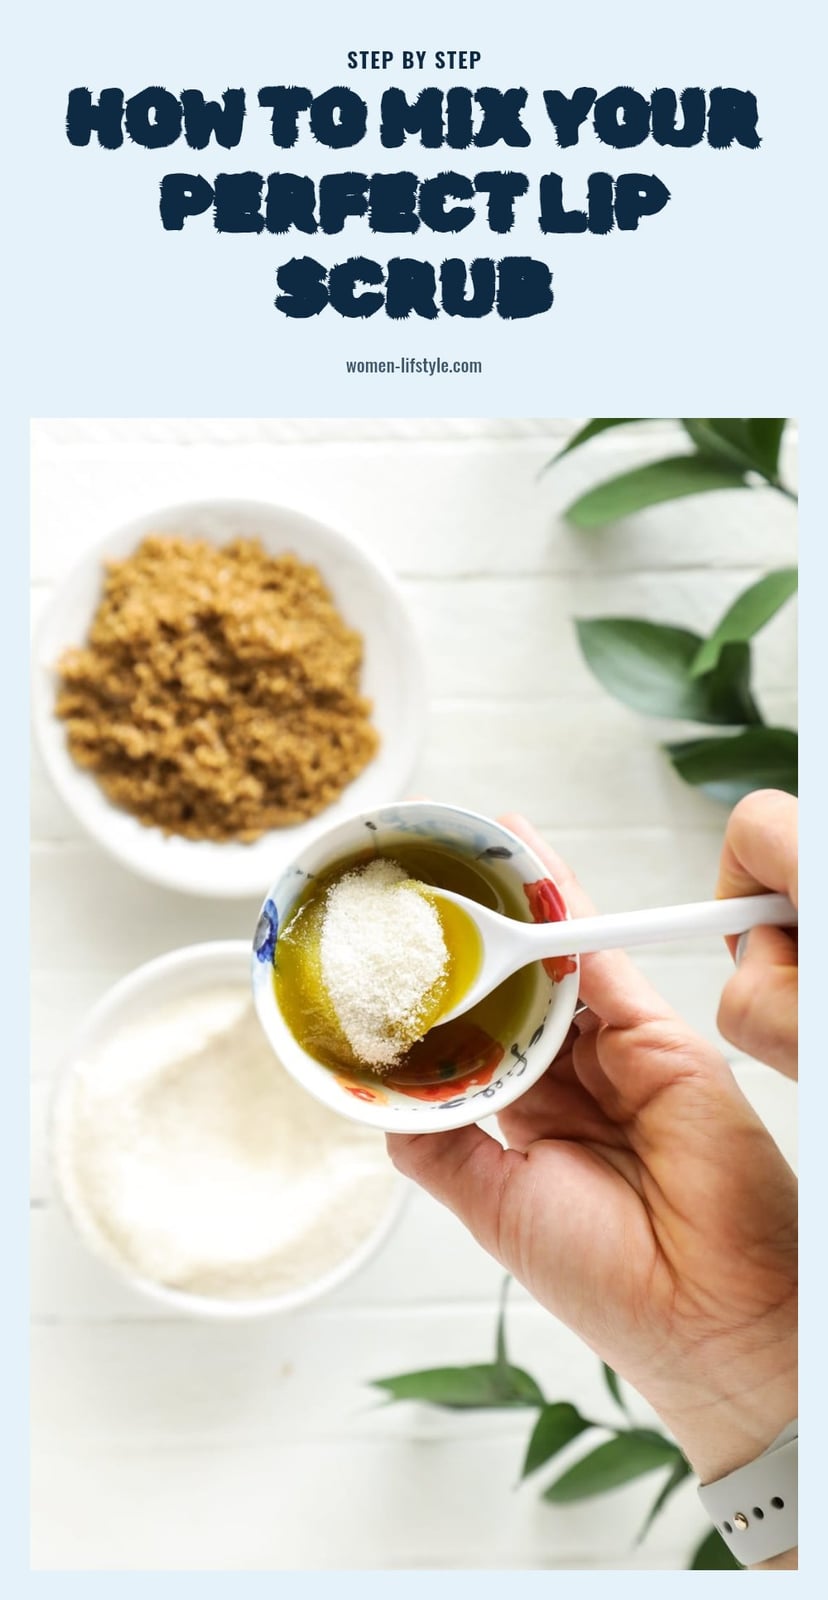
- Mix your ingredients: In a small bowl, combine the sugar, oil, and honey. Stir thoroughly until you have a consistent, paste-like texture that holds together but is not too runny.
- Prep your lips: Make sure your lips are clean and free of any lipstick or balm. For best results, dampen them slightly with a little water so the scrub glides easily.
- Apply and massage: Scoop a pea-sized amount onto your fingertip. Gently massage it onto your lips using small, circular motions for about 30 to 60 seconds. Focus on any rough or flaky areas, but keep the pressure light.
- Rinse off: Rinse your lips with lukewarm water, using your fingers to gently wipe away the sugar granules. Pat your lips dry with a soft towel.
- Seal in moisture: Immediately after drying, apply a thick layer of your favorite hydrating lip balm or a nourishing oil. This locks in the newfound softness and protects the delicate new skin.
If you learn better by watching, this 3-minute video from TiffyQuake shows every step. The how-to part starts at 0:21.
Top Tips for the Best Lip Scrub Experience
Getting the most out of your lip scrub is all about the small details. A few simple adjustments can make a big difference in results and safety.
- Choose fine sugar: Stick to fine-grained granulated or brown sugar. Coarser crystals can be too harsh on the thin skin of your lips.
- Go gentle: Use a light touch and never scrub for more than a minute. Aggressive scrubbing can cause irritation and micro-tears.
- Start damp: Applying the scrub to clean, slightly damp lips helps the mixture spread more evenly and reduces friction.
- Moisturize immediately: Exfoliation leaves your lips vulnerable. Always follow up with a rich lip balm or oil to seal in hydration.
- Store smart: Keep your homemade scrub in a small, airtight container in a cool, dark place. This prevents it from drying out or spoiling.
Customize Your Scrub: Delicious Variations

Once you have the basic recipe down, you can start tailoring it to your preferences. A single drop of vanilla extract stirred into the mixture adds a warm, sweet scent without any irritation.
Tip: For a gentle plumping effect, add one or two drops of diluted, food-grade peppermint essential oil. The cooling sensation makes the scrub feel refreshing, but always use it sparingly to avoid stinging.
If your lips are particularly sensitive, swap the granulated sugar for brown sugar. Its finer, softer crystals provide an even gentler exfoliation. You can also experiment with the moisturizing base: almond oil is rich in vitamin E, while jojoba oil closely mimics your skin’s natural sebum for deeper nourishment.
Common Lip Scrub Mistakes to Avoid
A few missteps can turn a beneficial treatment into a source of irritation. Here is what to watch for.
Scrubbing too hard: The skin on your lips is thin and fragile. Pressing firmly or scrubbing vigorously can cause micro-tears and redness. Use a light touch with small, circular motions.
Not moisturizing afterward: Exfoliation removes dead cells and leaves fresh skin exposed. Without a protective layer of lip balm or oil, your lips can become drier than before. Apply a hydrating balm immediately after rinsing.
Using harsh abrasives: Coarse salt or crushed nut shells are too rough for lip skin. Stick to fine sugars, which have rounder granules that exfoliate without damaging the surface.
Using on broken skin: Never apply a scrub to cracked, bleeding, or severely chapped lips. The friction will worsen the irritation and delay healing. Wait until your lips are intact.
Making too large a batch: Homemade scrubs, especially those containing honey, can spoil. Mix only what you will use within a few weeks to keep the scrub fresh and safe.
Storing Your Homemade Lip Scrub and When to Use It
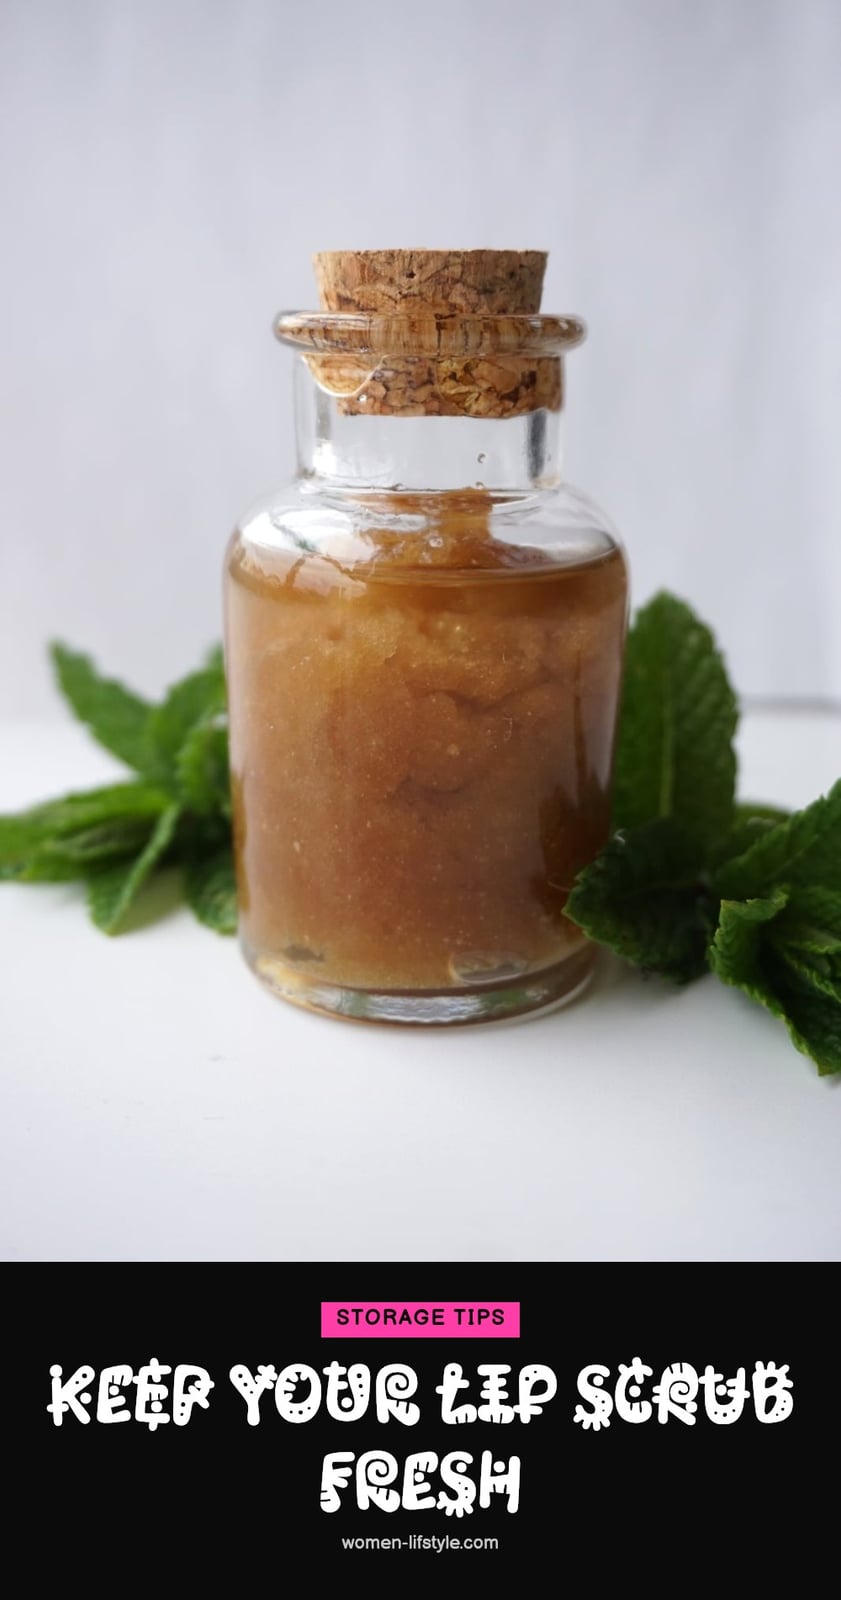
Proper storage keeps your scrub effective and safe to use. Transfer the mixture into a small, airtight container to prevent it from drying out or picking up bacteria from the environment.
Place the container in a cool, dark spot, away from direct sunlight or heat sources. Light and warmth can degrade the oils and shorten the shelf life.
Use your lip scrub 1-2 times per week. More frequent exfoliation can strip the lips of their protective barrier. Discard the batch immediately if you notice an off smell, a change in color, or any signs of mold.
Frequently Asked Questions
How often should I use a lip scrub?
Use a lip scrub 1 to 2 times per week. Over-exfoliating can strip the delicate skin on your lips and lead to irritation or increased dryness. If your lips feel sensitive after scrubbing, scale back to once a week or take a break until they recover.
Can I use salt instead of sugar in a lip scrub?
Salt is not recommended for lip scrubs. Its crystals are sharper and more abrasive than sugar, which can cause micro-tears and irritation on the thin skin of your lips. Stick with fine-grained granulated or brown sugar for a gentler exfoliation.
What if my lips are cracked or bleeding?
Do not use a lip scrub on cracked, bleeding, or severely chapped lips. Scrubbing open skin can worsen the damage, delay healing, and increase the risk of infection. Wait until your lips have fully healed before exfoliating again.
How long do homemade lip scrubs last?
The shelf life depends on the ingredients. A scrub made with oil and sugar alone can last a few weeks in an airtight container stored in a cool, dark place. If you add honey or any water-based ingredient, it will spoil faster, so make small batches and discard if you notice any change in smell or texture.
Can I add flavor to my lip scrub?
Yes, you can add a single drop of vanilla extract or one to two drops of food-grade essential oils like peppermint or lavender for scent and flavor. Always dilute essential oils properly and test a tiny amount on your lip to check for irritation before using the full batch.
Final Thoughts
My tip: Stick to the basic sugar-and-oil formula until you know how your lips react, then experiment with a drop of vanilla or peppermint if you want a little flavor. With consistent use once or twice a week, you will notice softer, smoother lips that make lipstick glide on more evenly. A simple routine like this can become a relaxing part of your weekly self-care.
