

If you regularly use a blow dryer, flat iron, or curling iron, you might wonder if heat protectant is really necessary. The short answer is yes. Heat styling tools can reach temperatures up to 450°F, and without protection, that heat can damage your hair’s keratin proteins over time. This article explains why heat protectant matters, how it works, and how to use it correctly for healthier, shinier hair.
Key Takeaways
- Heat protectant creates a barrier that distributes heat evenly and reduces moisture loss.
- Always apply heat protectant to damp hair before blow drying and to dry hair before flat ironing or curling.
- Use a moderate amount to avoid weighing hair down or making it greasy.
- Choose a formula suited to your hair type and styling tool for best results.
- Consistent use helps reduce breakage, split ends, and frizz over time.
Why Heat Protectant Is Crucial for Your Hair
Heat protectant is essential if you use styling tools. It creates a protective barrier on each strand that minimizes damage like breakage and split ends. The formula works by helping heat distribute more evenly across your hair and reducing moisture loss, which safeguards the keratin proteins inside your hair shaft. Adding this step to your routine significantly improves your hair’s health and appearance over time. You can style with less worry and maintain softer, shinier hair.
How Heat Styling Damages Hair Without Protection
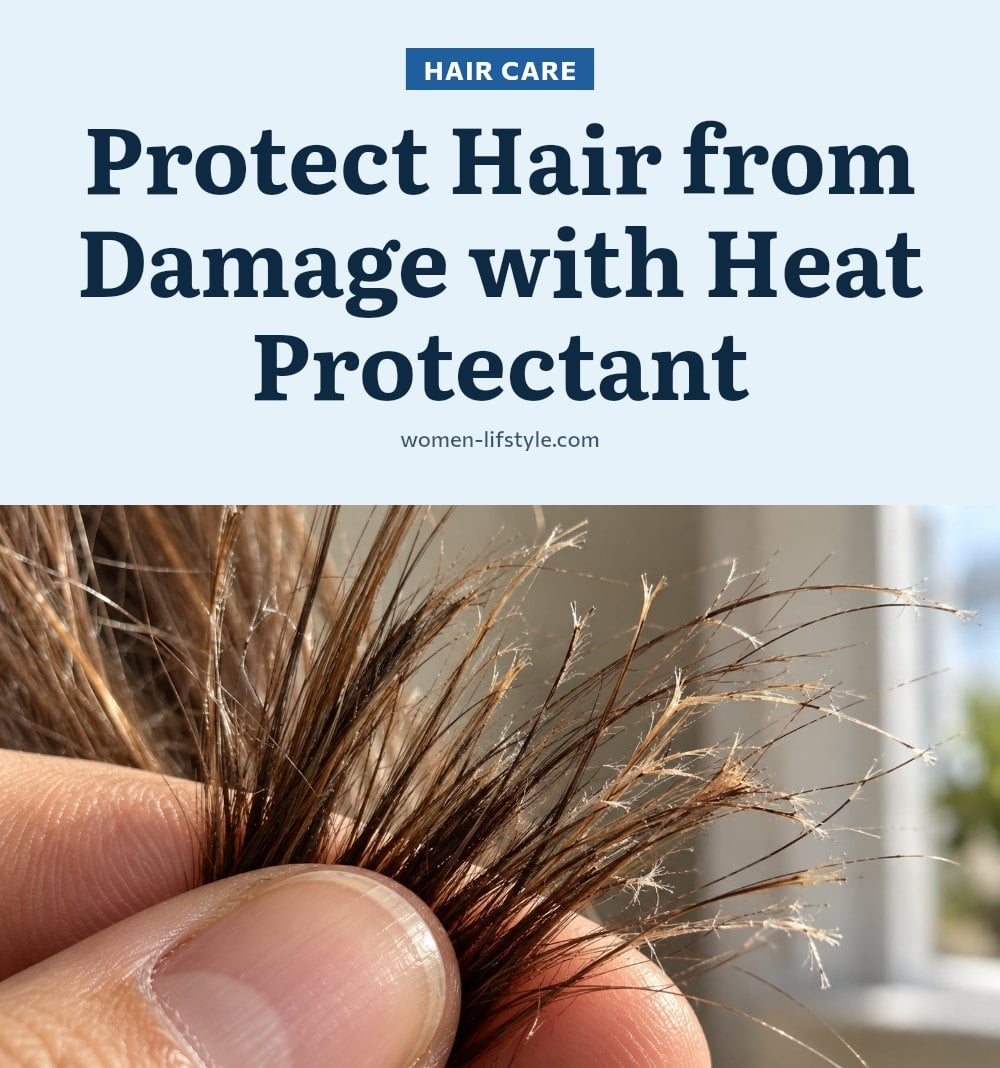
Without protection, your styling tools can cause real damage. Flat irons, curling irons, and blow dryers reach temperatures between 200°F (93°C) and 450°F (232°C). When that direct heat hits unprotected hair, the keratin proteins in the hair shaft denature and break down.
What happens to your hair
- Keratin breakdown: The protein structure weakens, making hair dry, brittle, and prone to split ends.
- Moisture loss: High heat strips moisture from the hair, lifting the cuticle and leaving it rough.
- Frizz and dullness: With the cuticle raised, hair loses its smoothness and shine, becoming frizzy and lackluster.
What Heat Protectants Are and How They Work
Heat protectants work by forming a barrier between your hair and high temperatures. They rely on ingredients like silicones, polymers, and natural oils. Silicones smooth the hair cuticle, reduce friction, and provide a direct shield against heat. Polymers help distribute heat more evenly across each strand, preventing hot spots that cause damage.
This protective layer does more than block heat. It minimizes moisture loss, seals the cuticle to reduce frizz, and some formulas even offer UV protection. The result is hair that feels softer, looks shinier, and stays healthier after styling.
Types of Heat Protectants and Styling Tools
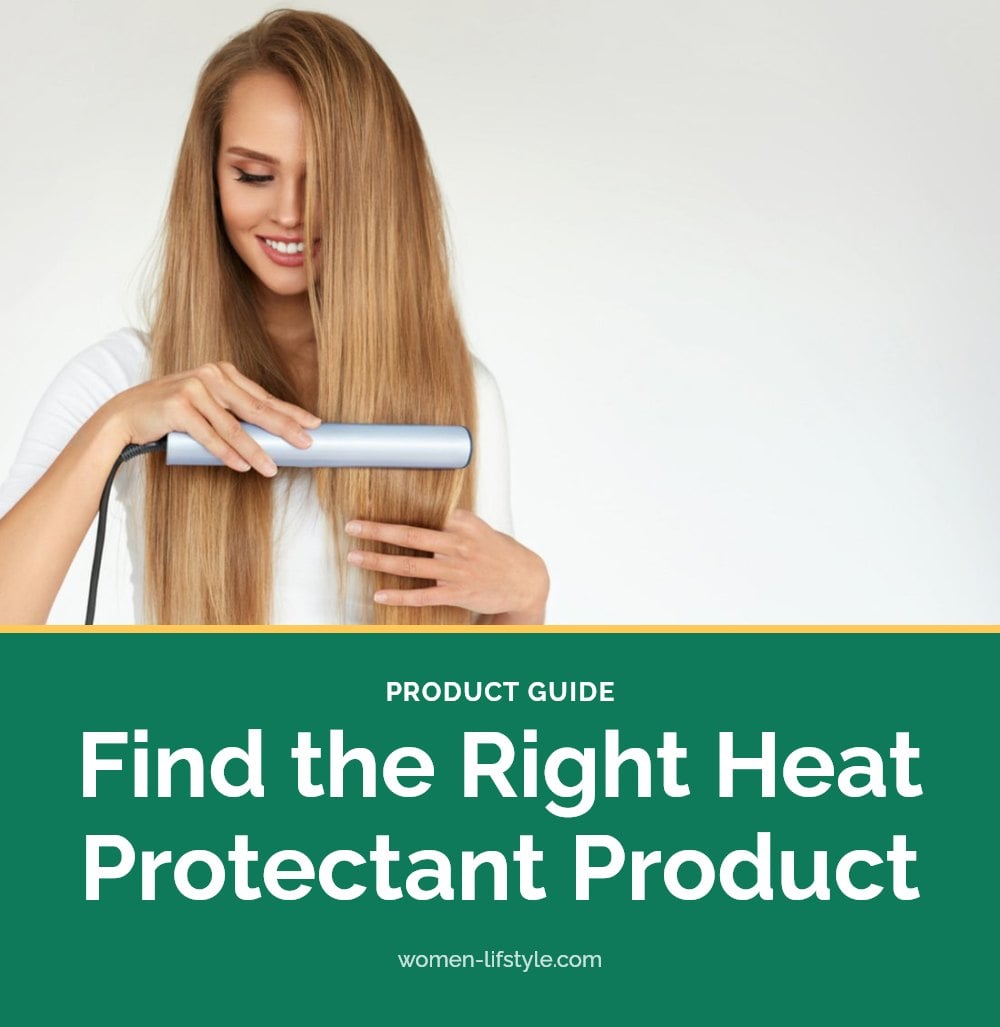
Heat protectants come in several forms, each suited to different hair types and tools.
- Spray: Ideal for even distribution, especially before blow drying or light styling. It’s lightweight and works on damp or dry hair.
- Cream: Good for thicker, coarser hair types. It provides more conditioning and control, helping to tame frizz and add smoothness.
- Serum: Best for adding shine and smoothing. Use it on dry hair before flat ironing or curling for a sleek finish.
Common styling tools include a blow dryer for drying and shaping with diffused heat, a flat iron for straightening with direct high heat, and a curling iron for creating curls and waves. A hairbrush or comb is essential for detangling and distributing the product evenly.
How to Properly Apply Heat Protectant for Maximum Protection
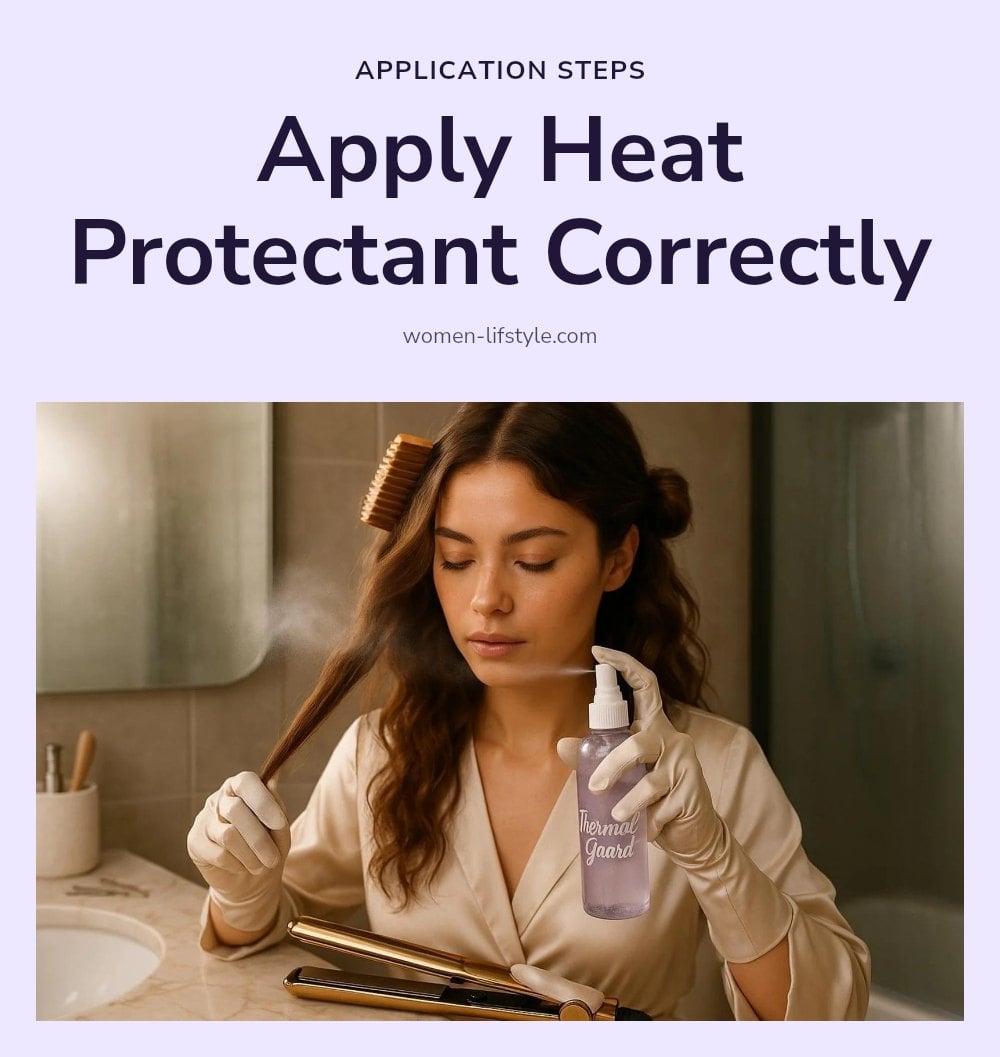
Choose the right product: Pick a heat protectant that matches your hair type and the tool you plan to use. Sprays work well for fine hair and blow drying, while creams and serums suit thicker or coarser hair before flat ironing or curling.
- Apply to damp hair for blow drying: Start with hair that is damp, not soaking wet. Squeeze out excess water with a towel, then spray or work the protectant through from roots to ends. This helps the product absorb evenly.
- Apply to dry hair for hot tools: Before using a flat iron or curling iron, distribute the protectant onto dry hair. Focus on sections you’ll style first, ensuring every strand gets a light coat.
- Ensure full coverage: Don’t stop at the ends. Apply from the roots down to the tips so no part of your hair is left unprotected.
- Distribute thoroughly: Use a wide-tooth comb or a brush after applying to spread the product evenly. This prevents hot spots and ensures every strand is shielded.
- Allow to set: Let the protectant dry for 30-60 seconds before turning on your tool. This gives the product time to form an even barrier on your hair.
Common Heat Protectant Mistakes to Avoid
- Applying only to ends: This leaves your mid-lengths and roots exposed. Always work the product from roots to ends for full coverage.
- Not using enough product: Too little won’t create a proper barrier. Use a moderate amount so hair feels lightly coated, not drenched.
- Applying to soaking wet hair: Water dilutes the protectant, making it less effective. Towel-dry first until hair is damp, not dripping.
- Using the wrong formulation: A spray for fine hair won’t protect coarse hair the same way. Read the label and choose one designed for your hair type and tool.
- Thinking hair is invincible: Heat protectant reduces damage but doesn’t eliminate it. Keep your tool on a lower setting when you can.
- Forgetting to reapply: If you wash your hair between styling sessions, you wash off the protectant. Apply a fresh layer before each heat use.
Pro Tips for Healthier Heat Styling
- Choose wisely: Match your protectant to your hair type, fine, thick, oily, or dry, and to your styling method. A mismatch can leave hair greasy or underprotected.
- Moderate heat settings: Even with a good protectant, lower temperatures are safer for your hair. Start at the lowest effective setting and increase only if needed.
- Even distribution: Comb through your hair after applying the protectant. This ensures every strand gets a thin, even coat and prevents patchy protection.
- Don’t overdo it: Too much product weighs hair down and can make it look greasy. A moderate amount applied evenly is all you need.
- Consider UV protection: Some heat protectants include UV filters. This extra layer guards against sun damage, which can dry out hair and fade color.
When to Use Heat Protectant and Expected Results
Application frequency: Use heat protectant before every heat styling session, whether you’re blow drying, flat ironing, or curling. Reapply if you wash your hair between sessions.
Visible results: With consistent use, you’ll notice fewer split ends and less breakage. Hair feels softer and looks shinier over time.
Improved hair health: Regular application helps hair retain moisture, reducing dryness and frizz. You’ll see a real difference in texture and manageability.
Cost tiers: Heat protectants range from budget-friendly options at $5-$15 to mid-range picks at $15-$30 and high-end salon brands above $30. All tiers offer effective protection if you choose the right formula for your hair.
Frequently Asked Questions
Can I use heat protectant on dry hair?
Yes, you can use heat protectant on dry hair. In fact, it’s recommended to apply it to dry hair before using flat irons or curling irons. For blow drying, apply it to damp hair instead of soaking wet hair for the best results.
How much heat protectant should I use?
Use a moderate amount so your hair feels lightly coated, not drenched. Too little won’t provide enough protection, while too much can weigh hair down or make it greasy. Start with a small amount and add more if needed.
Does heat protectant make hair greasy?
It can if you use too much or choose the wrong formula for your hair type. Sprays are lightweight and work well for fine hair, while creams and serums are better for thicker or coarser hair. Using a moderate amount helps avoid a greasy look.
Do I need different heat protectants for different tools?
Not necessarily, but it helps to match the formula to your tool and hair type. Sprays are ideal for blow drying and fine hair, while creams and serums work better for flat ironing or curling thicker hair. Check the product label for guidance.
Can heat protectant repair damaged hair?
Heat protectant cannot repair hair that is already damaged. Its job is to prevent future damage by creating a protective barrier against heat. For repairing damage, look for deep conditioning treatments or protein masks instead.
Final Thoughts
For healthier heat styling, make heat protectant a non-negotiable step in your routine. Start with a moderate amount applied from roots to ends, and use the lowest effective heat setting on your tools. With regular use, you can expect fewer split ends, less breakage, and hair that feels softer and looks shinier. A little protection goes a long way toward keeping your hair in great shape.
