

You have a topic to brainstorm, a project to plan, or notes to organize, and the usual list just isn’t cutting it. Mind mapping lets you capture ideas visually, so you can see how everything connects at a glance. This guide walks you through the method from start to finish, including the key steps and common mistakes to avoid.
Key Takeaways
- Start with a clear central image or keyword that represents your main topic.
- Use single keywords or short phrases on each branch, not full sentences.
- Incorporate colors, images, and curved lines to make your map visually engaging.
- Allow ideas to flow freely without judgment during the initial brainstorming phase.
- Aim for no more than a few main branches to keep the map efficient for review.
What is Mind Mapping and Why Does It Work?
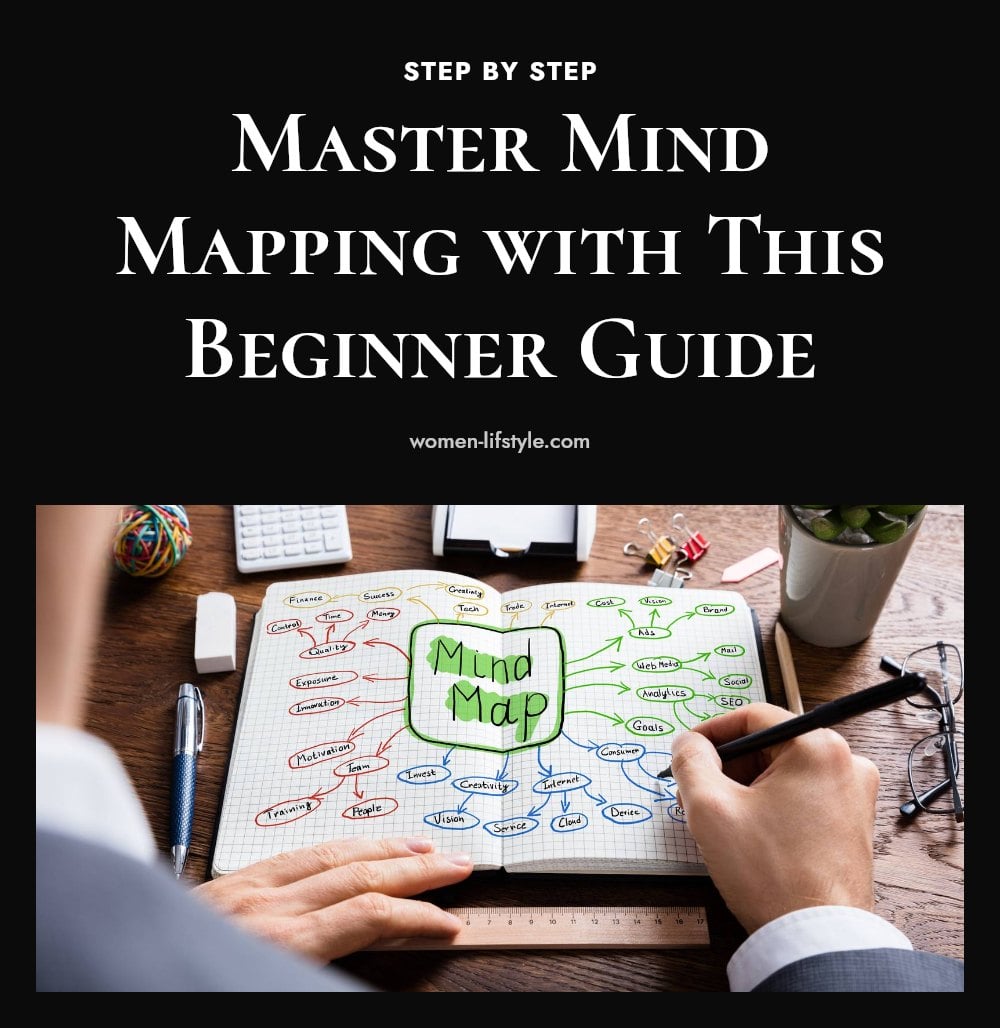
Mind mapping is a visual thinking tool that organizes information around a central concept using branches, keywords, images, and colors. Instead of writing in straight lines, you create a non-linear diagram that reflects how your brain naturally processes information. This structure helps you brainstorm, take notes, and study more effectively. The visual cues and connections enhance memory and understanding, making complex topics easier to grasp and recall.
Gather Your Mind Mapping Tools

You need a few basic items to start mind mapping. A large sheet of paper or a whiteboard gives you enough space for ideas to flow and expand. Colored pens, markers, or pencils are essential for color-coding, emphasizing ideas, and making the map visually engaging. An eraser helps if you sketch with a pencil first to refine your branches and images. Digital mind mapping software is an option for flexibility with editing and sharing, but a physical map encourages freehand creativity.
Step-by-Step: Creating Your Mind Map
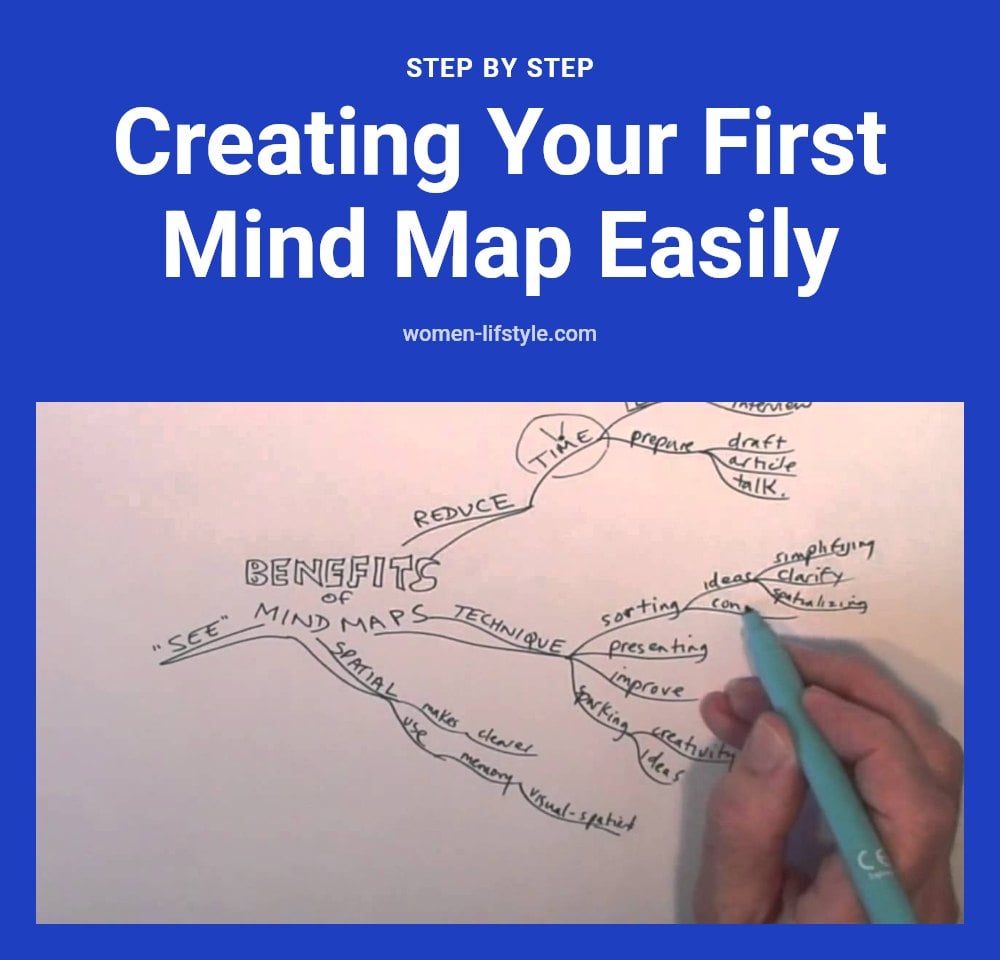
- Prepare a list of key terms: Write down all the important words from your topic. This list serves as the foundation for your entire map.
- Outline the terms: Identify which terms are main topics and which are subtopics. The main topics will form the trunk of your mind map.
- Plot your main topics: Place each main topic on a blank page, leaving plenty of space between them. This room allows you to draw connections and add details later.
- Find the thought process: Connect how the main topics relate to each other. Ask questions like: Are they similar or different? Is one a cause or effect? Do they form parts of a larger whole?
- Identify relationships: Look for connections between all terms, including subtopics. Group terms based on commonalities, such as timing or location. This step helps you understand how concepts interact.
- Be expressive: Use visuals, analogies, and abstractions instead of lengthy text. Drawing one image that represents several related concepts is instantly memorable and makes review much more efficient.
- Make it efficient for review: Ensure your thought process is clear with bold arrows and prominent main concepts. Use color-coding to make relationships obvious. Group information so you have no more than a few branches per level.
Here is the method in action: Mike and Matty demonstrates it in about 12 minutes. The how-to part starts at 1:51.
Watch the Full Mind Map Tutorial
Watch the Full Mind Map Tutorial
This video provides a comprehensive guide to mind mapping, demonstrating the principles of effective visual note-taking. It emphasizes understanding the why behind mind mapping to improve your execution and retention. The tutorial highlights the benefits of incorporating visuals, analogies, and abstractions for a more expressive and memorable map. You will learn how to see the big picture and how every detail connects, unlike traditional linear notes that isolate information.
Common Mind Mapping Mistakes to Avoid
Writing full sentences: This turns your mind map into a wall of text. Use single keywords or short phrases on each branch instead. Your map stays concise and visually impactful.
Using only one color: A monochrome map makes it hard to distinguish branches or themes. Grab a few colored pens and assign different colors to different categories. It makes navigation and recall much easier.
Creating a linear outline: Mind maps should radiate from a central image, not follow a top-to-bottom list. If your map looks like a traditional outline, you are missing the non-linear structure that helps your brain connect ideas.
Trying to make it perfect from the start: Perfection slows you down. Let ideas flow freely during the first pass. You can refine and reorganize later. The initial brainstorming phase is for quantity, not quality.
Not using images or symbols: Visuals are a core part of mind mapping. They boost memory and make your map more engaging. Even a simple icon can replace several words and stick in your mind longer.
Top Tips for Effective Mind Mapping
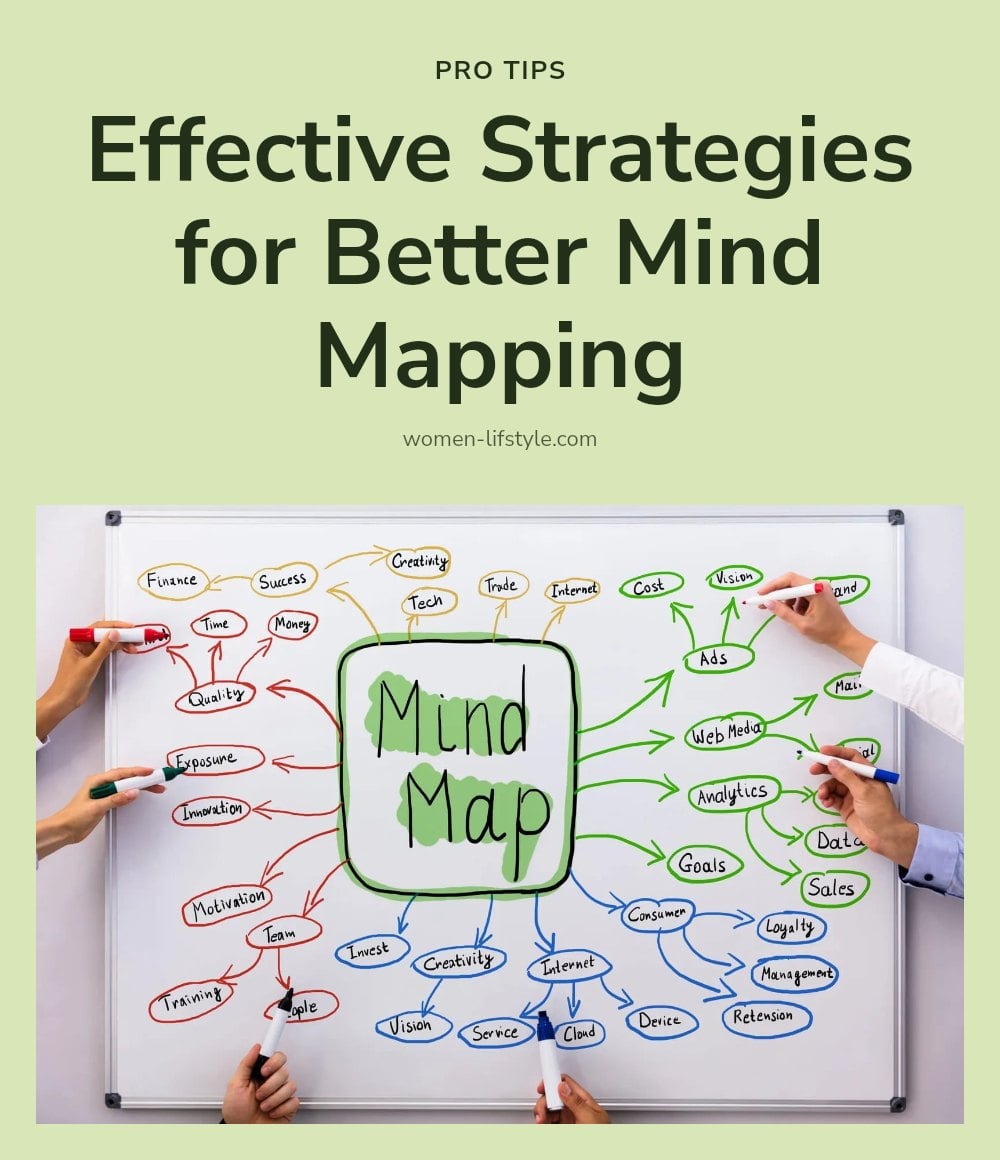
Start with a clear central image: This image captures the essence of your topic and acts as a memorable anchor for everything that branches out.
Embrace curved lines: My tip: Curved branches are more visually appealing and mimic natural forms, making your map feel more organic and engaging than straight lines.
Vary branch thickness: Use thicker branches for main themes and thinner ones for sub-ideas. This creates a clear visual hierarchy that your eyes can follow instantly.
Pack information into images: Instead of listing multiple keywords, try drawing one image that represents several related concepts. For example, a single sketch of a person with a fever, cough, and fatigue can depict multiple symptoms. It is instantly memorable and super efficient for review.
Invest in upfront thinking: Spend a little extra time at the beginning to deeply consider your concepts and find strong analogies. This makes your map much more expressive and easier to recall later.
How Long Does Mind Mapping Take?
Time: The duration varies significantly based on the complexity of your topic and your personal needs. A quick brainstorm can take five minutes, while in-depth project planning might require several hours.
Frequency: You can use mind mapping as often as needed. It works for daily planning, weekly study sessions, or one-off brainstorming.
Cost: Minimal. Basic materials like paper and pens are very affordable. Optional digital software may have subscription costs, but many free versions are available.
Frequently Asked Questions
Can I use a mind map for project planning?
Yes, mind mapping works well for project planning. You can place the project goal at the center and branch out into phases, tasks, deadlines, and resources. The non-linear structure helps you see dependencies and relationships between different parts of the project at a glance.
How do mind maps improve memory?
Mind maps improve memory by combining keywords, images, and colors in a non-linear layout that mirrors how your brain naturally processes information. This engages both hemispheres of the brain and creates multiple visual and conceptual cues, making recall easier than with linear notes.
Are digital mind maps as effective as hand-drawn ones?
Digital mind maps can be just as effective, especially for editing and sharing. However, hand-drawn maps on paper may help with memory because the physical act of drawing and writing reinforces learning. Choose the method that fits your workflow and comfort level.
What is the best way to start a mind map?
The best way to start is by writing down a list of key terms from your topic. Then outline those terms to identify which are main topics and which are subtopics. Place the central topic in the middle of a blank page and branch out the main topics from there, leaving space for connections.
Final Thoughts
For your next mind map, try starting with a list of key terms and then outline them into main topics and subtopics before you draw anything. Expect the process to take anywhere from five minutes for a quick brainstorm to several hours for detailed planning. A well-made mind map makes review much faster and helps you remember the big picture.
