

You reach for a sliver of wood or a tiny shard of glass, and suddenly it’s stuck under your skin. Splinters are a common nuisance, but knowing the right approach makes removal quick and safe. This article covers the essential steps and tools for getting a splinter out at home, plus when it’s time to see a doctor.

Key Takeaways
- Always wash hands and sterilize tweezers or a needle with rubbing alcohol or a flame before starting.
- Soak the area in warm water for 10 to 15 minutes to soften the skin and ease removal.
- Pull the splinter out slowly and steadily in the same direction it entered.
- Clean the wound with soap and water after removal and apply an antiseptic.
- See a doctor if the splinter is deep, large, near the eye, or shows signs of infection.
Quick Answer: How to Remove a Splinter
To remove a splinter, start by washing your hands and the affected area with soap and water. Sterilize your tweezers or a needle with rubbing alcohol or a flame. If the splinter is visible, grasp it firmly with the tweezers as close to the skin as possible and pull it out in the direction it entered. For embedded splinters, gently expose the tip with a sterilized needle before tweezing. After removal, wash the wound again and apply an antiseptic to prevent infection.
1. Gather Your Supplies
You will need a few basic household items to handle a splinter safely.
- Soap and water: For cleaning your hands and the wound before and after removal.
- Rubbing alcohol: To sterilize your tweezers and needle.
- Clean tweezers: The main tool for grasping a protruding splinter.
- Sterilized needle: Helpful for exposing splinters that are just under the skin.
- Good lighting and a magnifying glass: Improve visibility, especially for tiny splinters.
2. Prepare the Area and Tools
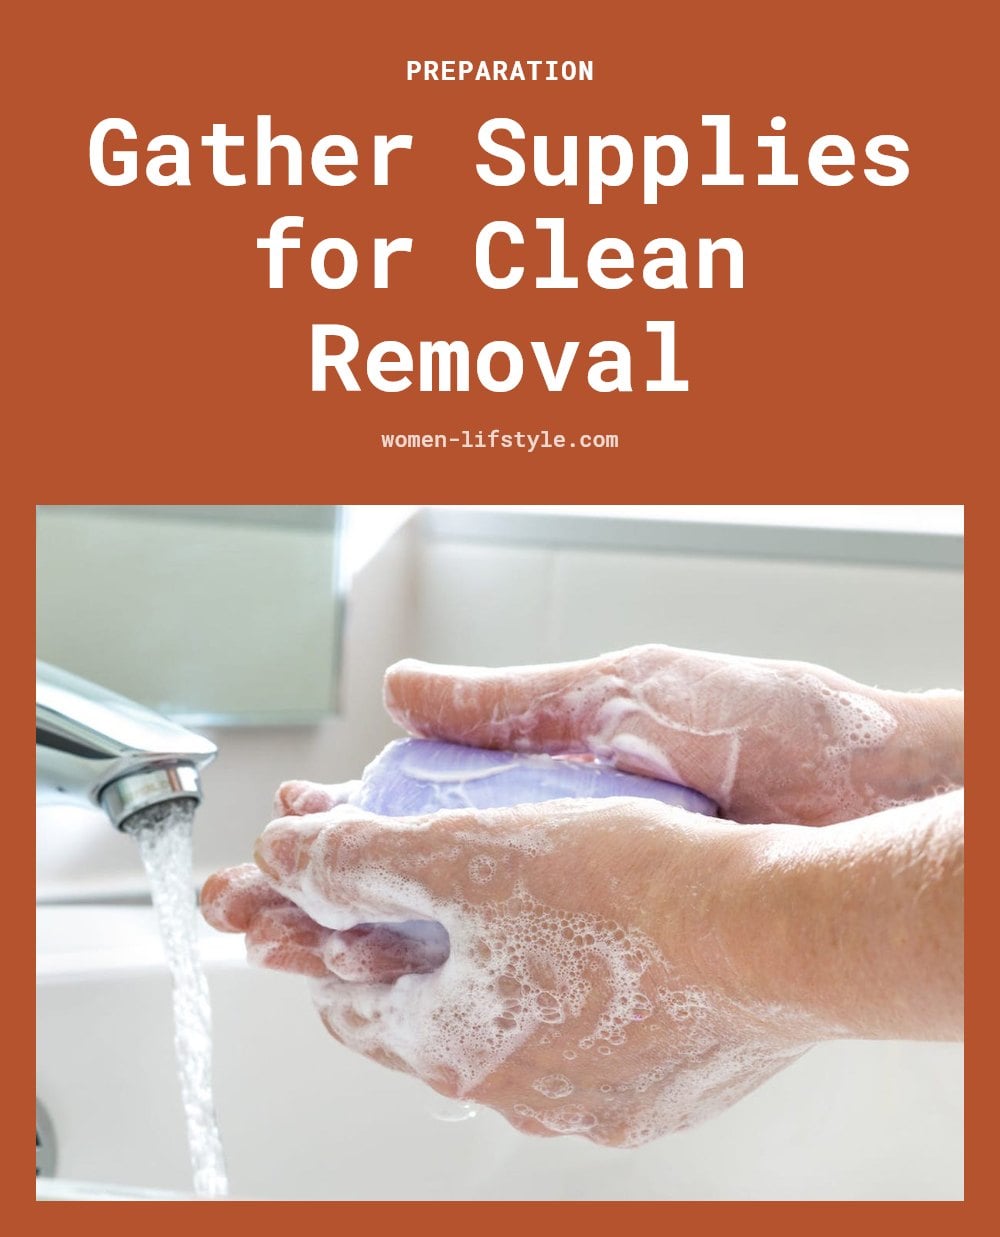
Always wash your hands thoroughly with soap and water before you begin. Clean the skin around the splinter with soap and water as well to reduce the risk of pushing bacteria into the wound.
Sterilize your tweezers or needle by wiping them with rubbing alcohol. You can also hold the tip over a flame until it glows hot, then let it cool completely before touching your skin. Tip: Never use unsterilized tools, as this can introduce infection.
3. Soften Skin with Warm Water

Soaking the affected area in warm water for 10 to 15 minutes can soften the skin. This makes it easier for the splinter to emerge on its own or to be grasped with tweezers.
This step is particularly helpful for splinters that are a bit deeper or difficult to see. The warm water also helps reduce minor inflammation around the site. Good to know: Adding a small amount of salt to the water may help draw the splinter out, though plain warm water works well.
4. Tweezers for Protruding Splinters
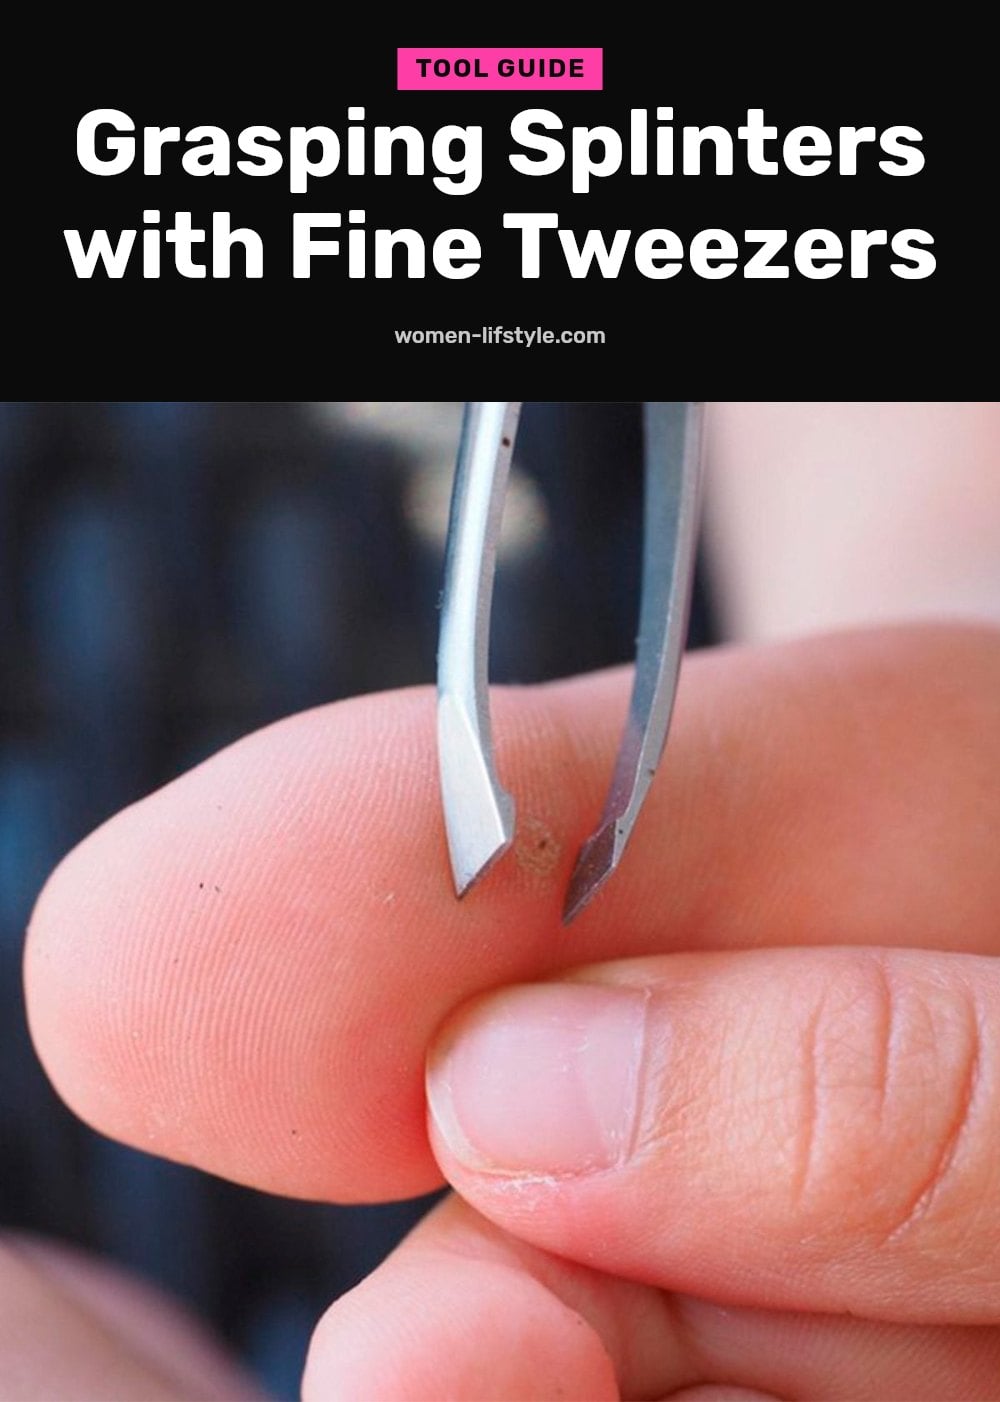
Grasp close to the skin: Once the splinter is visible and protruding, pick up your sterilized tweezers. Grip the splinter as close to the skin’s surface as possible. This gives you the most control and reduces the chance of it snapping.
Pull in the direction of entry: Pull slowly and steadily in the exact direction the splinter went in. Pulling against that angle can break the splinter or tear the skin. A steady, gentle motion works better than a fast yank.
Don’t squeeze the skin: Avoid pressing the tweezers into the skin around the splinter. Squeezing can push the splinter deeper or break it into smaller pieces, making removal much harder.
5. Needle for Embedded Splinters

Scrape parallel to the skin: For splinters that are just below the surface, use a sterilized needle to gently scrape the top layer of skin. Work parallel to the skin, not into it, until you expose one end of the splinter. This is like uncovering a buried thread.
Expose then tweeze: Once the tip is visible, switch to your sterilized tweezers. Grasp the exposed end and pull it out slowly in the direction it entered. The needle does the uncovering; the tweezers do the pulling.
Tip: A magnifying glass can help you see the splinter’s exact angle and avoid scraping too much skin.
6. Baking Soda Paste Trick

Mix a paste: Some people find that a paste made from baking soda and water can help draw out superficial splinters. Mix a small amount of baking soda with just enough water to form a thick paste.
Apply and cover overnight: Spread the paste over the splinter area, then cover it with a bandage. Leave it on overnight. The paste may help bring the splinter closer to the surface by softening the skin and creating a gentle drawing effect.
Check in the morning: Remove the bandage and rinse the area. The splinter may now be more exposed, making it easier to grasp with tweezers or pull with tape.
7. White Glue or Tape Method
Try white glue for tiny splinters: For very small, superficial splinters that are hard to grip, white glue can work. Apply a thin layer directly over the splinter and let it dry completely. Then peel the glue off from one edge. The splinter often comes away with it.
Use tape as an alternative: Press a piece of strong adhesive tape firmly over the splinter. Pull it off quickly in the opposite direction of the splinter’s entry. This works best for splinters that are barely under the skin, like tiny glass or metal shards.
Caution: These methods are best for very small, shallow splinters. They may not work for deeper or larger pieces. If the splinter doesn’t come out, move to tweezers or a needle.
8. Clean the Wound Thoroughly
Once the splinter is out, wash the area again with soap and water. This removes any debris or bacteria that may have been introduced during removal. Then apply an antiseptic solution or cream to the wound to help prevent infection.
- Antiseptic options include hydrogen peroxide, iodine, or an over-the-counter antibiotic ointment.
- This step matters even for tiny splinters that didn’t seem to leave a mark.
9. Consider a Bandage
If the wound is on a finger, hand, or foot that gets dirty or rubbed by socks and shoes, cover it with a clean bandage. The bandage protects the area while it heals and reduces the risk of further irritation or infection.
- Change the bandage daily and keep the area clean.
- For wounds on less exposed areas like the thigh or torso, letting the wound breathe is fine.
10. Stay Up-to-Date on Tetanus
Check that your tetanus vaccination is current, especially if the splinter came from a dirty or rusty object. Tetanus is a serious bacterial infection that can enter the body through breaks in the skin, even from a tiny splinter.
- If you cannot remember your last tetanus shot, consult your doctor to confirm.
- A booster is typically recommended every 10 years.
11. Watch for Signs of Infection
Monitor the area for several days after removal. Signs of infection include increased redness, swelling, warmth, pus, or persistent pain at the site. If you notice any of these, seek medical advice promptly.
- An infected splinter site may also feel hot to the touch or ooze fluid.
- Early treatment can prevent the infection from spreading.
When to See a Doctor for a Splinter
Most splinters can be handled at home, but some situations call for a doctor. Seek medical attention if the splinter is very deep, large, or causes excessive bleeding. You should also see a doctor if you cannot remove the splinter completely on your own.
Caution: Medical consultation is necessary if the splinter is in or near the eye, or if it is under a fingernail or toenail and deeply embedded. Always consult a doctor if signs of infection develop after removal, such as increased redness, swelling, pus, or fever. Your health provider can safely handle these cases.
Frequently Asked Questions
How do you remove a deep splinter?
For a deep splinter, try soaking the area in warm water for 10 to 15 minutes to soften the skin. If the end becomes visible, use sterilized tweezers to pull it out in the direction it entered. If it remains deeply embedded, especially under a fingernail or toenail, it may require professional medical attention.
Can a splinter come out on its own?
Sometimes a tiny, superficial splinter may work its own way out as your skin sheds and heals. However, leaving a splinter in increases the risk of infection and can prolong pain. It is usually safer to remove it using proper techniques rather than waiting for it to come out on its own.
What if a splinter breaks off under the skin?
If a splinter breaks off and a piece remains under the skin, try to gently expose the fragment with a sterilized needle by scraping parallel to the skin. If you cannot remove the remaining piece or it is deep, see a doctor. Do not dig blindly, as this can push it deeper or cause infection.
How do you know if a splinter is infected?
Signs of infection include increased redness, swelling, warmth, pus, or persistent pain at the splinter site. The area may also feel hot to the touch. If you notice any of these symptoms after removal, seek medical advice promptly.
Is it okay to leave a tiny splinter in?
Leaving even a tiny splinter in carries a risk of infection and may cause ongoing irritation. It is generally better to remove it using gentle methods like soaking, tweezers, or the baking soda paste trick. If the splinter is very small and superficial, you can also try white glue or tape to pull it out.
Final Thoughts
For most splinters, a few simple steps are all you need: wash, sterilize, and gently remove with tweezers or a needle. The wound usually heals within a few days. If you cannot remove the splinter completely or notice increased redness, swelling, or pus, seek medical advice promptly.
This article is for informational purposes only and is not a substitute for professional medical advice. If you have a persistent or serious splinter, signs of infection, or an embedded foreign object in a sensitive area, consult a doctor or other qualified healthcare provider.
