

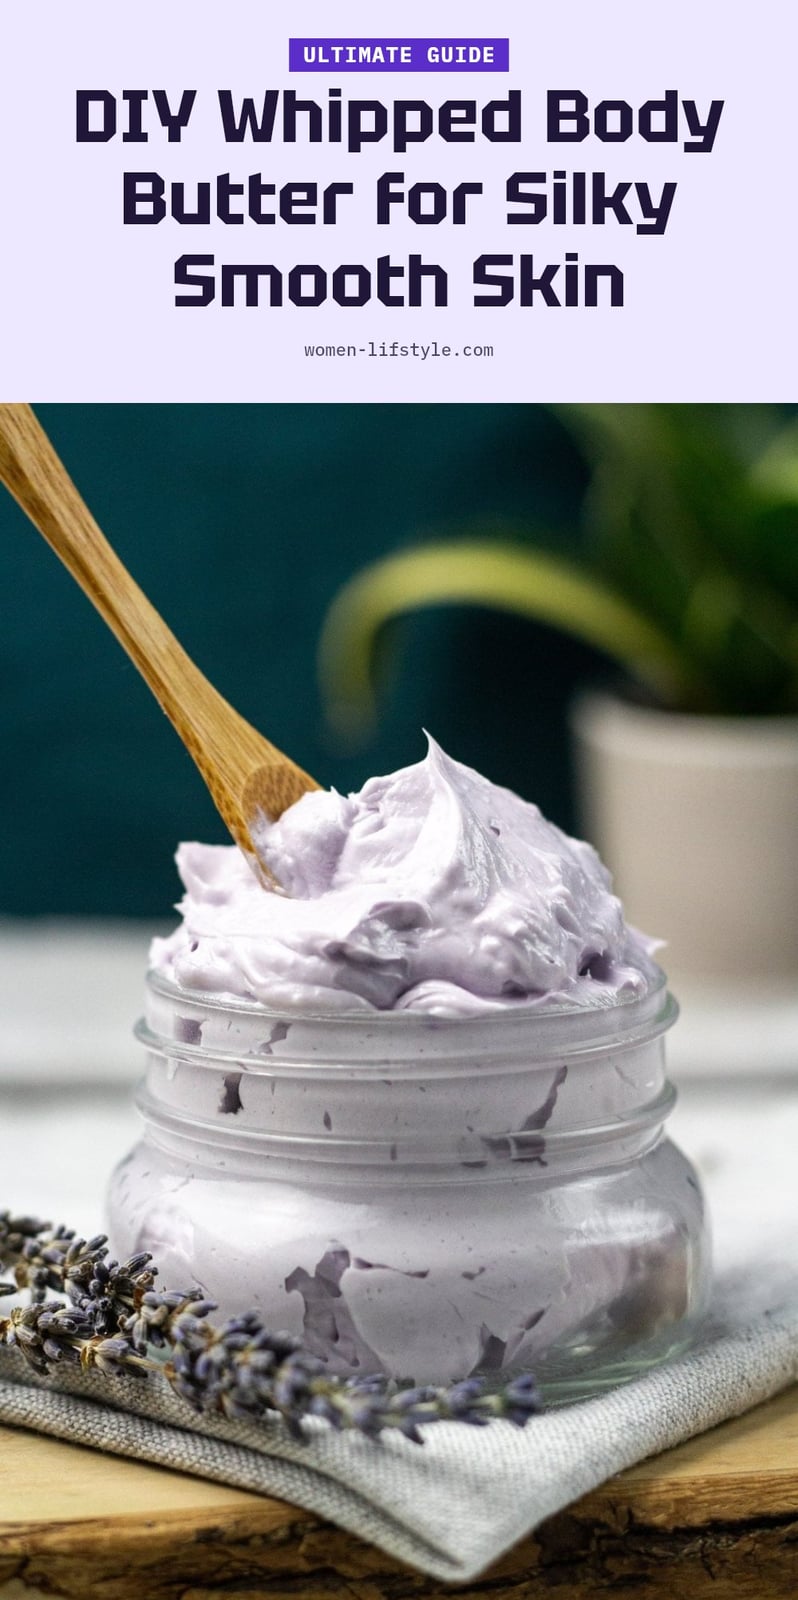
If your skin craves deep, lasting moisture that lotions just can’t deliver, homemade body butter is the answer. It’s thicker, richer, and completely free of synthetic additives because you control every ingredient. This guide walks you through a simple recipe, step-by-step instructions, and customization tips so you can create a whipped butter that matches your skin’s needs perfectly.
Key Takeaways
- Homemade body butter uses a 1:1 ratio of solid butter to liquid oil for a balanced texture.
- Always cool the melted mixture for 1-2 hours before whipping to avoid a greasy result.
- Apply body butter to damp skin after a shower to lock in moisture more effectively.
- Store in an airtight container in a cool, dark spot to keep it fresh for 3-6 months.
- Perform a patch test with new ingredients, especially essential oils, before full use.
Why Make Your Own Body Butter?
Homemade body butter delivers intense hydration that store-bought lotions rarely match. It is thicker and richer because you control every ingredient, skipping synthetic additives and harsh chemicals. Customization is a real advantage: you can tailor the scent and skin benefits exactly to what your skin needs, whether that means extra soothing for dryness or a calming fragrance.
Classic Whipped Body Butter Recipe
This recipe uses a 1:1 ratio of solid butter to liquid oil for a balanced, spreadable texture. Start with 1/2 cup shea butter and 1/2 cup coconut oil. Add 1 teaspoon Vitamin E oil to help preserve the mixture and nourish skin. Then add 10-15 drops of your chosen essential oil for fragrance and therapeutic benefits.
- Solid butter: 1/2 cup shea, cocoa, or mango butter
- Carrier oil: 1/2 cup coconut, almond, or jojoba oil
- Vitamin E oil: 1 teaspoon
- Essential oils: 10-15 drops, diluted safely
Step-by-Step: Crafting Your Whipped Body Butter
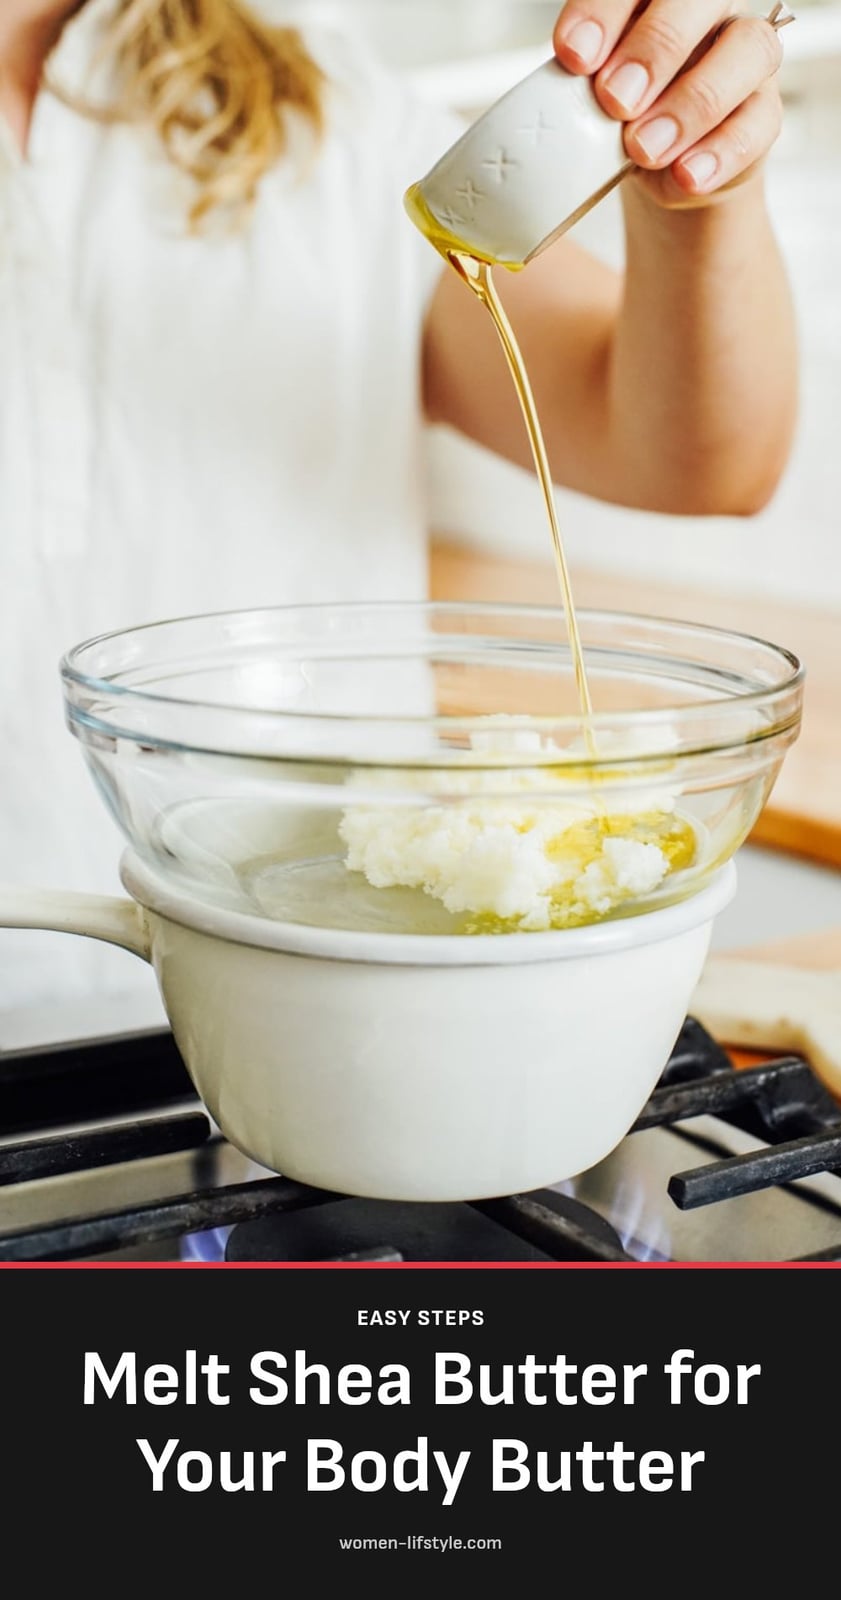
Melt the butters and oils: Place the solid butter and carrier oil in a double boiler over low heat. Stir gently until completely melted, then remove from heat. Avoid overheating, which can degrade the beneficial compounds.
- Cool the mixture: Let it sit at room temperature until it becomes opaque and slightly firm, about 1-2 hours. Do not rush this step; a warm mixture will not whip properly.
- Whip the mixture: Use a hand mixer or stand mixer to beat the cooled mixture on medium speed. Whip until it becomes light, fluffy, and doubles in volume, about 5-7 minutes.
- Add essential oils and Vitamin E: Once the mixture is whipped to your desired consistency, add the Vitamin E oil and essential oils. Mix just until combined, about 30 seconds.
- Transfer to containers: Spoon the whipped body butter into clean, airtight jars. Press down lightly to remove air pockets, then seal tightly.
If you learn better by watching, this 4-minute video from abetweene shows every step.
Pro Tips for Perfect Body Butter
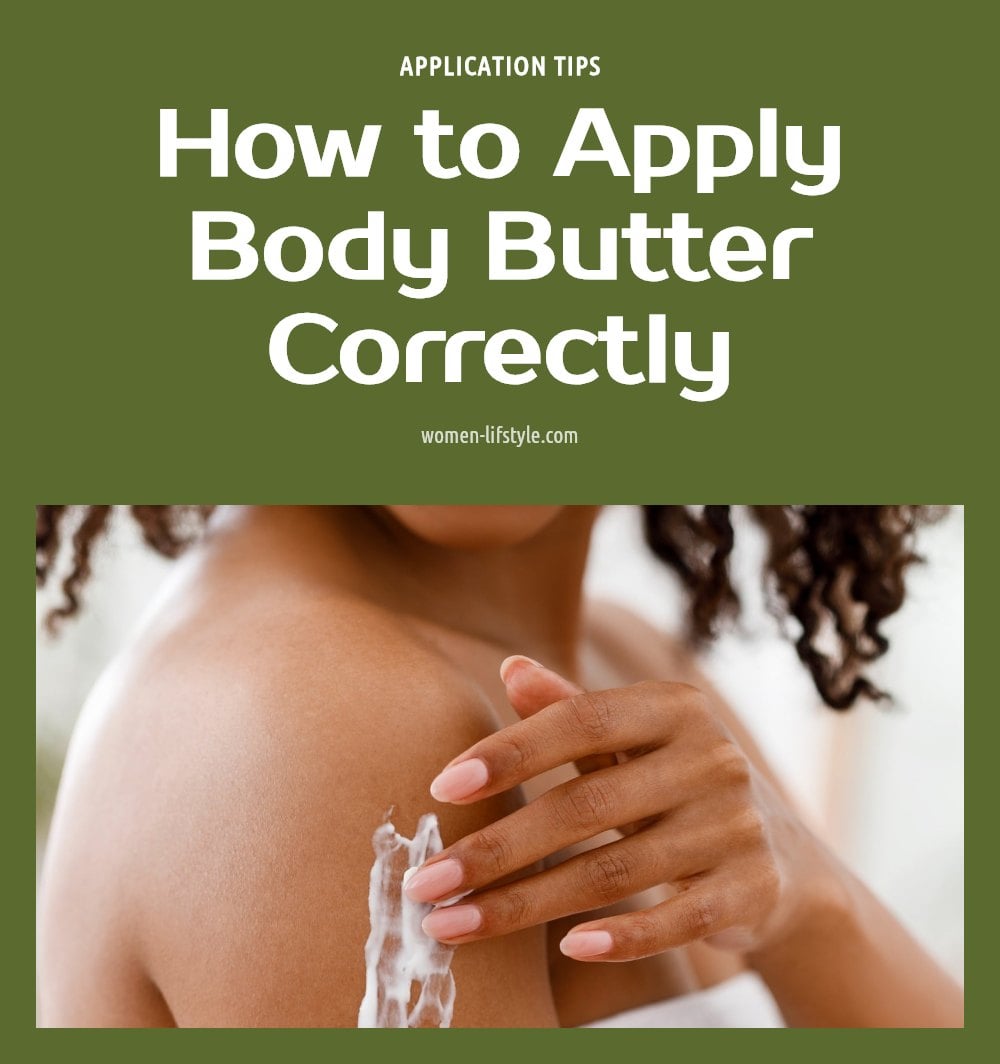
Apply to damp skin: For best absorption, smooth body butter onto skin right after a shower while it is still slightly damp. This locks in moisture more effectively.
- Patch test first: Test a small amount on your inner arm before widespread use, especially with new essential oils. Wait 24 hours to check for any reaction.
- Adjust the ratio: If the butter feels too greasy, increase the solid butter proportion. For a softer texture, add more liquid oil.
- Add wax for warm climates: Melt 1-2 teaspoons of beeswax or candelilla wax with the butters and oils to create a firmer body butter that holds its shape in warmer temperatures.
Customizing Your Body Butter: Variations for Every Skin Need
Customizing Your Body Butter: Variations for Every Skin Need
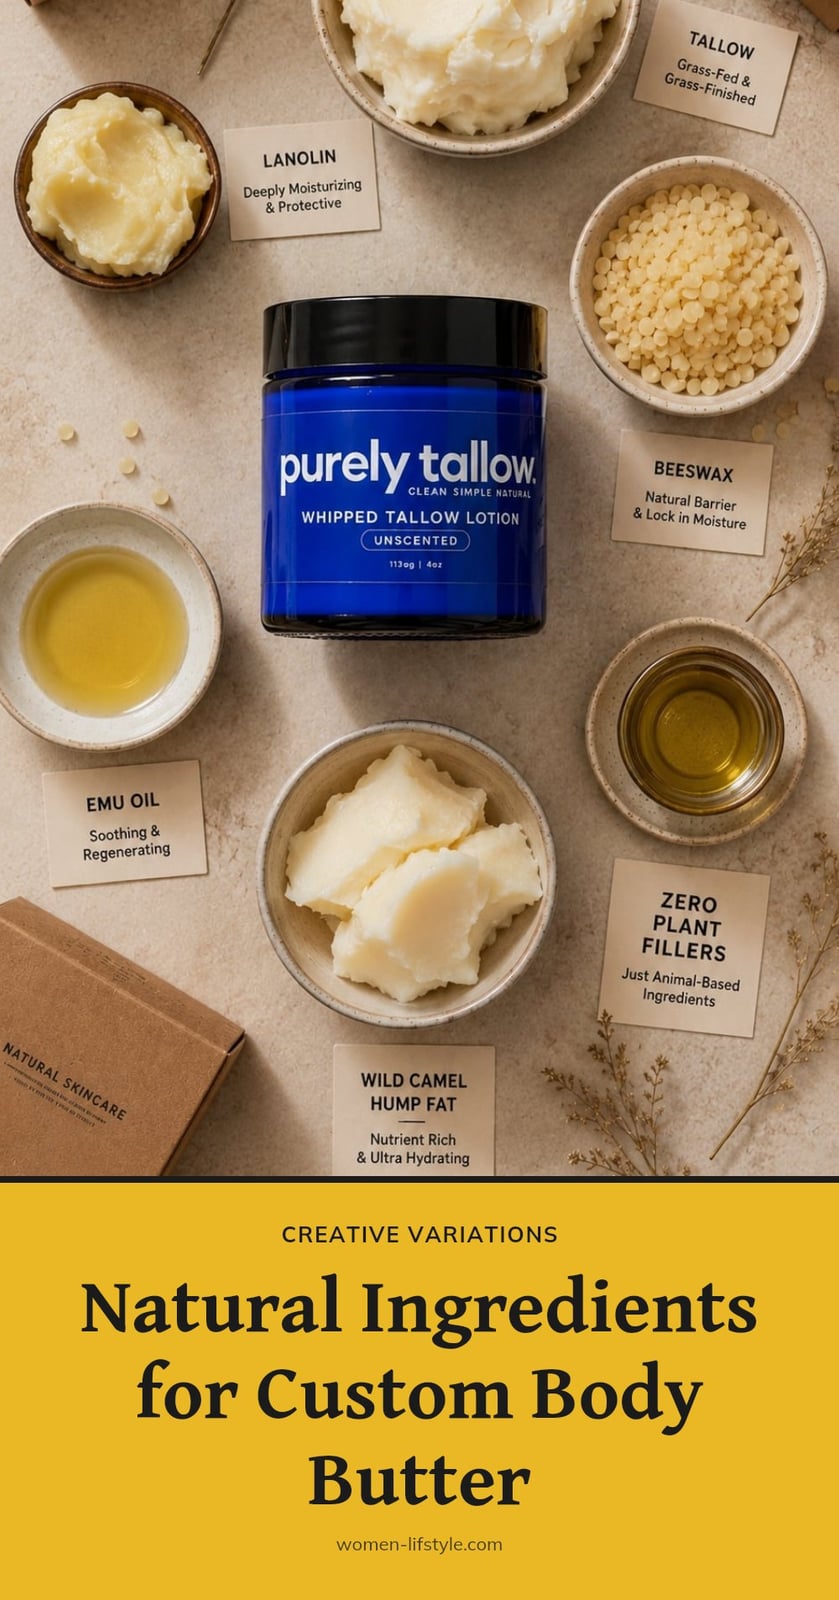
Swap shea butter for cocoa butter if you want a firmer, chocolate-scented cream that’s rich in antioxidants. Mango butter gives a lighter, less greasy feel, ideal for oily or combination skin. For the carrier oil, jojoba oil closely mimics your skin’s natural sebum, making it a good choice for balancing acne-prone skin, while almond oil adds extra vitamin E for dry, flaky areas.
Choose essential oils based on your goal: lavender for calming, tea tree for blemish-prone skin, or frankincense for aging concerns. Always dilute them properly, typically 10-15 drops per cup of butter-oil mix, to avoid irritation.
Common Mistakes to Avoid When Making Body Butter
Not cooling the mixture enough before whipping is the top reason for a greasy, unwhipped texture. Let it sit at room temperature until it turns opaque and slightly firm, about 1-2 hours. Overheating the butters and oils destroys their beneficial compounds, so use low heat and melt just until liquid.
Using too much essential oil can cause skin irritation or an overpowering scent. Stick to 10-15 drops per cup of base. Improper storage, like leaving the jar in direct sunlight or a warm bathroom, causes melting and rancidity. Keep it in a cool, dark cabinet instead.
Storing Your Homemade Body Butter for Longevity
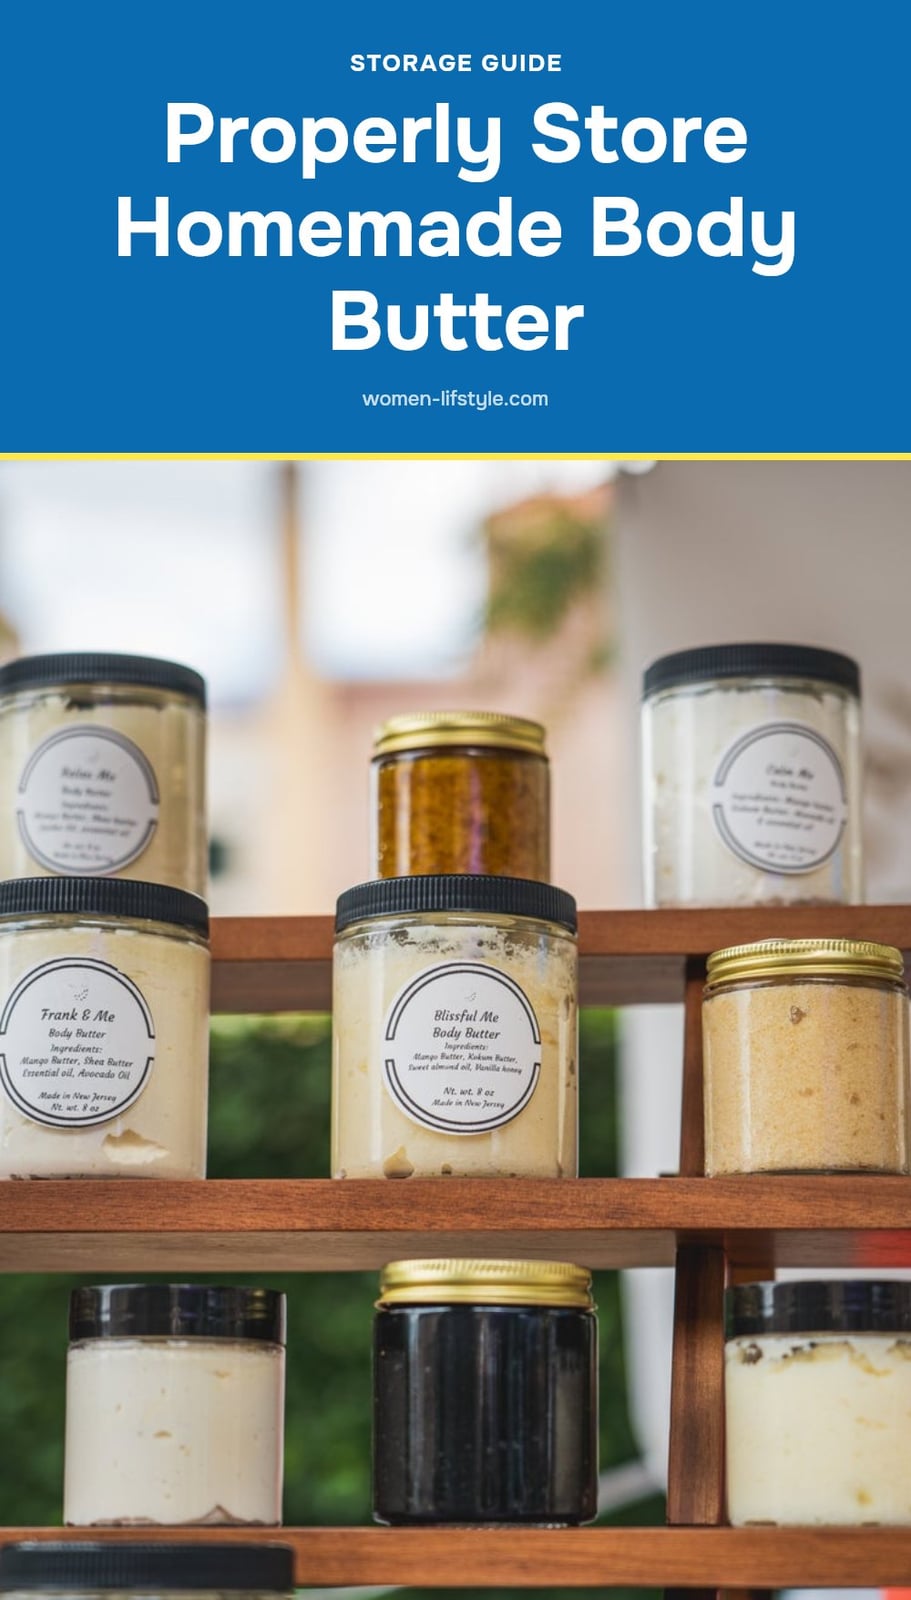
Store your body butter in clean, airtight glass or plastic jars to block out oxygen and contaminants. Keep the container in a cool, dark spot, such as a bedroom drawer or a cabinet away from the stove. Homemade body butter lasts 3-6 months, but check it regularly. If you notice a change in smell, color, or texture, discard it immediately.
Frequently Asked Questions
Why is my body butter grainy?
Graininess usually happens when the melted butter cools too quickly or isn’t whipped thoroughly. Let the mixture cool slowly at room temperature until it’s opaque and slightly firm before whipping. If graininess occurs, you can gently remelt it and whip again, ensuring it cools evenly.
Can I make body butter without a hand mixer?
Yes, you can whip by hand with a whisk or a fork, but it takes more time and effort. A hand mixer or stand mixer creates a lighter, fluffier texture much faster. If you’re whipping by hand, ensure the mixture is well-cooled and firm enough to hold air.
Is body butter better than lotion for dry skin?
Body butter is generally richer and more occlusive than lotion because it has a higher concentration of oils and butters and no water. This makes it more effective for very dry or dehydrated skin. For normal to oily skin, a lighter lotion may be sufficient.
What is body butter made of?
Body butter is made from solid butters like shea or cocoa butter, carrier oils such as coconut or almond oil, and optional essential oils for fragrance. Unlike lotions, it typically contains no water, which means it doesn’t need synthetic preservatives.
Can I use different essential oils in my body butter?
Absolutely. You can swap in any skin-safe essential oil, such as lavender, frankincense, or tea tree, as long as you keep the total dilution low (10-15 drops per 1/2 cup of butter). Always check if an oil is photosensitive, like some citrus oils, and avoid sun exposure after application.
Final Thoughts
For the best results, stick with the classic 1:1 ratio of shea butter and coconut oil for your first batch. Expect the process to take about 20-30 minutes of active work plus 1-2 hours of cooling. Homemade body butter gives you immediate hydration and lasts for months, making it a worthwhile addition to your skincare routine.
This content is for informational purposes only and does not constitute medical or professional advice. Before using any homemade skincare product, perform a patch test. If you experience skin irritation, a persistent skin condition, or have specific concerns, consult a dermatologist or healthcare provider.
