

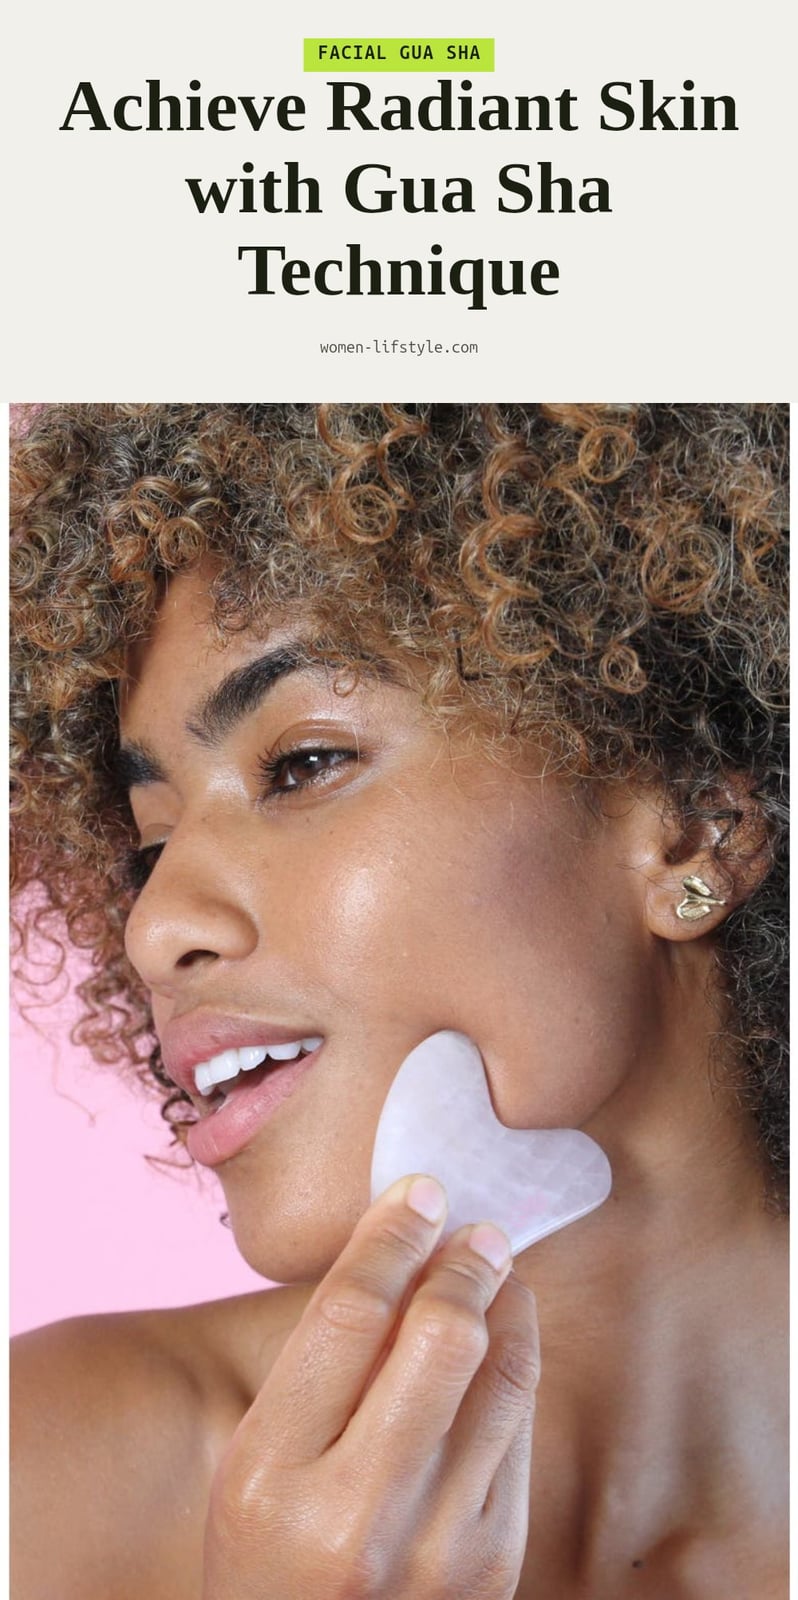
You have probably seen those smooth, sculpted stones on social media and wondered if they actually do anything. After trying it myself, I can tell you that gua sha is a gentle facial massage technique that, when done correctly, can help reduce puffiness, relieve tension in your jaw, and give your skin a brighter look. In this article, I will walk you through the exact steps, the common mistakes to avoid, and how often to practice so you can get the most out of your routine without hurting your skin.
Key Takeaways
- Always apply a generous layer of facial oil or serum before starting to prevent friction and irritation.
- Use light to medium pressure and hold the tool at a 15 to 45 degree angle for smooth gliding.
- Stroke each area 3 to 5 times, moving upward and outward, and include your neck for lymphatic drainage.
- Practice gua sha 2 to 3 times a week for 5 to 10 minutes per session for best results.
- Drink a glass of water after your session to support the lymphatic system.
What is Facial Gua Sha and How Does It Work?
Facial gua sha is a gentle massage technique that uses a smooth-edged tool to glide over your skin. The strokes stimulate circulation and encourage lymphatic drainage, which can reduce puffiness, relieve facial tension, and give your complexion a brighter, more sculpted look. The practice is adapted from traditional Chinese medicine, where it was originally used on the body with firmer pressure. For the face, the pressure is much lighter and the strokes are more precise.
Essential Tools for Your Gua Sha Routine

You only need a few items to get started with gua sha at home.
- Gua sha tool: A smooth-edged stone or stainless steel tool. Jade, rose quartz, amethyst, and stainless steel are common choices.
- Facial oil or serum: A generous layer is non-negotiable. It lets the tool glide without pulling or irritating your skin.
- Gentle cleanser: For cleaning your tool before and after each use to prevent bacteria buildup.
Your Step-by-Step Guide to Facial Gua Sha

Follow these steps for a full facial gua sha routine. Use a clean face and plenty of oil or serum throughout.
- Prep your skin: Wash your face and apply a generous layer of facial oil or serum so the tool glides smoothly.
- Start with the neck: Hold the tool at a 15-45 degree angle. Sweep upward from your collarbone to your jawline, 3-5 times per side. This opens lymphatic pathways.
- Sculpt the jawline: Place the tool under your jaw and sweep upward toward your ear. Repeat 3-5 times on each side.
- Define the cheeks: Start near your nose and sweep outward and slightly upward toward your hairline. Repeat 3-5 strokes per cheek.
- Lift the forehead: From the center of your brow, sweep upward and outward toward your temples. Do 3-5 strokes across the whole forehead.
- Finish with neck drainage: Sweep down the neck from your jaw to your collarbone to direct lymph fluid away from the face.
- Clean your tool: Wash it with gentle cleanser and warm water, then dry it thoroughly before storing.
Common Gua Sha Mistakes to Avoid
Avoid these common mistakes to keep your gua sha practice safe and effective.
- Using gua sha on dry skin: This causes friction and irritation. Always apply a generous amount of oil or serum first.
- Applying too much pressure: Heavy pressure can lead to bruising. Use light to medium pressure. Your skin should never feel painful.
- Incorrect tool angle: If the tool is too flat or too steep, it pulls the skin instead of gliding. Keep a 15-45 degree angle against your face.
- Neglecting the neck: Lymphatic drainage starts in the neck. Skipping neck strokes limits the depuffing effect.
- Not cleaning your tool: Bacteria can transfer to your skin. Clean the tool before and after each use with a gentle cleanser.
Top Tips for an Effective Gua Sha Practice
Drink a glass of water right after your session. Hydration supports lymphatic function, which is the whole point of the draining strokes you just did.
My tip: Pop your gua sha tool in the fridge for 10-15 minutes before use. The cool surface can give an extra depuffing effect, especially in the morning.
Pay attention to how your skin feels during the massage. If anything feels uncomfortable or tugs, ease up on the pressure. Your skin should never feel strained.
Consistency matters more than intensity. Aim for 2-3 sessions per week, and give it several weeks before judging results. Subtle changes build up over time, not in one sitting.
How Often to Practice Gua Sha and When to Expect Results
Most people practice facial gua sha 2 to 3 times a week, and each session runs 5 to 10 minutes. That frequency gives your skin time to respond without overdoing it. If you are new, start with twice a week and see how your skin feels before adding a third session.
Subtle results, like reduced puffiness or a calmer jawline, often show up after consistent use over several weeks. Do not expect dramatic changes after one session. Gua sha tools are a one-time purchase, and price points vary widely, so you can choose a stone or stainless steel option that fits your budget.
My tip: Keep your tool and oil on your bathroom counter so the routine is easy to stick with.
When to Consult a Professional or Avoid Gua Sha
Stop immediately if you feel pain, excessive redness, or any discomfort during your session. Gua sha should never hurt, and pushing through the sensation can lead to bruising or skin damage.
Avoid using the tool over active acne breakouts, open wounds, rashes, or sunburned areas. The friction can spread bacteria or irritate already compromised skin.
Check with a doctor before starting if you have rosacea, eczema, very sensitive skin, blood clotting disorders, or take blood thinners. These conditions may make your skin more prone to irritation or bruising.
If you have had recent fillers or Botox, skip gua sha on those areas unless your practitioner gives the go-ahead. The massage can shift products or increase inflammation.
Frequently Asked Questions
Can gua sha help with acne?
Gua sha is not a treatment for active acne. The tool should never glide over pimples, cysts, or open breakouts because that can spread bacteria and worsen inflammation. For acne-prone skin, you can work on the surrounding areas if they are clear, but it is best to avoid the breakout zones entirely.
What kind of oil should I use for gua sha?
Any facial oil, serum, or moisturizer that makes your skin feel slippery works well. Choose something lightweight and non-comedogenic if you have oily or acne-prone skin. The key is to use enough product so the tool glides without tugging. I usually reach for a simple squalane oil or a hydrating serum.
What is the best gua sha tool to buy?
The best tool is the one you will actually use. Jade and rose quartz are popular for their smooth finish and cooling feel, while stainless steel is easy to clean and holds cold longer. Shape matters more than material: look for a tool with a curved edge for the jaw and a smaller notch for the eye area. Avoid tools with rough spots or sharp edges.
Is facial gua sha supposed to hurt?
No, it should not hurt. If you feel pain, stinging, or excessive redness, you are using too much pressure or the tool is dragging on dry skin. Stop immediately and check that you have enough oil or serum. Gua sha is meant to feel soothing and relaxing, not painful.
How long until I see results from gua sha?
Results vary, but many people notice less puffiness and a more relaxed jaw after a few sessions. For more visible changes in skin brightness and definition, consistent practice 2 to 3 times a week for several weeks is usually recommended. It is a gradual process, not a quick fix.
Final Thoughts
My tip: Start with twice a week and focus on the jawline and neck if you are short on time. You will likely notice subtle changes in puffiness and skin brightness after a few weeks of consistent practice, but do not expect an overnight transformation. If you ever feel pain or see bruises, ease up on the pressure or take a break. Stick with it, and your skin will thank you.
This article is for informational purposes only and does not replace professional medical or dermatological advice. Gua sha is a complementary practice, not a treatment for medical conditions. If you have concerns about your skin or a health condition, please consult a qualified dermatologist or healthcare provider.
