

You want shinier, healthier hair without spending a fortune on fancy products. Homemade hair masks can deliver deep conditioning and nourishment using ingredients you already have in your kitchen. This guide covers how to choose the right ingredients, apply the mask correctly, and avoid common mistakes to get real results.
Key Takeaways
- Apply homemade masks to damp, towel-dried hair for better absorption.
- Leave the mask on for 20 to 30 minutes to allow ingredients to penetrate.
- Use a hair mask once or twice a week, depending on your hair’s needs.
- Rinse thoroughly with lukewarm water until no residue remains.
- Always patch test new ingredients on your inner arm before full use.
What is a Hair Mask and How Does it Help?
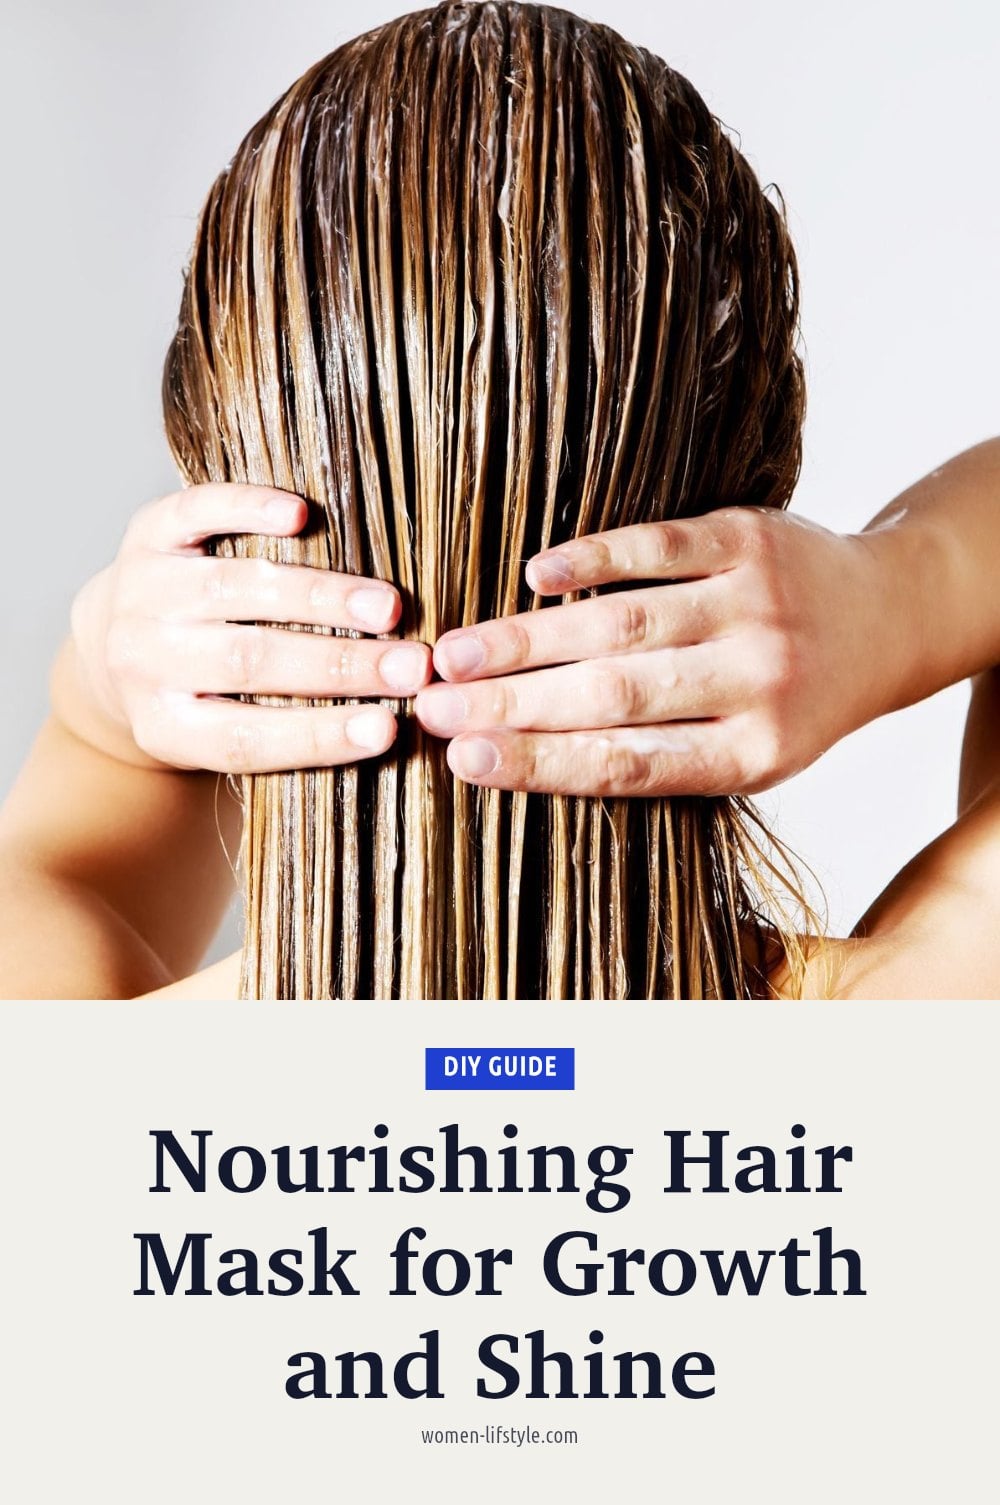
A hair mask is a deep conditioning treatment that delivers concentrated nutrients to your hair. Unlike regular conditioners that work on the surface, masks penetrate the hair shaft more deeply to repair and nourish from within. Homemade masks use natural ingredients like eggs, honey, and oils to improve texture, shine, and scalp health. They tackle dryness and dullness while creating a healthy environment that supports hair growth.
Essential Ingredients for Your DIY Hair Masks
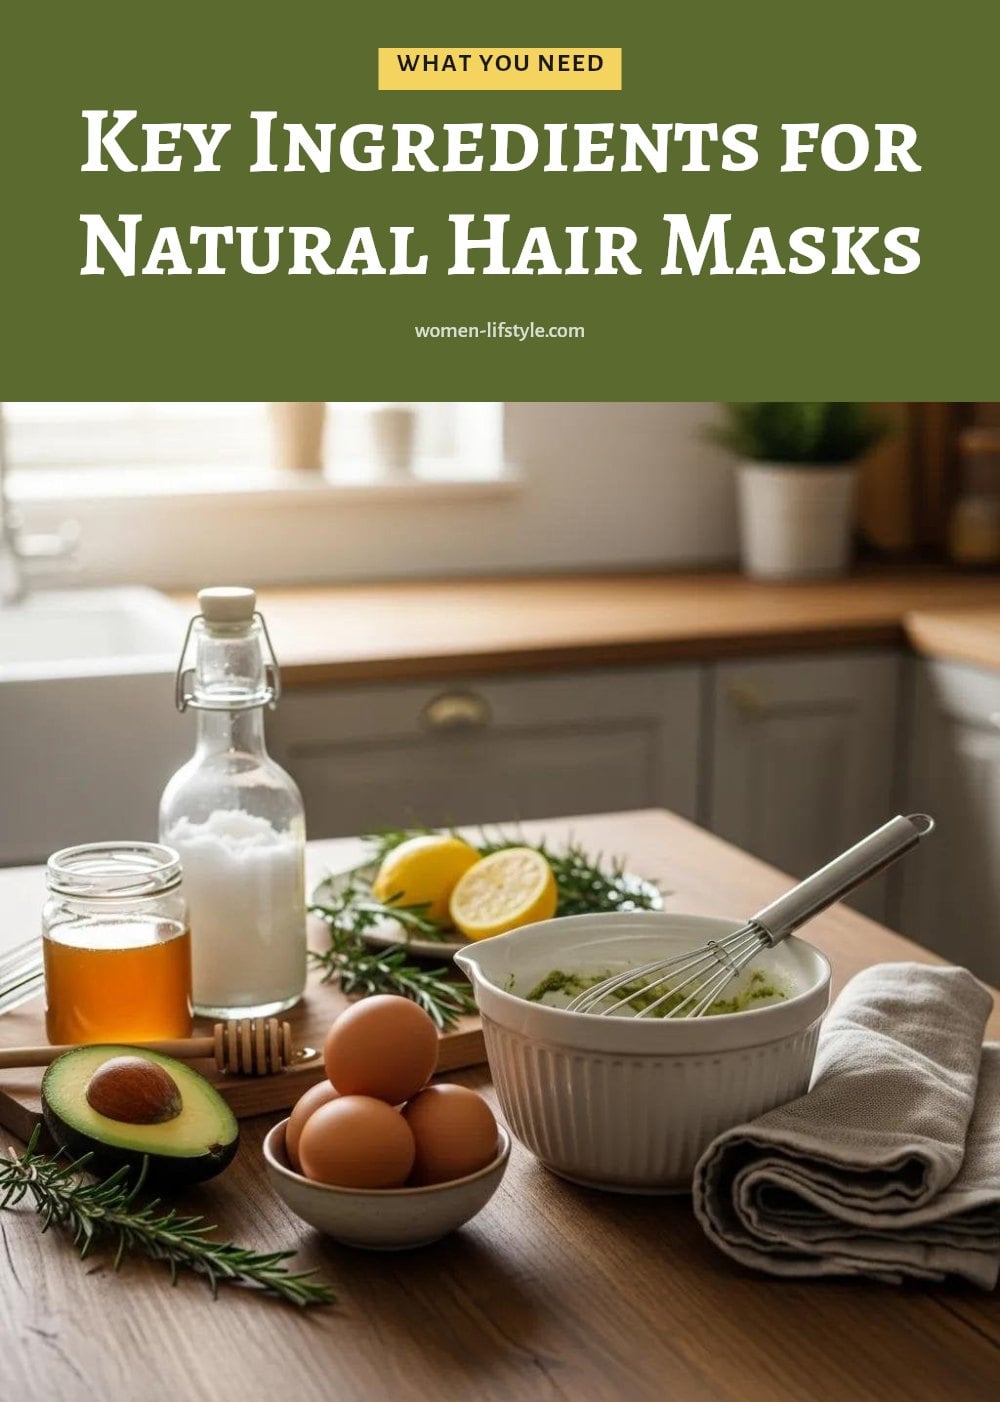
Your kitchen holds most of what you need for an effective hair mask. Here are the key players and what they do.
- Eggs: Protein to strengthen hair and reduce breakage.
- Yogurt: Protein plus probiotics for a healthy scalp.
- Honey: Humectant that locks in moisture and adds shine.
- Coconut oil: Penetrates the shaft to reduce protein loss.
- Olive oil and avocado: Rich in moisturizing fats for softness.
- Banana: Boosts softness and shine.
- Aloe vera: Soothes the scalp and calms irritation.
- Apple cider vinegar: Balances pH and adds shine when diluted.
You’ll also need a mixing bowl, a brush for even application, and a shower cap or towel.
Homemade Hair Mask Recipes for Different Hair Needs
Protein Mask for Strengthening
Mix 1 egg with 2 tablespoons of plain yogurt. Apply to damp hair, focusing on lengths and ends. Leave for 20 minutes, then rinse with lukewarm water. Caution: Use cool water to rinse eggs to avoid scrambling them.
Moisturizing Mask for Dryness
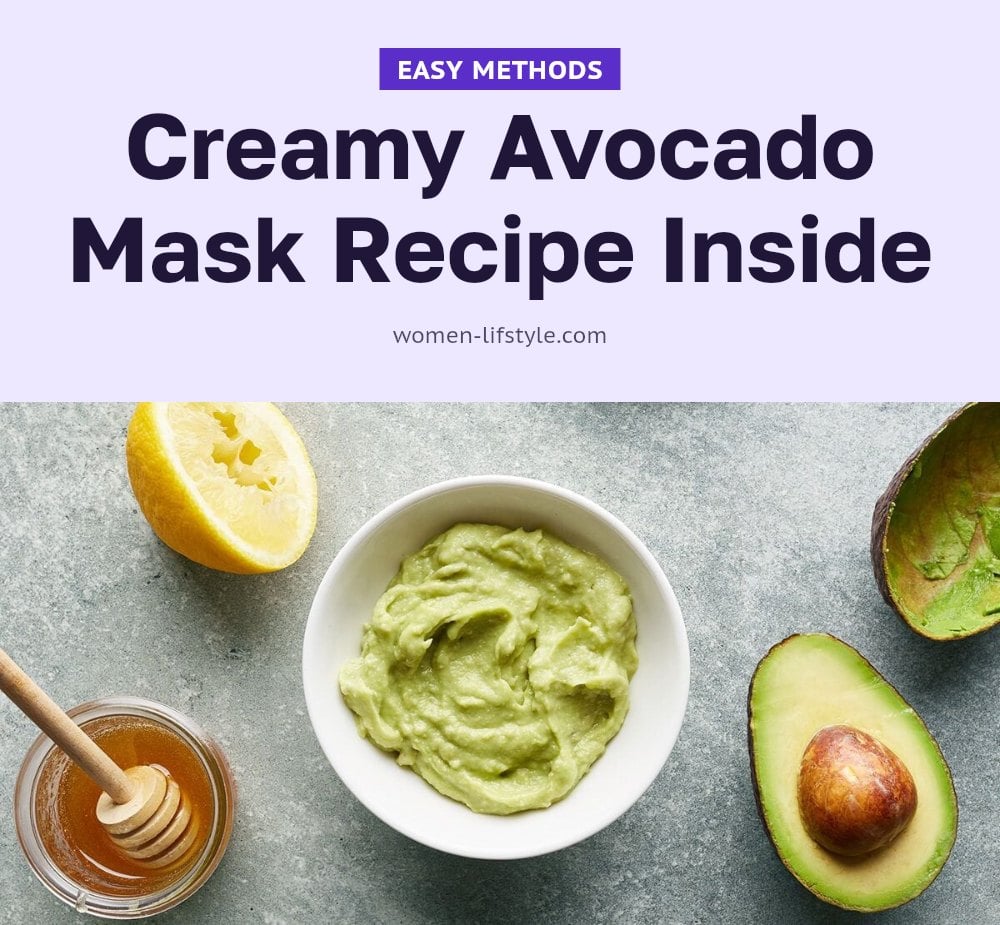
Mash half an avocado with 1 tablespoon of honey. Smooth over damp hair from mid-length to ends. Leave for 25 minutes, then rinse thoroughly. My tip: Add a few drops of olive oil if your hair is very parched.
Shine-Boosting Mask with Banana and Olive Oil
Blend 1 ripe banana with 1 tablespoon of olive oil until smooth. Apply to damp hair, avoiding the roots if you have oily scalp. Leave for 20 minutes, then rinse well. Caution: Banana can be sticky, so rinse with plenty of water.
Scalp-Soothing Mask with Aloe Vera
Mix 3 tablespoons of aloe vera gel with 2-3 drops of lavender or rosemary essential oil. Massage into your scalp and leave for 15-20 minutes. This helps calm irritation and supports a healthy scalp environment. Tip: Always dilute essential oils; never apply them directly.
Clarifying Rinse with Apple Cider Vinegar
Dilute 1 part apple cider vinegar with 3 parts water. After shampooing, pour over hair, leave for 2-3 minutes, then rinse. This balances pH and adds shine. Caution: Keep it away from your eyes.
Step-by-Step: Applying Your Homemade Hair Mask
Follow these steps to get the most from your homemade mask.
- Dampen your hair: Towel-dry after washing so hair is damp, not soaking wet. Wet hair dilutes the mask, reducing its effectiveness.
- Mix your mask: Combine ingredients in a clean bowl until smooth. Lumps can be hard to rinse out.
- Apply evenly: Use a brush or your fingers to distribute the mask from roots to ends. Focus on lengths and ends for moisture, or massage into the scalp if targeting growth.
- Cover up: Put on a shower cap or wrap hair in a warm towel. Heat opens the cuticles, helping ingredients absorb better.
- Wait 20-30 minutes: This gives the mask time to work. Don’t leave it on overnight unless you’ve tested it, as some ingredients can cause buildup.
- Rinse thoroughly: Use lukewarm water and rinse until no residue remains. Hot water strips natural oils, and leftover mask leaves hair greasy.
Common Hair Mask Mistakes to Avoid
Even a good mask can go wrong with a few common slip-ups. Not rinsing completely is the top one, leftover residue makes hair look greasy and heavy, so rinse with lukewarm water until the water runs clear. Using too much oil, especially coconut or olive, can weigh fine hair down fast. Start with a small amount and add more if needed.
Applying the wrong mask for your hair type is another mistake. A heavy oil mask on already oily hair can backfire. And don’t expect a homemade mask to fix severe damage or medical conditions in one go, consistency over weeks matters more. Caution: Always patch test a new ingredient on your inner arm before putting it on your scalp to check for allergies.
Expert Tips for Maximizing Your Hair Mask Results

To get the most out of your mask, a few simple habits make a real difference. My tip: Always patch test new ingredients on your inner arm 24 hours before full use. It saves you from surprises. Apply the mask to damp, towel-dried hair, not soaking wet, so the ingredients aren’t diluted and can penetrate better.
Wrap your hair in a warm towel after applying. The heat opens the cuticles, which helps the mask absorb more deeply. Consistency is the real key, use a mask once or twice a week for several weeks to see noticeable improvement in shine and texture. Adjust frequency based on your hair’s needs; dry hair can handle twice a week, while oily hair may only need once.
How Often to Mask and What to Expect
Use a hair mask once or twice a week, leaving it on for 20 to 30 minutes each time. You will likely see visible improvements in shine and softness after just a few applications. Growth benefits, if they happen, take longer and are not guaranteed, masks improve the health of your hair and scalp, which can support growth, but they are not a direct growth treatment. The good news: homemade masks cost pennies compared to salon treatments, so you can stick with the routine without breaking the bank.
When to Consult a Professional for Hair Concerns
Homemade masks are great for everyday maintenance, but they have limits. If you are experiencing severe hair loss or thinning that doesn’t improve after a few months of consistent care, see a doctor or dermatologist. Persistent scalp irritation, redness, or flaking may point to a condition like seborrheic dermatitis that needs medical treatment. If a homemade mask causes burning, itching, or a rash, stop using it and consult a professional. And when hair damage is extensive, think breakage from over-processing or chemical damage that isn’t getting better, a stylist can recommend targeted treatments or cuts.
Frequently Asked Questions
Can I leave a homemade hair mask on overnight?
It is not recommended to leave a homemade mask on overnight unless a specific recipe you have tested advises it. Overnight masks can cause buildup, over-conditioning, or irritation. Stick to the recommended 20 to 30 minutes for safety and best results.
Are homemade hair masks better than store-bought ones?
Homemade masks are not necessarily better, but they offer a natural alternative with fewer preservatives and chemicals. They work well for maintenance and mild concerns. For severe damage or medical conditions, a store-bought or professional treatment may be more effective.
What ingredients are best for oily hair masks?
For oily hair, choose lightweight ingredients like aloe vera gel, yogurt, or a small amount of apple cider vinegar diluted with water. Avoid heavy oils such as coconut or olive oil, which can weigh hair down and make it look greasier.
Can hair masks help with dandruff?
Some homemade masks may help with mild dandruff by soothing the scalp. Ingredients like aloe vera and yogurt have calming properties, and a diluted apple cider vinegar rinse can balance scalp pH. For persistent dandruff, see a dermatologist for a proper diagnosis.
What is the best homemade hair mask for hair growth?
No single homemade mask is proven to cause significant hair growth. However, a mask with ingredients like egg for protein, coconut oil for penetration, and aloe vera for scalp soothing can support a healthy environment for growth. Consistent scalp massage during application may also help.
Final Thoughts
Stick with a simple routine: choose a mask that matches your hair concern, apply it once or twice a week, and rinse thoroughly. You can expect to see improvements in shine and softness after a few applications, but growth benefits take longer and are not guaranteed. Consistency matters more than any single ingredient.
This article is for general informational purposes only and does not constitute medical or professional advice. Results may vary, and homemade masks are not a substitute for professional treatment. If you have a persistent or serious hair or scalp concern, consult a doctor or dermatologist.
