

If you’ve ever wondered how to get that smooth, glowing skin without spending a fortune on store-bought products, a homemade sugar body scrub is your answer. It’s surprisingly simple to make with just a few kitchen staples, and you can tweak it to suit exactly what your skin needs. This article walks you through a basic recipe, step-by-step instructions, and tips to avoid common mistakes so you can exfoliate safely and effectively at home.
You’ll also learn how to customize your scrub for different skin types and how to store it to keep it fresh. Whether you’re a DIY newbie or a seasoned pro, this guide has you covered.
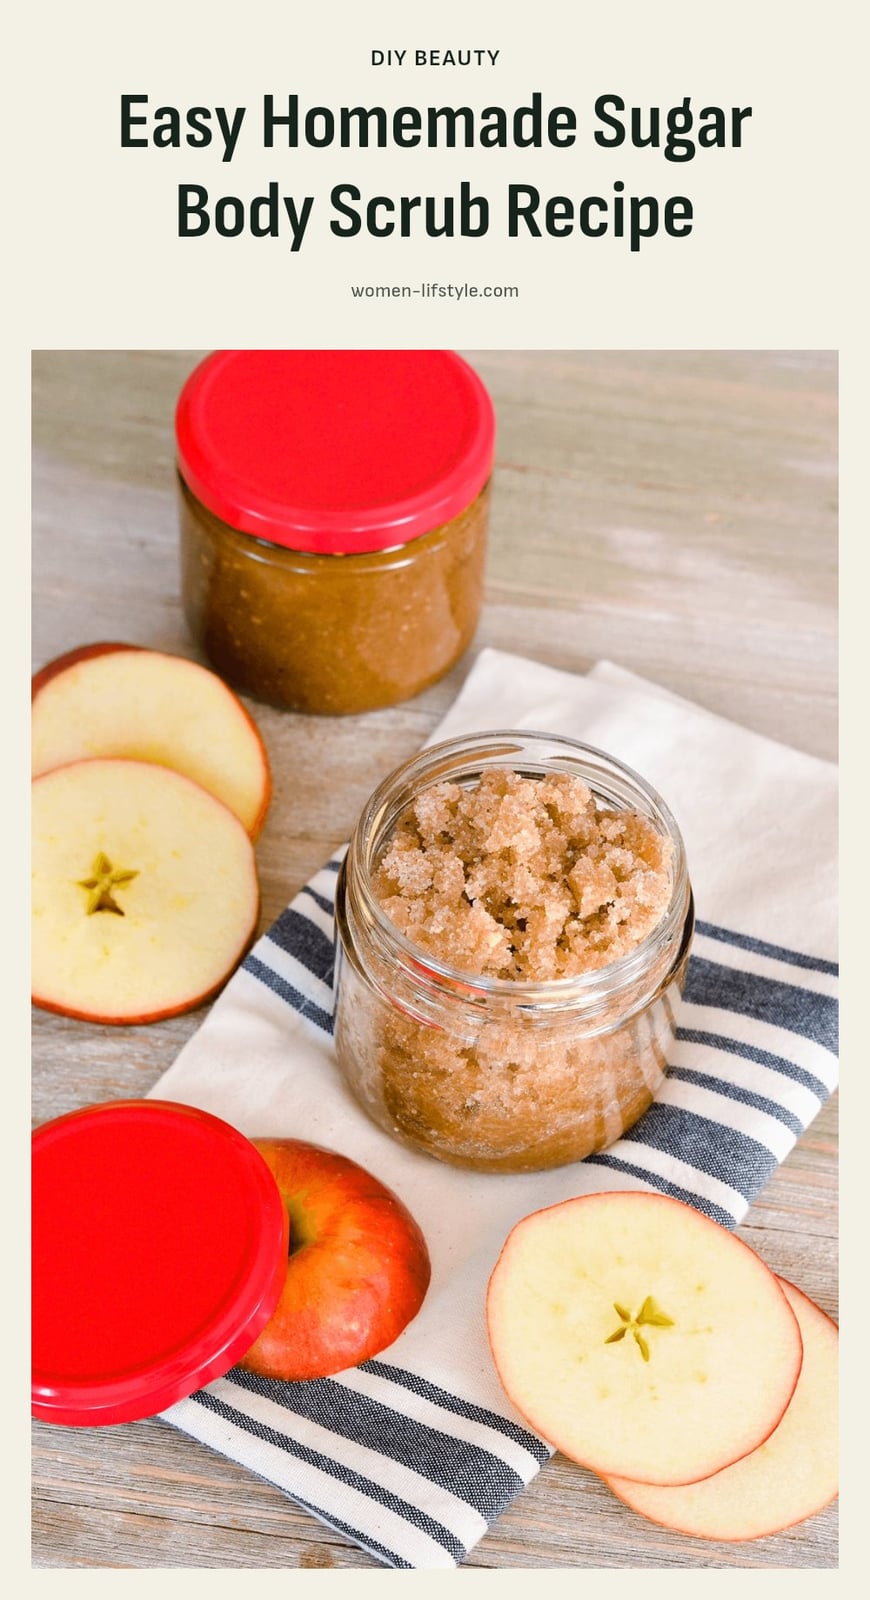
Key Takeaways
- Mix 2 parts sugar with 1 part carrier oil for a basic, effective scrub.
- Use brown sugar instead of white for a gentler exfoliation on sensitive skin.
- Always do a patch test before using a new ingredient or essential oil.
- Store your scrub in an airtight container in a cool, dark place to prevent spoilage.
- Exfoliate no more than 1-2 times per week to avoid irritation.
Why a Homemade Sugar Body Scrub Works Wonders
A homemade sugar body scrub works because sugar is a natural humectant, meaning it pulls moisture from the air into your skin while its crystals gently buff away dead cells. This dual action leaves skin smooth and radiant without stripping it dry. When you combine sugar with a nourishing carrier oil, you get deep hydration plus a healthy glow, all from ingredients you likely already have in your kitchen.
Simple Sugar Body Scrub Recipe
Ingredients:
- 1 cup granulated sugar (white or brown)
- 1/2 cup carrier oil (coconut, almond, or jojoba)
- 10-15 drops essential oil (optional, for scent)
Mix the sugar and oil in a bowl using a 2 parts sugar to 1 part oil ratio until it looks like wet sand. Stir in your essential oil. That is your base scrub, ready to use or customize.
Step-by-Step: Crafting Your Perfect Body Scrub
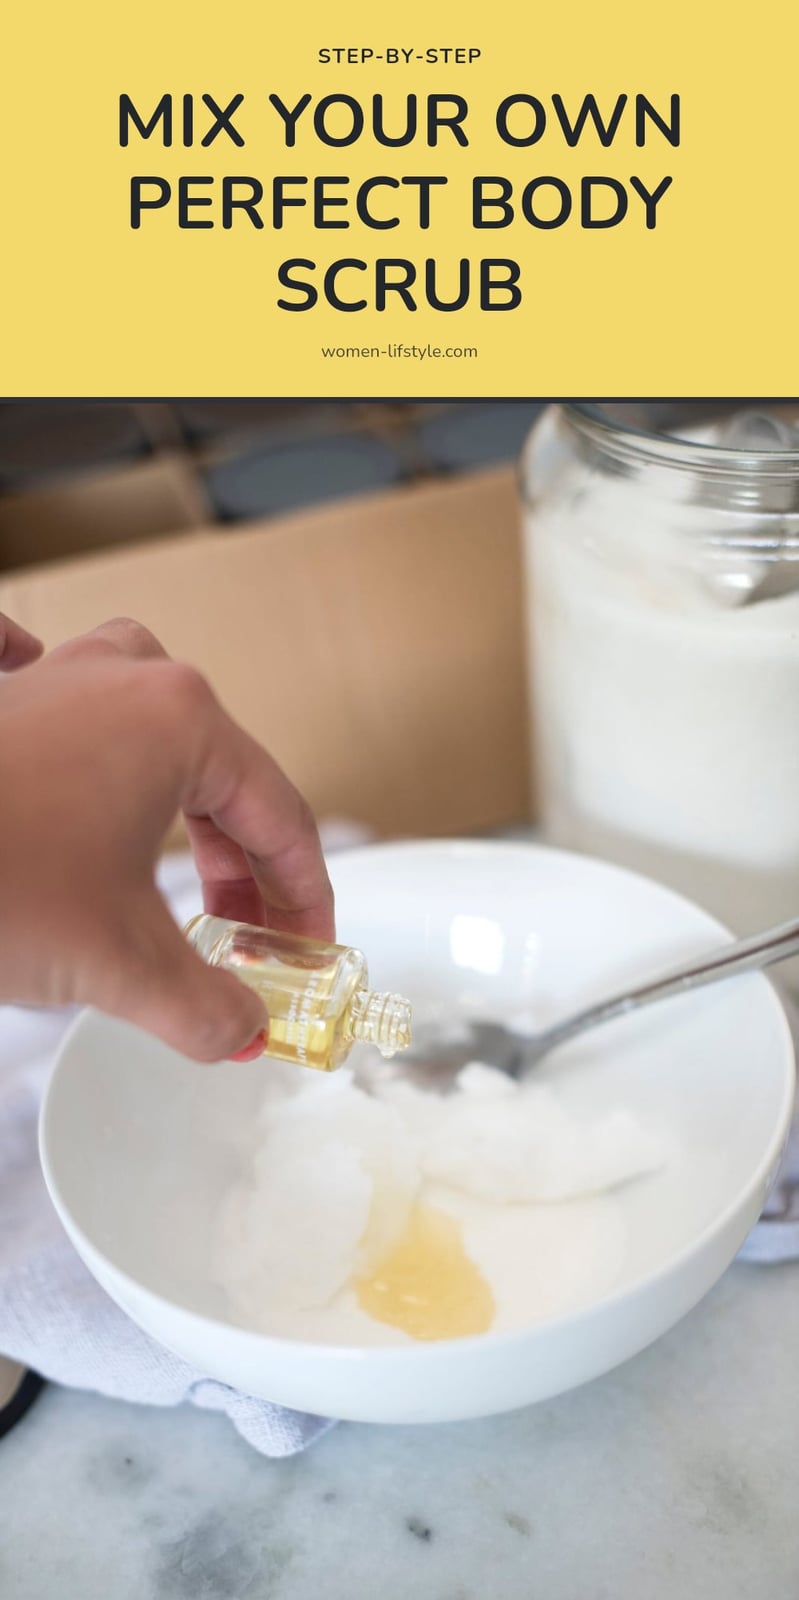
- Choose your sugar: Use white sugar for standard exfoliation or brown sugar for a gentler scrub if your skin is sensitive. Brown sugar crystals are softer and dissolve faster, so they are less likely to irritate.
- Combine sugar and oil: In a mixing bowl, stir 2 parts sugar with 1 part carrier oil. This ratio creates a paste that holds together without being too greasy. For a slightly thinner consistency, add a bit more oil, but keep the balance close to 2:1.
- Add essential oils: Drop in 10-15 drops of your chosen essential oil and stir well. Lavender calms, tea tree clarifies, and citrus energizes. Always dilute essential oils in the carrier oil, never use them undiluted.
- Transfer to a container: Spoon the scrub into an airtight glass jar. Store it in a cool, dark cabinet to extend its shelf life. Homemade scrubs lack preservatives, so use them within a few weeks.
- Apply to damp skin: In the shower or bath, wet your skin with warm water first to soften it. Scoop a small amount and massage it in gentle, circular motions, starting at your feet and moving upward. Avoid broken or irritated skin.
- Rinse and moisturize: Rinse thoroughly with warm water until no residue remains, as leftover oil can feel sticky. Pat skin dry and immediately apply a rich lotion or body butter to lock in hydration.
If you learn better by watching, this 14-minute video from TaraLee shows every step. The how-to part starts at 1:06.
Pro Tips for Your Best Body Scrub Experience
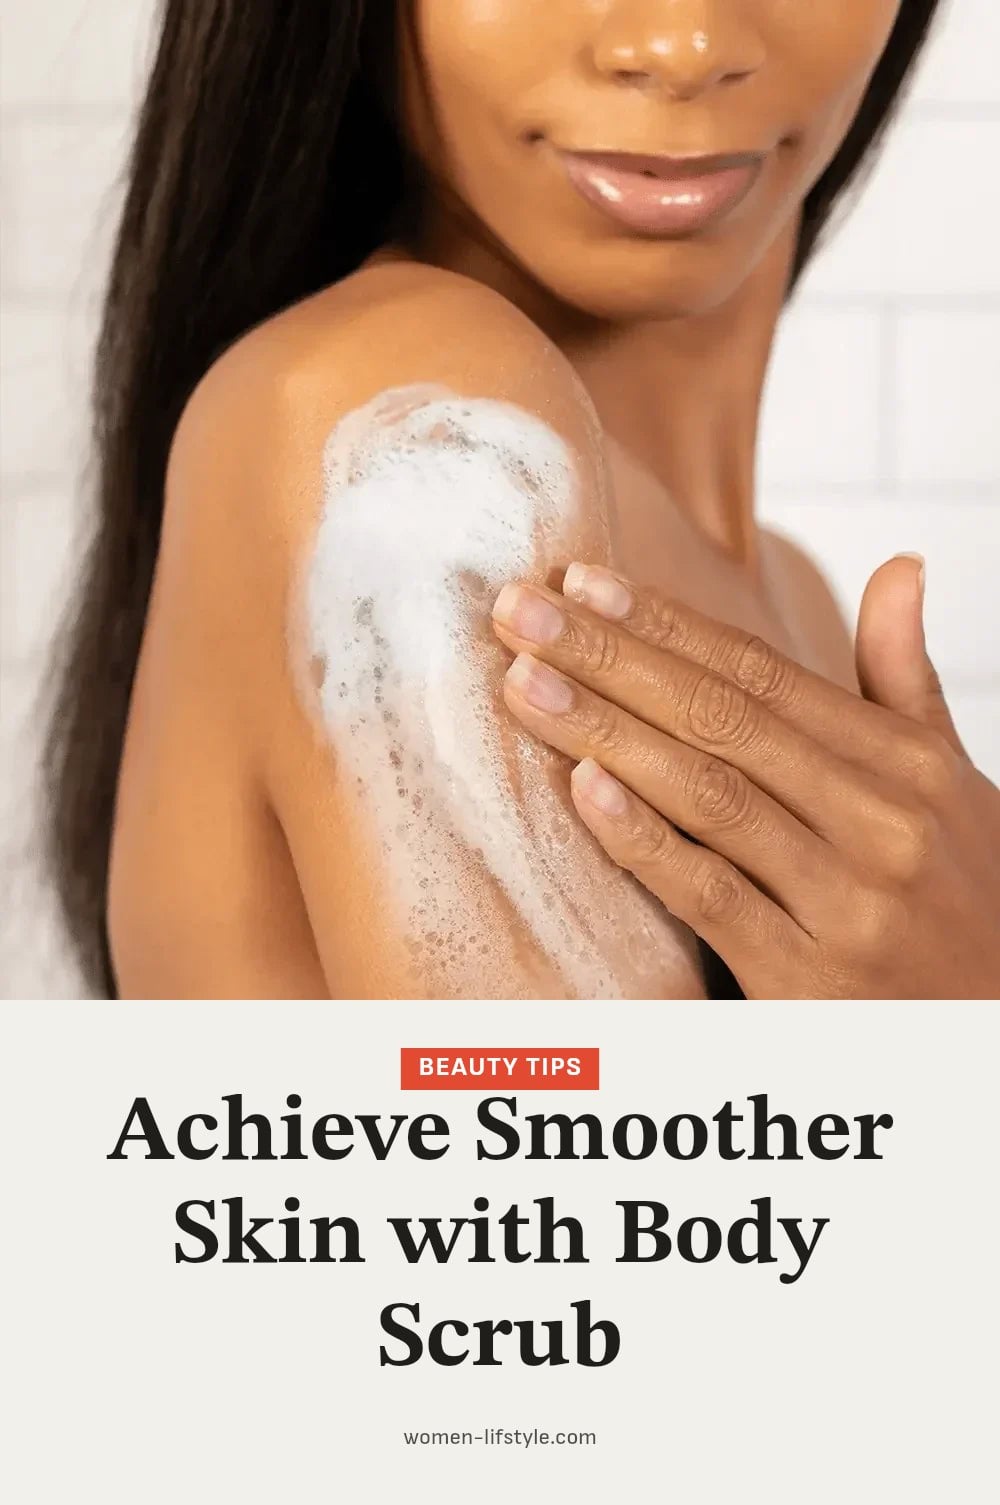
Perform a patch test: Before using any new ingredient or essential oil, dab a small amount on your inner arm and wait 24 hours to check for a reaction.
Softening step: Let warm water run over your skin for a few minutes before scrubbing. This opens pores and softens dead skin cells, making exfoliation gentler and more effective.
Watch your footing: The oil in the scrub can make shower or bath surfaces slippery. Rinse the floor well after use and place a non-slip mat if needed.
Moisturize immediately: Exfoliation primes your skin to absorb moisture better. Apply a rich moisturizer within a few minutes of drying off for maximum softness.
Customizing Your Sugar Scrub: Fun Variations to Try

One of the best things about making your own scrub is how easy it is to tailor it to your skin. If your skin is on the sensitive side, swap white sugar for brown sugar. Its softer crystals are much gentler. For a more invigorating exfoliation, stick with white sugar.
The carrier oil you choose also makes a difference. Coconut oil is excellent for deep moisture, while jojoba oil helps balance oilier skin types. Almond oil is a good all-rounder that absorbs quickly.
My tip: Always dilute essential oils properly, about 10-15 drops per 1.5 cups of scrub base. Lavender is calming, tea tree is antibacterial, and citrus oils are brightening. For extra benefits, mix in a tablespoon of coffee grounds to boost circulation or a teaspoon of honey for its natural antibacterial properties.
Common Body Scrub Mistakes to Avoid
Even a good routine can go wrong with a few common missteps. Here is what to avoid so you get the smoothest results without irritating your skin.
- Scrubbing too hard or too frequently: That can irritate your skin or cause micro-tears. Always use gentle, circular motions and limit exfoliation to 1-2 times per week.
- Using coarse sugar on sensitive areas: Brown sugar is softer and less abrasive, making it a better choice for delicate skin on your inner arms or legs.
- Not rinsing thoroughly: Leftover scrub residue can feel sticky and may clog pores. Rinse with warm water until every grain is gone.
- Forgetting to moisturize after exfoliation: Exfoliation primes your skin to absorb moisture, so always follow with a good lotion or body butter.
- Improper storage: Homemade scrubs lack preservatives, so store them in an airtight container in a cool, dark place to prevent spoilage.
Storing Your Homemade Scrub for Freshness
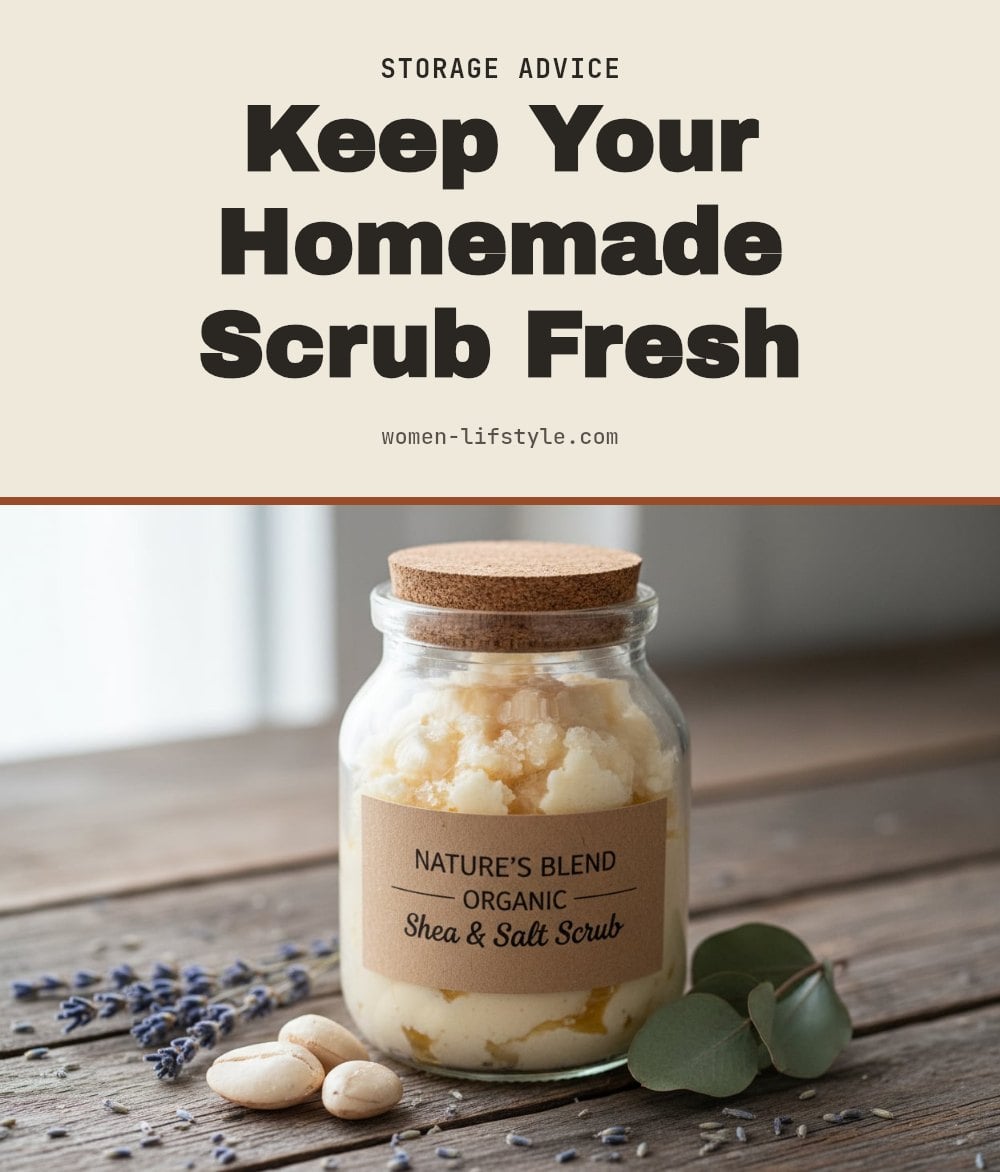
Because your homemade scrub has no preservatives, proper storage is key to keeping it fresh. Always use an airtight container, glass is ideal, to keep moisture and air out. Store it in a cool, dark place like a cabinet, away from direct sunlight or heat.
Homemade scrubs typically last a few weeks to a month. Check for any signs of mold, an off smell, or discoloration before each use. If you notice any of those, discard the batch immediately.
When to Consult a Dermatologist
While homemade scrubs are generally safe, there are times to stop and see a professional. If you experience persistent redness, itching, or irritation after using a scrub, discontinue use and consult a dermatologist.
If you have a skin condition like eczema, psoriasis, or severe acne, talk to your dermatologist before trying any new exfoliation method. Also, never use a body scrub on broken, irritated, or sunburned skin. Wait until your skin is fully healed before exfoliating.
Frequently Asked Questions
How long do homemade body scrubs last?
Because homemade scrubs don’t contain preservatives, they typically last about 2 to 4 weeks when stored properly in an airtight container in a cool, dark place. If you notice any mold, an off smell, or a change in texture, it’s time to toss it and make a fresh batch.
Can I use a homemade sugar scrub on my face?
No, it’s best to avoid using a body scrub on your face. Facial skin is more delicate than the skin on your body, and the sugar crystals can be too abrasive, leading to irritation or micro-tears. Stick to a gentle, face-specific exfoliant instead.
What is the best type of sugar for a body scrub?
It depends on your skin’s sensitivity. White granulated sugar offers standard exfoliation for normal skin. Brown sugar is softer and less abrasive, making it a better choice if you have sensitive skin or want a gentler scrub. Both work well, so choose based on your comfort level.
Can I use other oils besides coconut or olive oil?
Absolutely. Carrier oils like almond oil, jojoba oil, or even avocado oil work great as substitutes. Each oil offers different moisturizing properties, so pick one that suits your skin type. Just make sure it’s fresh and not rancid before mixing it into your scrub.
How often should I use a homemade body scrub?
Using a body scrub 1 to 2 times per week is ideal for most people. Exfoliating more often can irritate your skin, while doing it less frequently may not give you the smooth results you’re after. Listen to your skin and adjust if you notice any redness or sensitivity.
Final Thoughts
For the best results, stick with a gentle, circular motion and follow up with a moisturizer to lock in hydration. You’ll likely notice smoother skin after just one use, but consistent exfoliation once or twice a week will keep your skin looking its best. My tip: keep a jar in your shower for a quick, spa-like moment whenever you need it.
This article is for general informational purposes only and does not constitute medical or professional advice. Results may vary based on individual skin type and conditions. If you have a persistent skin concern, irritation, or a condition like eczema or psoriasis, please consult a dermatologist before trying any new skincare routine.
