

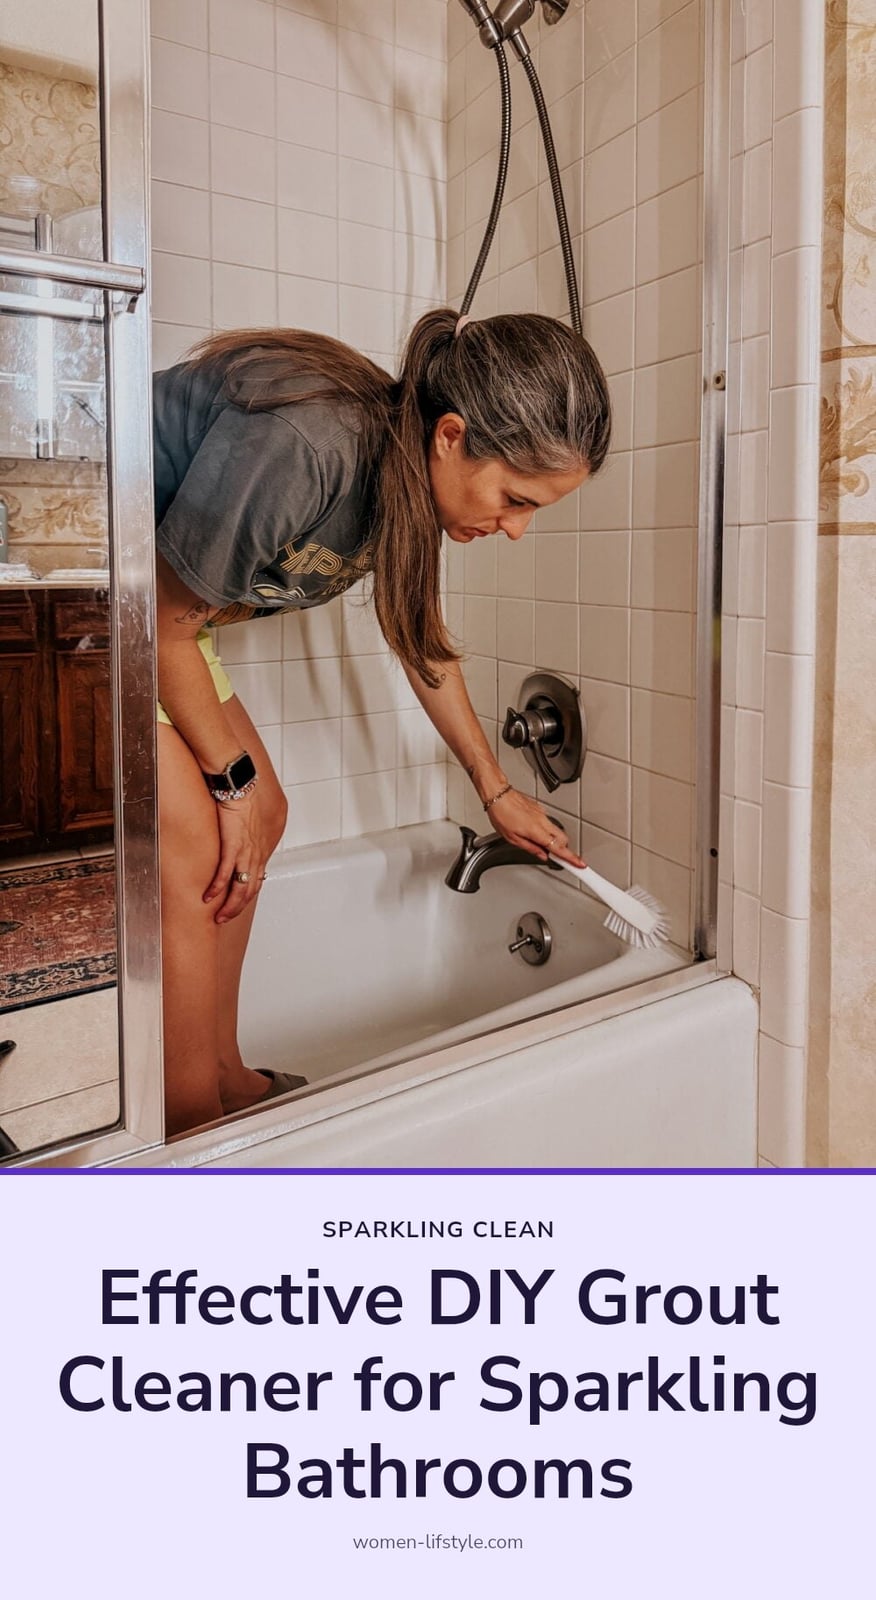
Discolored grout can make even the cleanest tiles look dingy, but you don’t need harsh chemicals or a professional to bring it back to life. With a few pantry staples and a little elbow grease, you can tackle soap scum, mold, and everyday dirt effectively. This article walks you through a simple DIY grout cleaner recipe, step-by-step instructions, and tips for keeping your grout fresh longer.
Key Takeaways
- Mix 1/2 cup baking soda, 1/4 cup hydrogen peroxide, and 1 teaspoon dish soap into a paste.
- Always test any cleaner on a small, hidden area first.
- Let the paste sit 5-15 minutes before scrubbing with a stiff brush.
- Never mix chlorine bleach with vinegar or other acids.
- Seal grout after cleaning to prevent future stains.
Why This Homemade Grout Cleaner is Your Best Bet
This homemade grout cleaner combines baking soda, hydrogen peroxide, and a touch of dish soap to tackle the usual culprits behind discolored grout: soap scum, mold, and everyday dirt. Baking soda works as a mild abrasive, hydrogen peroxide whitens and kills mold, while dish soap cuts through grease. Together they break down grime without harsh chemicals or fumes, making it a safer choice for regular maintenance on most cement-based grout.
Your DIY Grout Cleaner Recipe

Ingredients:
- 1/2 cup baking soda
- 1/4 cup hydrogen peroxide (3%)
- 1 teaspoon dish soap
Prep time: 2 minutes Set time: 5-15 minutes Yield: Enough for a small bathroom or kitchen area
Mix the baking soda and hydrogen peroxide in a small bowl until a thick paste forms. Stir in the dish soap. Apply immediately and let sit before scrubbing.
Step-by-Step: How to Clean Grout Like a Pro

Follow these steps to get your grout looking its best.
- Mix the paste: In a small bowl, combine 1/2 cup baking soda, 1/4 cup hydrogen peroxide, and 1 teaspoon dish soap. Stir until it forms a thick paste.
- Test first: Apply a small amount to an inconspicuous area of grout and tile. Wait a few minutes, then rinse. Check for any discoloration or damage before proceeding.
- Apply the paste: Using a stiff-bristled brush or an old toothbrush, spread the paste directly onto the dirty grout lines. Make sure every line is fully covered.
- Let it sit: Allow the paste to dwell for 5-15 minutes. This gives the ingredients time to penetrate and loosen the grime.
- Scrub: Work in small sections, scrubbing vigorously along the grout lines with your brush. Apply extra pressure on stubborn spots.
- Rinse thoroughly: Use a sponge or cloth with clean water to remove all paste residue. Leftover paste can attract dirt later, so be thorough.
- Dry completely: Wipe the area dry with a clean towel or let it air dry. Moisture left behind can encourage new mildew growth.
Prefer to watch? This Old House walks through the whole method in this 5-minute video. The how-to part starts at 0:59.
Best Tips for Sparkling Grout
These tips will help you get the best results and keep your grout looking great.
- Ventilation is Key: Open a window or turn on a fan when cleaning, especially when using hydrogen peroxide or other cleaning agents. Good airflow reduces fume buildup.
- Work in Sections: Don’t tackle the entire bathroom floor at once. Focus on small, manageable areas so the paste doesn’t dry out before you scrub.
- Don’t Skip the Rinse: Leftover cleaning residue can attract more dirt over time. Rinse thoroughly until all traces of the paste are gone.
- Protect Your Hands: Wear rubber gloves to shield your skin from the cleaning solution, even if it’s homemade. The ingredients can be drying or irritating.
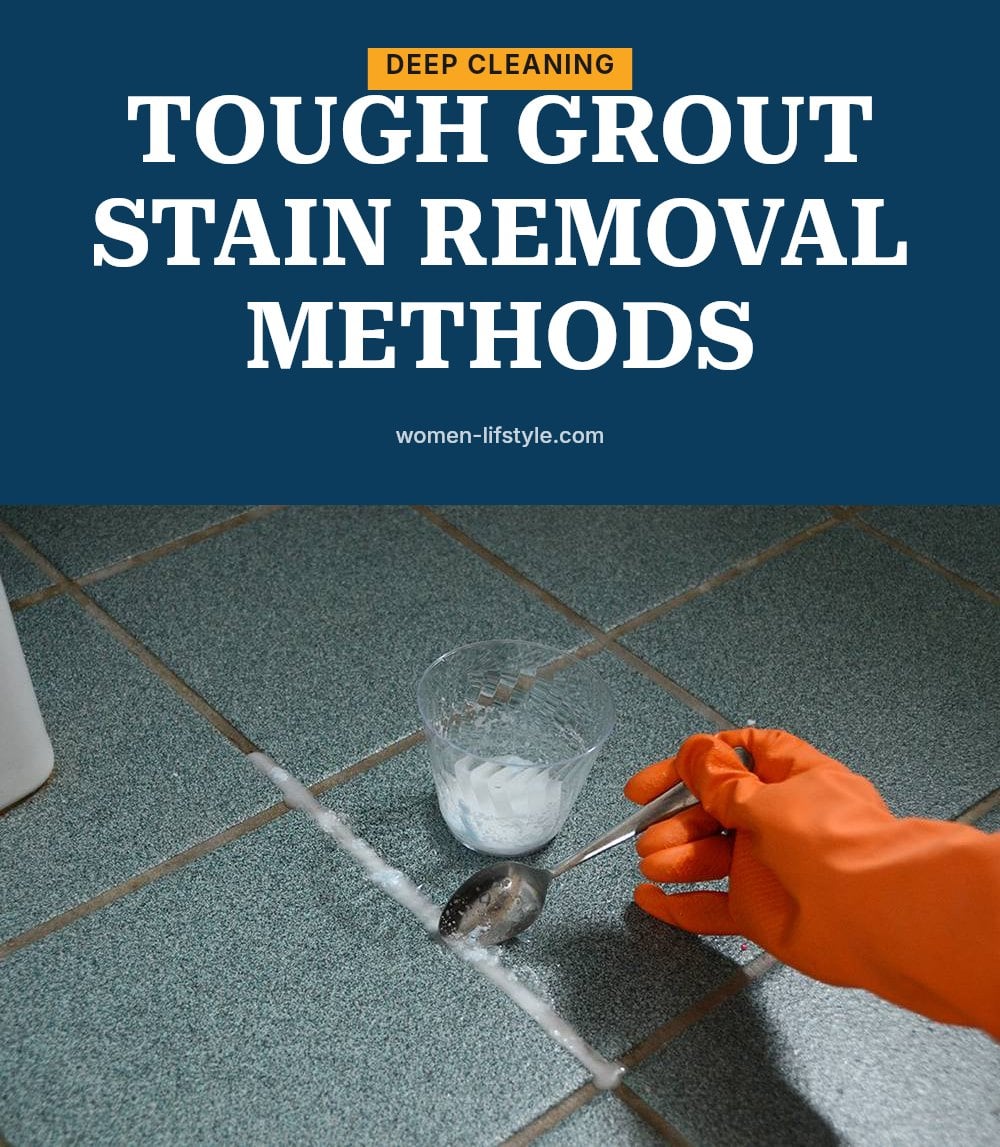
Alternative Grout Cleaning Methods for Tough Stains
Vinegar Power (for non-natural stone):
If your grout is particularly grimy and your tiles aren’t natural stone (like marble or travertine), white vinegar can be a powerful ally. Mix equal parts white vinegar and warm water in a spray bottle. Spray directly onto grout, let sit for 5-10 minutes, then scrub and rinse. Caution: Never use vinegar on unsealed natural stone tiles. It can etch the surface.
Oxygen Bleach Boost:
For stubborn stains and brightening, oxygen bleach (sodium percarbonate) is a fantastic non-chlorine option. Mix oxygen bleach powder with warm water according to package directions to form a paste. Apply to grout, let sit for 15-30 minutes, then scrub and rinse thoroughly. This method works well for yellowed or heavily soiled grout without harsh fumes.
Chlorine Bleach (Use with Extreme Caution):
For severe mold or mildew on white grout, a diluted chlorine bleach solution (1 part bleach to 10 parts water) can be used as a last resort. Apply sparingly with a cotton swab or brush, let sit for a few minutes, then rinse immediately and thoroughly. Warning: Never mix bleach with vinegar or any acidic cleaner. This creates toxic chlorine gas. Always ventilate the area and wear gloves and eye protection.
Common Grout Cleaning Mistakes to Avoid
Not Testing First: Always test any cleaning solution on an inconspicuous area of grout and tile to prevent damage or discoloration. A quick patch test can save you from a costly mistake.
Mixing Chemicals: Never mix chlorine bleach with vinegar or any other acidic cleaner. This creates dangerous toxic gas that can cause serious respiratory harm.
Skipping Dwell Time: Don’t rush it. Allowing cleaning solutions enough time to sit on the grout is crucial for them to break down grime effectively. Even 5-10 minutes makes a difference.
Using Harsh Tools: Avoid steel wool or abrasive pads that can scratch your tiles or damage the grout itself. Stick to a stiff-bristled brush or an old toothbrush.
Ignoring Grout Sealing: After all that hard work, neglecting to seal your porous grout leaves it vulnerable to future stains. Sealing makes future cleaning much easier.
Keep Grout Cleaner Longer: Prevention is Key

Seal Your Grout: After a thorough cleaning, apply a high-quality grout sealer. This creates a protective barrier that repels water and stains, making future cleaning much easier.
Wipe Up Spills Immediately: Grout is porous, especially cement-based types. Wiping up spills, especially colored liquids, as soon as they happen prevents them from soaking in.
Regular Light Cleaning: Don’t wait for heavy buildup. A quick wipe-down of shower walls or kitchen backsplashes after use can prevent soap scum and food splatters from setting.
Improve Ventilation: In bathrooms, ensure good ventilation (fan, open window) to reduce humidity, which discourages mold and mildew growth in grout.
Frequently Asked Questions
How often should I clean my grout?
For most households, a thorough grout cleaning every 1 to 3 months is enough to prevent heavy buildup. If you notice discoloration or stains, you can spot clean as needed. Regular wiping and quick spill cleanup can extend the time between deep cleans.
Can I use this cleaner on colored grout?
Yes, but with caution. The hydrogen peroxide in the paste may lighten some colored grouts, especially darker shades. Always test on an inconspicuous area first and wait for it to dry to check for any color change. If you see fading, switch to a gentler method like baking soda and water.
What’s the difference between cement and epoxy grout?
Cement-based grout is porous, so it absorbs liquids and stains easily, which is why it needs sealing. Epoxy grout is non-porous, making it highly resistant to stains and mildew, and it is much easier to clean. If you have epoxy grout, you may not need as frequent deep cleaning.
Can I use a steam cleaner on grout?
Yes, steam cleaners can effectively loosen dirt and grime from grout without chemicals. They are a good option if you prefer a chemical-free approach. Just be sure to follow the manufacturer’s instructions and avoid using high-pressure settings indoors, as that could damage grout or push water behind tiles.
How do I prevent grout from getting dirty again quickly?
The best way is to seal your grout after cleaning. A high-quality sealer creates a protective barrier that repels water and stains, making future cleaning much easier. Also, wipe up spills immediately, especially colored liquids, and keep bathrooms well-ventilated to reduce mold and mildew growth.
Final Thoughts
For most grout cleaning jobs, the baking soda, hydrogen peroxide, and dish soap paste is your best bet. It is gentle enough for regular use but tough on grime. Start with a patch test, apply the paste, let it sit, and scrub with a stiff brush. You will see results right away, and light stains may only need one go. For tougher buildup, expect to repeat the process a few times. After cleaning, sealing your grout will keep it looking good for months, and a quick wipe down after spills helps maintain that fresh look.
