

After years of struggling with frizzy blowouts, I’ve learned that the secret isn’t expensive tools. It’s technique. If you’ve ever finished drying your hair only to see it puff up with frizz, you know the frustration. This article breaks down the step-by-step process to get a smooth, sleek finish every time, from prepping your hair to using the right brush and airflow direction.
Key Takeaways
- Always apply a heat protectant to damp hair before blow drying to prevent damage and frizz.
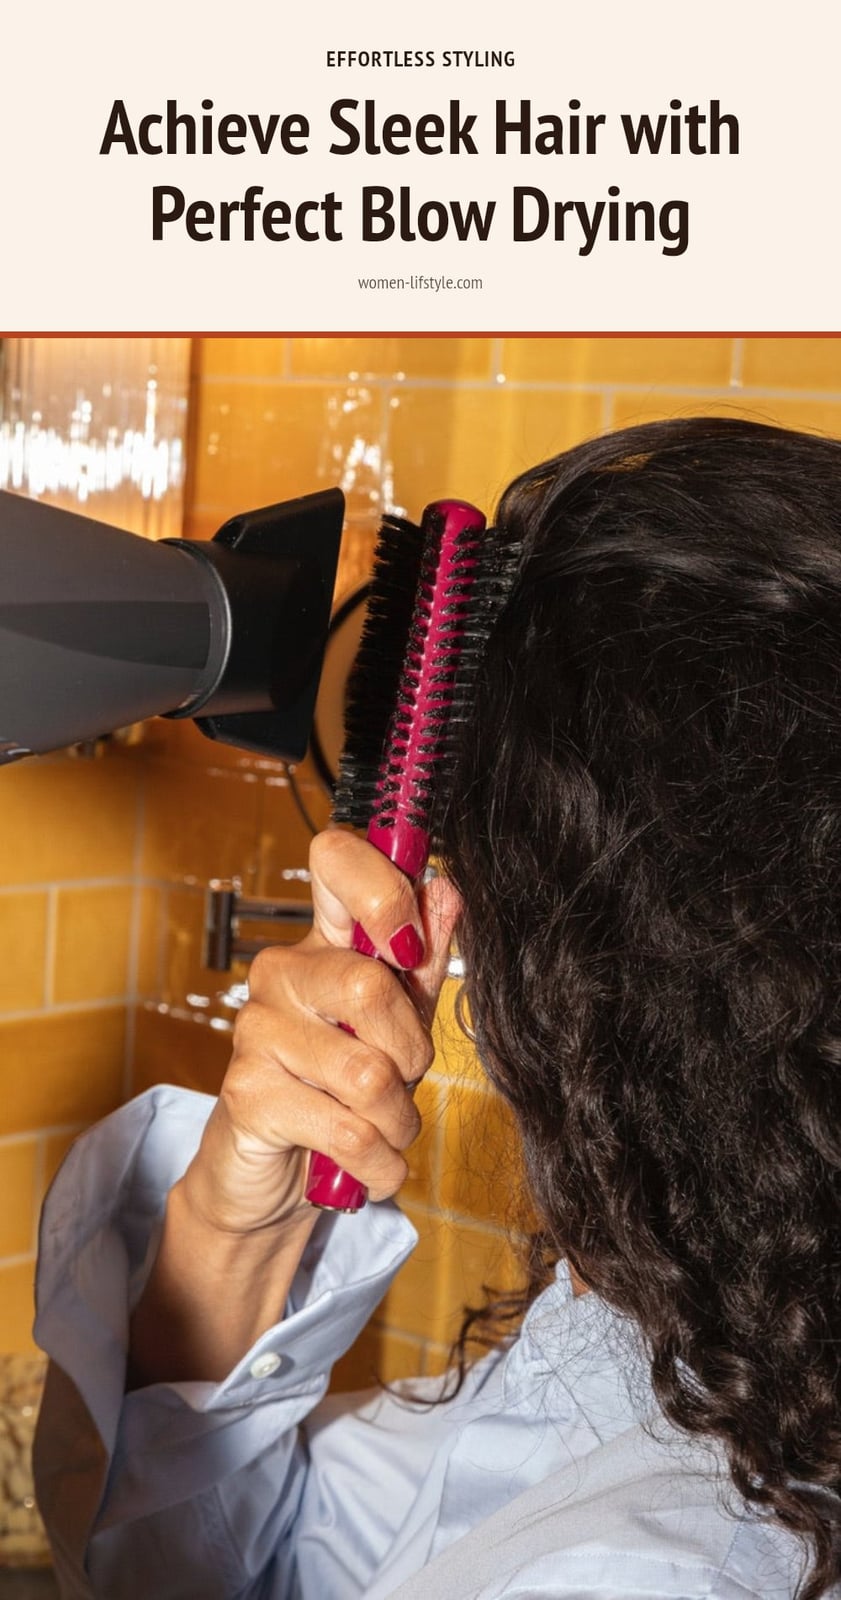
- Dry hair in small sections using a nozzle attachment, directing airflow downward from roots to ends.
- Finish with the cool shot setting on your dryer to help seal the hair cuticle and reduce frizz.
- Use a microfiber towel to gently remove excess water, leaving hair about 60-80% dry before starting.
- Clean your blow dryer’s filter monthly to keep airflow strong and prevent overheating.
Achieve a Frizz-Free Blowout at Home
A frizz-free blowout at home comes down to three things: smart preparation, the right technique, and not overdoing the heat. Start by applying a heat protectant to damp hair, then dry in small sections. Always point the nozzle downward so the airflow smooths the cuticle, and finish with the cool shot button to lock in your style. Avoid blasting the hottest air for too long, and stop drying while your hair still feels slightly cool to the touch. That’s the sweet spot for a sleek finish.
Understanding Why Hair Gets Frizzy
What Causes Frizz When You Blow Dry?
Frizz happens when your hair’s outer layer, the cuticle, lifts up like tiny shingles on a roof. Once raised, moisture from the air sneaks in, swelling the hair shaft and creating that rough, puffy look. Blow drying can make it worse if you’re not careful.
- Blasting hot air upward or randomly lifts the cuticle instead of flattening it.
- Skipping heat protectant leaves the cuticle exposed to thermal damage, which roughens it further.
- Using too high a heat setting dries out the hair’s natural moisture, making frizz worse over time.
Understanding this helps you see why each step in your routine matters.
Essential Tools for a Frizz-Free Blowout
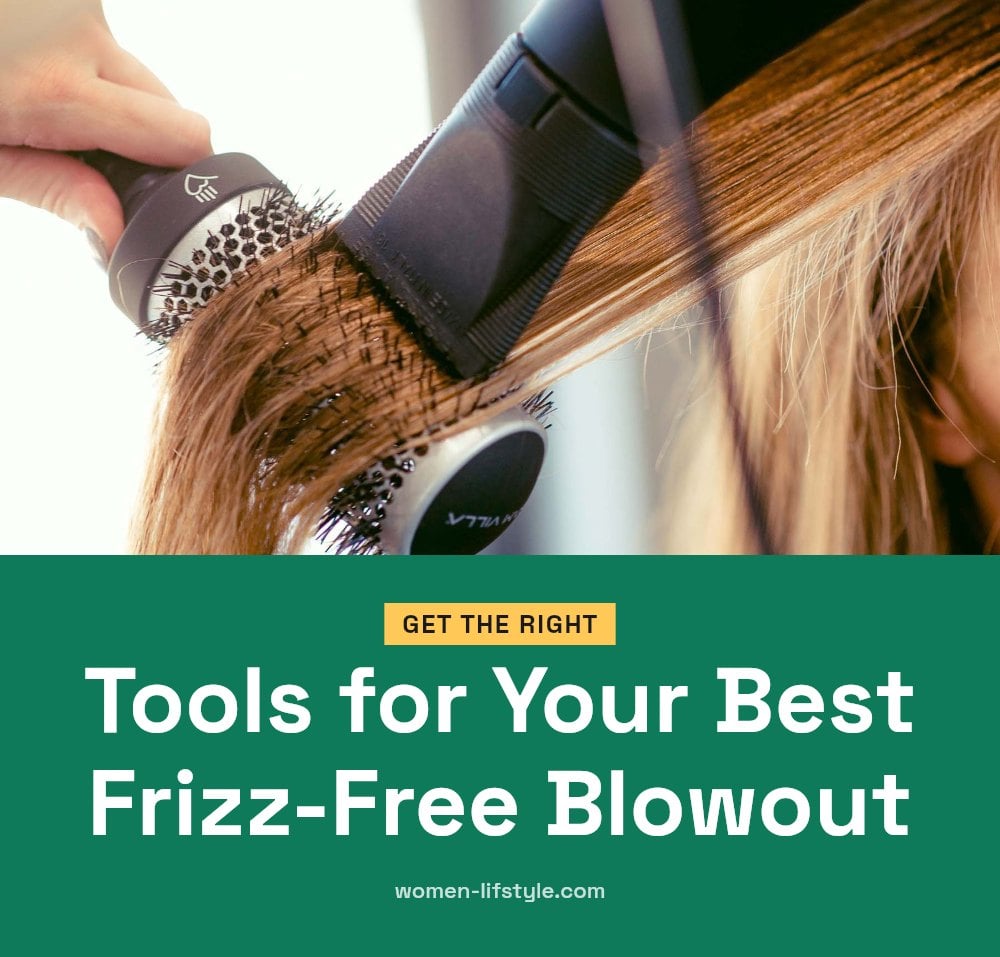
You don’t need a salon full of gear, but a few key tools make the difference between a smooth blowout and a frizzy mess.
- Blow dryer with a nozzle attachment The nozzle focuses the air into a narrow stream so you can direct it exactly where you want, sealing the cuticle.
- Heat protectant A spray or cream that forms a barrier between your hair and the heat, reducing damage and frizz.
- Microfiber towel Softer than a regular towel, it cuts drying time and causes less friction, which means less frizz.
- Sectioning clips Keep the hair you’re not working on out of the way, so each section gets even drying.
- A round or paddle brush Creates tension to smooth the hair as you dry and helps shape the style.
Step-by-Step: Your Guide to Frizz-Free Blow Drying
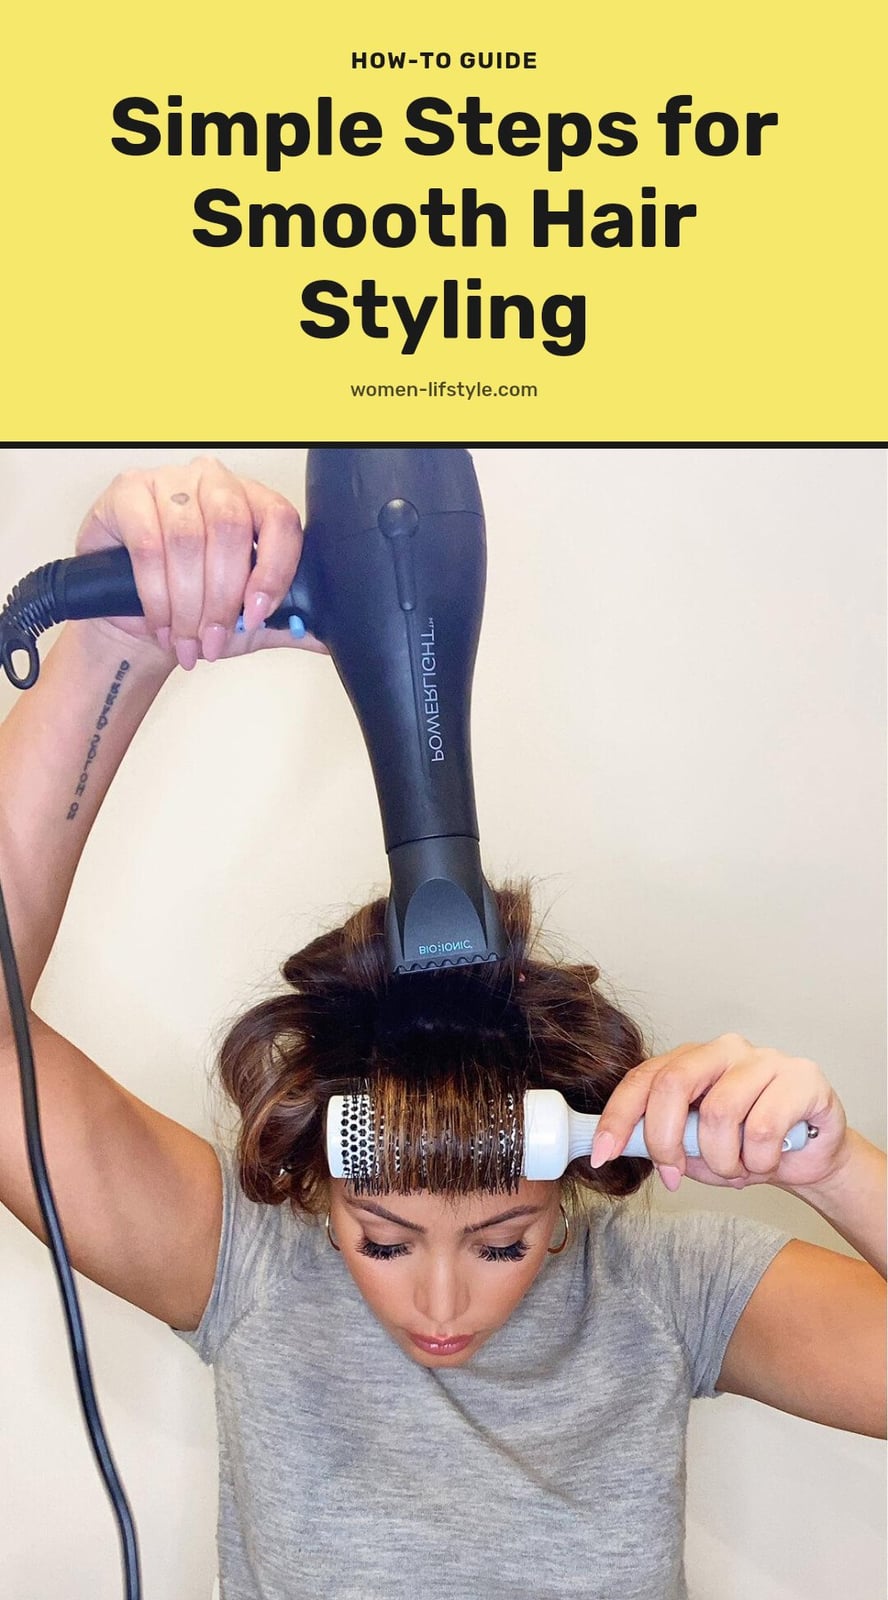
- Prep your hair: Gently squeeze out excess water with a microfiber towel until your hair is about 60 to 80 percent dry. Apply a heat protectant evenly from mid-lengths to ends.
- Section your hair: Clip up the top half of your hair. Start drying the bottom sections first, then release the top and work through those. Smaller sections give you more control.
- Dry each section downward: Attach the nozzle to your dryer. Hold the brush beneath a section of hair and point the nozzle down the shaft, following the brush from roots to ends. Keep the airflow moving continuously.
- Finish with cool air: Once a section is dry, hit the cool shot button for a few seconds while still brushing downward. This seals the cuticle and helps the style hold longer.
- Check for over-drying: Stop when your hair feels smooth and slightly cool, not brittle or hot. Over-drying strips moisture and invites frizz back in.
Common Blow Drying Mistakes That Cause Frizz
Not using heat protectant: Heat protectant isn’t optional. Without it, the high heat from your dryer damages the cuticle, making it rough and prone to frizz.
Starting with soaking-wet hair: If you skip towel-drying first, you’ll spend extra time blasting hot air at your hair. That extended heat exposure strips moisture and invites frizz.
Cranking the heat too high: High heat can feel faster, but it actually robs your hair of natural moisture. Over time, dryness makes the cuticle lift and frizz appear.
Drying huge sections at once: Large sections don’t dry evenly. The hidden hair stays damp longer, so you end up over-drying the surface layer, which leads to a frizzy finish.
Aiming airflow upward: Pointing the nozzle toward your roots or against the hair shaft raises the cuticle. Always direct air downward, from roots to ends, to keep the cuticle flat.
Drying until bone-dry: Hair that feels brittle or stiff has lost too much moisture. Stop drying while your hair still feels slightly cool and flexible for a smoother result.
Pro Tips for a Sleek, Smooth Finish
Clean your dryer filter monthly: A clogged filter reduces airflow and makes the dryer run hotter. That extra heat can damage hair and cause frizz. Check the back of your dryer and remove lint with a brush or cloth.
Seal the style with a serum: After drying, run a drop of frizz-control serum or oil through your ends. It adds shine and creates a protective barrier against humidity.
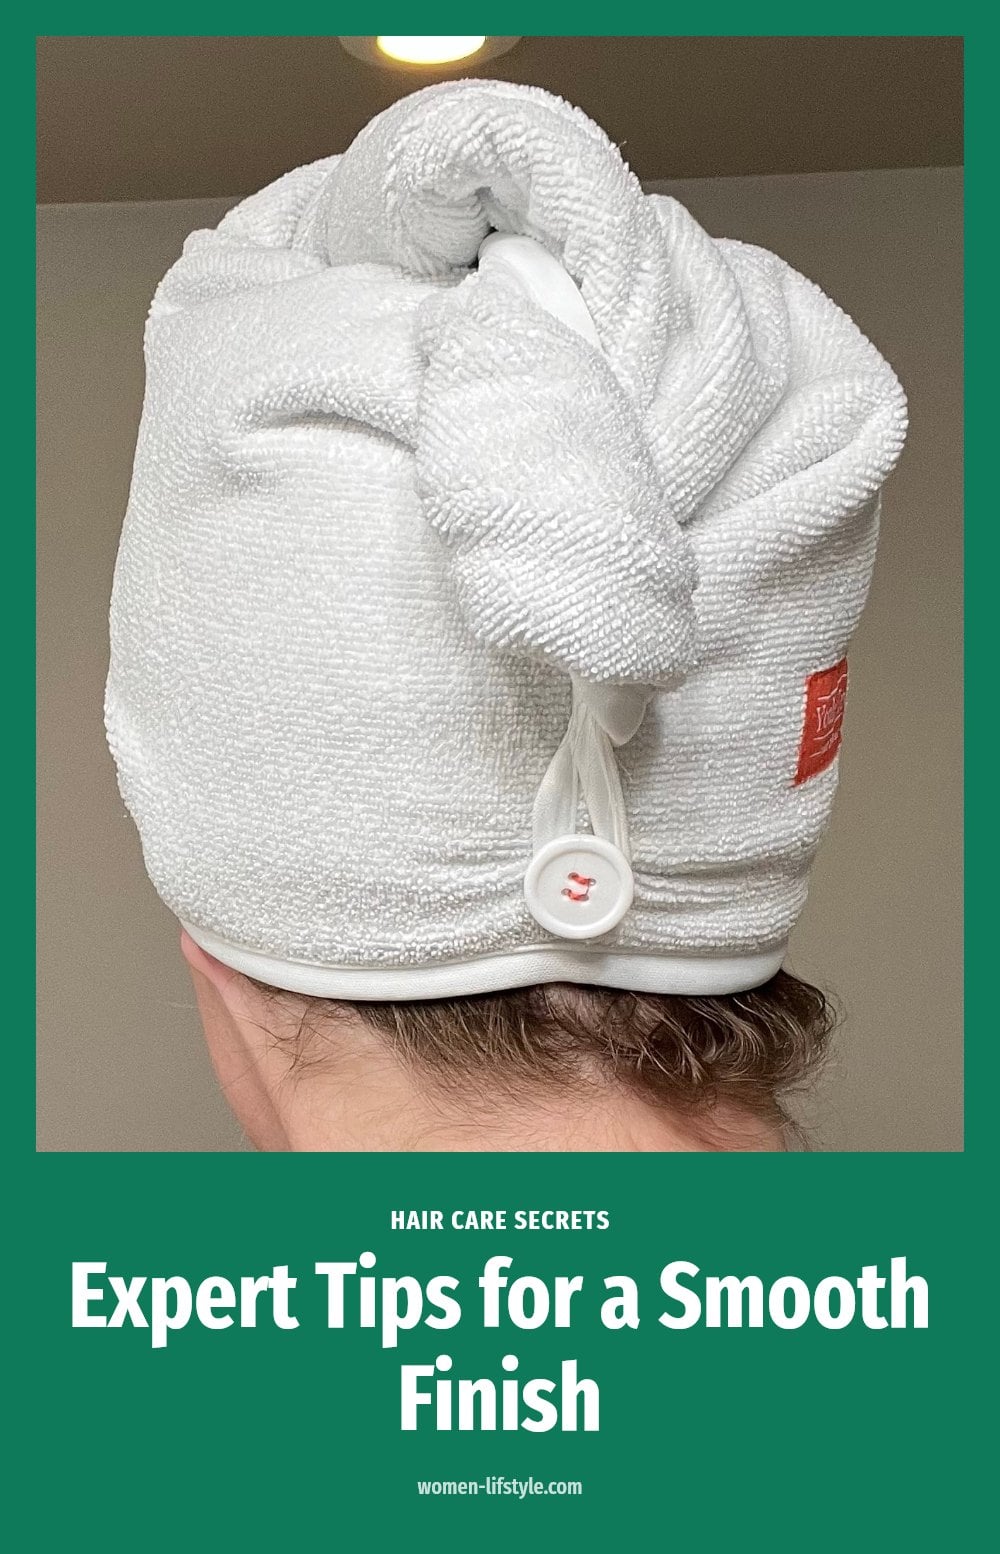
Swap your towel for microfiber: Microfiber towels absorb water faster and create less friction than cotton terry cloth. Less friction means fewer raised cuticles and less frizz before you even pick up the dryer.
Keep practicing: Your first few attempts might not be perfect. The more you work in small sections and direct airflow downward, the smoother your results will get.
How Long Does Frizz-Free Blow Drying Take?
Expect to spend 15 to 45 minutes on a full blow-dry, depending on your hair’s length and thickness. The results are immediate and last until your next wash or until you hit high humidity.
Good technique matters more than expensive gear. A quality blow dryer and brush can cost anywhere from mid-tier to high-end, but you can achieve a smooth finish with any tool as long as you dry in sections and keep the airflow pointed down.
Frequently Asked Questions
Can I blow dry my hair every day?
Yes, but daily blow drying can increase the risk of heat damage and dryness over time. To minimize harm, always use a heat protectant, keep the heat setting on low or medium, and avoid over-drying your hair. Let your hair air dry occasionally to give it a break.
What’s the best heat setting for blow drying?
Use the lowest heat setting that still dries your hair efficiently. For fine or damaged hair, stick to low or medium heat. Thick or coarse hair can handle medium heat, but avoid the highest setting unless absolutely necessary, as it can cause frizz and damage.
How do I clean my blow dryer filter?
Clean the filter at least once a month. Unplug the dryer, then use a small brush or your fingers to gently remove lint and dust from the back grille. Some dryers have a removable filter that you can rinse with water and dry completely before reattaching.
Why does my hair get frizzy after I blow dry it?
Frizz after blow drying usually means the hair cuticle has been raised, allowing moisture to enter. Common causes include skipping heat protectant, drying hair that’s too wet, using high heat, or directing airflow upward. Following the step-by-step technique in this article should help reduce frizz.
Final Thoughts
For me, the biggest game-changer was drying in small sections and always pointing the nozzle down. It made an instant difference in smoothness. Expect the whole process to take 15 to 45 minutes, and the results will last until your next wash or until humidity hits. Stick with these steps, and you’ll get a salon-quality finish at home.
