

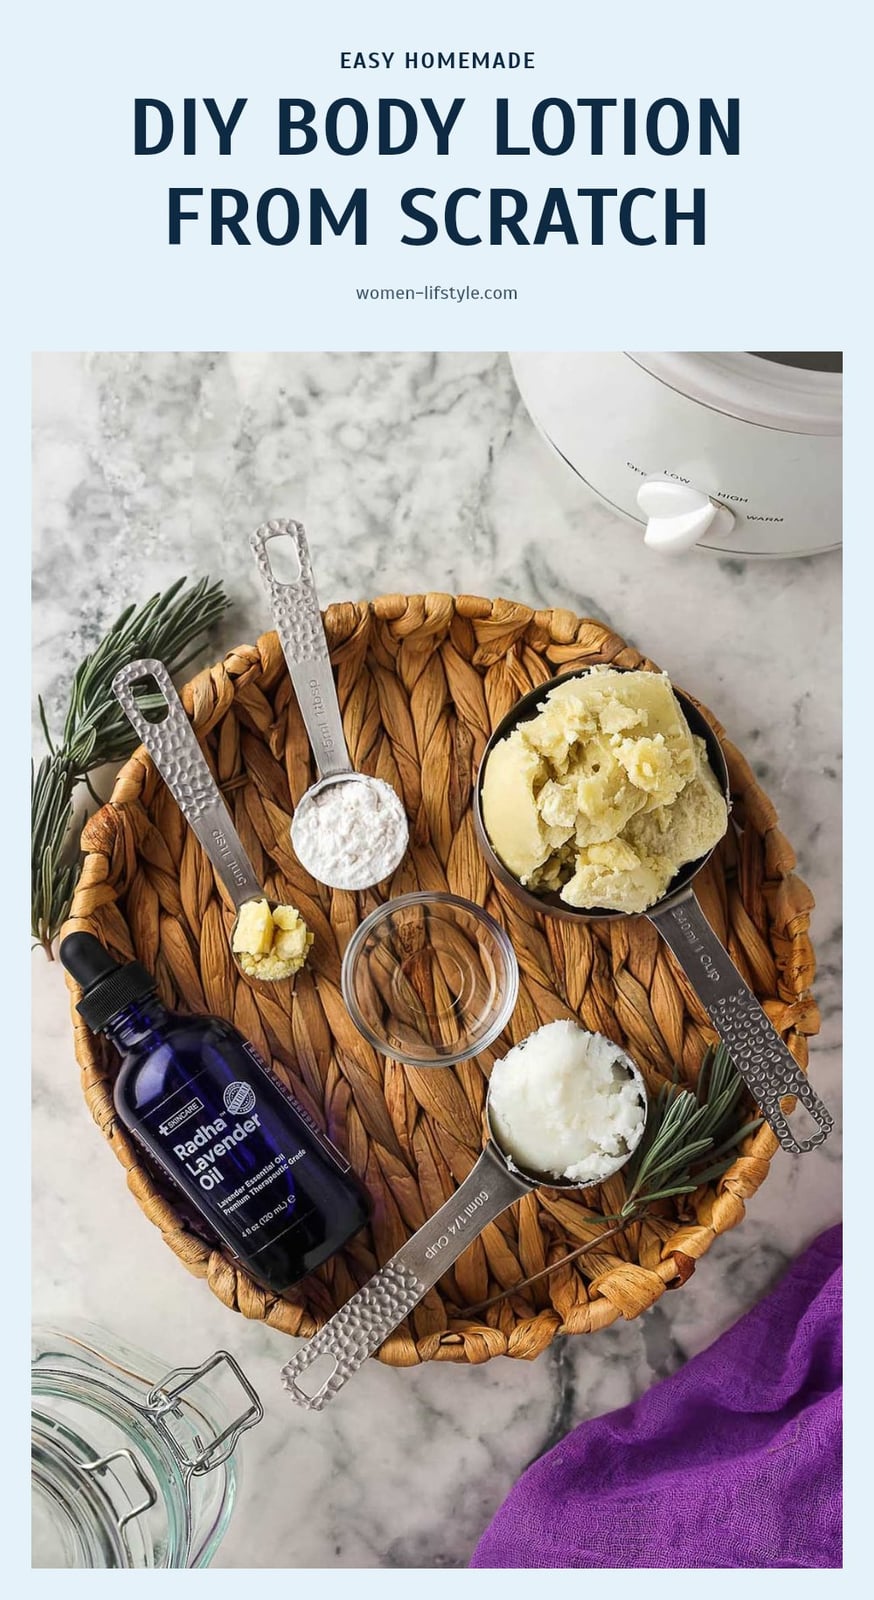
Making your own body lotion at home gives you total control over what goes on your skin, letting you choose ingredients that suit your needs and skip anything you don’t want. It’s all about creating a stable emulsion of oil and water, and with the right tools and a few simple steps, you can whip up a custom cream that feels just right. This article walks you through the process from start to finish, including how to customize, store, and troubleshoot your lotion.
Key Takeaways
- Use a digital scale accurate to 0.01g for precise measurements of every ingredient.
- Always include a broad-spectrum preservative in water-based lotions to prevent spoilage.
- Heat oil and water phases to 160-170°F (71-77°C) before combining for stable emulsification.
- Add heat-sensitive ingredients like essential oils only after the mixture cools below 120°F (49°C).
- Store finished lotion in airtight containers away from sunlight and heat to extend shelf life.
Why Making Your Own Lotion Is a Game Changer
Making your own lotion puts you in full control of what goes on your skin. You skip the harsh chemicals and preservatives found in many store-bought options and tailor every ingredient to your specific needs. A lotion is simply an emulsion of oil and water, held together by an emulsifier, which delivers deep hydration and nourishment. You get to choose natural oils, butters, and essential oils for a truly personalized skincare experience.
Basic Homemade Body Lotion Recipe
This basic recipe makes about 200 grams of lotion. Adjust quantities as you experiment.
- Water Phase: 140 g distilled water, 5 g glycerin
- Oil Phase: 20 g sweet almond oil, 15 g shea butter, 10 g Emulsifying Wax NF
- Cool Down Phase: 2 g Liquid Germall Plus, 8-10 drops essential oil (optional)
Weigh everything using a digital scale for accuracy. The emulsifier and preservative are non-negotiable for a stable, safe lotion. Add the Liquid Germall Plus only after the mixture has cooled below 120°F (49°C) to preserve its effectiveness.
Your Essential Lotion-Making Toolkit
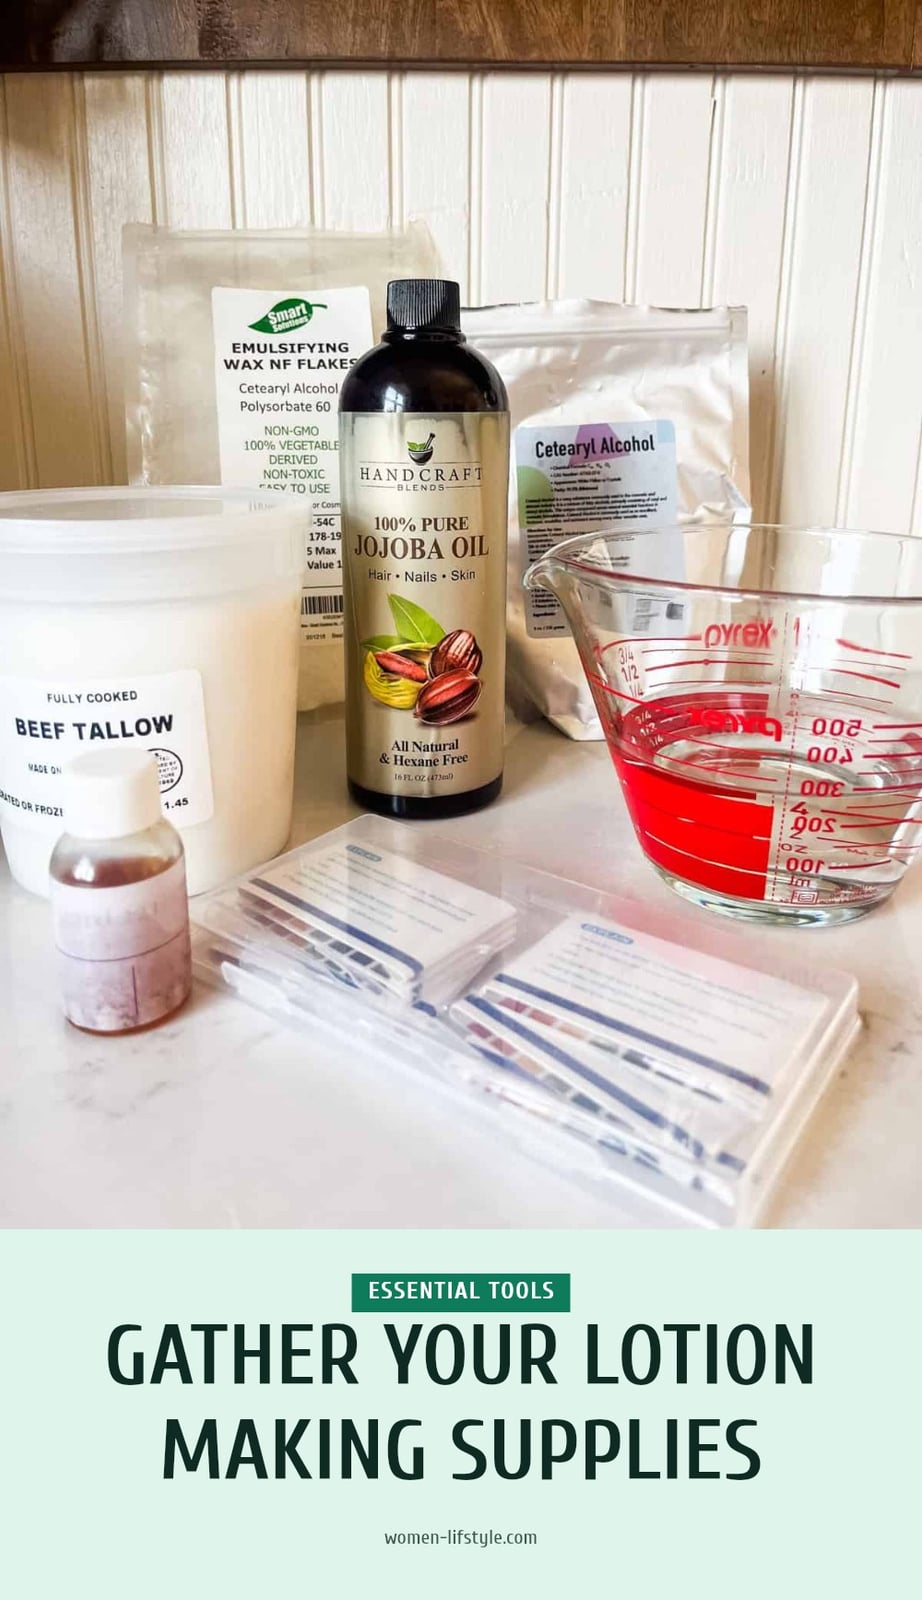
To make lotion safely and consistently, you need the right tools. Here’s what I keep on hand.
- Digital scale: Accurate to 0.01g for precise measurements of every ingredient.
- Heat-resistant beakers and double boiler: For safely heating oil and water phases without scorching.
- Immersion blender: Creates a smooth, stable emulsion that hand whisking can’t match.
- Thermometer: A candy or laboratory thermometer ensures you hit the right temperatures.
- Preservative: Broad-spectrum options like Liquid Germall Plus prevent microbial growth.
Tip: Sanitize all equipment with 70% isopropyl alcohol before each batch to avoid contamination.
Step-by-Step: Crafting Your Perfect Lotion
- Sanitize all equipment: Wipe down beakers, blender shaft, spatulas, and containers with 70% isopropyl alcohol. Let them air dry completely.
- Measure both phases: Weigh the water phase ingredients in one heat-resistant beaker and the oil phase ingredients in another using your digital scale.
- Heat both phases: Place both beakers in a double boiler or microwave in short bursts. Heat each to 160-170°F (71-77°C) to melt solid butters and activate the emulsifier.
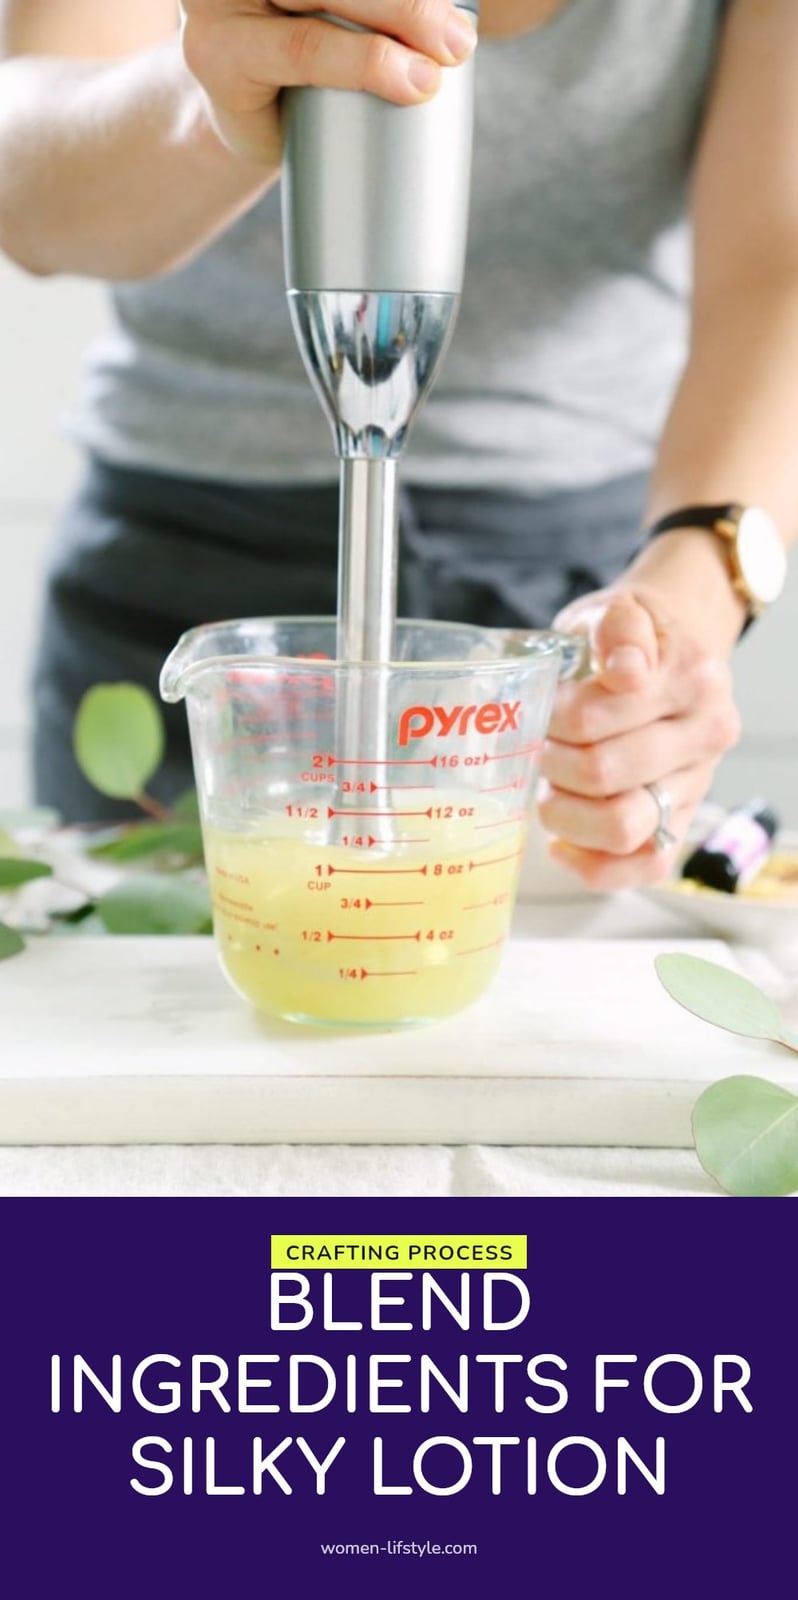
- Combine slowly: Remove both beakers from heat. While running the immersion blender at low speed in the oil phase, slowly pour the water phase into the oil phase in a thin, steady stream.
- Blend as it cools: Continue blending at low to medium speed for 2-3 minutes as the mixture cools. This step builds the emulsion and prevents separation.
- Cool down to 120°F (49°C): Let the lotion cool naturally while stirring occasionally until the temperature drops below 120°F (49°C). Do not skip this step, as heat can degrade certain ingredients.
- Add heat-sensitive ingredients: Once cooled, add your preservative and any essential oils. Blend briefly to incorporate. Tip: Always add preservatives during the cool-down phase, not during heating, to maintain their effectiveness.
- Check pH: Test the lotion with pH strips. The ideal range is 4.5-6.5. If too high, add a small amount of citric acid solution; if too low, add a tiny bit of baking soda solution. Blend and retest.
Pro move: Pour the lotion into your storage container while still fluid. It will thicken as it cools completely over several hours.
Prefer to watch? WholeElise walks through the whole method in this 14-minute video. The how-to part starts at 2:43.
Pro Tips for Lotion-Making Success
My tip: Always use a digital scale accurate to 0.01g. Volume measurements for oils and butters are too inconsistent for stable lotion.
Sanitize every tool and container with 70% isopropyl alcohol before you start. Distilled water or a hydrosol is non-negotiable, tap water introduces minerals and microbes that can spoil the batch.
Keep a notebook with each formula: ingredient weights, temperatures, mixing times, and notes on the final texture. This lets you replicate successes and fix problems later. Before you slather your new lotion all over, do a patch test on your inner arm for 24 hours.
Common Mistakes to Avoid When Making Lotion
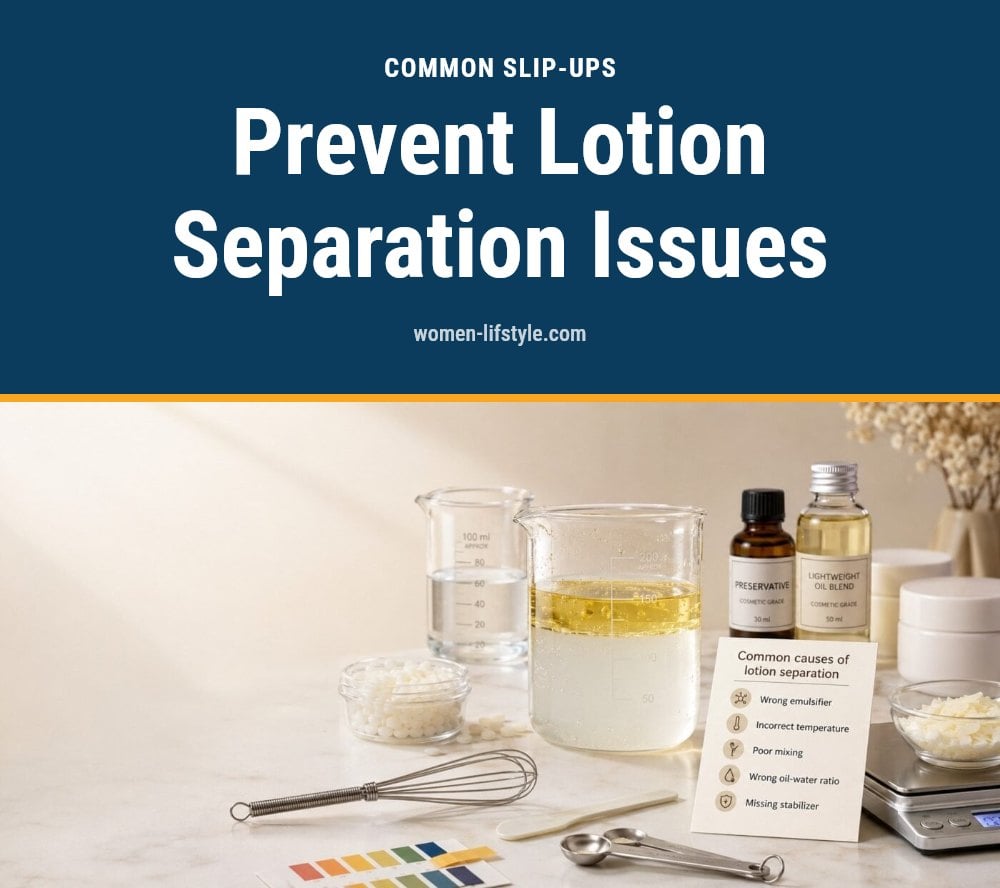
Not using a preservative: A water-based lotion without preservative can grow mold or bacteria within days. Always add a broad-spectrum one like Liquid Germall Plus in the cool-down phase, below 120°F (49°C).
Incorrect measurements: Too little emulsifier and your lotion separates. Too much and it feels waxy. Weigh every ingredient by gram.
Improper heating: If both phases aren’t heated to 160-170°F (71-77°C), the emulsifier won’t incorporate fully. Use a thermometer to verify.
Adding heat-sensitive ingredients too early: Essential oils and vitamins degrade above 120°F (49°C). Wait until the mixture cools below that point.
Unsanitized equipment: Even a tiny contaminant shortens shelf life. Sanitize everything, including the container you store the lotion in.
Insufficient mixing during cooling: Stop blending too soon and you get a grainy or separated texture. Keep the immersion blender running until the lotion thickens to a smooth cream.
Customizing Your Lotion: Oils, Butters, and Scents
Carrier Oils
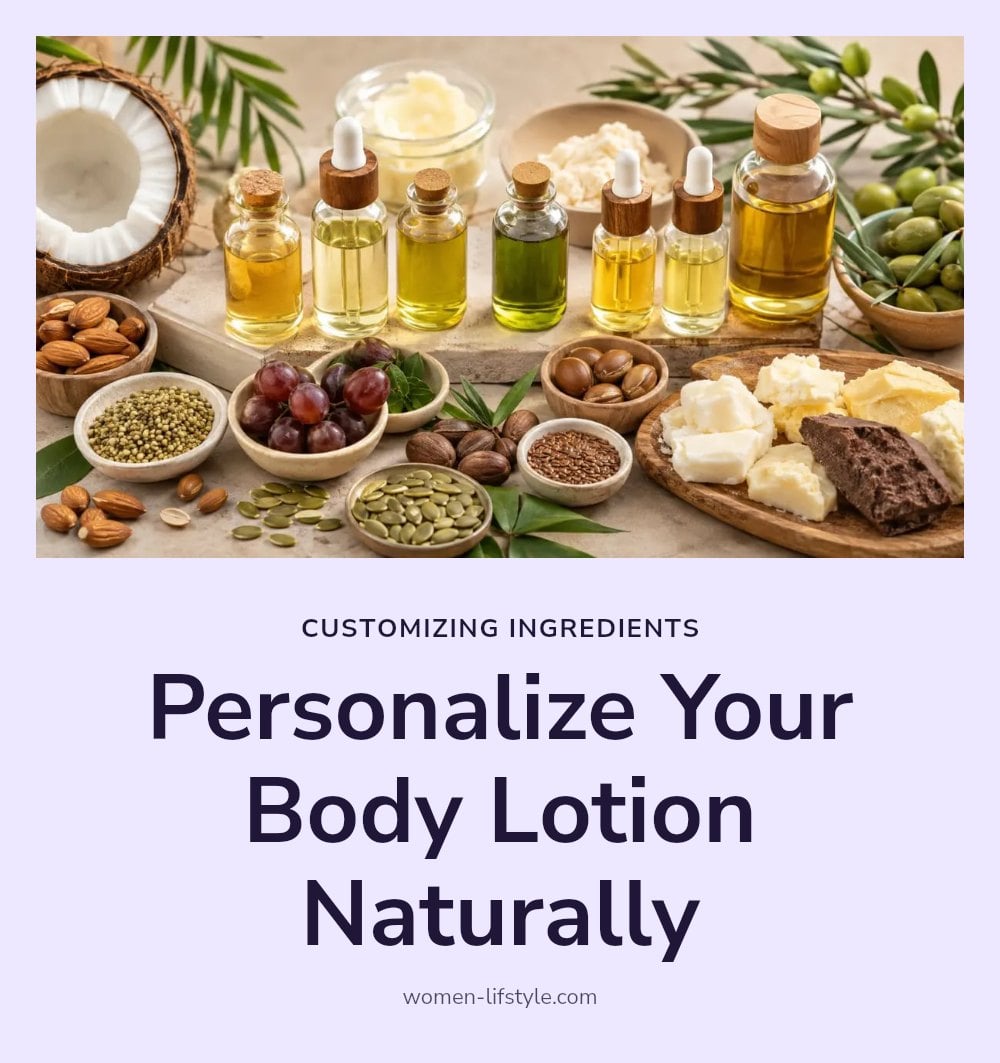
Sweet almond oil is light and absorbs quickly, good for normal skin. Jojoba mimics skin’s natural sebum, making it ideal for oily or acne-prone skin. Grapeseed oil is very light and non-greasy, best for oily types.
Butters
Shea butter adds deep moisture and a creamy feel. Cocoa butter gives a firmer, more solid texture and a chocolate scent. Mango butter is lighter than shea, with excellent skin conditioning.
Scents and Additives
Add essential oils or fragrance oils only during the cool-down phase (below 120°F/49°C) so their properties stay intact. For extra skin benefits, stir in vitamin E (antioxidant) or panthenol (soothing).
Storing Your Homemade Lotion for Longevity
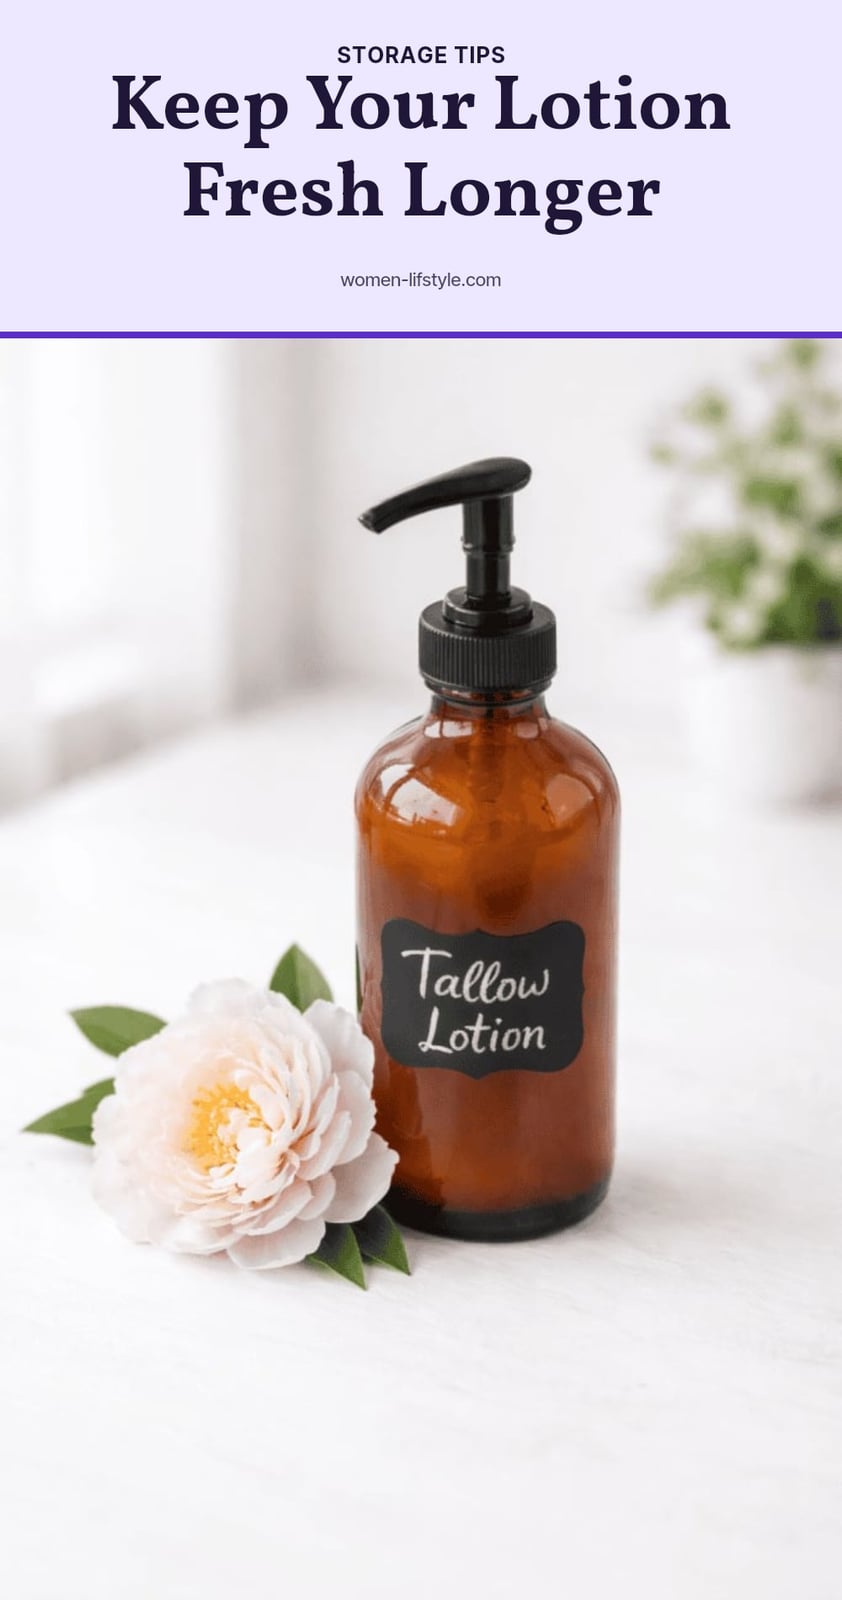
Store your lotion in airtight containers, pumps or jars with tight lids work best. Air exposure speeds up oxidation and contamination. Keep the container in a cool, dark place, away from direct sunlight and heat. Bathroom counters are often too warm and humid.
With a preservative, homemade lotion typically lasts 3 to 6 months. Write the date on the container so you remember. Discontinue use immediately if you notice an unusual odor, discoloration, mold, or separation. Safety first.
Frequently Asked Questions
What is the best emulsifier for homemade lotion?
There’s no single best emulsifier, it depends on the texture you want. Emulsifying Wax NF is a common choice for a creamy lotion, while Polawax gives a lighter feel and BTMS-50 adds conditioning properties. Research the usage rates and methods for whichever one you choose.
How long does homemade lotion last?
With a broad-spectrum preservative, homemade lotion typically lasts 3 to 6 months when stored properly in an airtight container away from heat and sunlight. Without a preservative, it can spoil within days. Always check for signs of spoilage like unusual odor or mold.
Can I use tap water for homemade lotion?
No, tap water is not recommended because it contains minerals and contaminants that can destabilize the emulsion and promote microbial growth. Use distilled water or a floral hydrosol for the water phase to keep your lotion safe and stable.
What is the ideal pH for body lotion?
The ideal pH for body lotion is between 4.5 and 6.5, which matches the natural pH range of skin. A pH outside this range can affect preservative effectiveness and cause irritation. You can test the pH with strips or a meter and adjust if needed.
Can I make lotion without a preservative?
Technically yes, but it’s not recommended for water-based lotions. Without a preservative, mold, bacteria, and yeast can grow within days, making the product unsafe. If you skip it, use the lotion quickly and refrigerate it, but a preservative is the safest route.
Final Thoughts
For a first batch, stick with the basic recipe using sweet almond oil, shea butter, and Emulsifying Wax NF to get a feel for the process. Expect the lotion to thicken fully over several hours to overnight, so don’t worry if it looks thin right after mixing. Once you’re comfortable, experiment with different oils and scents to create your perfect formula.
This article is for general informational purposes only and does not constitute medical or professional advice. Homemade skincare products may cause allergic reactions or irritation in some individuals. Always perform a patch test before widespread use and consult a dermatologist for persistent skin concerns.