

Deep cleaning is what happens when you stop wiping around the mess and actually go after it: the grime behind the appliances, the dust on the ceiling fan, the grout that has quietly turned a different color. It takes more time than a Saturday tidy-up, but the payoff is a home that feels genuinely clean instead of just picked up.
This article walks you through a systematic approach, from gathering supplies to the order you tackle each task, plus the small habits that make the biggest difference. My tip: pick one room and start there rather than trying to conquer the whole house at once.

Key Takeaways
- Dust from the highest points down so fallen dust gets collected when you vacuum later.
- Let disinfectants sit for the full dwell time on the label before wiping.
- Vacuum or sweep before mopping so loose debris does not turn into muddy residue.
- Keep separate cloths for the bathroom and kitchen to prevent cross-contamination.
- Microwave wet sponges for 1 to 2 minutes or run them through a dishwasher cycle.
What is Deep Cleaning and Why Does it Matter?
Deep cleaning means going beyond surface tidying to tackle hidden grime, allergens, and buildup that routine wiping misses. It takes a systematic approach, using specific tools and products for each area, from kitchen appliances to bathroom grout. I’ve found it’s essential for keeping not just your home looking fresh but also extending the life of your surfaces and appliances.
1. Gather Your Cleaning Arsenal
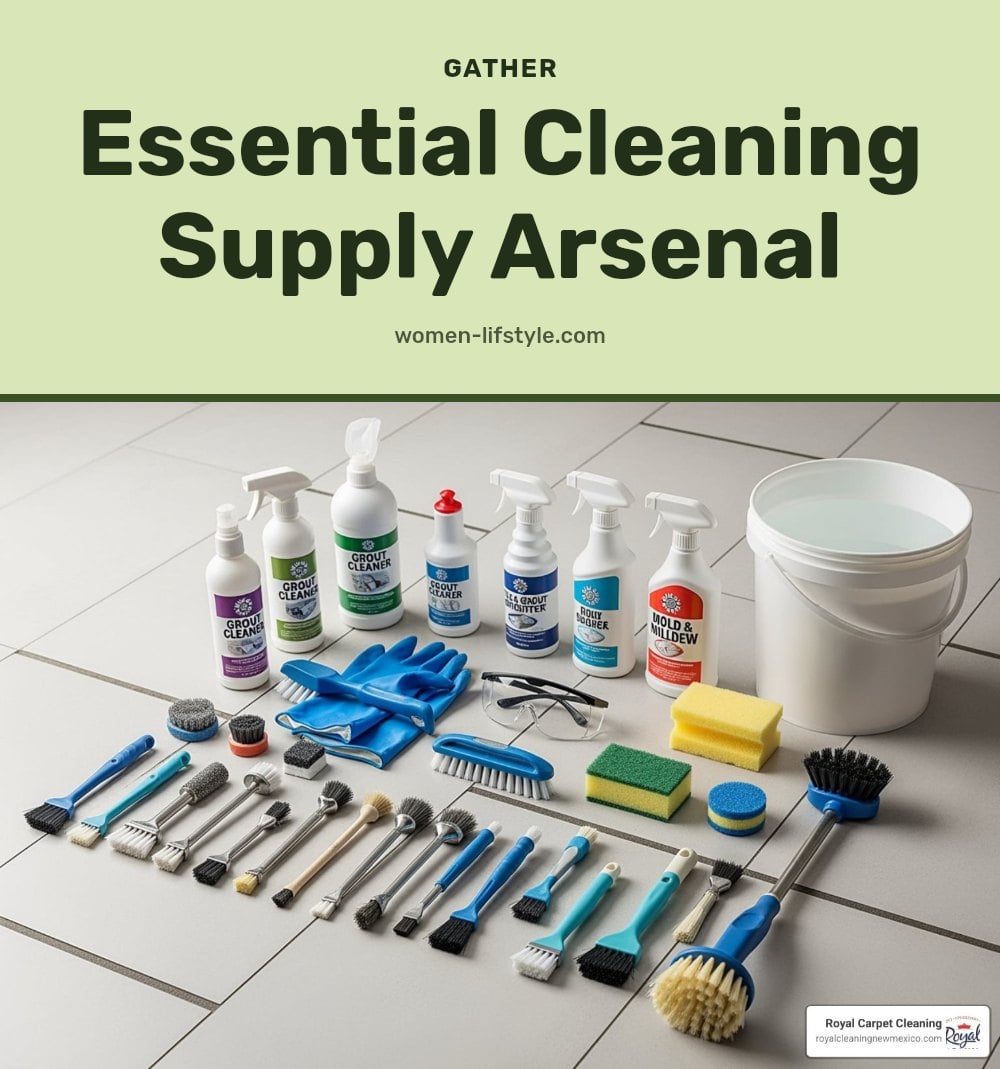
Before you start, round up everything you’ll need: microfiber cloths, sponges, scrub brushes, a vacuum with attachments, mop, all-purpose cleaner, glass cleaner, disinfectant, baking soda, white vinegar, rubber gloves, and trash bags. My tip: having everything ready prevents interruptions and keeps you focused.
- Microfiber cloths (several, for different tasks)
- Sponges and scrub brushes
- Vacuum with attachments and mop
- All-purpose cleaner, glass cleaner, disinfectant
- Baking soda and white vinegar
- Rubber gloves and trash bags
2. Dust From Top to Bottom

Always start dusting from the highest points in a room, like ceiling fans and light fixtures, and work your way down to baseboards. This way, any dust that falls gets collected later when you vacuum or mop. I’ve found this systematic approach is key to avoiding re-doing work.
- Start with ceiling fans, light fixtures, and high shelves
- Move to picture frames, window sills, and furniture tops
- Finish with baseboards and doorframes
- Vacuum or mop last to pick up all fallen dust
3. Clean Windows on a Cloudy Day
My best tip for streak-free windows is to clean them on a cloudy day. The sun can dry the cleaning solution too quickly, leaving unsightly streaks behind. Use a glass cleaner and a microfiber cloth for the best results.
- Choose an overcast day or work in the shade
- Spray glass cleaner onto the cloth, not directly on the window
- Wipe in a zigzag or S-pattern to avoid streaks
4. Let Cleaning Solutions Dwell
Don’t rush it. Allow cleaning solutions, especially disinfectants, to sit on surfaces for the dwell time listed on the label. This gives them time to break down grime and actually kill germs, not just wet the surface.
Patience pays off here. For heavy buildup, 5 to 10 minutes makes a visible difference. Set a timer if you tend to wipe too soon.
5. Vacuum Before You Mop
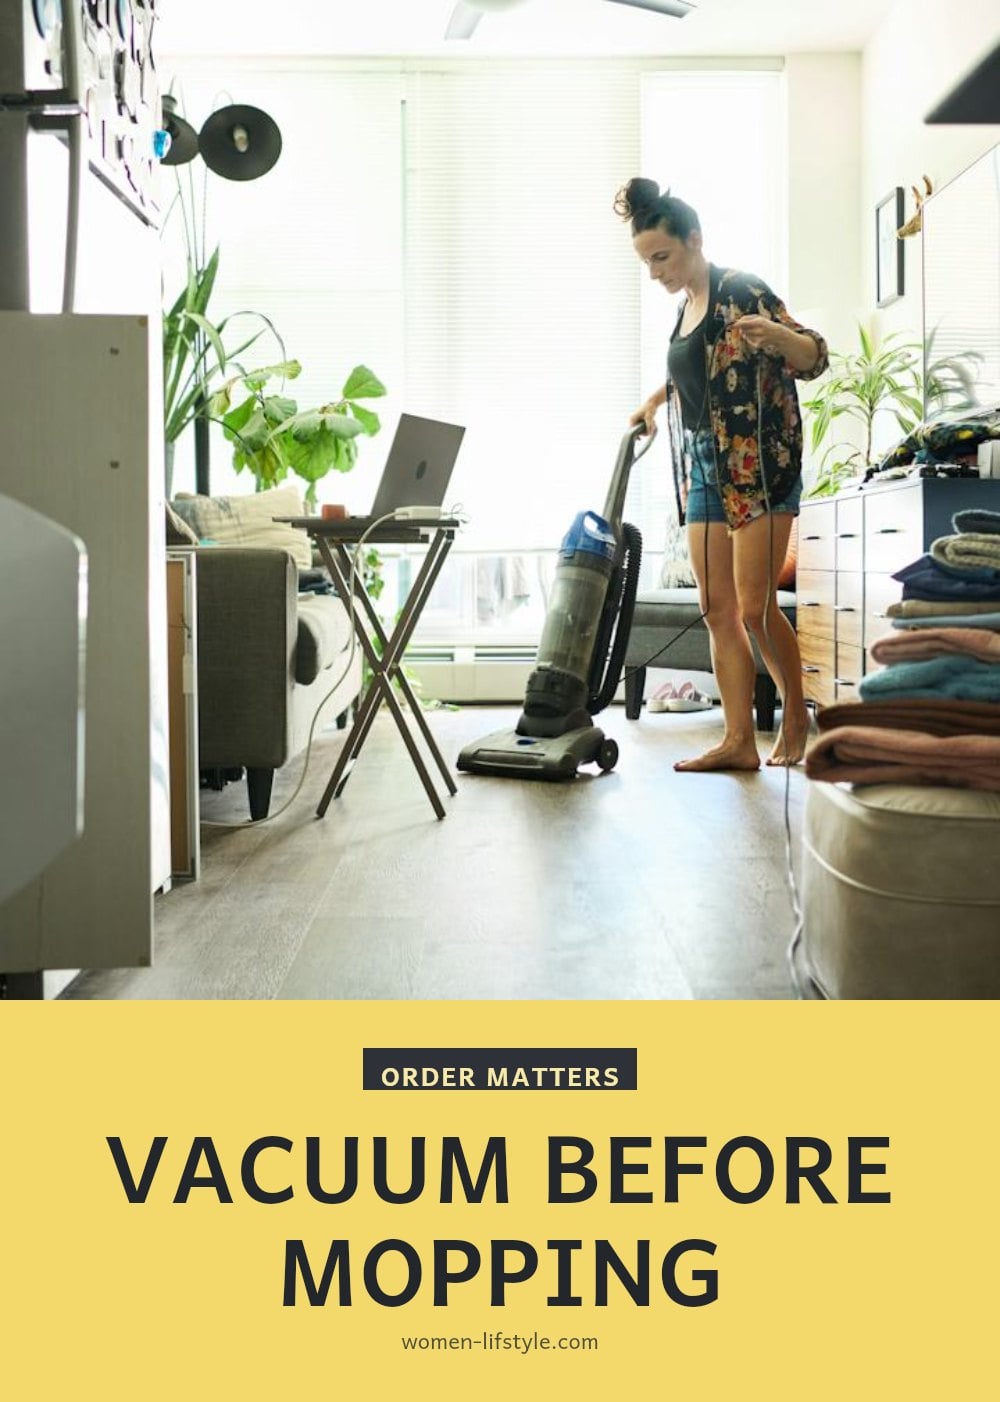
Always vacuum or sweep floors thoroughly before you mop. Loose debris left behind turns into muddy residue the moment water hits it, and that residue gets pushed around instead of picked up.
I’ve seen this mistake ruin a good mopping session. A quick pass with the vacuum takes two minutes and means your mop water stays cleaner, so floors actually look clean when they dry.
6. Prevent Cross-Contamination
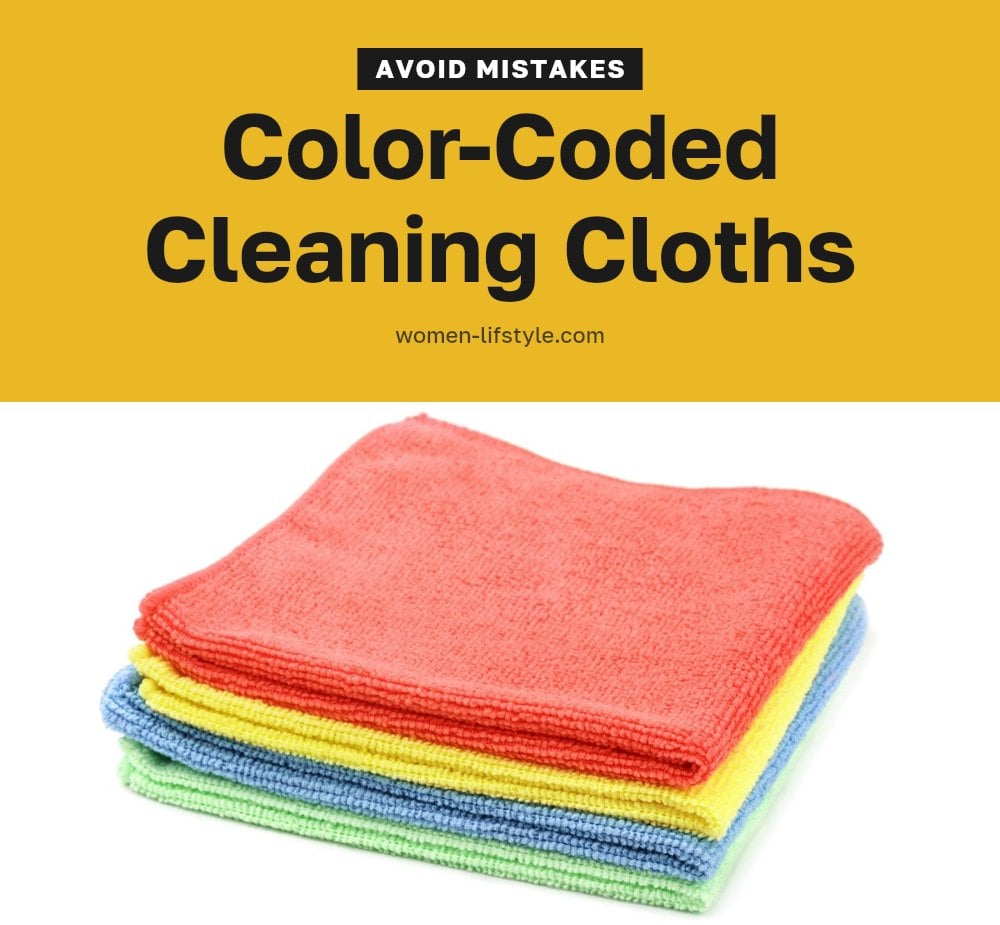
Use separate cleaning cloths for different areas of your home, especially the bathroom and kitchen. A cloth that wiped a toilet should never touch a countertop where you prep food.
My tip: color-code your cloths so you grab the right one without thinking. Blue for bathroom, yellow for kitchen, green for living spaces. This is non-negotiable for a truly hygienic home.
7. Tackle Kitchen Appliances
Don’t forget your oven and microwave. Regular cleaning prevents food buildup that turns into stubborn grime and lingering odors.
For the oven, apply a dedicated oven cleaner and let it work overnight on baked-on messes. For the microwave, place a bowl of water with a few lemon slices inside and run it for 1 to 2 minutes. The steam loosens everything, so a quick wipe handles the rest.
8. Don’t Forget Curtains and Drapes
Curtains and drapes are dust magnets that you probably forget until allergy season hits. Launder them seasonally to pull out accumulated dust and allergens that settle into the fabric over months of hanging.
Before anything, check the care label. Some fabrics require dry cleaning, and ignoring that can shrink or warp them. If they’re machine washable, use a gentle cycle with cold water and hang them back up while slightly damp to avoid wrinkles.
I’ve found this single task makes a noticeable difference in indoor air quality, especially in rooms with heavy window coverings.
9. Sanitize Sponges and Dishcloths
Microwave wet sponges for 1-2 minutes to kill bacteria, or run them through a dishwasher cycle. For dishcloths, toss them in the washing machine with hot water. This keeps your cleaning tools effective and hygienic instead of spreading germs back onto surfaces.
Replace sponges every 2-4 weeks and let them dry completely between uses to slow bacterial growth.
10. Clean Grout Lines and Showerheads
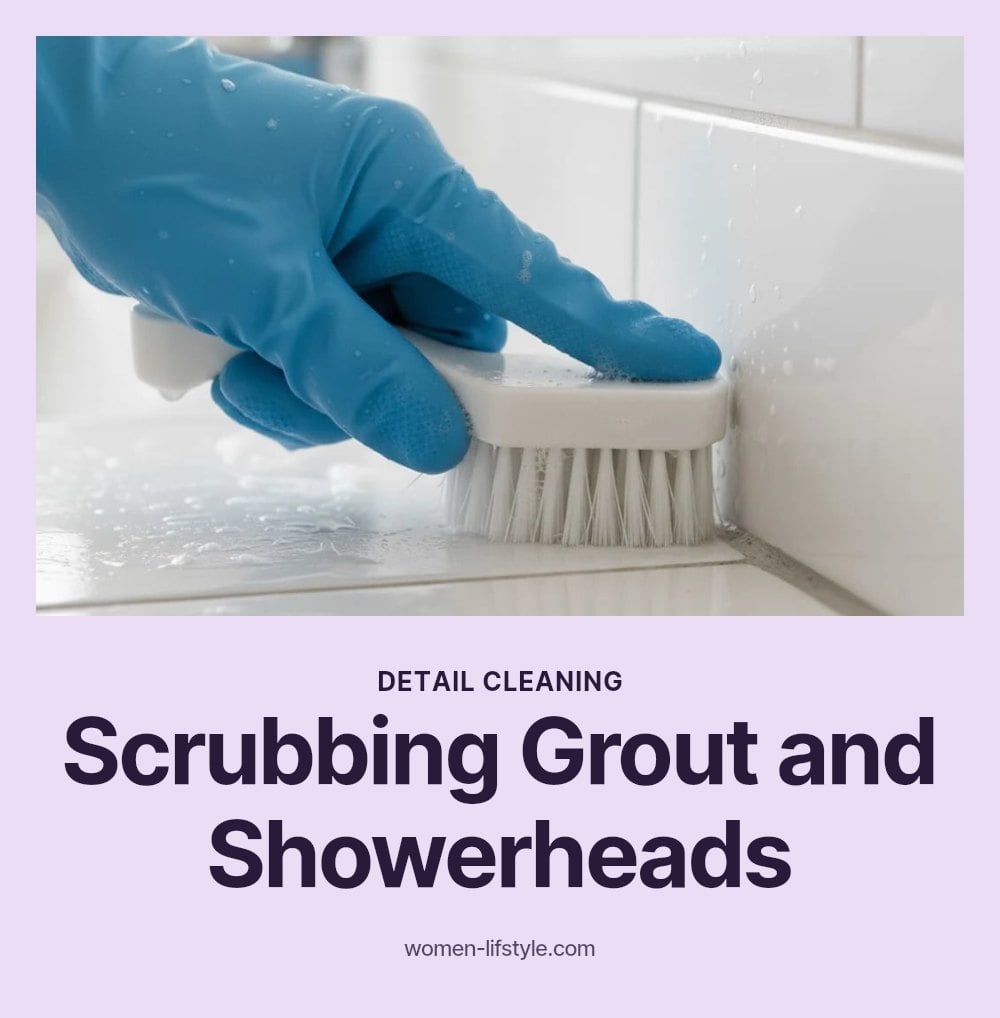
Grout lines are notorious for collecting discoloration and mildew, especially in the shower. Grab a stiff brush and a cleaner made for grout, then scrub in small circles to lift the buildup. For showerheads, fill a plastic bag with white vinegar, secure it around the head with a rubber band, and leave it overnight to dissolve mineral deposits.
These two details make a big visual difference in a bathroom. Clean grout brightens the whole tile, and a clear showerhead restores water pressure. Add them to your deep clean rotation, and your bathroom will look noticeably fresher.
11. Maintain Your Vacuum Cleaner
Empty the canister or replace the bag before it gets full, and clean the filters monthly. A clogged filter kills suction, and a full canister just blows dust back into the air you breathe.
Wash washable filters with water and let them dry completely before reinstalling. Check the brush roll for hair and string wrapped around it, which can stop it from spinning.
I’ve learned this the hard way. A neglected vacuum is a useless vacuum, and it makes every other cleaning step take twice as long.
Common Deep Cleaning Mistakes to Avoid
Using the Wrong Product: Always match the cleaner to the surface. Abrasive scrubs can scratch delicate finishes, and all-purpose sprays may not cut through soap scum. My tip: test any new product in an inconspicuous spot before committing.
Not Allowing Dwell Time: Rinsing too soon means disinfectants and grime removers don’t get a chance to work. Read the label and wait the full time, even if it feels like forever.
Disorganized Cleaning: Jumping from room to room leads to missed spots and wasted effort. Work systematically, one area at a time, and finish each zone before moving on.
Neglecting High-Touch Surfaces: Door handles, light switches, and remote controls are germ hotbeds. Wipe them down regularly during your deep clean, not just the obvious counters and floors.
Using Dirty Tools: A dirty mop or cloth just spreads dirt around. Rinse mops after each use, wash cloths in hot water, and replace worn sponges.
Mixing Chemicals: Never mix different cleaning chemicals, especially bleach and ammonia, as this can create toxic fumes. Safety first, always use one product at a time.
Frequently Asked Questions
How often should I deep clean my home?
Quarterly or semi-annually is a realistic rhythm for most households. Specific tasks like oven cleaning or window washing can be done as needed rather than on a fixed schedule. If you have pets, allergies, or a lot of foot traffic, leaning toward every three months tends to work better.
Can I mix different cleaning products for better results?
No, and some combinations are genuinely dangerous. Never mix bleach with ammonia-based cleaners, since that can produce toxic fumes. Stick to one product per surface, read the label, and ventilate the room while you work.
How do I clean hard-to-reach areas like ceiling fans?
Start at the top of the room and work downward, wiping fixtures and fan blades with a damp cloth or duster before you vacuum or mop the floor. A vacuum attachment helps on textured blades. Anything that falls will get picked up in the later steps.
What is the difference between regular cleaning and deep cleaning?
Routine cleaning handles surfaces you see and touch daily, like counters, sinks, and floors. Deep cleaning goes after what routine wiping misses: appliance interiors, grout, curtains, baseboards, and the tools themselves. It is more intensive and less frequent by design.
Final Thoughts
If you take one thing from this, make it the order of operations: dust high to low, vacuum before you mop, and give your products the dwell time they ask for. That sequence alone will save you rework. Aim for a full deep clean quarterly or semi-annually, with the messier jobs like the oven and windows handled as needed rather than on a strict schedule.
Expect the first pass to take longer than you think, and expect it to get easier each time as buildup stops accumulating. My tip: put a recurring reminder in your calendar so the next one does not sneak up on you. A home that gets this kind of attention a few times a year stays easier to keep up in between.
