

You have a big idea or a goal that feels fuzzy, and you are not sure where to start. A mood board turns that abstract vision into something you can actually see and feel. In this article, I share practical tips and a step-by-step process to help you create a mood board that clarifies your direction and keeps you inspired.
Key Takeaways
- Define your purpose before you start collecting materials.
- Gather a wide range of inspiration without filtering too early.
- Experiment with layout and arrangement before securing anything.
- Include elements that evoke emotion, not just aesthetics.
- Keep your mood board visible and review it every few weeks.
What is a Mood Board and Why Do You Need One?
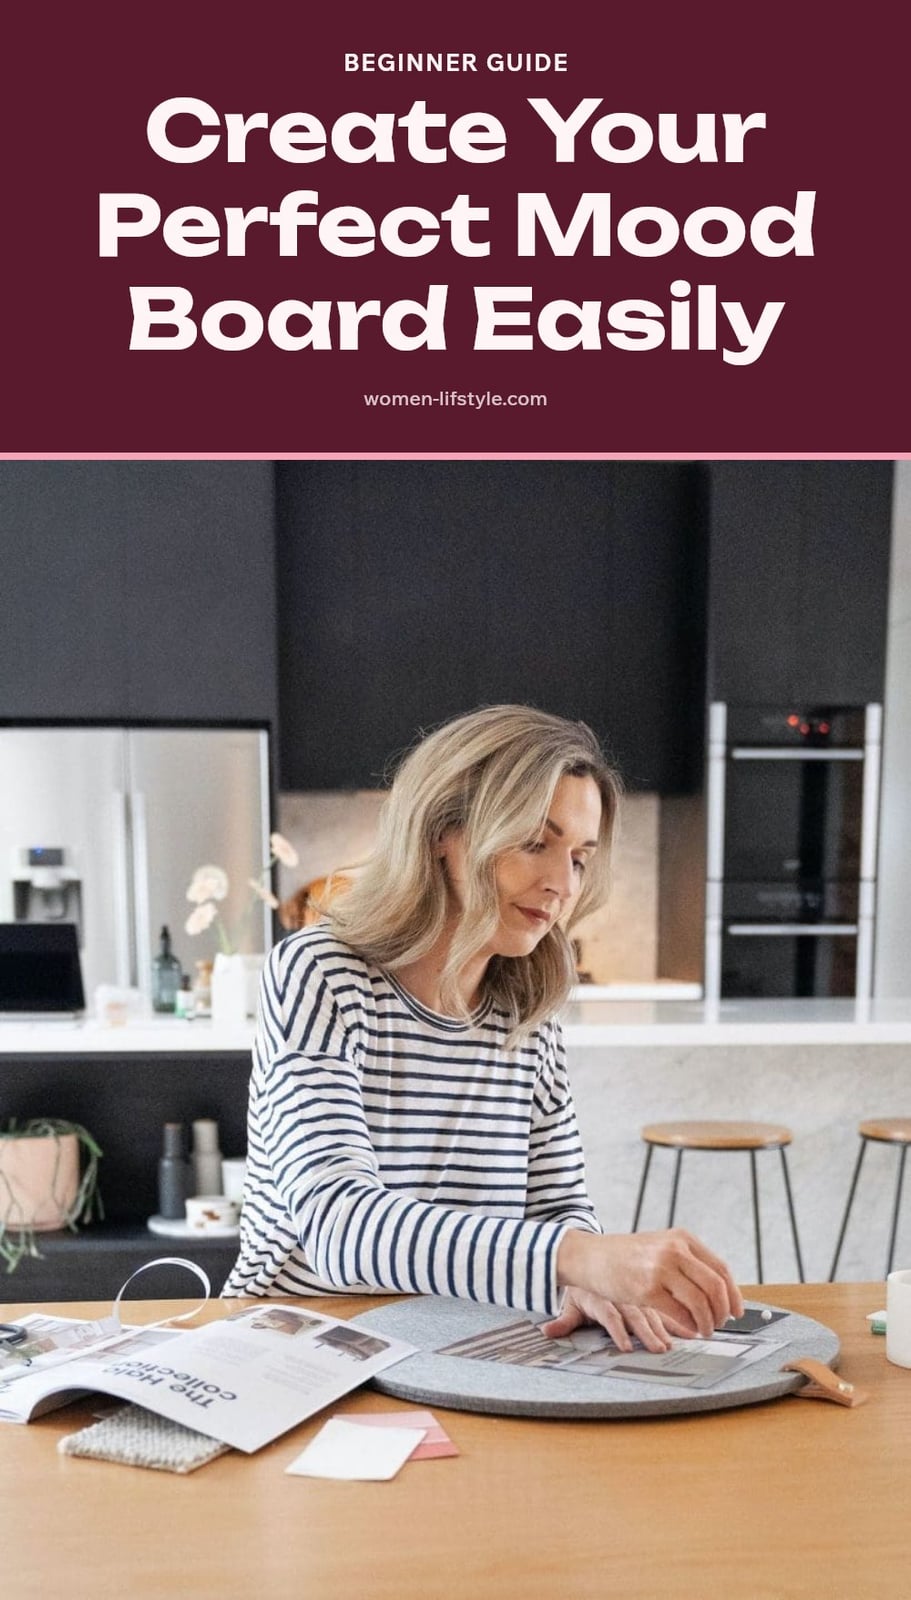
A mood board is a visual collage of images, textures, words, and objects that define the aesthetic, emotional tone, and overall direction of a project or goal. Think of it as a tangible snapshot of your vision, whether you’re planning a home renovation, launching a business, or mapping out personal growth.
It’s a powerful tool for brainstorming, clarifying ideas, and maintaining focus. By gathering and arranging visual cues, you translate abstract thoughts into a concrete reference point that guides your decisions and keeps you aligned with your intentions.
1. Define Your Purpose or Goal
Before gathering anything, clarify what your mood board is for. Are you visualizing a home renovation, a new business, or a personal goal like a healthier lifestyle? Write down your objective in one sentence.
Having a clear purpose shapes every choice you make, from the images you pick to the words you include. It prevents your board from becoming a random collection of pretty things.
- Ask yourself: What feeling or outcome do I want this board to capture?
- Keep it specific: Instead of “living room,” aim for “cozy, earthy living room with natural light.”
2. Gather a Wide Range of Inspiration
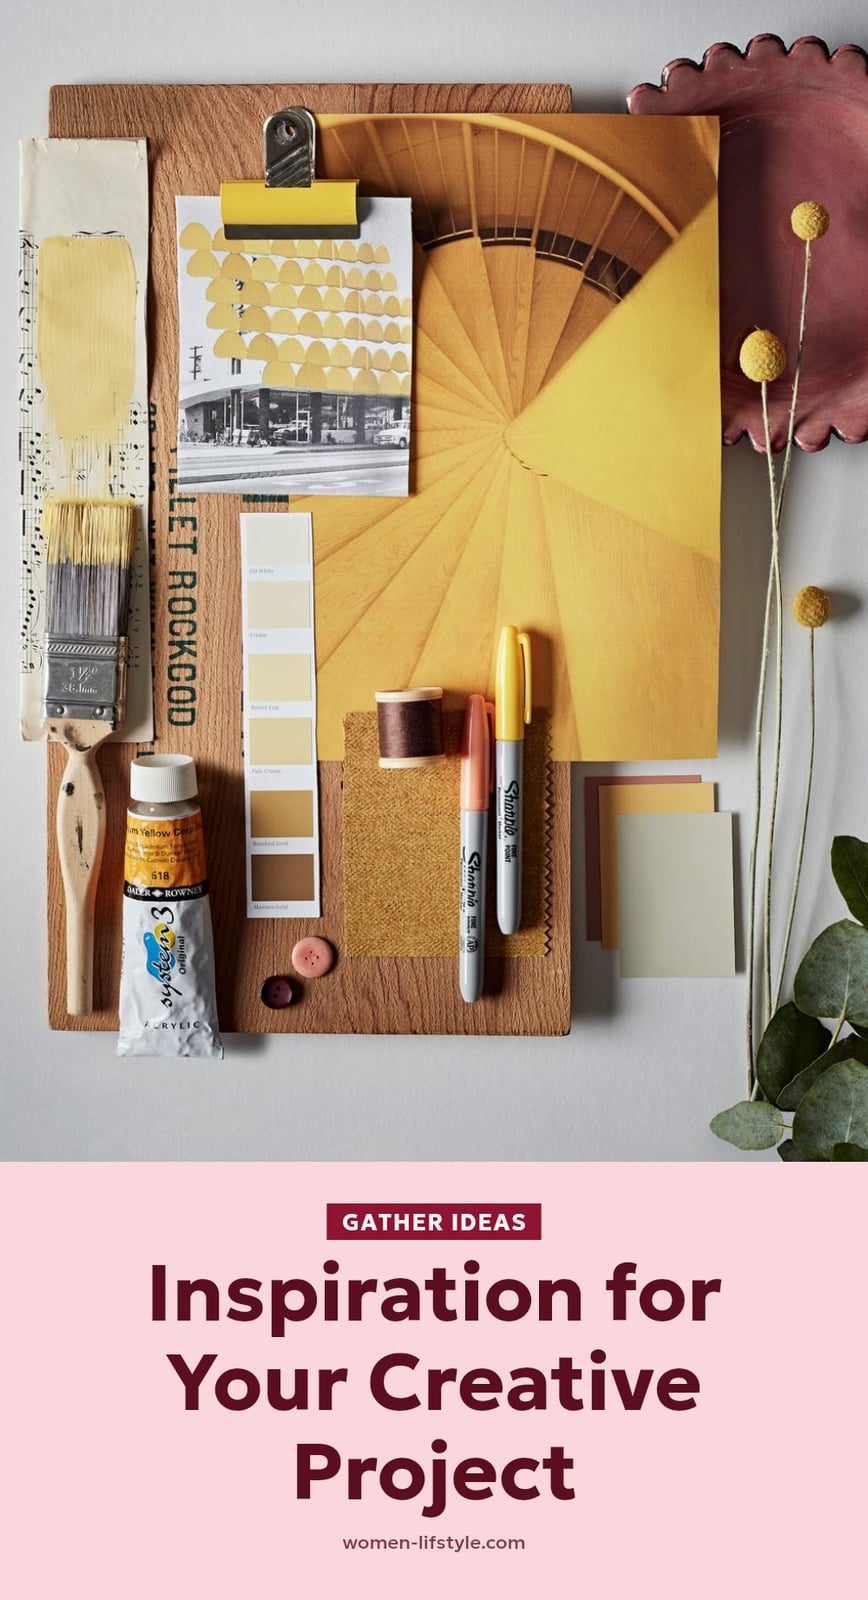
Collect anything that resonates with your purpose: magazine clippings, fabric swatches, paint chips, photos, words, or even small objects like a seashell or a ticket stub. At this stage, don’t filter. Cast a wide net to capture diverse ideas and feelings.
You might be surprised what sparks a connection later. A texture from a fabric sample or a word from an old book could become the anchor of your entire board.
- Sources to try: old magazines, online image searches, your own photos, packaging, and greeting cards.
- Gather more than you need: You can always edit down, but you can’t gather from nothing.
3. Choose Your Medium: Physical or Digital
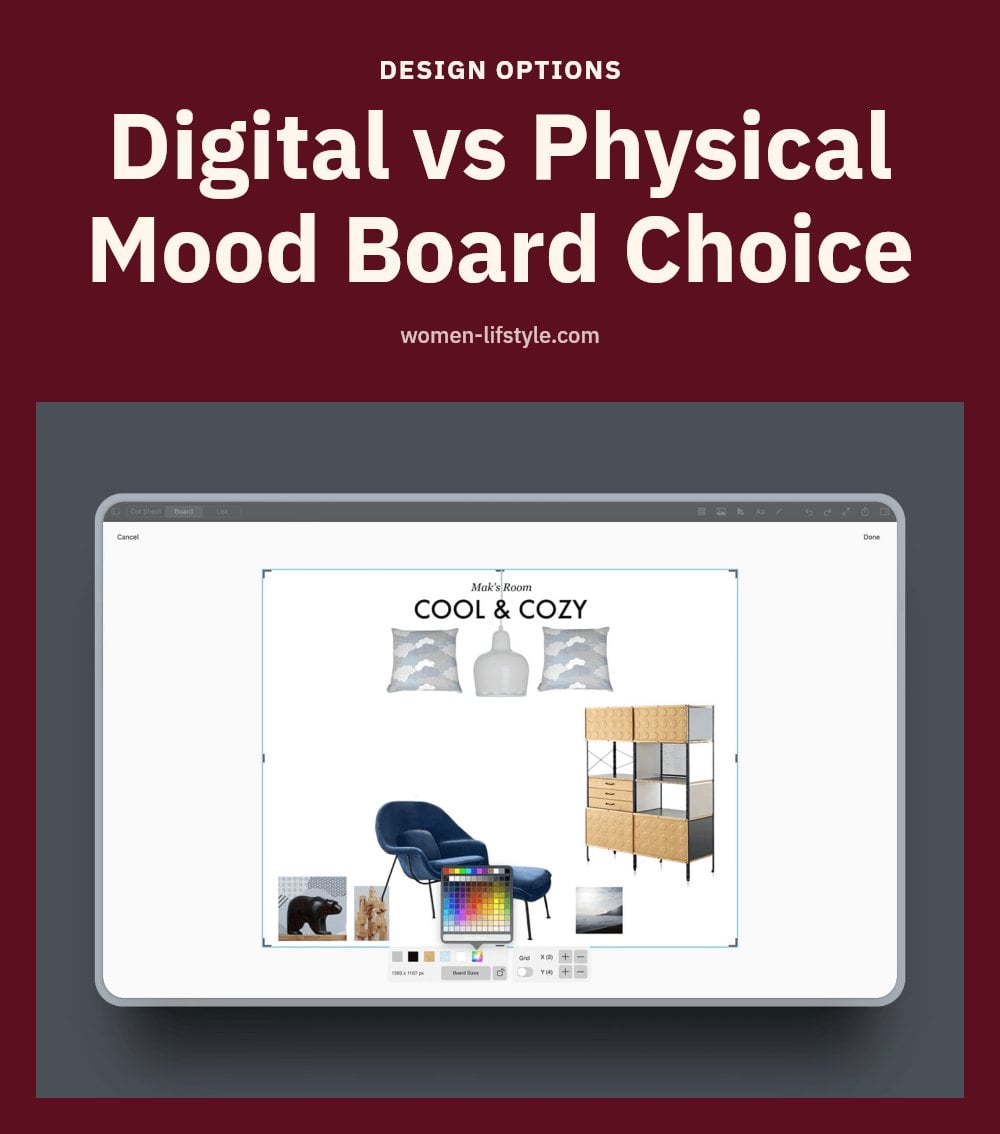
Decide if you’ll create a physical board (cork board, poster board) or a digital one (using apps like Pinterest, Milanote, or Canva). Physical boards offer tactile engagement, letting you touch textures and rearrange elements by hand. Digital boards provide easy editing, sharing, and access to a vast array of online resources.
Consider your workflow: if you love cutting and pasting, go physical; if you want to collaborate or iterate quickly, go digital.
- Physical pros: sensory experience, no screen time, can be displayed as decor.
- Digital pros: unlimited images, instant duplication, easy to update and share.
4. Select Your Core Elements
Now that you have a pile of inspiration, it is time to narrow it down. Spread everything out and look for the pieces that make you stop and think, “Yes, this is the feeling I want.” Focus on color palettes, typography, textures, patterns, and images that clearly point toward your goal. A single fabric swatch or a paint chip can define the whole mood faster than a dozen random photos.
My tip: If an element does not connect back to your written purpose from step two, set it aside. You can always revisit it later, but keeping only the strongest candidates makes the board sharper and more useful.
5. Experiment with Layout and Arrangement
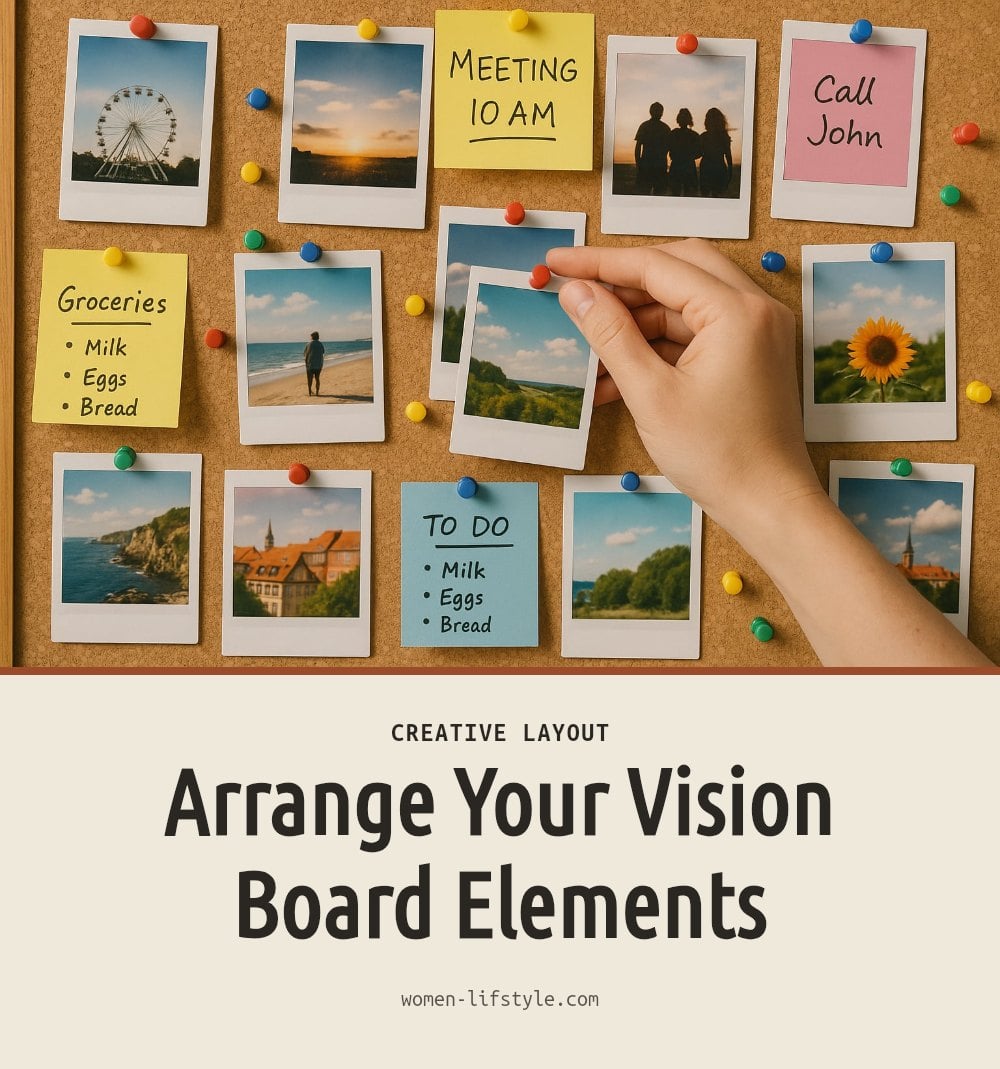
Before you glue anything down, place your chosen elements on the board and move them around. Try overlapping images, shifting the main focal point, or leaving white space between items. The goal is to see how the story changes with each arrangement.
I usually step back after every few moves and ask myself, “Does this feel balanced? Does the eye travel naturally across the board?” Keep adjusting until the composition clicks. Once you are happy, take a photo of the layout so you can recreate it later if you need to shift things again.
6. Include Evocative Elements, Not Just Pretty Ones
A mood board that only looks pretty will not keep you motivated for long. Choose elements that actually make you feel something: calm, energized, curious, or focused. That might be a close-up of weathered wood if you want a rustic, grounded vibe, or a single handwritten word that sums up your intention.
When you look at your board, you should sense the emotional tone of your project right away. If a piece looks great but feels flat, swap it for something with more emotional weight. The feeling is what drives action, not just visual appeal.
7. Mix Textures, Words, and Colors
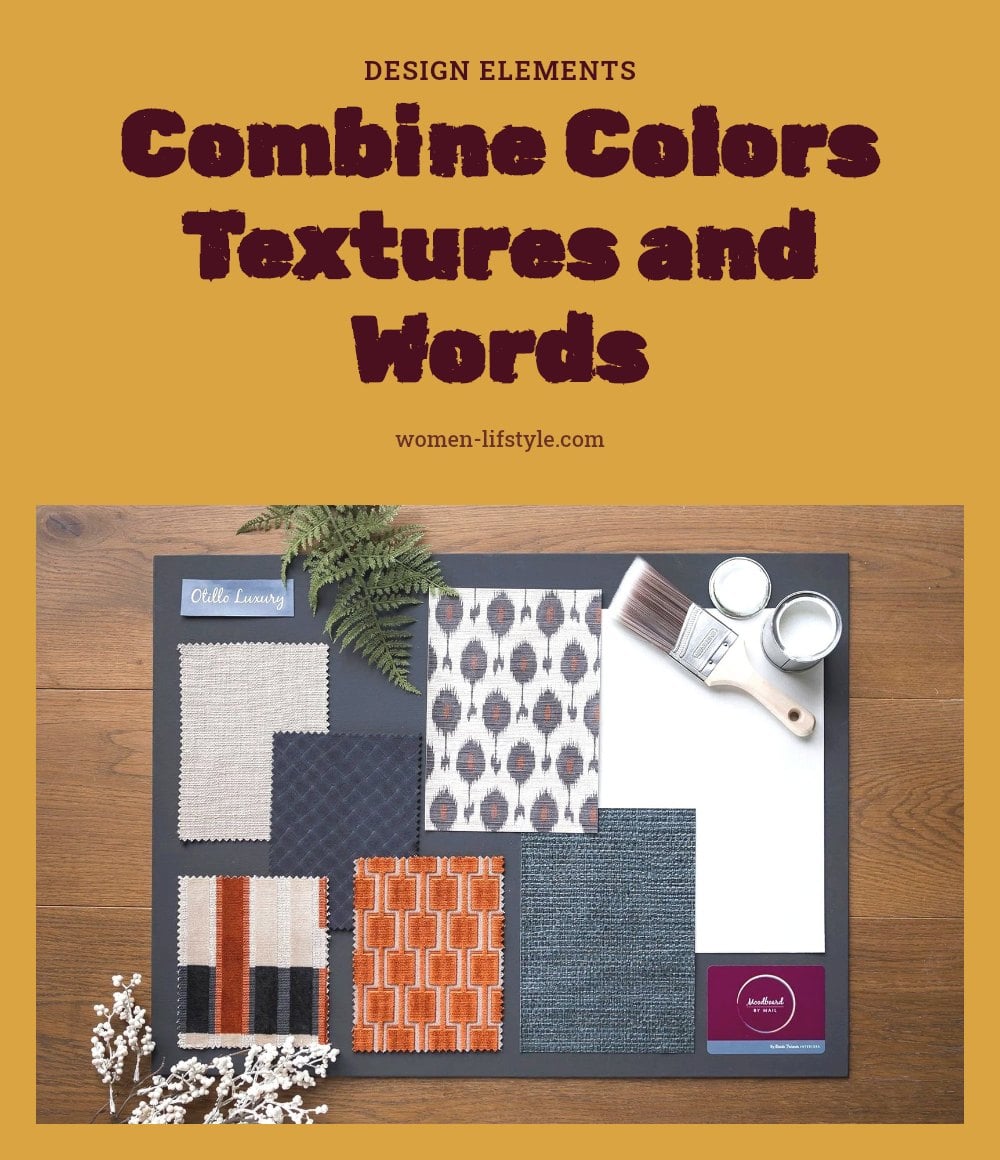
Images alone can only do so much. Layer in fabric swatches, yarn, paint chips, or even a small object like a dried leaf or a piece of ribbon. Add keywords or short phrases that capture your goal, written in a font that matches the mood. This mix of textures, colors, and words creates a richer, more complete visual story.
Pro move: Pin or tape a few contrasting textures next to each other. The difference between rough burlap and smooth satin can instantly communicate the layered complexity of your vision better than any single image can.
8. Secure Your Elements (Physical Board)
When your layout feels right, secure each piece. For a physical board, use a glue stick for paper items, tape for thicker materials, or push pins if you want the flexibility to swap elements later. For digital boards, use the app’s lock or group function to keep everything in place, then save a high-resolution copy. Tip: take a photo of your physical board as a backup in case anything shifts over time.
9. Place Your Mood Board Visibly
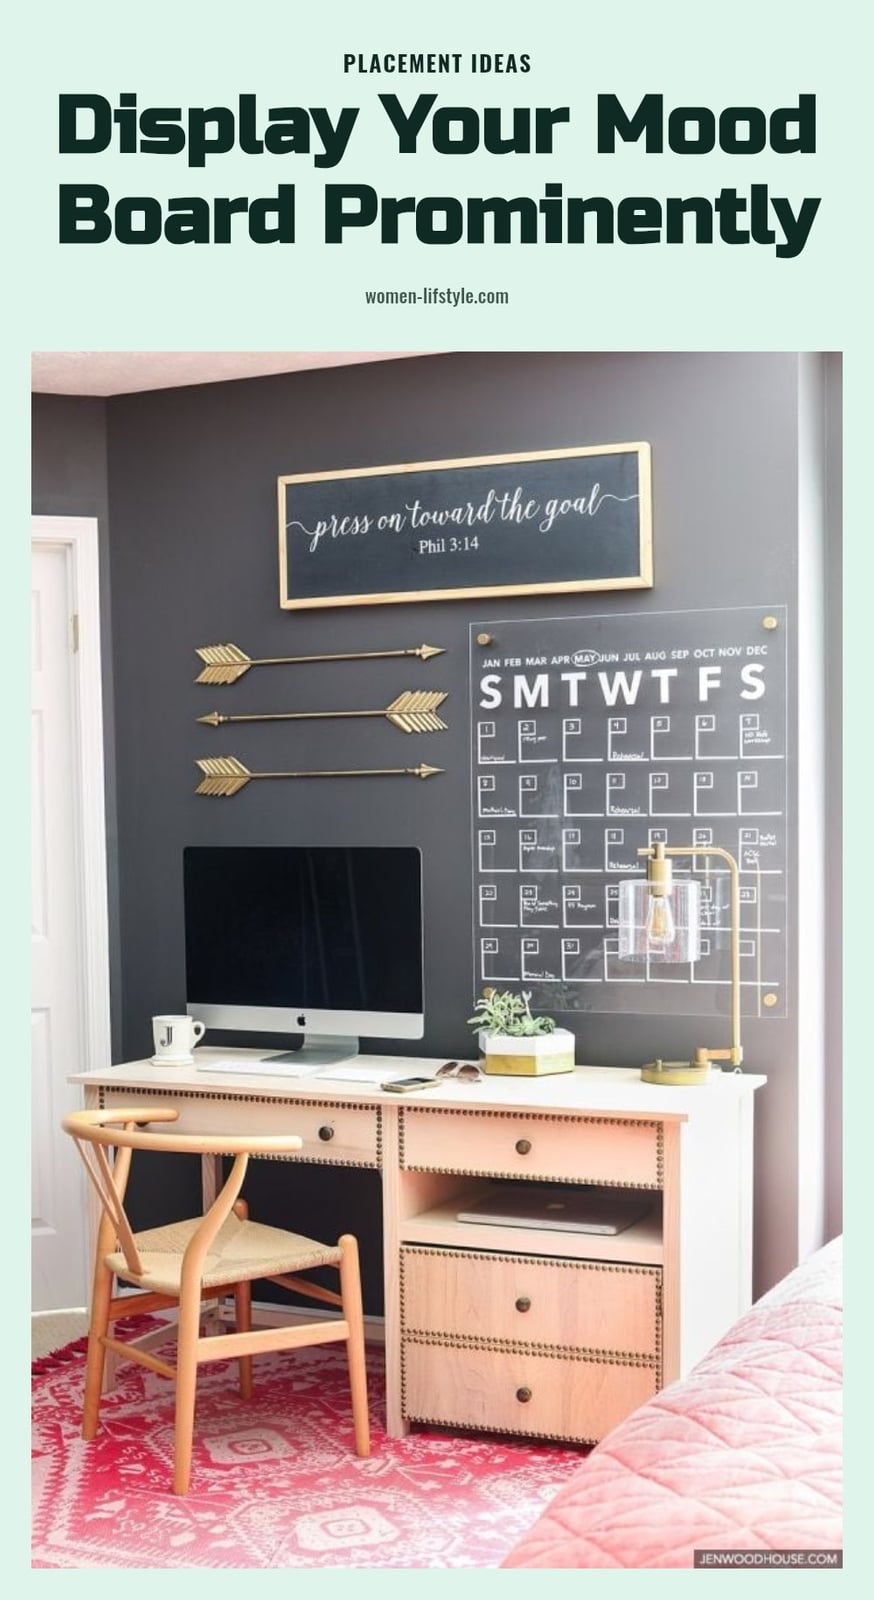
Your mood board only works if you actually see it. Hang it on a wall you pass every morning, prop it on your desk, or tape it inside a cabinet door you open daily. For a digital board, set it as your phone wallpaper or computer desktop background. Constant visual exposure keeps your goal front and center, so every small decision, what to buy, what to prioritize, aligns with the vision you curated.
10. Review and Evolve Your Board
Your mood board should grow with you. Schedule a 10-minute check-in every few weeks: does the board still excite you? Do certain images now feel off or outdated? Remove what no longer fits and add fresh inspiration that matches your current direction. A board that stays frozen becomes wallpaper, not a guide. Good to know: many designers rebuild their boards entirely when a project shifts tone, so don’t hesitate to start over if your vision changes.
11. Trust Your Intuition and Enjoy the Process
There is no wrong way to make a mood board. If a certain image makes you feel something, include it even if you cannot explain why. If you prefer a messy collage over a neat grid, go with that. The act of searching, cutting, arranging, and reflecting is where the clarity comes from, not the final polished product. Pro move: when you feel stuck, step away for a day and come back with fresh eyes. You will notice things you missed before.
Common Mood Board Mistakes to Avoid
Making it too literal: A mood board is not a shopping list or a blueprint. If you pin a photo of a room exactly as you want it, you lose the space for creativity. Instead, choose images that capture the feeling you want, cozy, minimal, vibrant, and let that guide your decisions.
Only using one source: Sticking to just Pinterest boards or one magazine limits your perspective. Pull from fabric swatches, color chips, book covers, nature photos, and handwritten words. Each medium brings a different texture to your vision.
Not defining a clear purpose: Without a goal, your board becomes a random collection of pretty things. Before you start, write down what you are trying to achieve. That focus will help you filter what stays and what goes.
Over-editing too early: In the initial gathering phase, do not censor yourself. Collect freely, even if an image seems slightly off. You can refine later. Killing ideas before they have a chance to breathe shuts down the creative process.
Treating it as a final design: A mood board is a living tool, not a finished artwork. Your vision will evolve as you learn more. Be willing to swap out images, add new textures, or shift the entire direction. That flexibility is what makes the board useful.
Frequently Asked Questions
How long does it take to make a mood board?
The initial creation of a mood board can take anywhere from 1 to 3 hours. However, it is a continuous, evolving process, so you can always come back to add or remove elements as your vision changes.
Can I use a mood board for personal goals?
Yes, mood boards are great for personal goals like a healthier lifestyle, a travel dream, or a career shift. The key is to define your purpose clearly before you start, so every image and texture you choose aligns with that intention.
What’s the difference between a mood board and a vision board?
A mood board focuses on the aesthetic, emotional tone, and overall direction of a project or goal, using colors, textures, and feelings. A vision board is more literal, often showing specific goals or outcomes you want to achieve. Both can overlap, but a mood board is more about evoking a vibe.
How often should I update my mood board?
Schedule a 10-minute check-in every few weeks. Remove elements that no longer feel right and add fresh inspiration that matches your current direction. Keeping it dynamic helps it stay relevant and motivating.
Where should I keep my physical mood board?
Place it somewhere you see daily: a wall you pass every morning, your desk, or inside a cabinet door you open often. For a digital board, set it as your phone wallpaper or computer background to keep your vision top-of-mind.
Final Thoughts
My tip: start with one clear sentence about what you want this board to represent, then let yourself collect freely before you judge anything. Expect the initial creation to take 1 to 3 hours, but treat it as a living tool that evolves with your vision. Trust the process and enjoy the act of making something that is uniquely yours.
