You’ve probably stood in front of the mirror with an eyeliner pencil, wondering how to get that perfect line without it looking like a toddler drew it. I’ve been there too, and the good news is that eyeliner is totally learnable. This article walks you through the best eyeliner types for beginners, simple techniques like connecting dots and tightlining, and the common mistakes to skip so you can feel confident with every swipe.
Key Takeaways
- Start with a creamy pencil eyeliner for the easiest control and blendability.
- Rest your elbow on a stable surface to keep your hand steady while applying.
- Apply small dots or dashes along the lash line, then connect them for a smooth line.
- Tightline your upper waterline with a waterproof pencil to make lashes look fuller.
- Use an eyeshadow primer before eyeliner to prevent smudging and extend wear time.
Your Beginner’s Guide to Eyeliner
Eyeliner defines and enhances your eyes. It comes in four main forms: pencil, gel, liquid, and kohl. Pencil eyeliner is the best choice for beginners because it is easy to control and blend. Liquid eyeliner creates sharp lines for winged looks, while gel offers smooth application with a brush. Kohl eyeliner provides a soft, smudgy finish perfect for smoky eyes.
1. Start with Pencil Eyeliner
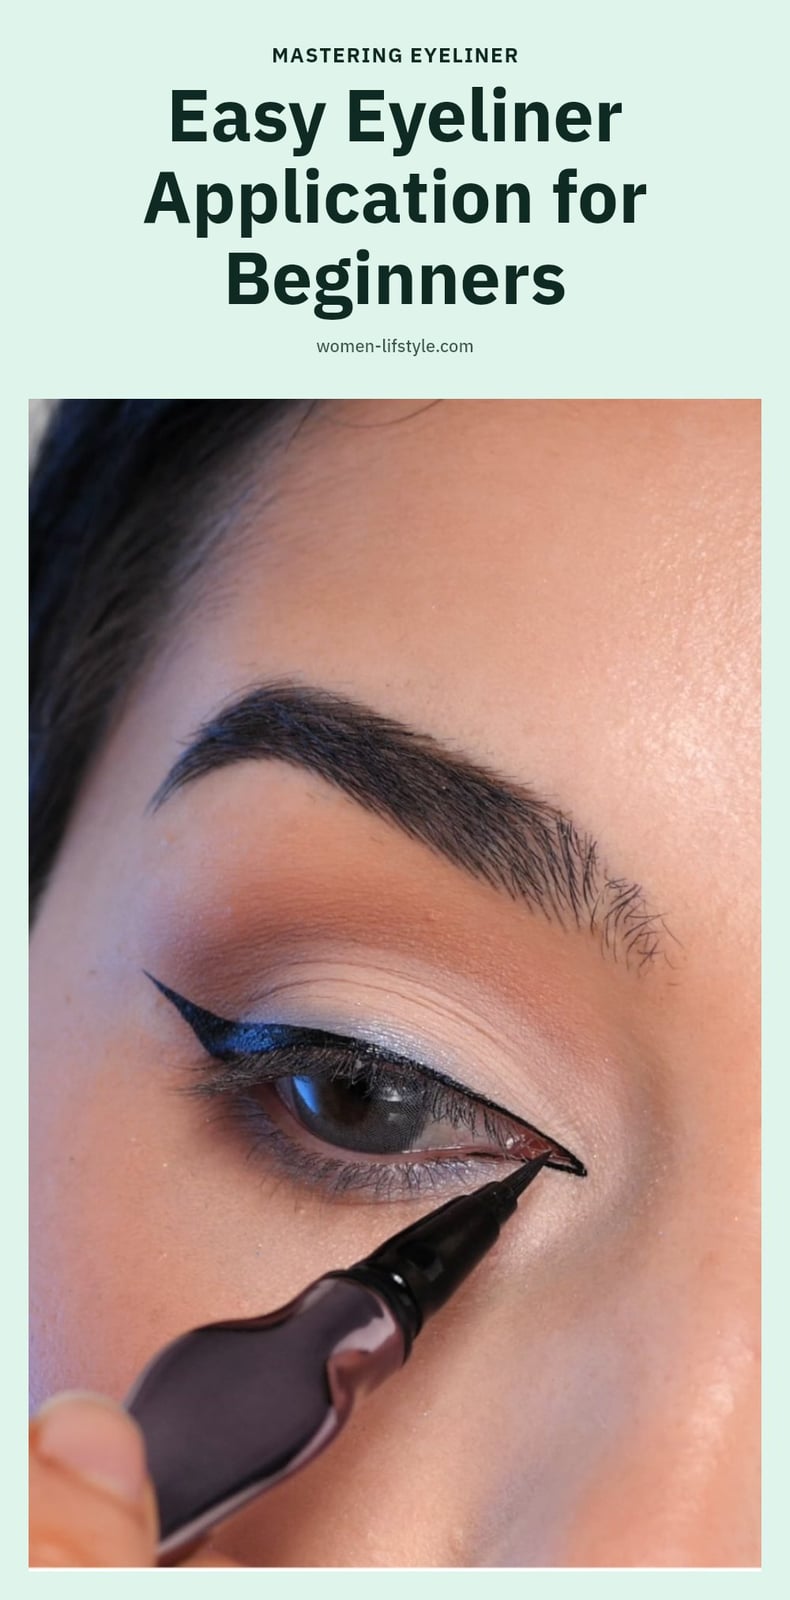
Pencil eyeliners are the most forgiving for beginners. They are easy to control and blend, so small mistakes are less noticeable. My tip: Look for a creamy, retractable pencil. It glides on smoothly without tugging on your delicate eyelid skin. You can easily smudge pencil eyeliner with an angled brush for a softer, less defined look.
2. Choose the Right Eyeliner Type
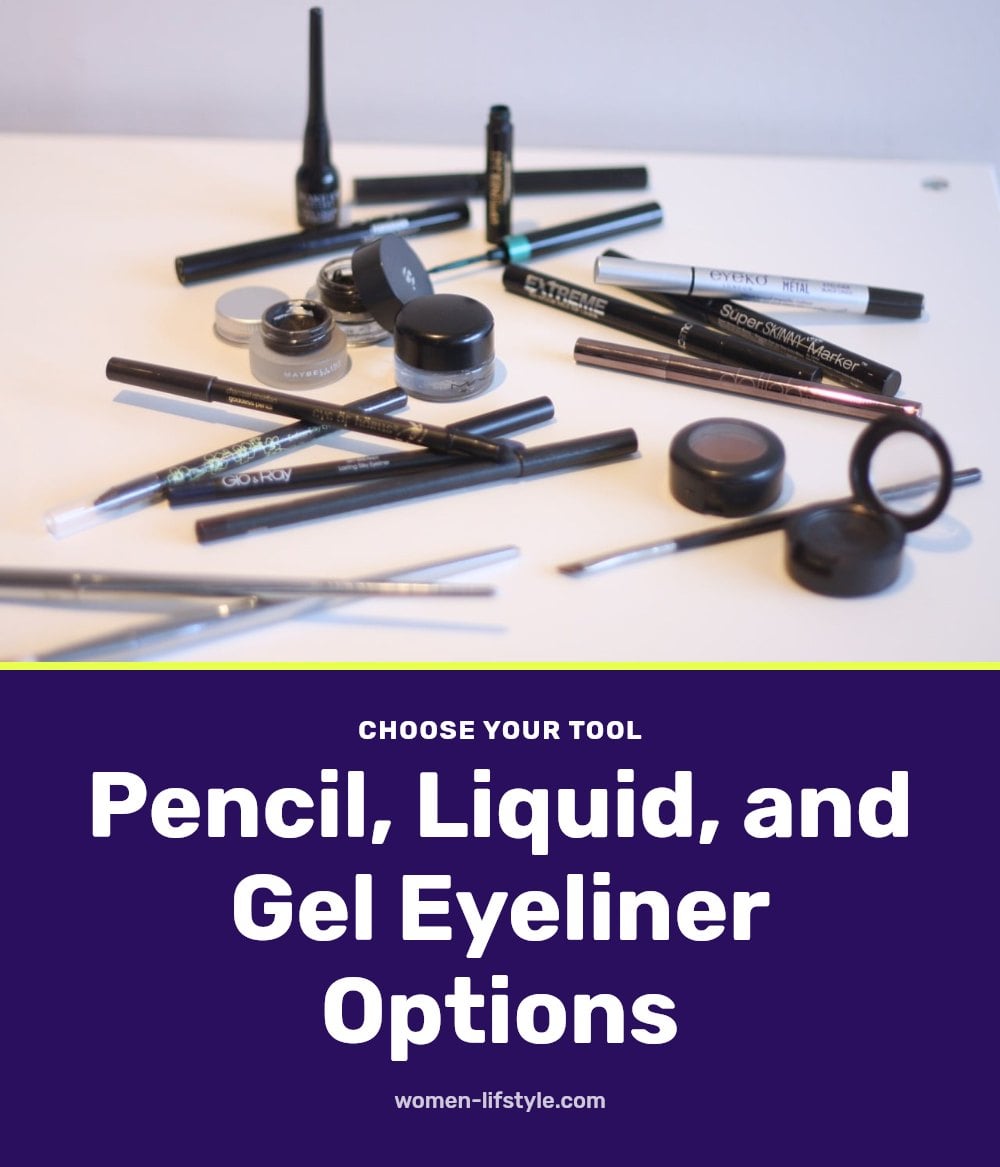
Choose your eyeliner type based on the look you want. Pencil: Great for a soft, everyday look or smudging into a subtle line. Liquid: Offers sharp, precise lines for winged or cat-eye looks. Gel: Applied with a brush, it gives smooth application and versatility for varying thicknesses. Kohl: Perfect for a smudgy, smoky eye effect.
3. Steady Your Hand
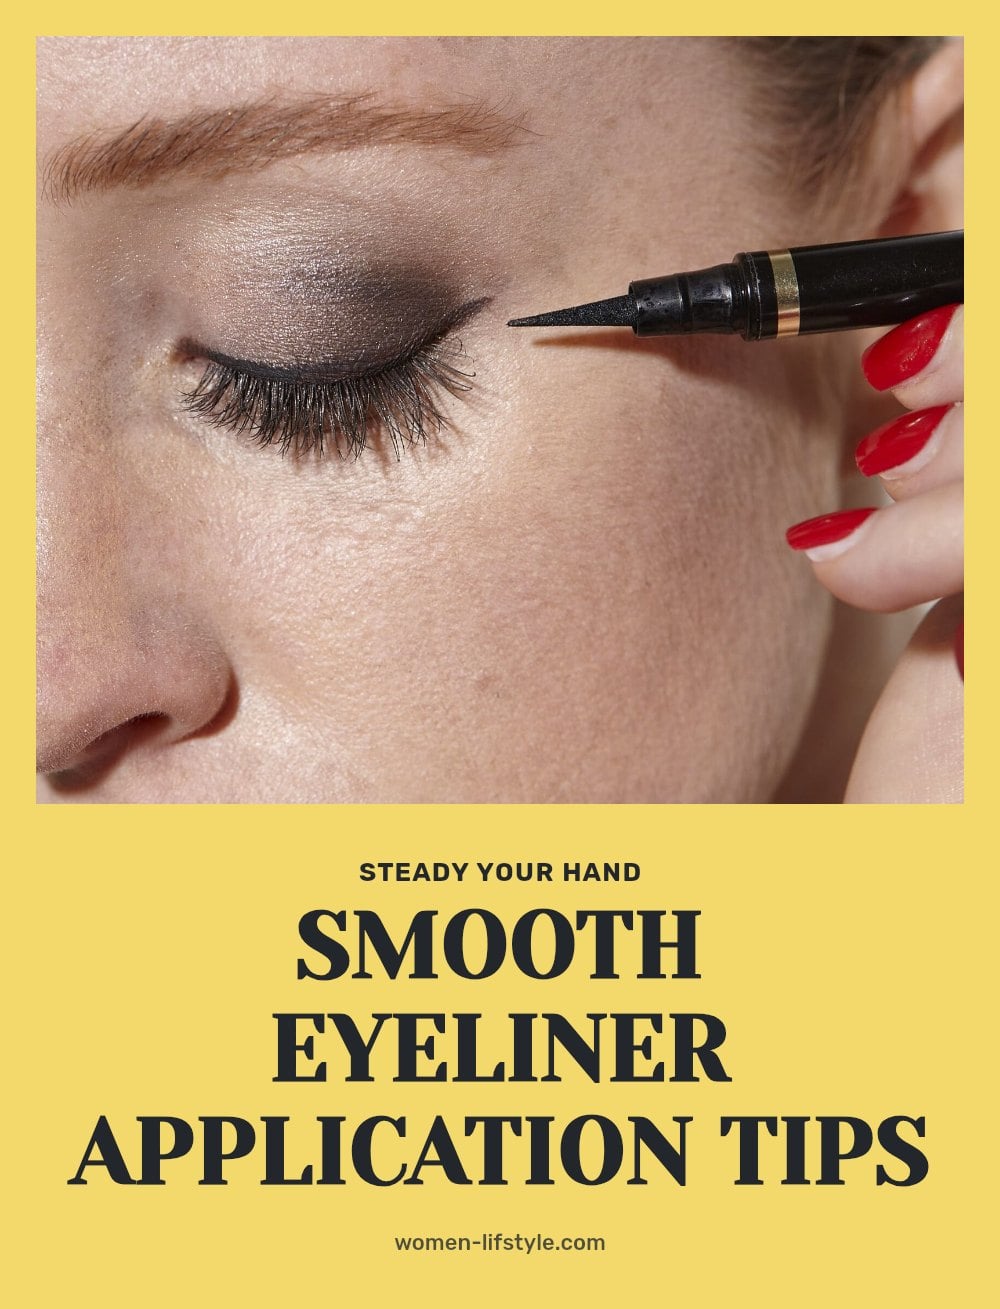
Rest your elbow on a stable surface, like a table or counter. This minimizes shaky hands and gives you far more control, especially with liquid formulas.
- Your mirror setup: Place the mirror flat on the table and rest your elbow beside it.
- Pro move: If you don’t have a table, press your pinky finger against your cheek to anchor your hand.
4. Look Down into a Mirror
When applying liquid eyeliner, look down into a mirror placed flat on the table. This angle reveals your lash line without your upper eyelid blocking the view.
You can see exactly where the liner meets the base of your lashes. The result is a smoother, more direct stroke because you are working with your eye’s natural shape instead of fighting against it.
5. Connect the Dots or Dashes
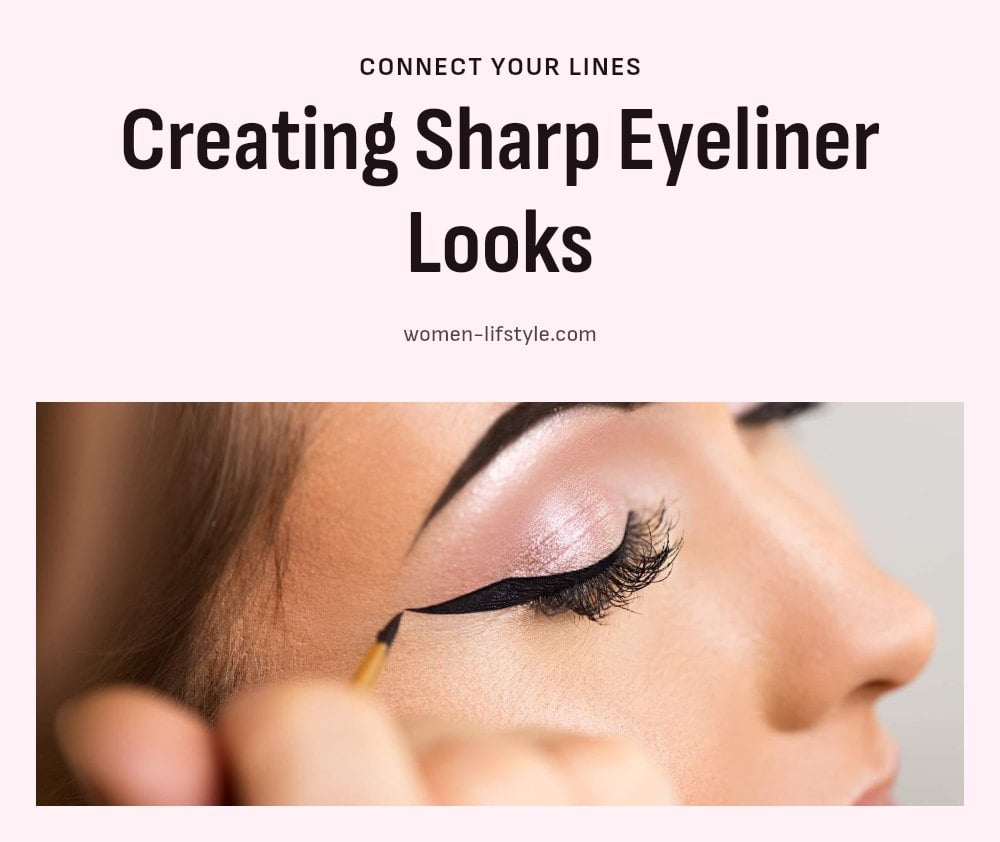
Instead of trying to draw one long, perfect line, apply small dots or short dashes right along your lash line. Space them evenly from the inner corner to the outer corner.
Then, gently connect each dot or dash with a light stroke. This breaks the task into manageable steps and reduces the chance of a wobbly line. The method works with any eyeliner type, from pencil to gel to liquid.
6. Tightline for Fuller Lashes
Tightlining means applying eyeliner to your upper waterline, the moist skin just above your lashes. This fills in any gaps between your lashes so the lash line looks dense and dark without a visible line on the lid.
My tip: Use a waterproof pencil for tightlining. It stays in place on the waterline and won’t smudge onto your lower lid during the day.
7. Wing It with Tape or Stencil
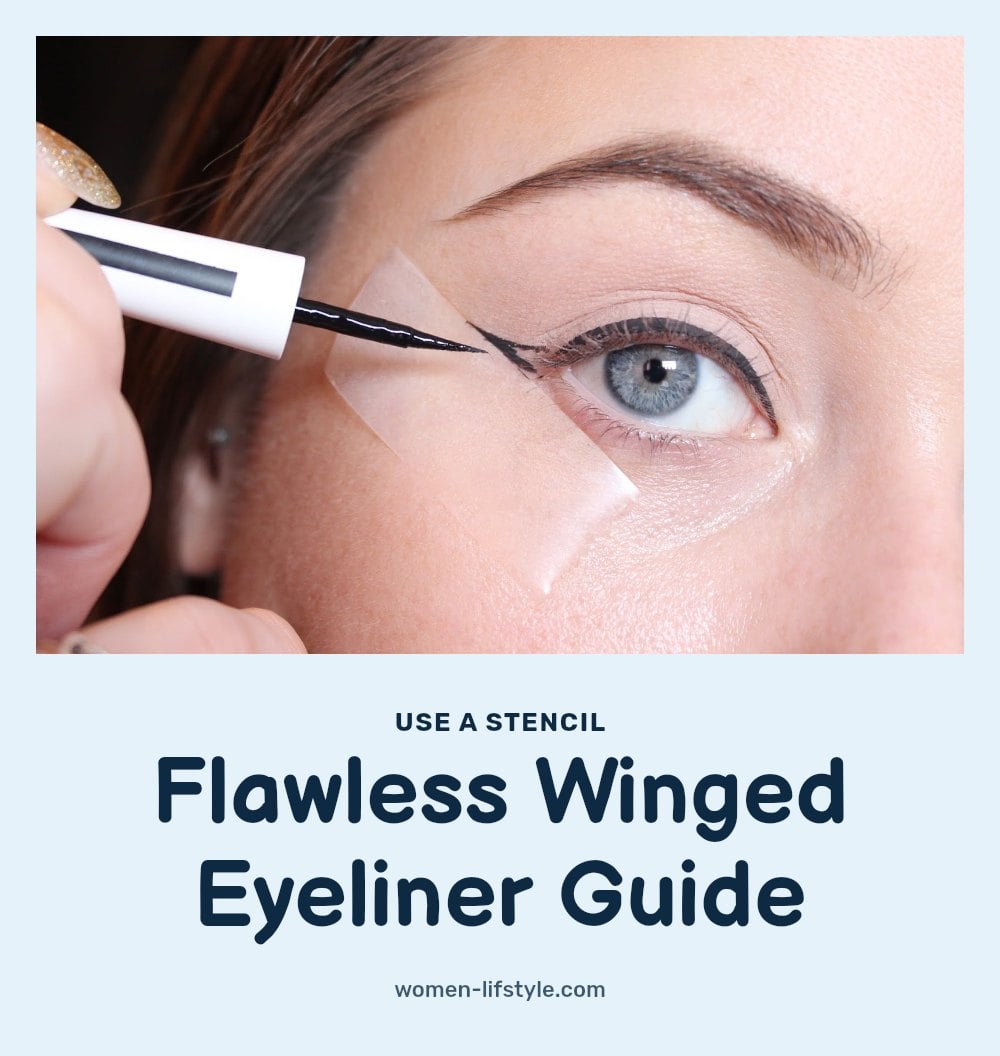
If a sharp wing feels impossible, use a small piece of tape or an eyeliner stencil. Place the tape at a slight upward angle starting from your lower lash line and pointing toward the tail of your brow.
Apply your liquid or gel eyeliner along the edge of the tape. Let the liner dry for a few seconds, then peel the tape off gently. You get a clean, crisp wing every time. Caution: Test the tape on your wrist first to make sure it is not too sticky for your delicate eye area.
8. Don’t Pull Your Eyelid
Don’t pull your eyelid taut. It’s tempting to stretch the skin to get a straight line, but when you let go, the line often looks wobbly or uneven. Instead, keep your eye gently closed and work with your natural eye shape. Make small, short strokes and adjust as you go. This gives you a line that actually follows your eye’s contour.
9. Prime for Longevity
Apply an eyeshadow primer to your eyelids before any eyeliner. The primer creates a smooth, dry base that grips the liner and prevents smudging throughout the day. It also helps the color stay vibrant longer. Even a thin layer makes a noticeable difference in wear time.
10. Practice Makes Perfect
Eyeliner application is a skill you build with repetition. Your first few attempts may not look perfect, and that is normal. Each time you practice, your hand gets steadier and your strokes become more precise. Even experienced makeup artists have uneven days. Keep at it, and you will see progress.
11. Clean Your Tools Regularly
Clean your eyeliner brushes after each use. Dirty brushes collect old product, oil, and bacteria, which can cause uneven application and eye irritation. Tip: Use a gentle brush cleanser or mild soap and water. Swirl the bristles in your palm, rinse thoroughly, and reshape the tip. Clean tools glide smoothly and protect your eyes.
Common Eyeliner Mistakes to Avoid
Mistake: Applying a single thick, wobbly line. Instead of trying to draw the whole line in one pass, build it up gradually with small strokes or by connecting dots. This gives you more control and a smoother result.
Mistake: Not allowing liquid eyeliner to dry. After applying liquid liner, keep your eyes slightly downcast for a few seconds. Opening them too soon can transfer the liner to your upper crease.
Mistake: Using a dull pencil eyeliner. A dull tip drags and skips on your eyelid. A sharp tip ensures a smooth, even glide without pulling at the delicate skin.
Mistake: Drawing the wing too far down or too straight. The wing should lift slightly upward toward the tail of your brow. A downward angle can make your eyes appear droopy.
Mistake: Forgetting to tightline. A visible gap between your eyeliner and lashes looks unfinished. Tightlining the upper waterline fills that gap for a seamless, polished look.
Frequently Asked Questions
What is the easiest eyeliner to use for beginners?
Pencil eyeliner is the easiest type for beginners. It offers good control, blends easily, and small mistakes are less noticeable. Look for a creamy, retractable pencil that glides on smoothly without tugging at your eyelid.
How do I prevent my eyeliner from smudging?
Apply an eyeshadow primer to your eyelids before eyeliner. This creates a smooth, dry base that helps the liner grip and stay in place. Also, choose a waterproof formula if you have oily lids or expect humidity, and avoid touching your eyes throughout the day.
Can I use eyeliner on my waterline?
Yes, but use caution. Tightlining (applying to the upper waterline) is safe with a waterproof pencil. For the lower waterline, avoid the inner rim if you have sensitive eyes or wear contact lenses, as it can cause irritation. Always use a fresh, clean pencil.
How often should I replace my eyeliner?
Replace your eyeliner every three to six months to minimize bacterial buildup. If the product becomes dry, crumbly, or starts to irritate your eyes, discard it immediately. Never share eyeliner with others to prevent eye infections.
What’s the best way to remove waterproof eyeliner?
Use an oil-based makeup remover or a dedicated waterproof eye makeup remover. Soak a cotton pad with the remover, press it gently against your closed eye for a few seconds, then swipe away the liner. Avoid rubbing, which can irritate the delicate eye area.
Final Thoughts
My tip: Stick with a pencil eyeliner and the dot-connecting method until you feel comfortable, then gradually try gel or liquid for sharper looks. Expect your first few attempts to take a couple of minutes and look a little uneven. That is completely normal. Keep practicing, and soon you’ll be able to create a clean line in under a minute.
This article provides general information and tips for eyeliner application. It is not a substitute for professional medical or dermatological advice. If you experience persistent irritation, redness, or an eye infection, consult a doctor or an eye care professional.